
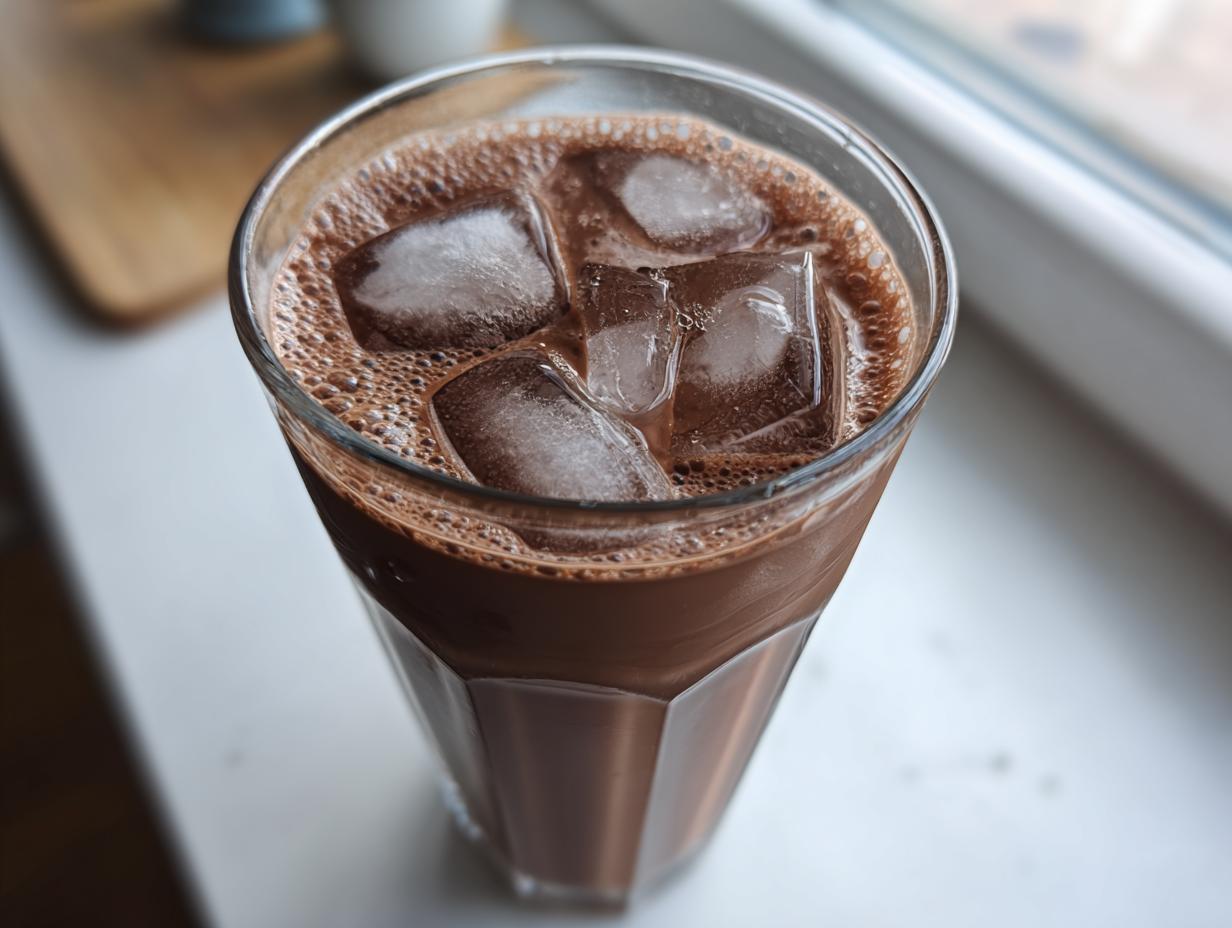
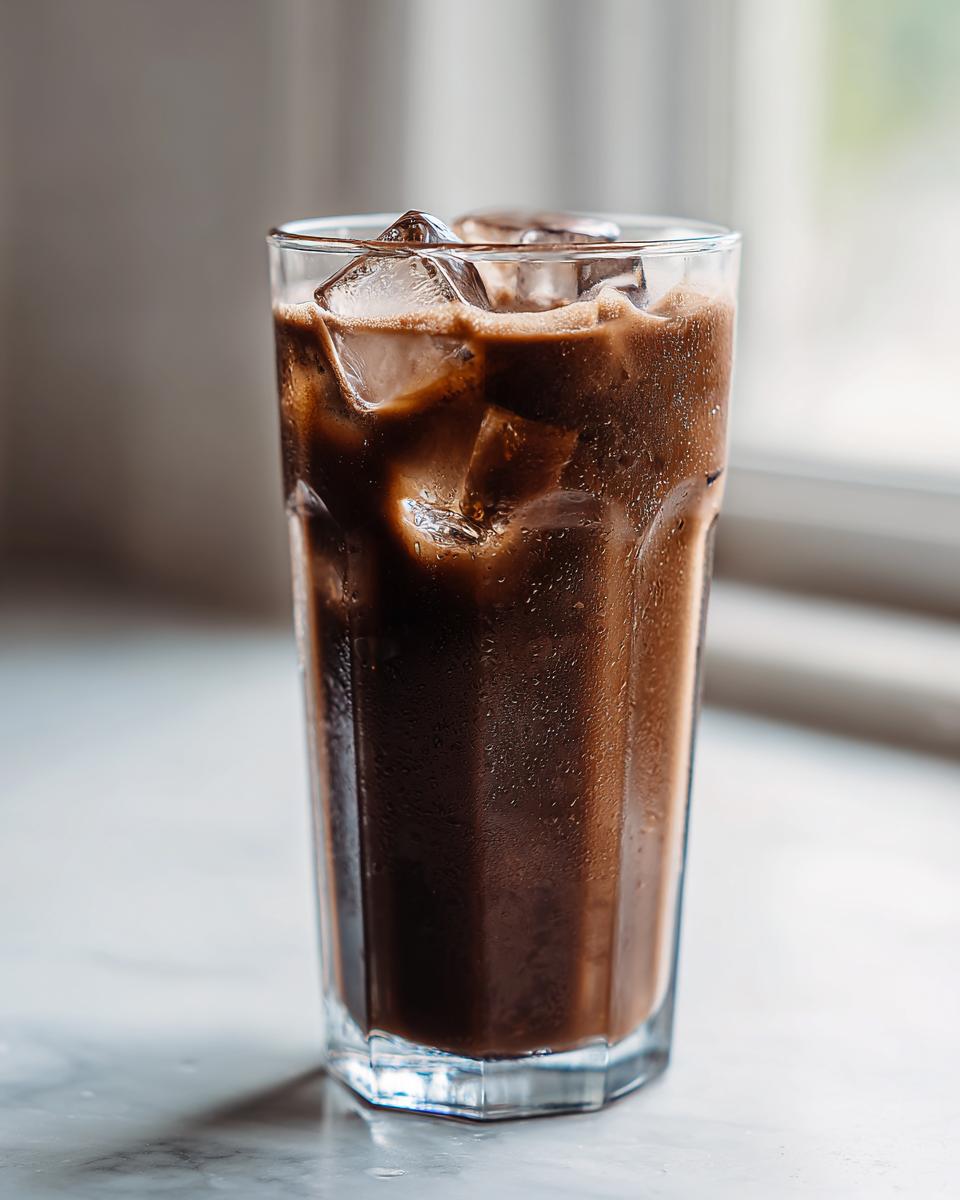
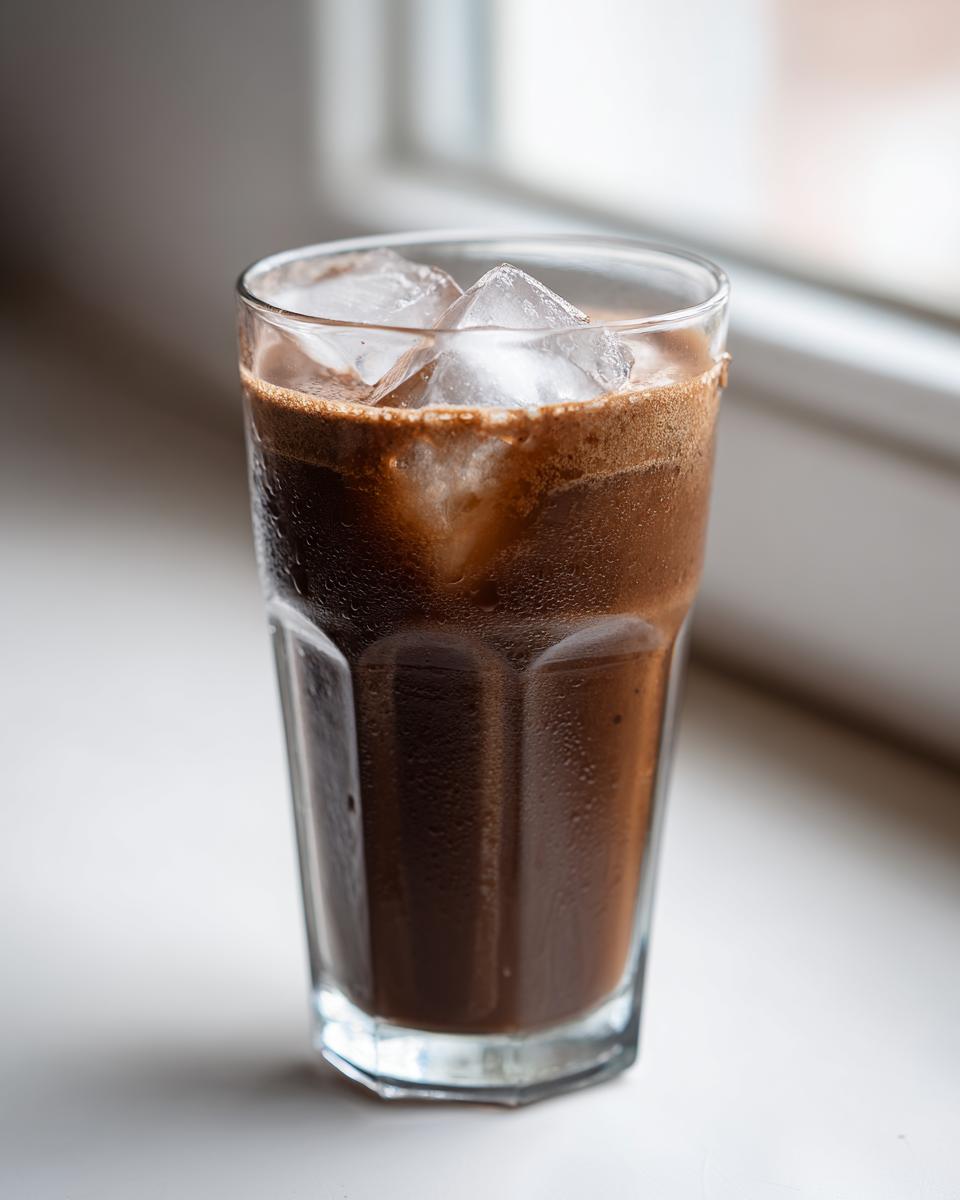
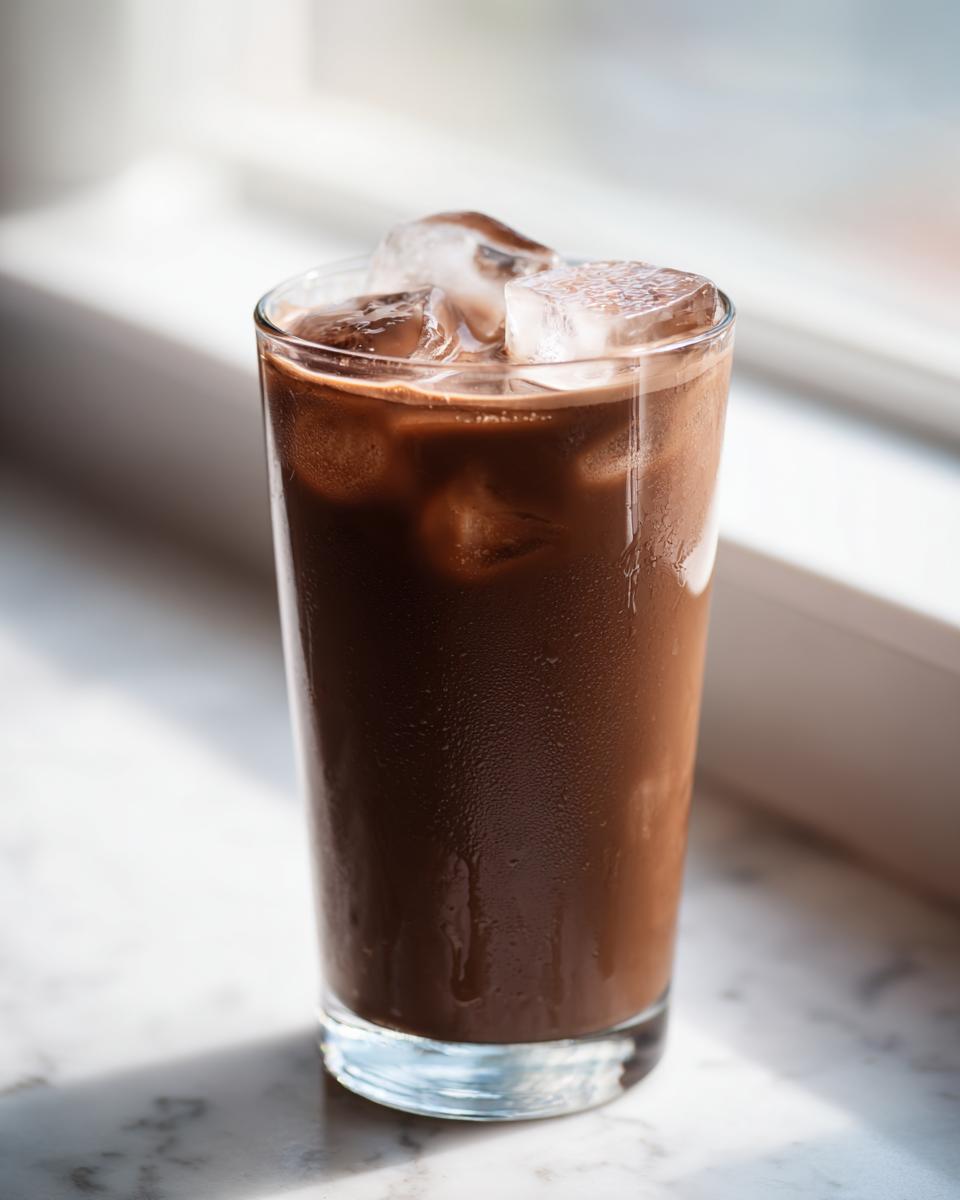
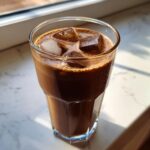
There’s nothing quite like sipping on a truly satisfying comfort drink when the day calls for it. We rely on those familiar flavors to wrap us up like a well-loved blanket, and for me, that has always meant reaching for a tall glass of rich chocolate milk. Forget those bottled versions loaded with sweeteners you can’t pronounce! My goal here at Cookery Command is always to bring you back to basics, focusing on quality ingredients handled with a little bit of technique. This recipe allows you, right now, to make truly less sugar chocolate milk that tastes infinitely better than anything pre-made. You get that perfect, rich creamy chocolate milk texture using just simple cocoa powder, and you can have it ready in under three minutes. It’s pure, dependable joy!
- Why This Homemade Chocolate Milk Recipe is Better Than Store Bought
- Gathering Ingredients for Your Quick Chocolate Drink
- Step-by-Step Instructions for Easy Chocolate Milk
- Making an Instant Chocolate Milk Powder DIY Mix
- Tips for the Best Homemade Chocolate Milk Experience
- Storage and Reheating Instructions for Chocolate Milk
- Serving Suggestions for Your Chocolate Milk
- Frequently Asked Questions About Chocolate Milk
- Nutritional Snapshot of This Chocolate Milk Recipe
Why This Homemade Chocolate Milk Recipe is Better Than Store Bought
Why bother stirring up a drink when you can just grab a carton? Because you deserve better! Ditching the store-bought stuff means you are finally in command of what goes into your glass. We’re not just talking about cutting refined sugar; though this recipe is fantastic for making less sugar chocolate milk, it’s about flavor depth, too.
- You control the sweetness level—add less sugar, or trade it for honey or maple syrup.
- We use real cocoa powder, which gives a deeper, truer chocolate note than those syrups often carry.
- It’s ready in minutes, proving that better than store bought chocolate milk doesn’t require an afternoon project.
Achieving Rich Creamy Chocolate Milk Texture
The absolute secret to avoiding that gritty, sandy texture that plagues lesser recipes is Technique 101: creating a slurry paste first. When you combine your cocoa and sugar with just a bit of milk and work it into a thick, smooth goo, you dissolve all the dry bits before introducing the rest of the liquid. This ensures every sip is utterly luxurious. It’s how you guarantee that truly rich creamy chocolate milk flavor every single time. Trust me on this small step!
Gathering Ingredients for Your Quick Chocolate Drink
Making the best chocolate milk truly starts here, long before we even turn on the stove—because there’s no cooking involved! This recipe is beautifully simple, relying on pantry staples you probably already have lying around. The measurements are small for a single perfect glass, but they are precise, which is important for flavor balance. Don’t skip that tiny pinch of salt; it’s my little trick to wake up the cocoa flavor!
Ingredient Notes and Substitutions for Chocolate Milk with Cocoa Powder
When building your healthy chocolate milk, feel free to tailor it to exactly what you need. If you’re looking for zero white sugar, swap the granulated sugar for a tablespoon of maple syrup or even a few drops of liquid stevia, stirring well to incorporate. For those who need a dairy free chocolate milk option, please use your favorite alternative here. Oat milk creates an incredible, naturally creamy result, but almond or soy work just fine too. Just remember, those options might change the final sweetness.
Step-by-Step Instructions for Easy Chocolate Milk
This is where the magic happens, and I promise you, this whole process is so quick it barely registers as ‘cooking.’ We are aiming for the perfect, easy chocolate milk here, ready to soothe any craving instantly. Start by dumping your dry elements—that cocoa powder and the sugar—right into your drinking glass or a small bowl. If you use a bowl, it gives you more room to be aggressive with your whisking, which is what we want for flavor integration!
Next, listen closely, because this is the step that separates the drinkable from the divine: add just two tablespoons of your milk—cold is fine!—to those powders. Whisk this immediately and vigorously until it transforms into a thick, dark, glossy paste. Seriously, you need that thick slurry to make sure there are no dry pockets of cocoa hiding later on. It’s crucial for that smooth finish.
Once that paste is perfectly smooth, stir in your vanilla and salt, if you’re using them. Then, just introduce the rest of your milk slowly while you keep stirring. Keep going until everything is uniform and perfectly blended. Pour it over ice and give it a taste! You can always add a little more sweetener now if your palate demands it.
Pro Tip: How to Make Whipped Chocolate Milk
If you really want to elevate this from a simple refreshment to a genuine treat, you absolutely have to try the froth! If you have an immersion blender or even one of those neat little battery-operated milk frothers that cost next to nothing, just stick it right in after you’ve mixed everything together. Whisk it like crazy for about thirty seconds. You’ll see light air bubbles incorporate instantly, giving you that wonderful, fluffy, whipped chocolate milk halo on top. It feels so fancy!
Making an Instant Chocolate Milk Powder DIY Mix
While this recipe is fantastic because it’s quick for one serving, sometimes you just want to be able to stir and go, right? That’s where making a big batch of your own mix comes in handy. This is how you ensure you always have the components ready for an instant chocolate milk fix without having to break out the measuring spoons every morning.
If you want to create a shelf-stable chocolate milk powder diy container, you can combine these dry elements in a jar. The proportions I use are based on maximizing flavor delivery. I mix one full cup of your unsweetened cocoa powder with one cup of sugar. Then, here’s a little trick for extra smoothness: add about a quarter cup of cornstarch. It helps keep everything from settling too heavily.
If you store that mix properly in an airtight container, you can just scoop about three tablespoons of your custom powder into a glass and treat it exactly like the single recipe instructions—add just a splash of milk first, whisk it into a paste, and then top it off with the remainder of your milk. So simple!
Tips for the Best Homemade Chocolate Milk Experience
Now that you know the basic mixing technique—and really, mastering that little paste is half the battle for truly best chocolate milk—let’s talk about getting maximum flavor extraction. If you want a really deep, almost brooding chocolate taste, consider “blooming” your cocoa. You don’t have to make it hot milk, but if you heat just half a cup of milk on the stove until it’s steaming (not boiling!), and mix your sugar and cocoa into that small hot portion first, the heat really unlocks the cocoa’s potential.
Once that deep chocolatey flavor has bloomed, just take it off the heat and whisk in your cold milk quickly to cool it back down. Taste it there, before pouring over ice! If you are using a higher-quality, darker cocoa powder, this step makes all the difference. It’s a tiny bit more forward than the recipe, but it pays off beautifully. And remember what I always say: don’t make it ahead! This is a drink meant to be served ice-cold, right when it’s made, so grab some cubes and enjoy it immediately.
Storage and Reheating Instructions for Chocolate Milk
Since this wonderful, fresh version tastes so much better than the store-bought stuff, I have to tell you it’s truly best enjoyed immediately. It’s a three-minute drink, after all! If you absolutely have leftovers from your homemade chocolate milk recipe, seal it up tight in the fridge. Because we aren’t using all those stabilizers found in commercial cartons, you’ll notice the cocoa powder settles pretty quickly.
If you see a layer of dark chocolate sludge on the bottom, don’t panic! That just means it’s ready for one last stir. You don’t even need to mess with reheating it; just give it a vigorous shake or whisk it really well right before you drink it cold. It’s not really meant to be heated, anyway!
Serving Suggestions for Your Chocolate Milk
When you’ve mastered the art of making the *best* homemade chocolate milk, the next step is deciding what to pair it with! This recipe is absolutely stellar for an after-school treat or a late-night comfort moment. It’s truly a go-to kid friendly chocolate drink because you control the sugar, making those fun pairings guilt-free!
It goes without saying that nothing beats a glass of cold, rich chocolate milk next to a warm, gooey cookie. I love serving mine alongside my chocolate peppermint cookies, especially when the weather turns chilly. But don’t stop at cookies! It’s also perfect for dunking—try it with a spoonful out of my brownie batter dip if you’re feeling truly decadent.
Honestly, I also find that a simpler glass works wonders alongside a slightly savory lunch, like a grilled cheese sandwich. It just hits that nostalgic spot that only a perfect, homemade chocolate beverage can reach.
Frequently Asked Questions About Chocolate Milk
I get so many questions about this recipe because people can’t believe how easy it is to make something that tastes better than the bottled stuff! Most of the queries I receive circle back to customization and texture, which makes total sense because everyone likes their perfect glass of chocolate milk a little differently.
Can I make this chocolate milk dairy free?
Absolutely, you can! This is one of the great things about making this homemade chocolate milk recipe at home—total control. You just swap out the dairy milk in the ingredient list for your preferred alternative. I find that oat milk works amazingly well because it brings its own subtle creamy texture to the party, but almond or soy are fantastic choices too if that’s what you keep stocked.
How long does homemade chocolate milk last?
Because we are keeping this a truly fresh chocolate beverage without all those industrial preservatives, it’s best consumed right away. If you do have leftovers from your single serving, pop it into an airtight container in the fridge. It should still be great the next day, but honestly, it’s usually gone by then! Just give it a good stir before you drink it, as the cocoa will settle.
What is the secret to lump-free chocolate milk?
If you skip this step, you end up with a gritty, sad drink and nobody wants that! The absolute secret to achieving that rich creamy chocolate milk texture and avoiding clumps is patience in the initial mixing stage. You must combine your cocoa powder and sugar with just 2 tablespoons of milk and whisk it until it turns into a completely smooth, thick, dark paste—often called a slurry. That paste guarantees the flavor is evenly distributed, making it the best chocolate milk with cocoa powder you’ve ever made.
Nutritional Snapshot of This Chocolate Milk Recipe
I’m a firm believer that knowing what’s in your food is part of being in command of your kitchen. While this recipe is designed for flavor and simplicity, I always crunch the numbers for you guys! Based on using whole milk and the listed amounts of sugar and cocoa, this single serving of chocolate milk comes in at around 180 calories. We are looking at about 8 grams of fat, 8 grams of protein, and roughly 25 grams of carbohydrates, with about 20 grams of that being sugar (depending on how much you added!). Just remember, these figures are estimates, especially if you swap out for skim milk or use a zero-calorie sweetener, so adjust accordingly!
Print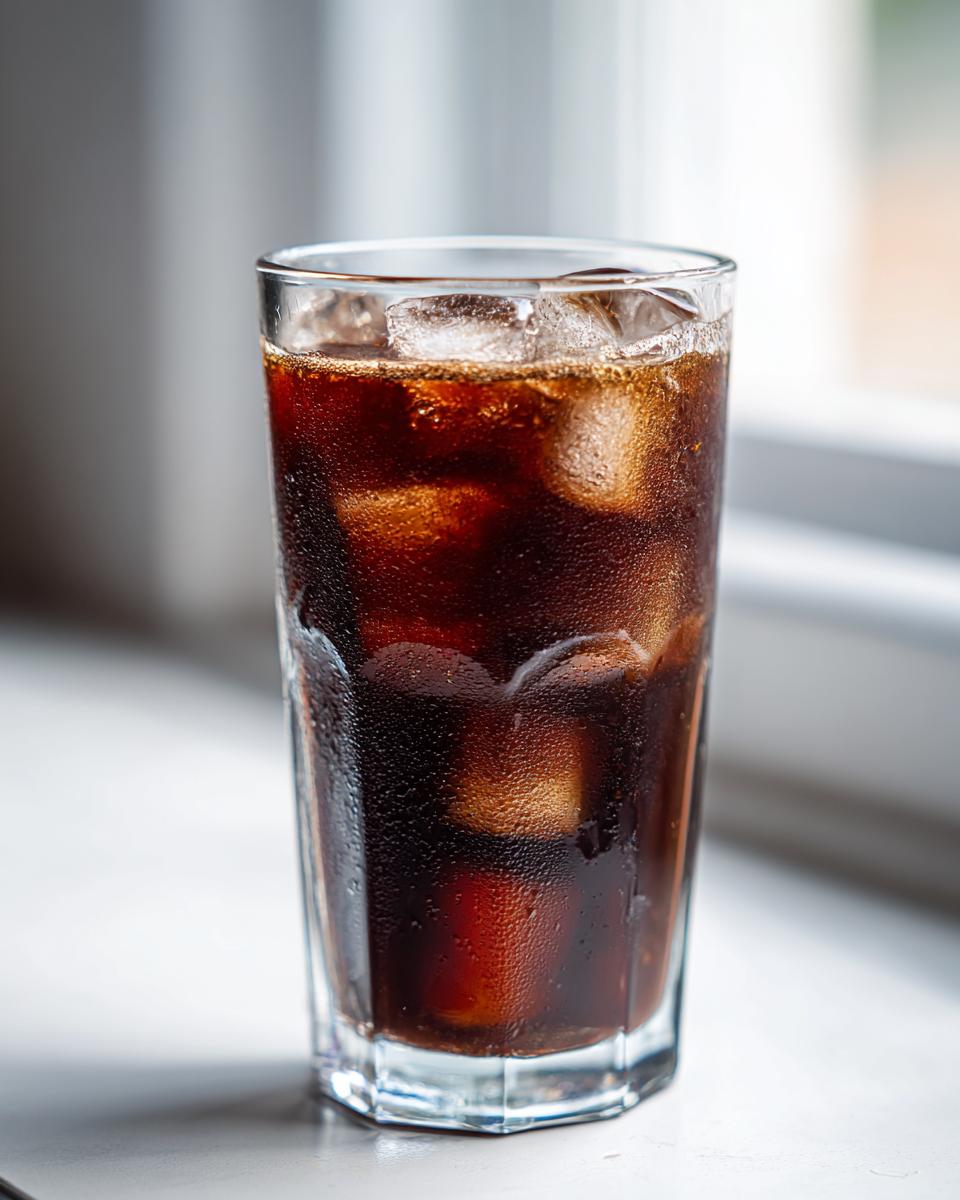
The Ultimate Quick Homemade Chocolate Milk Using Cocoa Powder
Make rich, creamy chocolate milk at home in minutes using simple cocoa powder. This recipe gives you better than store-bought flavor while letting you control the sugar content.
- Prep Time: 3 min
- Cook Time: 0 min
- Total Time: 3 min
- Yield: 1 serving 1x
- Category: Drink
- Method: Mixing
- Cuisine: American
- Diet: Vegetarian
Ingredients
- 1 cup Milk (whole, 2%, or dairy-free alternative)
- 2 tablespoons Unsweetened Cocoa Powder
- 1 to 2 tablespoons Granulated Sugar or preferred sweetener (adjust to taste)
- 1/4 teaspoon Vanilla Extract (optional, for depth)
- Pinch of Salt (optional, to enhance chocolate flavor)
Instructions
- Combine the cocoa powder and sugar in a small bowl or directly in the glass you plan to use.
- Add about 2 tablespoons of the milk to the dry ingredients. Whisk vigorously until a smooth, thick paste forms. This step prevents lumps.
- Stir in the vanilla extract and salt, if using, into the paste.
- Slowly pour in the remaining milk while continuing to whisk or stir until the mixture is completely combined and smooth.
- Taste the chocolate milk. Add more sugar if you prefer it sweeter, stirring until dissolved.
- Serve immediately over ice for a cold, refreshing drink.
Notes
- For a richer flavor, heat a small amount of milk first and dissolve the cocoa and sugar in that hot liquid before adding the cold milk.
- To make a larger batch of chocolate milk powder mix for instant use, combine 1 cup cocoa powder, 1 cup sugar, and 1/4 cup cornstarch (optional, for smooth mixing). Use 3 tablespoons of the mix per cup of milk.
- If you want a whipped chocolate milk texture, use an immersion blender or a milk frother for 30 seconds after mixing.
Nutrition
- Serving Size: 1 cup
- Calories: 180
- Sugar: 20
- Sodium: 75
- Fat: 8
- Saturated Fat: 4
- Unsaturated Fat: 4
- Trans Fat: 0
- Carbohydrates: 25
- Fiber: 2
- Protein: 8
- Cholesterol: 25