
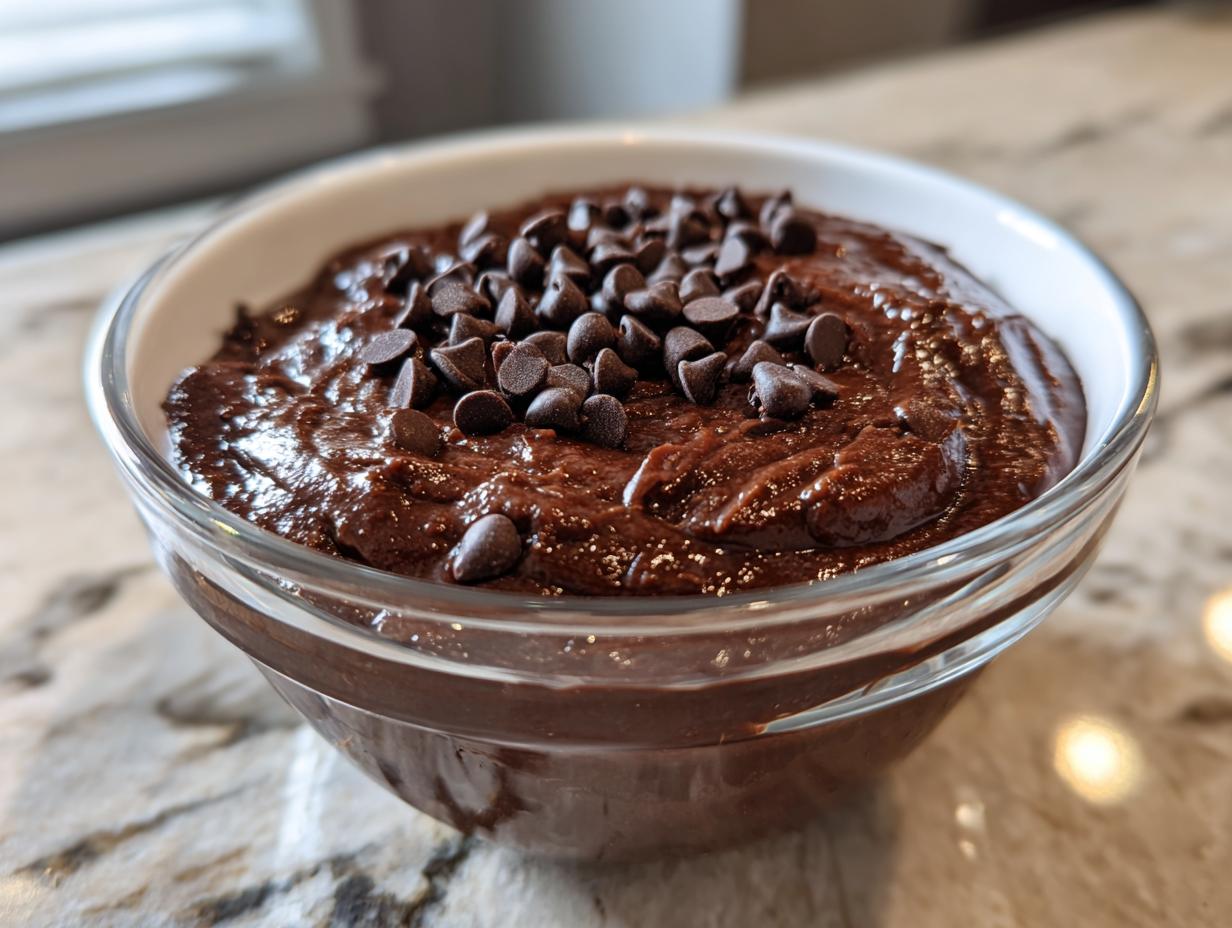
Oh my goodness, stop what you’re doing! If you’re like me, sometimes only that rich, slightly gooey taste of raw brownie batter will do the trick, but you absolutely cannot risk making yourself sick, right? That’s why I’m sharing this absolute lifesaver: the Easy No-Bake **Brownie Batter Dip**! This recipe is pure indulgence, but it’s completely safe to eat—no worries about raw eggs or flour here. It’s the kind of quick, trustworthy dessert I learned to love growing up in Ohio’s kitchens, where we always needed reliable, crowd-pleasing treats for every gathering. This fudgy dessert dip comes together faster than you can argue about whether to use chips or sprinkles on top!
- Why This Easy No-Bake Brownie Batter Dip is a Must-Try
- Gathering Ingredients for Your Creamy Brownie Batter Dip
- Essential Step: How to Heat Treat Brownie Mix for Safe Brownie Batter Dip
- Step-by-Step Instructions for the Perfect Brownie Batter Dip
- Expert Tips for the Best Fudgy Dessert Dip
- What to Serve with Brownie Dip for an Easy Party Dessert
- Storage and Keeping Your Brownie Batter Dip Fresh
- Frequently Asked Questions about Edible Brownie Batter Recipe
- Estimated Nutritional Data for This Chocolate Dip Recipe
- Share Your Experience Making This Indulgent Chocolate Treat
Why This Easy No-Bake Brownie Batter Dip is a Must-Try
Seriously, why wouldn’t you make this? This isn’t some fussy, complicated dessert. It’s designed for real life, meaning it’s incredibly fast and always a smash hit at any party.
- It’s genuinely a **no bake dessert dip**—just mixing and chilling!
- We take zero chances; the heat-treating step makes this **safe to eat brownie batter** totally reliable.
- It takes less than 20 minutes total if you’re moving fast. You can see how quickly others are whipping up this quick sweet dip, too!
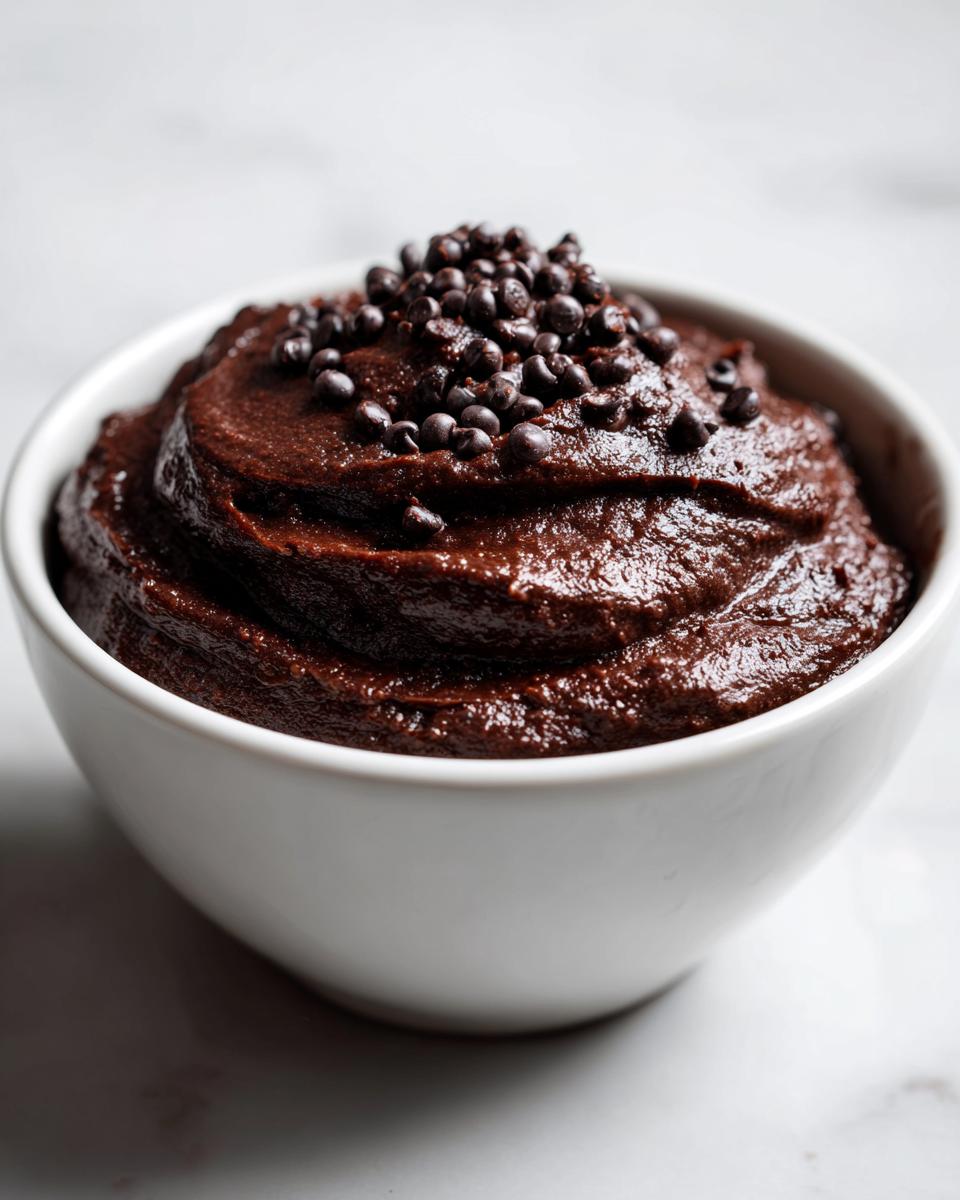
- It’s the perfect **creamy chocolate dip** for dipping everything in sight.
Gathering Ingredients for Your Creamy Brownie Batter Dip
Okay, let’s talk stuff. You don’t need a pantry full of specialty items for this one, which is why I love it. We’re leaning into the convenience of that boxed brownie mix because it saves a ton of time and makes this **brownie batter dip** so much simpler to manage. Just make sure you have the right temperature on your cream cheese and topping!
Ingredient Clarity and Preparation
Everything needs to be ready to go before you even think about turning the mixer on. Remember, we want this to come together fast! Don’t try to cut corners on the temperature of the dairy components, trust me on this one.
- We need a full box of that dry brownie mix—and this is the key—it must be heat-treated before we use it. We’ll tackle that safety step in just a minute.
- Eight ounces of full-fat cream cheese needs to be perfectly softened. Not melted, just soft enough that your finger leaves an easy indent. If it’s hard, you’ll get lumps, and nobody wants lumpy dip!
- You’ll need eight ounces of whipped topping, and please make sure it’s fully thawed. If it’s still icy, it won’t fold in nicely.
- Milk—just a quarter cup to get the consistency right.
- And for a little extra texture and decadence? A half-cup of chocolate chips, which we’ll fold in right at the end. Totally optional, but wow, they make it better.
Essential Step: How to Heat Treat Brownie Mix for Safe Brownie Batter Dip
Okay, this is the biggest, most important part of making an **edible brownie batter recipe** that isn’t going to upset your tummy! Since we are using a dry brownie mix right out of the box, that flour hasn’t been treated for germs. We have to heat-treat it, no questions asked, before we make our **brownie batter dip**.
My preference is the oven. Spread that dry mix out onto a baking sheet. Pop it into the oven at 350°F for about 10 minutes. You are shooting for that magic number—165°F internal temperature. If you are in a rush, you can microwave it in 20-second bursts, stirring really well each time until it hits the right temp. Don’t skip this! It’s what makes this rich, **fudgy dessert dip** totally safe and enjoyable for everyone. You can read more about making safe eats over at this great resource.
Step-by-Step Instructions for the Perfect Brownie Batter Dip
Now that our dry mix is safe and cool, we finally get to the fun part—bringing this **brownie batter dip** to life! You’ll want that electric mixer handy for the first part because we need some serious smoothness before we start adding the dry stuff. Remember, if you want that perfect scoopable texture, patience in the mixing is everything. I learned so much about technique from looking out of the kitchen at our story here!
First things first, grab your mixing bowl and beat that softened cream cheese until it’s looking velvety smooth. Seriously, no lumps allowed! Next, gently incorporate the thawed whipped topping right into that cream cheese. Mix them until they are just happy sitting together; don’t whisk them into oblivion yet.
Now, lower that mixer speed—this is important so it doesn’t fly everywhere! Slowly add your cooled, heat-treated dry brownie mix a little bit at a time, alternating with that quarter cup of milk we talked about. Mix only until you see everything incorporated. Stop, scrape the bowl, and give it one final gentle stir.
Achieving the Ideal Creamy Texture in Your Brownie Batter Dip
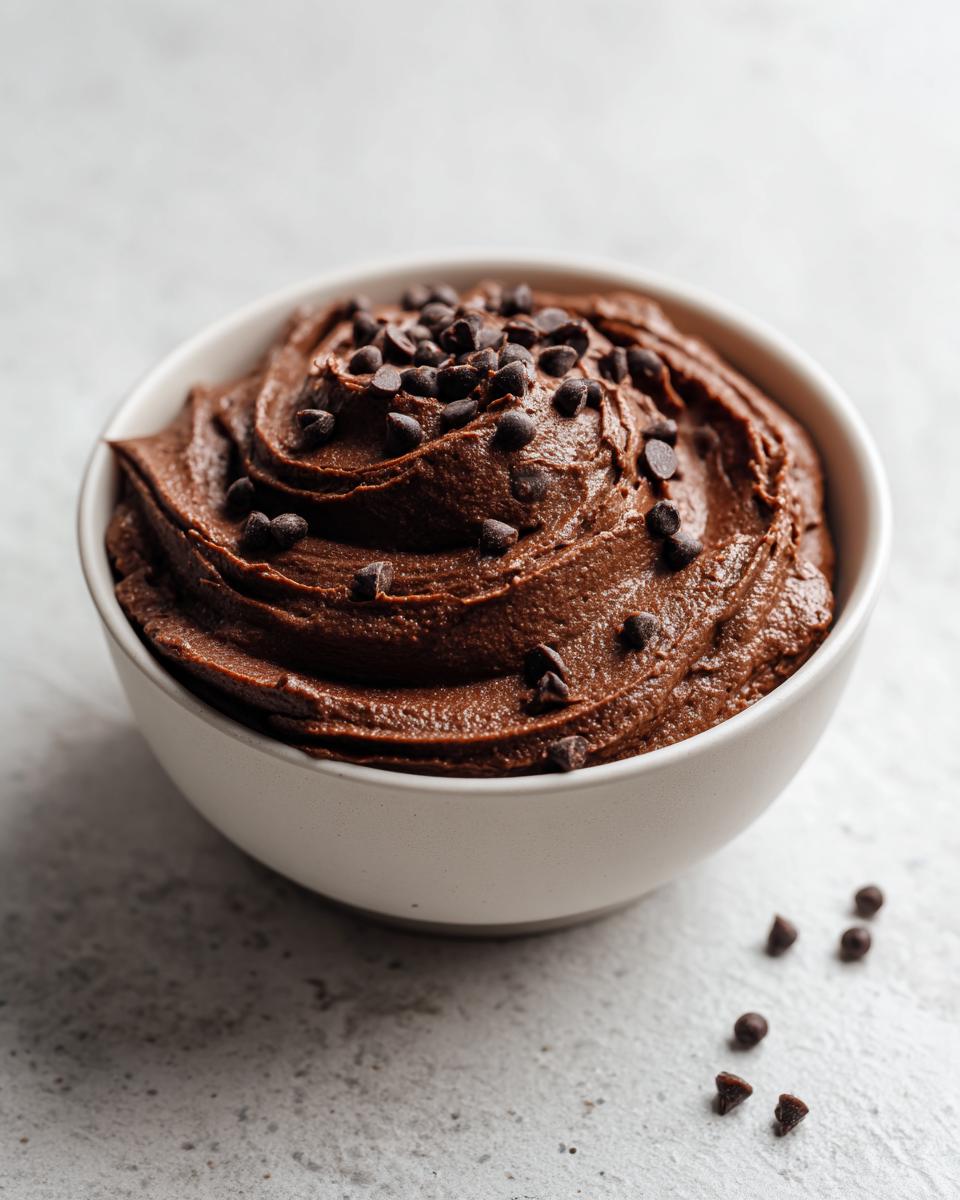
The magic happens right when you stop mixing! Once you see no more white streaks of topping or dry powder, that’s the signal to stop using the electric mixer. If you keep going, you’ll deflate all that gorgeous air we just beat into the cream cheese and topping. That’s how you get a dense, almost heavy **brownie batter dip**, and we want light and fudgy!
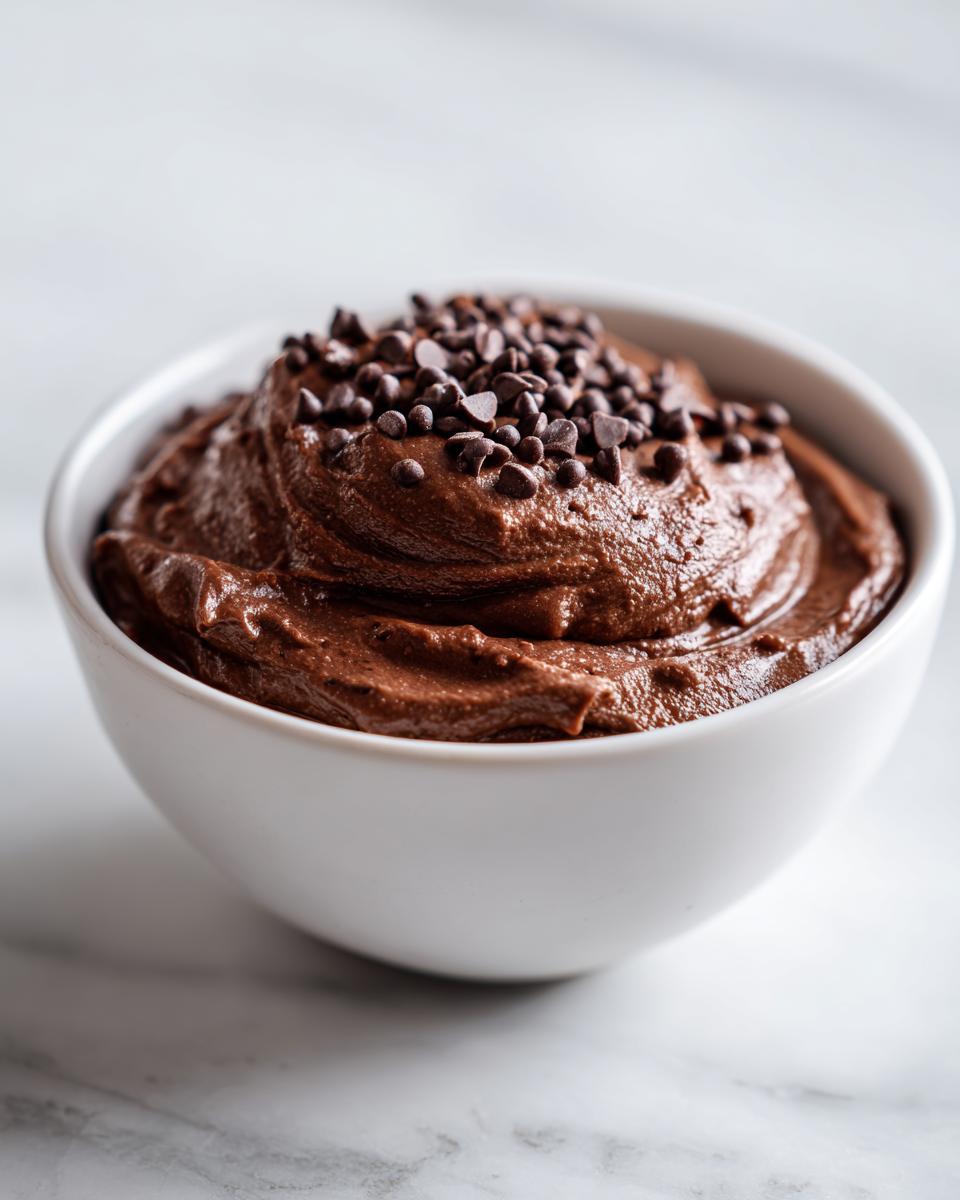
If you’re adding those optional chocolate chips or some sprinkles for color, fold them in gently right now with a rubber spatula. It’s all about minimal fuss so we keep that light, perfect texture before scooping it into your serving bowl. You’re basically done!
Expert Tips for the Best Fudgy Dessert Dip
Listen, making a good **brownie batter dip** is easy, but making a *great* one? That takes a couple of chef tricks up your sleeve. I was looking through some extra notes, and these little tweaks are what separate ‘that’s good’ from ‘I need the recipe right now!’
First, if you absolutely do not want to use a boxed mix for some reason, you *can* heat-treat your own flour right at home. Measure out one cup of all-purpose flour and microwave it in short bursts—about a minute and a half total, stirring constantly—until it hits 165°F. That’s your **safe to eat brownie batter** foundation if you go scratch!
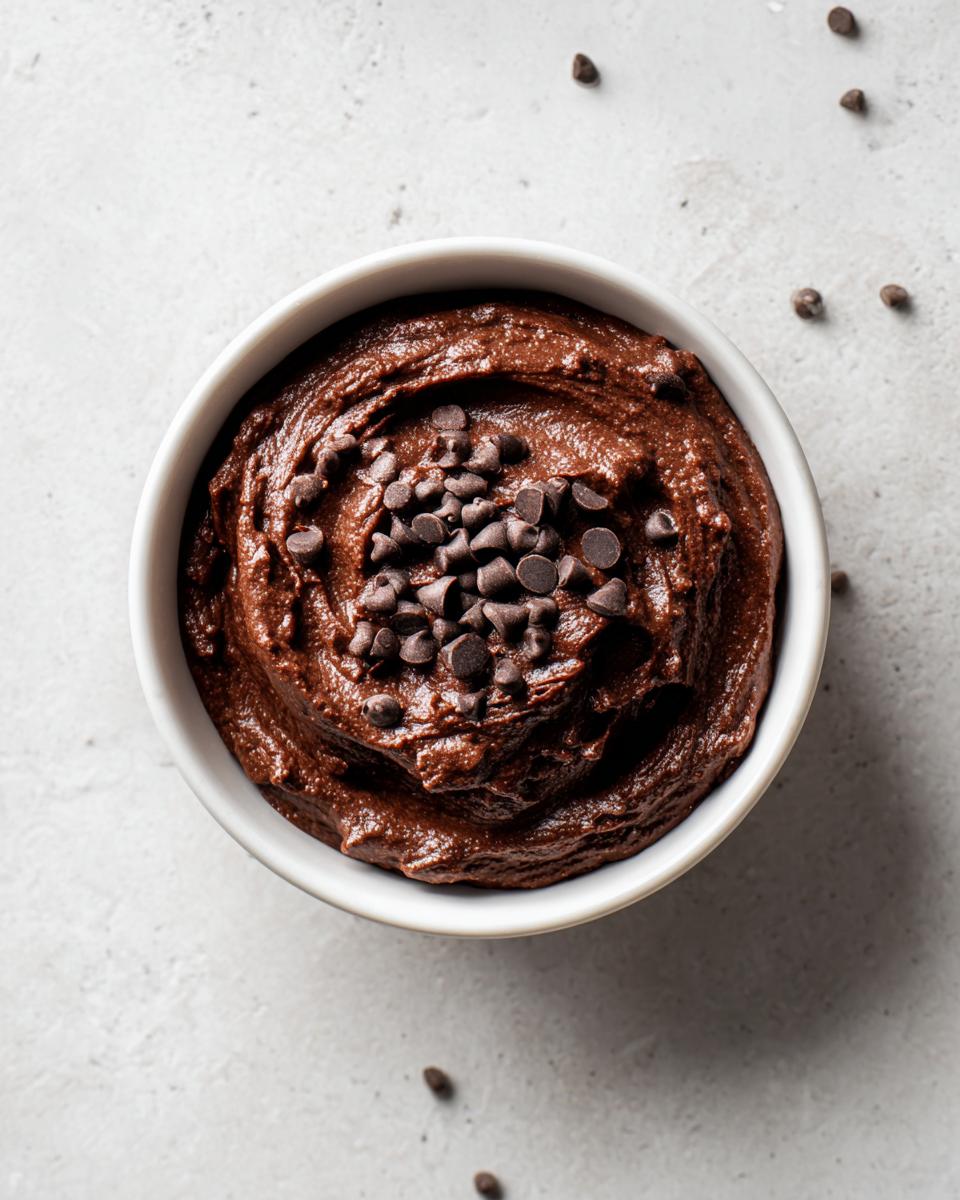
For an even richer, more decadent flavor that truly screams indulgent chocolate treats? Swap out that quarter cup of milk for heavy cream. The higher fat content kicks the creaminess factor up a notch. And when you serve it, ditch that tight little container it was mixed in! Transfer your **fudgy dessert dip** to a really pretty ceramic bowl, and don’t forget to sprinkle those extra chips right on top. You can check out other great ideas for chocolate dips right here.
What to Serve with Brownie Dip for an Easy Party Dessert
The **brownie batter dip** is the star, obviously, but what are we using to scoop up all that chocolate goodness? Honestly, this is where you can have so much fun dressing this up for any gathering! To answer the big question—**what to serve with brownie dip**—you need a mix of textures, trust me.
For those who want something light, load up a platter with fresh strawberries, bright green apple slices, or even mandarin orange segments. Then, you absolutely must have the crunchy elements beside it. Big, salty pretzels are a must—the saltiness cuts through the sweetness perfectly. Don’t forget graham crackers or vanilla wafers for classic dunking action!
This versatility is why this **easy party dessert** works for game days or fancy brunches. You can grab some of my favorite dipping suggestions over at this site if you need more inspiration!
Storage and Keeping Your Brownie Batter Dip Fresh
So, what happens if you actually have leftovers? Seriously, if your guests don’t devour every last bit of this **creamy chocolate dip**, you’re in luck! This **brownie batter dip** is truly best served the same day we whip it up, when it’s light and fresh.
If you must save some, pop it right into a truly airtight container. It needs to hang out in the fridge. It’ll firm up like crazy in there, which is totally normal since the cream cheese sets up. When you want to serve it again, just pull it out about twenty minutes before you plan on dipping. That little bit of time on the counter lets it soften back up so you aren’t trying to dip a pretzel into a brick!
Frequently Asked Questions about Edible Brownie Batter Recipe
I always get asked the same few things when people try this recipe for the first time, and that’s totally fine! When you mess around with recipes that involve raw ingredients, you need absolute certainty. I want you to feel as confident baking this **brownie batter dip** as I do. Here are the things folks ask most often when they want a fantastic, satisfying chocolate fix.
Is this brownie batter dip truly safe to eat without baking?
It is, but only when you do the crucial prep step! Remember, we’re taking that dry brownie mix and making sure it’s safe. We must run that dry ingredient through heat treatment to get it up to 165°F internally. That’s the step that kills any unwanted little critters lurking in the flour. Do that, and you have the safest, fudgiest **brownie batter dip** imaginable. Honestly, I wouldn’t serve it any other way!
Can I make this no bake dessert dip using homemade brownie mix?
You certainly can, but you have to follow the same rule: the flour needs to be safe! If you are using a homemade mix that doesn’t include eggs, you still have to measure out just the dry flour component from your scratch recipe. Go back to that expert tip section—the one where we microwaved the flour—and make sure you heat-treat that flour until it hits 165°F before you mix it in with your cream cheese and topping. It adds a step, but keeps it a **no bake dessert dip**!
How long does this quick sweet dip last in the refrigerator?
If you manage to have any left over (good job!), it will keep happily in an airtight container in the fridge for about three to four days. I will tell you right now, though: it gets stiffer in the cold. It’s supposed to! When you pull that **quick sweet dip** out to serve, just let it sit on the counter for maybe 15 to 20 minutes. It softens right back up to that beautiful, scoopable texture without getting runny. If you need help with anything else at all, please shoot me a message through my contact page!
Estimated Nutritional Data for This Chocolate Dip Recipe
Okay, look, I know when we’re diving headfirst into an ultimate **indulgent chocolate treats** like this **brownie batter dip**, we aren’t exactly tallying macros. But you guys always ask, so I got the estimates run for you! Please remember, these numbers are just ballparks. They depend super heavily on which brand of brownie mix you snag off the shelf and whether you used heavy cream instead of milk.
This data is calculated based on splitting the whole batch into six generous servings. If you have folks double-dipping or sneaking spoonfuls when no one is looking, your numbers are going to look a little different! For the full breakdown on how we keep things transparent around here, you can always check out our testing guidelines.
- Serving Size: 1/6 of recipe
- Calories: Around 350 (Yep, she’s rich!)
- Fat: About 20g total, with 12g of the saturated kind.
- Carbohydrates: Roughly 40g, mostly from the sugar in the mix and cream cheese.
- Protein: About 5g.
- Sugar: The big number here is around 35g. Worth every single bite!
Share Your Experience Making This Indulgent Chocolate Treat
Well, that’s all folks! You now have the secrets to making the absolute best, safest, and quickest **brownie batter dip** known to mankind. I truly mean it when I say I put my heart into making sure these recipes work perfectly for you at home. I’m already excited to hear what you think!
Once you whip up this **fudgy dessert dip**, please buzz back here and give it a rating! Let me know in the comments below what you decided to use for dipping—did you stick with the salty pretzels, or did you go for fresh fruit?
And hey, take a picture! If you share it on social media, tag me so I can see your gorgeous spread. It feeds my soul to see my recipes coming to life in your kitchens. If you enjoyed bringing this simple, satisfying treat to your table, make sure you stick around Cookery Command. We’ve got so many other reliable American home cooking recipes just waiting for you to master. You can always review my terms of use before you share any of your amazing photos!
PrintEasy No-Bake Edible Brownie Batter Dip
Make this rich, creamy, and safe-to-eat brownie batter dip in minutes. It is a simple, no-bake dessert perfect for parties or satisfying a chocolate craving.
- Prep Time: 10 min
- Cook Time: 10 min
- Total Time: 20 min
- Yield: 6 servings 1x
- Category: Dessert
- Method: No-Bake Mixing
- Cuisine: American
- Diet: Vegetarian
Ingredients
- 1 box (about 18.3 oz) dry brownie mix (heat-treated)
- 8 oz cream cheese, softened
- 8 oz whipped topping (like Cool Whip), thawed
- 1/4 cup milk
- 1/2 cup chocolate chips (optional, for folding in)
- Sprinkles (optional, for topping)
Instructions
- Spread the dry brownie mix onto a baking sheet. Bake at 350°F for 10 minutes, or microwave in 20-second intervals, stirring between each, until the mix reaches 165°F. This step makes the mix safe to eat. Let the heat-treated mix cool completely.
- In a large bowl, beat the softened cream cheese with an electric mixer until it is completely smooth.
- Add the thawed whipped topping to the cream cheese and mix until just combined.
- Gradually add the cooled, heat-treated dry brownie mix and the milk. Mix on low speed until the mixture is smooth and resembles thick batter. Do not overmix.
- If using, gently fold in the chocolate chips.
- Transfer the dip to a serving bowl. Top with extra chocolate chips or sprinkles.
- Serve immediately with pretzels, graham crackers, strawberries, or cookies for dipping.
Notes
- To heat-treat your flour if not using a mix, spread 1 cup of all-purpose flour on a microwave-safe plate and microwave on high for 1 minute 30 seconds, stirring every 30 seconds, until it reaches 165°F internally. Let cool before using.
- For a richer flavor, substitute the milk with 1/4 cup of heavy cream.
- This dip tastes best when served the same day it is made.
Nutrition
- Serving Size: 1/6 of recipe
- Calories: 350
- Sugar: 35
- Sodium: 250
- Fat: 20
- Saturated Fat: 12
- Unsaturated Fat: 8
- Trans Fat: 0.5
- Carbohydrates: 40
- Fiber: 1
- Protein: 5
- Cholesterol: 45