
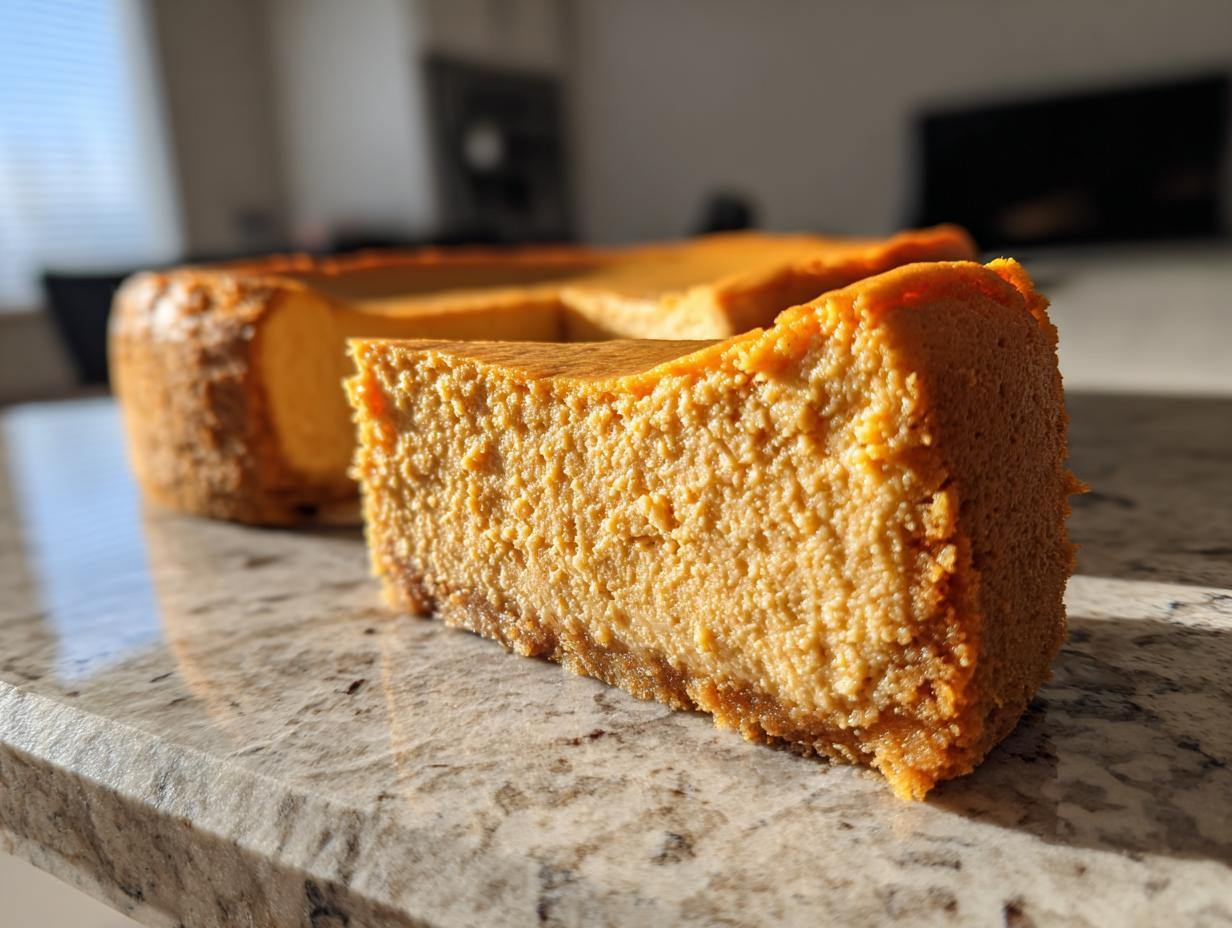
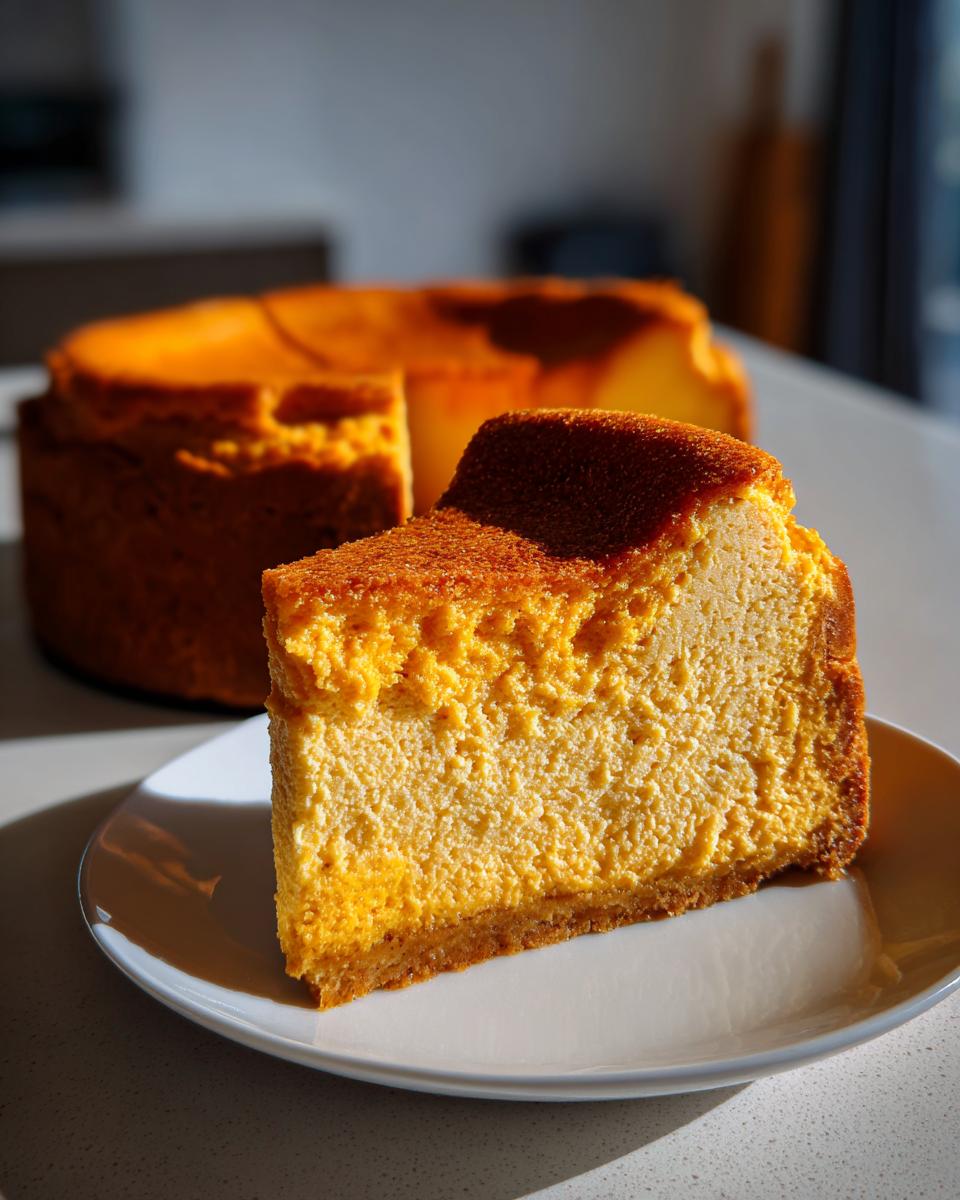
Oh, the glorious scent of autumn! When those first crisp days hit, my mind immediately jumps to pumpkin spice and everything cozy. But let’s be honest: the holidays—especially Thanksgiving—demand a showstopper, and for me, that’s always the pumpkin cheesecake. For years, I chased that perfect slice, you know the one: ultra-creamy, velvety smooth, and absolutely, positively crack-free. I’m Emily Harrison from Cookery Command, and I’m thrilled to share that we’ve finally nailed down the science and the heart behind what I confidently call the best pumpkin cheesecake recipe you’ll ever try. This isn’t just another fall dessert; it’s the perfectly reliable centerpiece your holiday table deserves. If you loved our apple pie cheesecake, get ready for this new level of creamy perfection!
- Why This is the Best Pumpkin Cheesecake Recipe for Your Holiday Table
- Gathering Ingredients for Your Homemade Pumpkin Dessert
- Step-by-Step Instructions for Perfect Pumpkin Cheesecake
- Ingredient Notes and Substitutions for Your Pumpkin Cheesecake
- Serving Suggestions for This Fall Dessert Recipes Star
- Storage and Reheating for Your Creamy Pumpkin Cheesecake
- Frequently Asked Questions About Pumpkin Cheesecake
- Estimated Nutritional Data for This Spiced Cheesecake
- Share Your Homemade Pumpkin Dessert Creations
Why This is the Best Pumpkin Cheesecake Recipe for Your Holiday Table
Honestly, I wouldn’t put my name behind any recipe unless it truly delivers on flavor and presentation—especially when it comes to a big gathering like Thanksgiving. This isn’t some fussy, temperamental dessert; it’s built for success.
- It delivers the signature creamy pumpkin cheesecake texture that just melts in your mouth.
- It’s specifically designed to stay smooth; you get that flawless, picture-perfect appearance for your Thanksgiving cheesecake spread.
- The spice blend is just right—warm, autumnal, but never overpowering the rich cheese flavor.
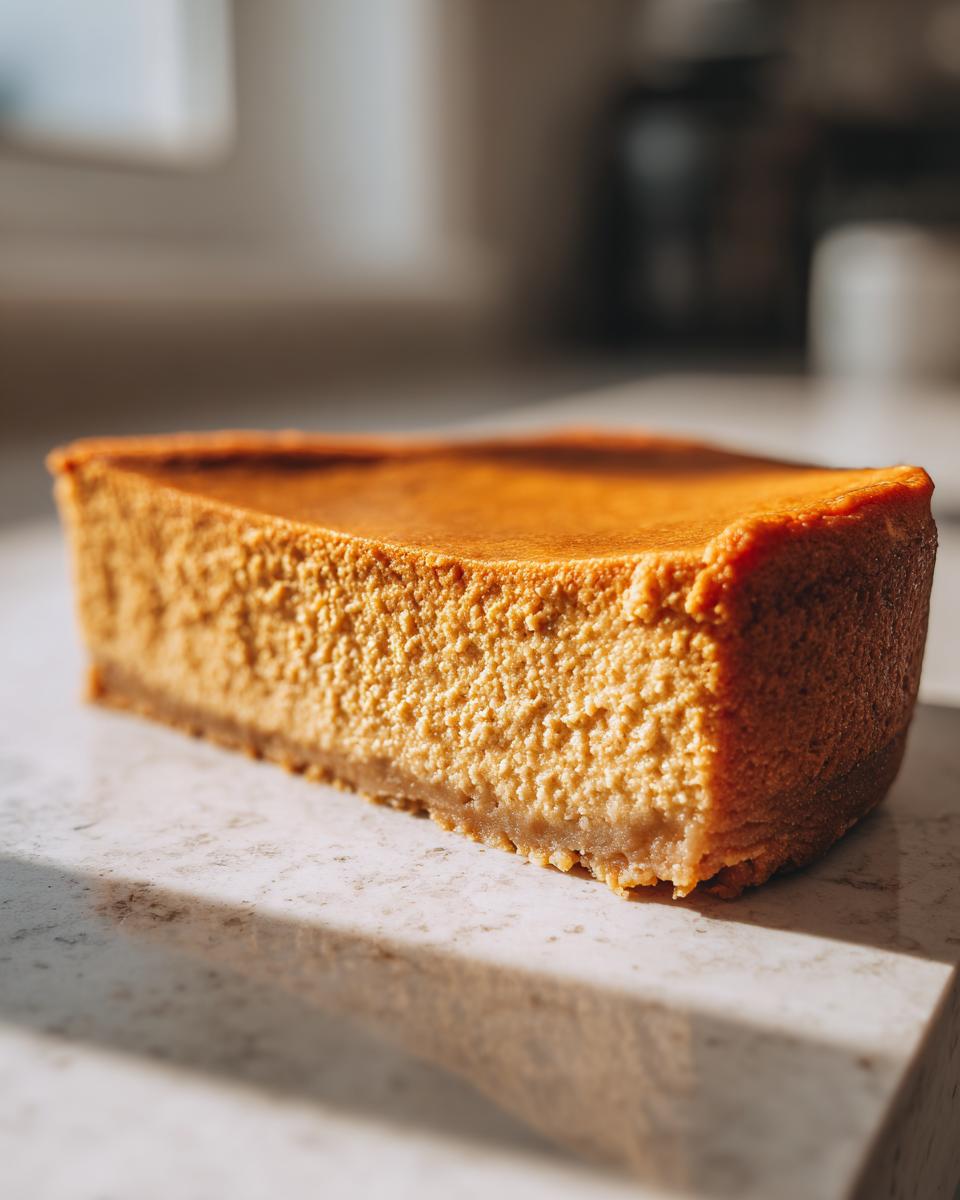
Achieving Velvety Smoothness in Every Bite
That super smooth mouthfeel comes down to two things we focus on: room temperature ingredients and minimal egg mixing. We beat the cream cheese until it’s absolutely liquid-silk smooth before we even look at the sugar. That simple dedication results in an incredible, velvety pumpkin dessert that feels like it came straight from a bakery case. Trust me, you’ll notice the difference immediately!
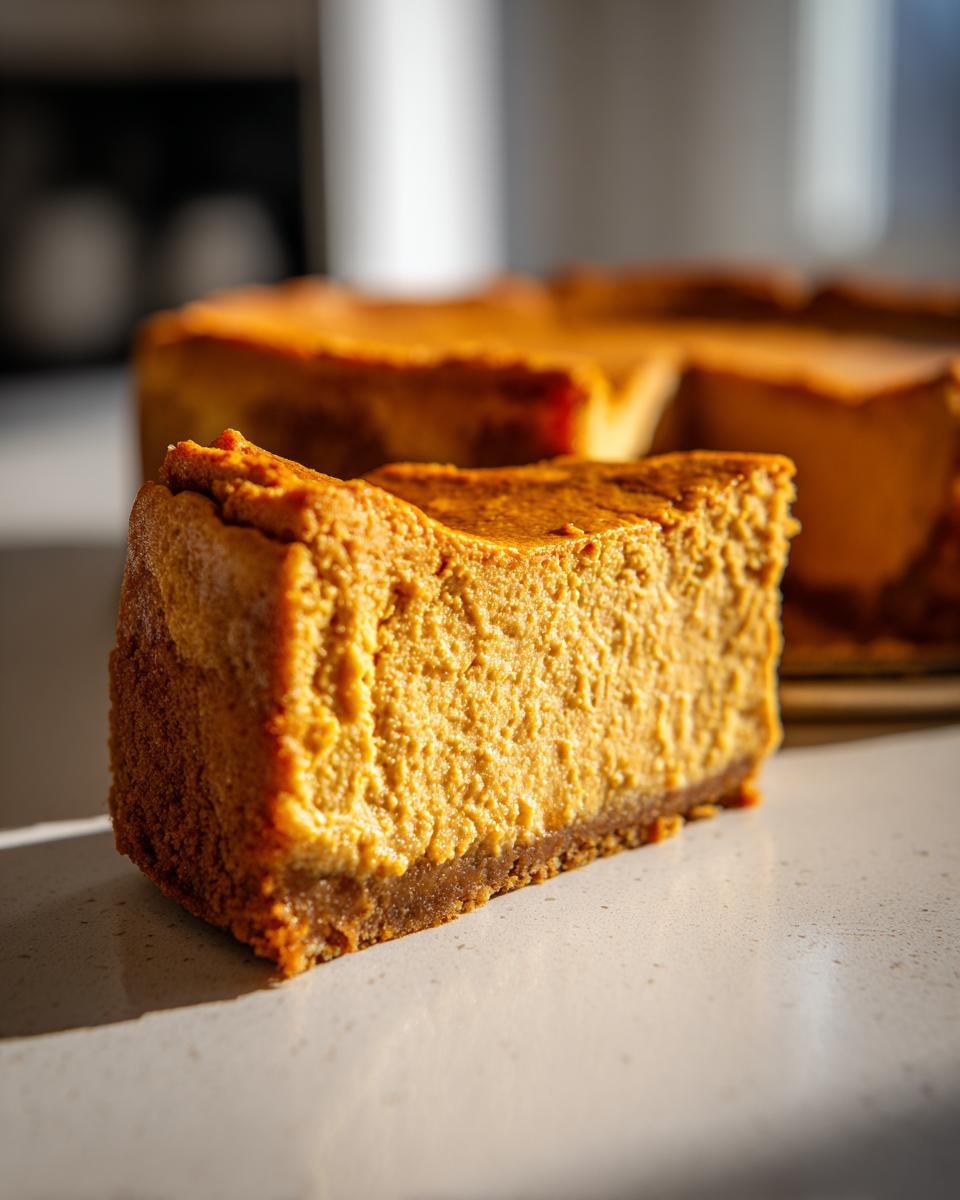
Tips for a Flawless, Crack-Free Pumpkin Cheesecake
Cracks are the terror of every home baker, but they happen when the cheesecake cools down too fast! My number one piece of solid advice for a beautiful top is the water bath. It’s the secret weapon for even baking and consistent moisture inside the pan. We bake it gently and then let it cool slowly inside the turned-off oven for an hour. That gradual temperature shift keeps the top perfectly flat, so all you need is a simple dollop of cream when you serve it.
Gathering Ingredients for Your Homemade Pumpkin Dessert
Before we dive into the mixing, let’s get our lineup ready. Baking from scratch is always more rewarding, and having everything measured out beforehand—what pros call *mise en place*—is the key to staying calm when the mixer starts whirring. We need quality ingredients, especially that pumpkin puree! Skip the pie filling blend; we’re seasoning this to perfection ourselves. Don’t worry, this list is much faster to gather than you might think, and soon you’ll have that amazing aroma filling your kitchen.
Crust Ingredients
- 1 1/2 cups graham cracker crumbs
- 1/4 cup granulated sugar (for crust)
- 6 tablespoons unsalted butter, melted
Creamy Pumpkin Cheesecake Filling Ingredients
- 3 (8 ounce) packages cream cheese, softened
- 1 1/2 cups granulated sugar (for filling)
- 1 teaspoon vanilla extract
- 1/2 teaspoon ground cinnamon
- 1/4 teaspoon ground nutmeg
- 1/4 teaspoon ground ginger
- 1/4 teaspoon ground cloves
- 1 (15 ounce) can pure pumpkin puree
- 3 large eggs
If we were making homemade marshmallows for topping, I’d point you toward my fluffy marshmallow recipe next, but for now, focus on these guys. Make sure that cream cheese is truly soft!
Step-by-Step Instructions for Perfect Pumpkin Cheesecake
Okay, are you ready? This is where the magic happens, and I promise, it’s wildly straightforward if you just stick to the order. Remember, we’re aiming for that creamy, stunning cheesecake, so patience early on really pays off later. Don’t try to rush the mixing; we aren’t whipping up a quick batch of beer cheese dip here!
Preparing the Crust and Pan
First things first: Preheat your oven to 325 degrees F. Now, grab that 9-inch springform pan—this is crucial for easy release later—and wrap the entire outside bottom and sides tightly with heavy-duty aluminum foil. We need at least two layers because that foil has to shield the cake when it sits in the warm water bath. Once wrapped, mix your graham cracker crumbs, the little bit of sugar for the crust, and the melted butter until it all looks like wet sand. Press that firmly into the bottom of the pan. Pop it in the oven for 10 minutes just to set it nicely. Let it cool down a bit while you handle the filling.
Mixing the Ultra Creamy Pumpkin Cheesecake Filling
This is the most important part for texture! In a big bowl, use your mixer to beat the softened cream cheese until it looks completely uniform and gorgeous—no lingering lumps allowed! Scrape down those sides! Next, slowly beat in the main portion of the sugar until the mixture looks fluffy. Toss in the vanilla and all those warm spices (cinnamon, nutmeg, ginger, cloves). Then, add your pure pumpkin puree and mix *just* until it’s incorporated. Now, add the eggs one by one, mixing only on low speed until you see the yolk disappear after each addition. Stop mixing the second the last egg disappears. Seriously, overmixing after the eggs go in is how you get air bubbles and cracks later!
Baking and Slow Cooling Techniques
Pour that beautiful filling over your cooled crust. Set the foil-wrapped springform pan inside a larger roasting pan. Carefully pour hot water into the roasting pan until it comes about halfway up the sides of your cake pan—that’s the water bath doing its job! Bake this setup for about 60 to 75 minutes. You’ll know it’s done when the edges look set, but when you gently nudge the whole setup, the very center wiggles like Jell-O. The secret part? Turn the oven off, crack the door open just a little bit, and leave the cheesecake inside to cool down completely—I leave mine for a full hour. This slow descent in temperature keeps the top looking flawless!
Ingredient Notes and Substitutions for Your Pumpkin Cheesecake
Look, I know sometimes you need to make a quick swap, or maybe you just pulled the cream cheese straight from the fridge, oops! But if you want that guaranteed ultra-creamy result that makes this pumpkin cheesecake famous, knowing *why* the ingredients matter is half the battle. We are focused on delivering that perfect texture for your fall baking time, and the quality and temperature of these core elements really build that trust between us.
Cream Cheese and Egg Temperature Guidance
Please, please, please, take the time to let your cream cheese and eggs warm up on the counter. I mean it! Room temperature doesn’t mean slightly cool; it means soft to the touch. If the cream cheese is even a little cold, it’s going to clump up when it hits the sugar, no matter how long you mix it later. Cold eggs do the same thing! You end up fighting lumps instead of creating that beautiful, velvety pumpkin dessert structure we are striving for. This step is non-negotiable for the smoothest cheesecake you can imagine.
Pumpkin Puree vs. Pumpkin Pie Filling
This is one of those spots where you absolutely cannot substitute, darling. We are making a spiced cheesecake from scratch here, which means we control the sugar and the spice load! You must use 100% pure pumpkin puree. Pumpkin pie filling? That’s usually sweetened and pre-spiced, and it will throw off the entire balance of sugar and moisture in this delicate recipe. Stick with pure puree; that way, the cinnamon, nutmeg, ginger, and cloves we added are exactly what you taste.
If you’re looking for some lighter things to serve alongside this rich dessert, my notes on homemade salad dressing recipes might inspire a fresh side salad to balance out the holiday meal!
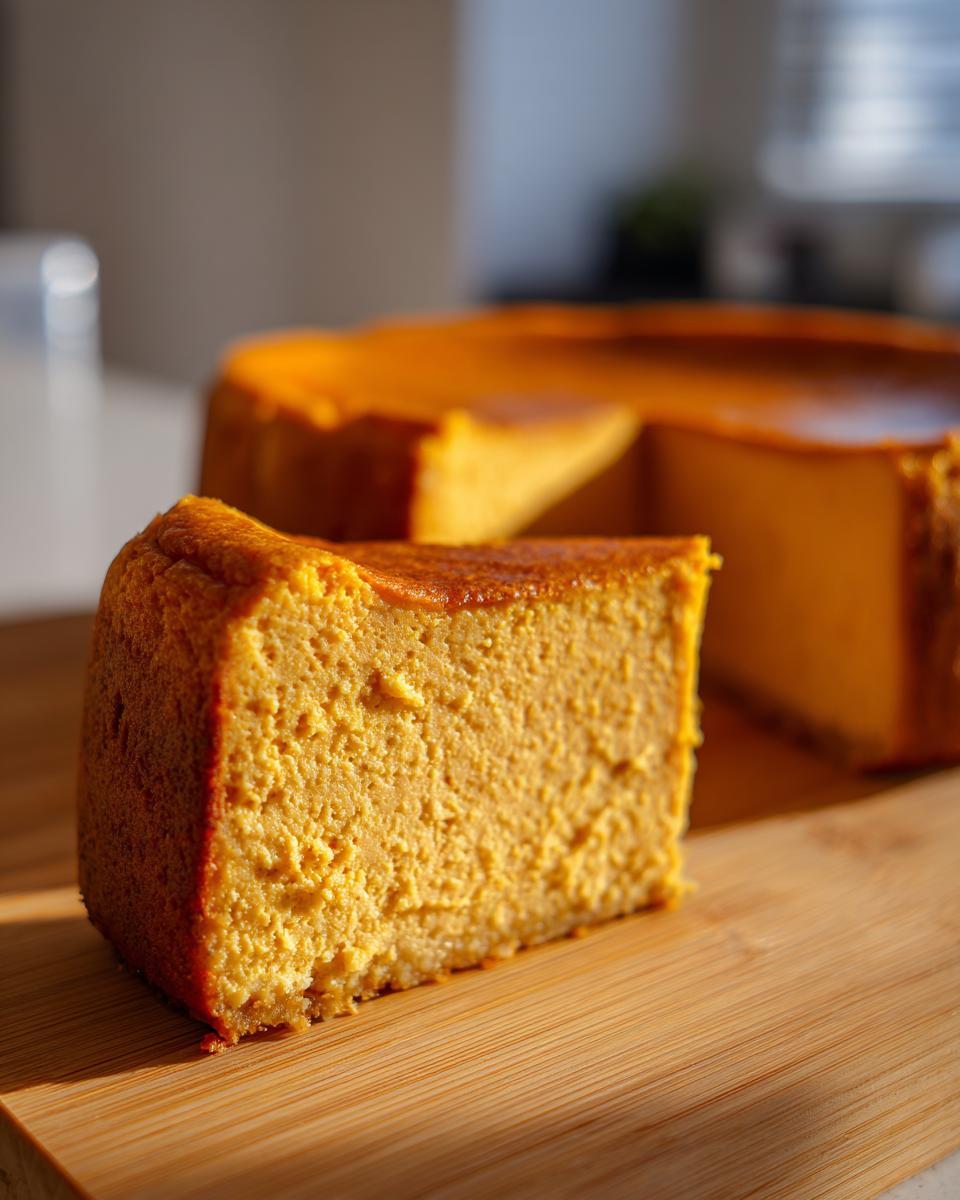
Serving Suggestions for This Fall Dessert Recipes Star
Now that you have this masterpiece cooling, the fun part begins: making it look as incredible as it tastes! Since this pumpkin cheesecake is so rich, you don’t need a ton of heavy extras, but a beautiful presentation really elevates it, especially for those big holiday pumpkin dessert spreads. Think simple, elegant, and complementary flavors.
The absolute classic choice is just lightly sweetened whipped cream. You want something airy to contrast that dense, creamy filling. Whip heavy cream until soft peaks form, add just a splash of vanilla and maybe a tiny dusting of powdered sugar—don’t make it fussy!
If you want to lean into the spice profile, try a light sprinkle of cinnamon or a tiny grating of fresh nutmeg right before serving. It wakes up the aroma immediately. For a slightly bolder statement that still fits the fall baking ideas theme, a drizzle of plain caramel sauce is divine, but use it sparingly so you don’t hide that lovely pumpkin flavor underneath.
And hey, if you happen to have extra time and are looking for another small, crunchy treat to serve alongside, you absolutely have to check out my recipe for cinnamon sugar snowball cookies. They are the perfect spicy, bite-sized companion to a giant slice of rich cheesecake!
Storage and Reheating for Your Creamy Pumpkin Cheesecake
We worked so hard to get that gorgeous texture, so we definitely need to make sure we store this creamy pumpkin cheesecake right! Cheesecake, especially one loaded with pumpkin and eggs, needs time to truly set up after it comes out of that slow cooling cycle. Trust me, trying to slice it warm is a recipe for disaster (and mess!).
The absolute minimum chilling time is six hours, but if you can manage it, let it hang out in the refrigerator overnight. That extra resting time lets the flavors really marry together and solidifies the filling so you get those clean wedges you’re probably dreaming about. Once it’s chilled, cover the cheesecake pan loosely with plastic wrap or foil. We use plastic wrap so it doesn’t absorb any weird smells from the fridge, but be careful not to let the wrap touch the top surface if you want to keep it spotless!
Now, can you freeze it? Yes, you totally can! This trick works great if you’re making a huge dessert lineup for the holidays. Once it’s fully chilled (and preferably sliced), wrap each individual slice tightly first in plastic wrap, and then in a layer of aluminum foil. It freezes beautifully for up to two months. When you’re ready to indulge, just pull a slice out and let it thaw slowly in the refrigerator overnight. It keeps that velvety texture surprisingly well!
If leftovers happen to stick around on the counter, don’t leave them out for more than two hours—it’s a dairy product, after all! Keep them chilled until serving time. If you’re looking for other rich, layered desserts that store well, you might want to bookmark my Baileys Chocolate Cheesecake Trifle for later. It’s another fantastic way to serve up cheesecake decadence!
Frequently Asked Questions About Pumpkin Cheesecake
I get so many messages after the holidays asking little technical things about this recipe, and that’s great! When you’re making something special like a pumpkin cheesecake, you want zero guesswork. Here are some of the most common things people ask me about getting that perfect texture every single time.
Can I make this pumpkin cheesecake recipe without a water bath?
Listen, I really, really advise against it if you want the very best pumpkin cheesecake experience. The water bath is what shields the sides from direct heat on the edges, creating that even environment needed for a smooth bake. If you absolutely cannot do a traditional water bath (where the pan is sitting *in* the water), you can try placing a large, shallow pan filled with boiling water on the rack directly below your cheesecake as it bakes. It helps boost the humidity, but it’s not quite as foolproof as wrapping the pan and baking it right in the water. We want that creamy magic, not a sad, cracked surface!
Is this recipe considered an easy pumpkin cheesecake?
That’s a funny question because it’s a baked cheesecake made from scratch, so it takes a little more effort than just stirring things together in a bowl! However, the steps themselves are very straightforward, and if you follow them in order—especially mixing that cream cheese perfectly smooth—it’s completely achievable for a beginner. I designed this to be reliable so even if you’ve never baked a from scratch cheesecake before, you’ll feel totally in command and proud of the result!
How does this baked pumpkin cheesecake compare to a no bake pumpkin cheesecake?
This is a huge difference people often wonder about! A no bake pumpkin cheesecake is delicious, don’t get me wrong, and it’s certainly quicker. But a no-bake version tends to be much lighter, almost like a mousse, because it sets using gelatin or heavy cream chilling time. This baked recipe, however, gives you that dense, rich, luxurious texture that is characteristic of true New York-style cheesecake, but with that wonderful warm flavor of spiced pumpkin. If you are looking for decadence, stick with this baked version!
If you’re ready for another baked treat that’s a bit different, you should peek at my recipe for red velvet cheesecake brownies—it’s what happens when two amazing desserts decide to get married!
Estimated Nutritional Data for This Spiced Cheesecake
Now, I know that when we’re serving up decadence during the holidays, we aren’t exactly counting calories, but I always feel it’s responsible to give you a general idea of what’s in that gorgeous slice of pumpkin cheesecake. Remember, because we are making this wonderfully rich dessert from scratch, these numbers are estimates based on the specific ingredients listed above, and they can shift a bit depending on what brand of cream cheese or how much sugar *you* decide to use!
This data gives you a good snapshot of the richness you’ll enjoy in one serving. It’s a satisfying treat, perfect for that post-Thanksgiving dinner slump when you need a little lift from those spices! If you want something a bit different but equally rich, check out my guide to making easy fudge without a thermometer—another holiday favorite that stores beautifully.
- Serving Size: 1 slice
- Calories: 420
- Sugar: 35g
- Sodium: 280mg
- Fat: 27g
- Saturated Fat: 17g
- Carbohydrates: 38g
- Protein: 7g
- Cholesterol: 115mg
It’s definitely a splurge, but with that velvety pumpkin dessert texture, it’s one hundred percent worth every single delicious bite. Enjoy it!
Share Your Homemade Pumpkin Dessert Creations
That’s it! You’ve done the work, patiently waited while it chilled, and now you have this masterpiece of a creamy pumpkin cheesecake sitting on your counter, ready to wow everyone. I truly hope you feel completely in command of your kitchen right now! But my favorite part of sharing these recipes isn’t just the baking itself—it’s seeing what you all create.
If you made this recipe, I really, really want to hear about it! Did you manage to keep that beautiful top perfectly smooth? Was the texture everything you hoped for in a spiced cheesecake? Please hop down into the comments below and leave a star rating. It helps other folks gain the confidence to tackle this recipe for their own fall baking ideas.
And if you took a picture, please send it my way! Tag us on social media—I absolutely love scrolling through and seeing your gorgeous holiday settings. Nothing makes me happier than knowing this recipe has found a permanent spot on your holiday menu. If you’re feeling extra ambitious after tackling this big dessert, you must check out my fudgy crinkle cookies guide next. Happy baking, and thank you for making Cookery Command your trusted kitchen resource!
PrintUltra Creamy Baked Pumpkin Cheesecake
Create the best pumpkin cheesecake for your fall gatherings. This recipe delivers a velvety, crack-free texture using classic techniques for a rich holiday dessert.
- Prep Time: 25 min
- Cook Time: 75 min
- Total Time: 100 min
- Yield: 12 servings 1x
- Category: Dessert
- Method: Baking
- Cuisine: American
- Diet: Vegetarian
Ingredients
- 1 1/2 cups graham cracker crumbs
- 1/4 cup granulated sugar (for crust)
- 6 tablespoons unsalted butter, melted
- 3 (8 ounce) packages cream cheese, softened
- 1 1/2 cups granulated sugar (for filling)
- 1 teaspoon vanilla extract
- 1/2 teaspoon ground cinnamon
- 1/4 teaspoon ground nutmeg
- 1/4 teaspoon ground ginger
- 1/4 teaspoon ground cloves
- 1 (15 ounce) can pure pumpkin puree
- 3 large eggs
Instructions
- Preheat your oven to 325 degrees F. Wrap the outside of a 9-inch springform pan tightly with heavy-duty aluminum foil.
- Prepare the crust: Mix graham cracker crumbs, 1/4 cup sugar, and melted butter in a bowl until combined. Press the mixture firmly into the bottom of the prepared springform pan. Bake for 10 minutes. Remove from the oven and let it cool slightly.
- Prepare the filling: In a large bowl, beat the softened cream cheese with an electric mixer until completely smooth. Scrape down the sides of the bowl.
- Gradually beat in the 1 1/2 cups of sugar until the mixture is light and fluffy. Beat in the vanilla extract and all the spices.
- Add the pumpkin puree and mix until just combined. Do not overmix.
- Add the eggs one at a time, mixing on low speed after each addition until the yolk disappears into the batter. Stop mixing as soon as the last egg is incorporated.
- Pour the filling over the cooled crust in the springform pan.
- Bake using a water bath: Place the foil-wrapped springform pan inside a larger roasting pan. Carefully pour hot water into the roasting pan until the water reaches halfway up the sides of the springform pan.
- Bake for 60 to 75 minutes, or until the edges are set but the center still jiggles slightly when the pan is gently nudged.
- Turn off the oven, crack the oven door open slightly, and let the cheesecake cool inside the oven for 1 hour. This slow cooling prevents cracking.
- Remove the cheesecake from the water bath and foil. Cool completely on a wire rack.
- Chill the pumpkin cheesecake in the refrigerator for at least 6 hours, or preferably overnight, before serving.
Notes
- For the creamiest texture, bring your cream cheese and eggs to full room temperature before starting the filling.
- If you skip the water bath, bake the cheesecake on the center rack and check it closer to the 60-minute mark.
- Top with lightly sweetened whipped cream or a dusting of cinnamon before serving for a beautiful holiday presentation.
Nutrition
- Serving Size: 1 slice
- Calories: 420
- Sugar: 35
- Sodium: 280
- Fat: 27
- Saturated Fat: 17
- Unsaturated Fat: 10
- Trans Fat: 0
- Carbohydrates: 38
- Fiber: 1
- Protein: 7
- Cholesterol: 115