
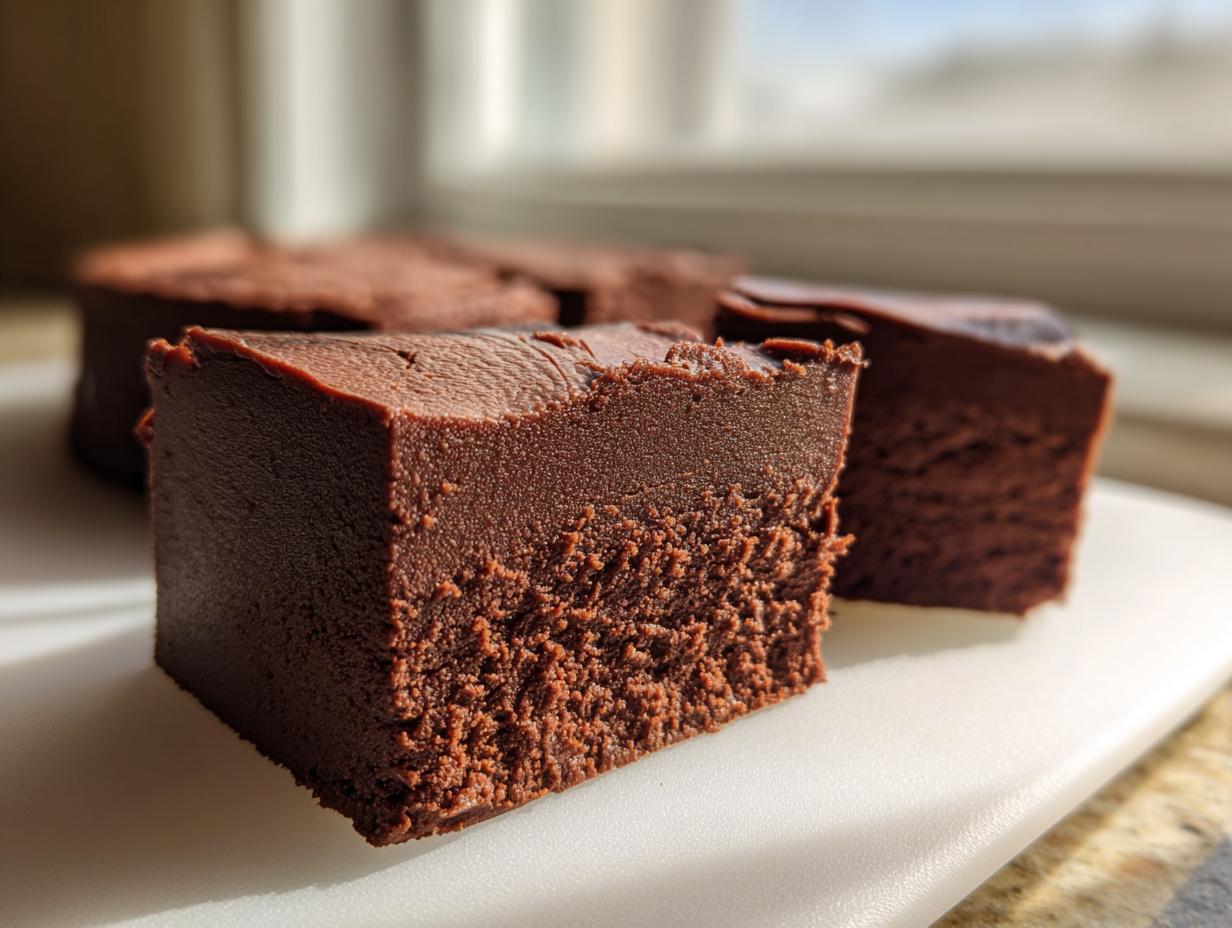
There is something truly magical about homemade candy, isn’t there? That moment when you bite into something incredibly rich and realize you made it right there on your stovetop—no complicated candy work required! That’s exactly why I’m sharing my recipe for Foolproof Creamy Chocolate Fudge Without a Thermometer. If you’ve ever been intimidated by making classic fudge because you thought you needed a candy thermometer or perfect timing, I promise you, those days are over. At Cookery Command, we believe every kitchen should feel like a place of confidence. This recipe embodies that mission: it’s fast, requires minimal effort, and delivers that guaranteed smooth fudge texture you dream about. Get ready to become a candy-making pro!
- Why This Easy Fudge Recipe Delivers Smooth Fudge Texture Every Time
- Gathering Your Ingredients for Perfect Homemade Fudge
- Step-by-Step Instructions for This Quick Dessert Fudge
- Tips for Success When Making Classic Fudge
- Variations on This Indulgent Treats Fudge
- Storage & Reheating Instructions for Homemade Candy
- Frequently Asked Questions About Making Fudge
- Estimated Nutritional Data for This Decadent Chocolate Dessert
- Share Your Homemade Fudge Creations
Why This Easy Fudge Recipe Delivers Smooth Fudge Texture Every Time
When people try to make fudge at home, they often run into the same scary problem: graininess! You think you’ve done everything right, but you end up with something that tastes gritty instead of velvety. That’s why I absolutely rely on this specific method. It sidesteps the need for that terrifying candy thermometer, which, let’s be honest, adds unnecessary stress to making homemade candy.
This isn’t like those finicky old fashioned fudge recipes that demand you hit exactly 234 degrees. Nope! We’re using sweetened condensed milk here, and that is the game-changer. It does all the heavy lifting for us, guaranteeing a foolproof, creamy chocolate fudge result that’s perfect for sharing as an easy edible gift. If you want ultra-quick and easy desserts, seriously look at how simple this is—it almost rivals my recipe for easiest 3 ingredient frozen hot chocolate!
The Secret to Creamy Chocolate Fudge Without a Thermometer
How does it work? It’s just a little bit of kitchen chemistry. The high amount of sugar already dissolved in the sweetened condensed milk does the heavy lifting. Since the sugar is already in solution, it simply won’t crystallize into those hard little grains when it cools down.
This means you get that supremely smooth fudge texture—the kind that melts the second it hits your tongue—without having to hover over a boiling pot watching a mercury line climb up a glass stick. It’s the ultimate stress-free way to achieve a truly decadent chocolate dessert. You can trust this method; it’s why I keep a batch on hand for when I need a quick dessert idea!
Gathering Your Ingredients for Perfect Homemade Fudge
The beauty of this easy fudge recipe is how few things you actually need! When you’re making something this simple, every single ingredient matters because there are so few places to hide below-par flavor. I want you to have the best experience making this homemade candy, so let’s talk about what you need before we even touch the stove.
You’ll need one can of sweetened condensed milk—make sure it’s the condensed kind, not evaporated milk, that’s a very important distinction! Then, grab a 12-ounce bag of semi-sweet chocolate chips. I always tell everyone: use the best chocolate chips you like the taste of best here, because that’s where 90% of your rich flavor comes from in this decadent chocolate dessert. Add in your vanilla, a small amount of butter cut into pieces, and optional chopped nuts if you want that texture boost.
Ingredient Notes and Substitutions for Your Fudge
Since we aren’t using a whole chocolate bar, the quality of those chips really shines through! Semisweet is my go-to, but feel free to use milk chocolate if you prefer something sweeter, though it might make the final texture slightly softer.
The nuts are totally optional. If you skip them, you are making a truly pure, no bake fudge base, which is great for kids or making simple holiday sweets. But here’s a fun trick mentioned in my notes: if you want a fantastic peanut butter fudge recipe, just swap out that entire bag of chocolate chips for one cup of creamy peanut butter. Stir that in with the condensed milk and butter, and boom—you have a totally different, equally amazing treat!
Step-by-Step Instructions for This Quick Dessert Fudge
Okay, now for the fun part! This process is so fast—the active cooking time is only about five minutes, I swear. But the prep work needs to be ready to go because once the chocolate melts, you have to move quickly to prevent scorching. Before turning on any heat, get your 8×8 inch pan lined with parchment paper. Make sure you leave plenty of overhang on the sides; that paper sling is your best friend later for easy removal. Give that paper a little light grease, too, just for extra security! If you’re looking for other things to whip up while the fudge chills, check out some of my favorite easy appetizer and snack recipes!
We’ll be starting over low heat. Combine your sweetened condensed milk, chocolate chips, and butter right in a medium saucepan. Now, pay attention here, because this is the key to success when making this no bake fudge.
Melting and Mixing the Fudge Base
The heat needs to stay low! I mean it. Keep that burner on low, and stir, stir, stir! You want the chocolate and butter to melt slowly and incorporate smoothly with the milk. You are looking for a glossy mixture where you can no longer see any pockets of separate butter or unmelted chips. That’s your visual cue to pull it off the heat—do not, under any circumstances, let this mixture boil!
Setting and Cutting Your Easy Fudge Recipe
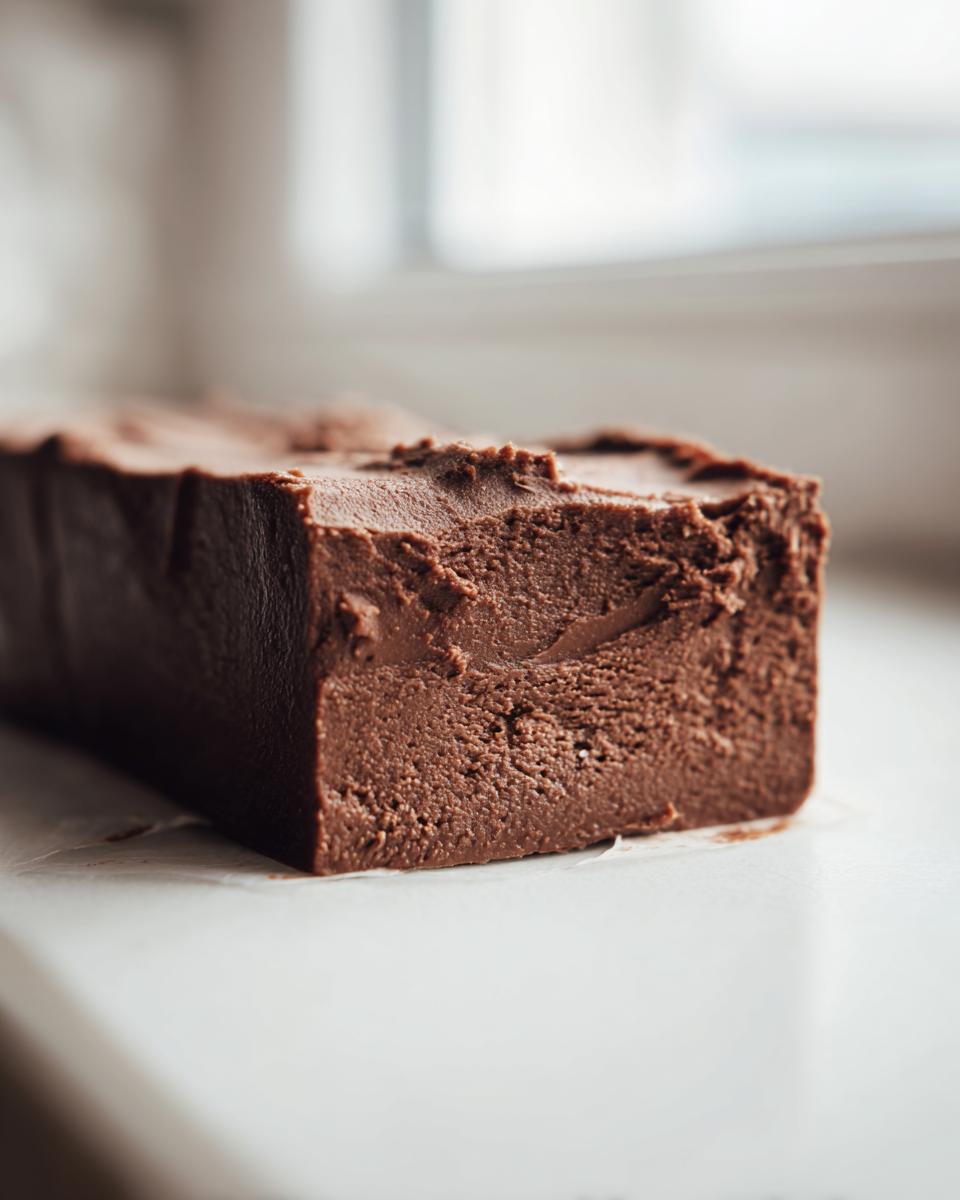
Once it’s perfectly smooth and off the heat, quickly stir in your vanilla and those optional nuts. Immediately pour that beautiful, thick mixture into your prepared pan and use a spatula to spread it out evenly. This is where the magic happens! Once it’s set, it turns into the most satisfying homemade candy.
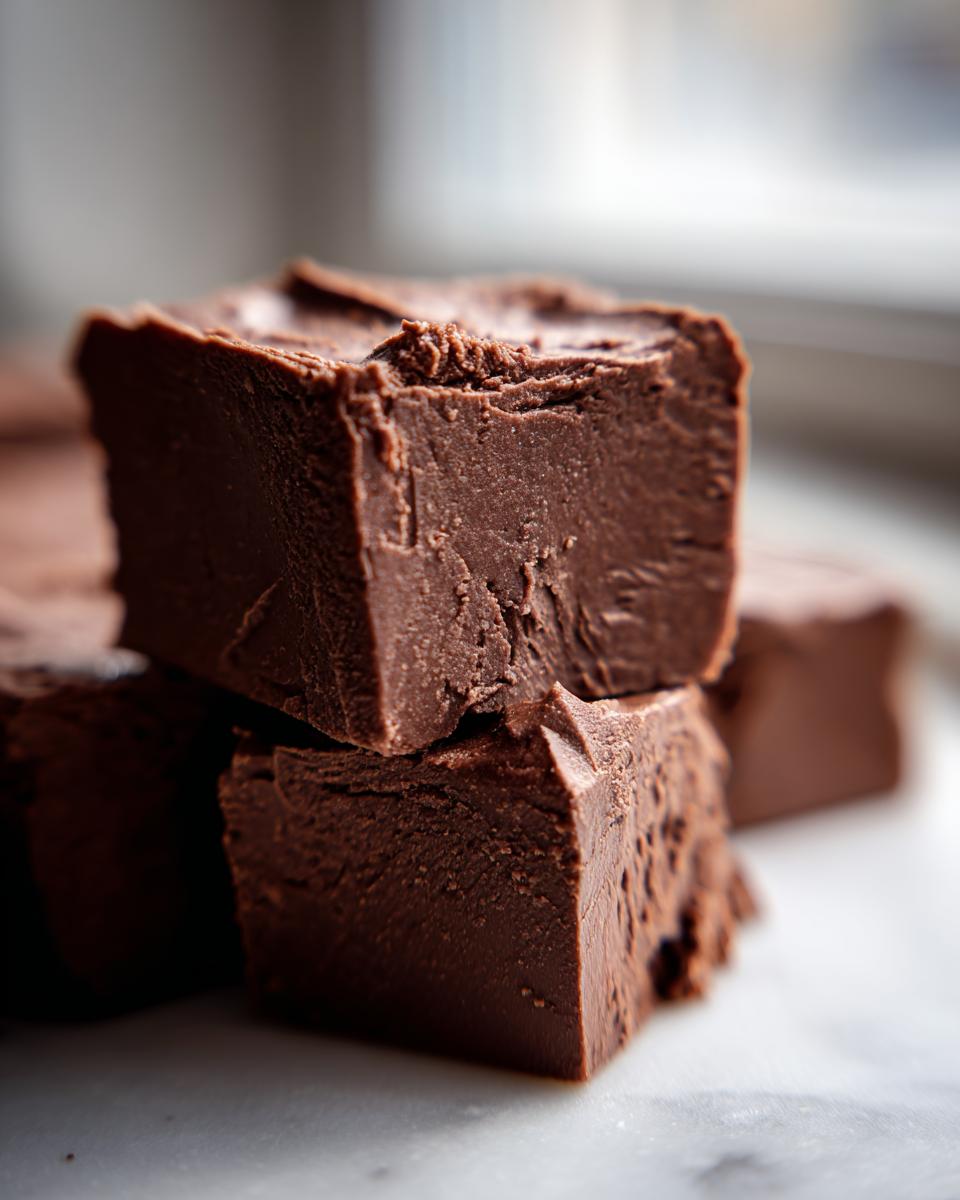
Pop this into the fridge for at least two hours. Seriously, don’t rush it. When it’s firm enough to hold its shape when pressed, you’re ready. Use those parchment overhangs to lift the whole block out, set it on a cutting board, and slice it into lovely little squares. These are perfect for easy edible gifts!
Tips for Success When Making Classic Fudge
I want you to have the same success I found after years of kitchen trial-and-error! Mastering this fudge without a thermometer means skipping the classic pitfalls. My one big failure when I first started making classic fudge was trying to rush the chilling time. I was impatient, cut the block while it was still soft, and ended up with a gooey mess that needed to be mashed back together!
Don’t make my mistake: the two-hour chill time is non-negotiable for that beautiful, clean cut. Also, a small tip on pan prep: even though we use parchment, I always brush the top of that parchment paper with a tiny slick of neutral oil or softened butter. It stops the top layer of the fudge from ever sticking, which is your final insurance policy for getting those perfect squares.
This method truly is the cheat code for a beautiful, smooth fudge texture. Trust me, once you see how easy it is to create this rich confection, you’ll be whipping up batches of simple holiday sweets all the time. If you’re interested in perfecting another warm kitchen staple, make sure you check out my recipe for the best hot cocoa mix!
Variations on This Indulgent Treats Fudge
While this base recipe delivers an amazing, creamy chocolate fudge that satisfies any craving for indulgent treats, sometimes you just want to switch things up, right? That’s the fun part about ditching the high-stress old fashioned fudge methods; you can play around!
I mentioned it before, but it bears repeating because it’s so good: turning this into peanut butter fudge recipe variation is shockingly easy. Just swap out the chocolate chips for one cup of creamy peanut butter, and stir it in right along with the vanilla when you take the pan off the heat. It’s a game-changer!
If you want to stay chocolate but go festive, try adding half a teaspoon of peppermint extract right at the end. Then, sprinkle crushed candy canes on top before it sets. Or, if you prefer a different flavor focus, swap the semi-sweet chips for white chocolate chips and add some dried cranberries for a gorgeous holiday look. For even more straightforward, no-fuss recipes, you might want to check out my recipe for easiest peanut butter bars!
Storage & Reheating Instructions for Homemade Candy
Since this is such a simple, yet rich, no bake fudge, it’s super easy to store! I actually prefer it when it sits overnight, making it perfect for planning ahead for parties or making those easy edible gifts a few days early. You can absolutely keep it right on the counter, loosely covered with plastic wrap or tucked into an airtight container at room temperature.
It should stay perfectly fresh for about a week this way. If your kitchen is particularly warm, or if you just want it firmer—especially if you used sweeter milk chocolate—popping it in the fridge is fine. But honestly, I never bother reheating this batch. If you want it slightly softer straight from the fridge, just let a piece sit on a plate for about 15 minutes before serving. If you’re planning ahead for a crowd, check out my no bake granola bars for another treat that keeps beautifully!
Frequently Asked Questions About Making Fudge
I always get so many questions when friends first try this recipe because they can’t believe how simple it is! It’s natural to have a few little worries when you’re trying a new candy method, especially when you’re aiming for that perfect, creamy chocolate fudge.
Can I use milk chocolate instead of semi-sweet in this fudge?
You absolutely can! If you use milk chocolate chips instead of semi-sweet, your fudge will be sweeter and a little softer overall. Because milk chocolate has less cocoa solids, it doesn’t set up quite as firmly as the semi-sweet version. If you do this substitution, you might want to add that extra 15 minutes to the chilling time just to be safe before cutting. It makes for a wonderfully sweet variation on this indulgent treat!
How long does this easy fudge recipe need to chill?
The hard minimum time I gave you was two hours, and I really want you to stick to that! Trust me, if you try to cut it at one and a half hours, it gets messy—and we are trying to avoid a mess here! If you’re in a huge rush, the fridge will firm things up faster than letting it sit on the counter, but it needs that solid chill time for the texture to properly develop into that smooth fudge texture we’re after. Longer chilling just means cleaner cuts for your easy edible gifts.
Is this considered a 3 ingredient fudge if I skip the nuts?
That’s a great question about simplifying things even further! Yes, it absolutely is! The core of this recipe—the part that creates the magic and gives you that fudge without a thermometer—is the sweetened condensed milk, the chocolate chips, and the vanilla. Those three things make the foundational mixture.
The butter is essential for achieving that supremely smooth melt, and the nuts are purely for crunch and texture, so you can definitely skip them if you want to get the closest thing possible to a 3 ingredient fudge. If you ever need a break from making sweets, I have some really great quick and healthy lunch recipes you can check out!
Estimated Nutritional Data for This Decadent Chocolate Dessert
I know some of you are tracking macros or just curious about what exactly you’re enjoying, so here is a general look at the numbers for this decadent chocolate dessert. Remember, because we are using specific brands of chocolate chips and condensed milk, these are just estimates based on the proportions listed for a single square.
This data is based on 1 of 36 squares:
- Serving Size: 1 square
- Calories: 150
- Sugar: 18g
- Sodium: 35mg
- Fat: 8g
- Saturated Fat: 5g
- Unsaturated Fat: 3g
- Trans Fat: 0g
- Carbohydrates: 19g
- Fiber: 1g
- Protein: 3g
- Cholesterol: 10mg
Use these figures as a ballpark for planning your wonderful batches of fudge!
Share Your Homemade Fudge Creations
Now that you have conquered the world of creamy chocolate fudge, I want to see what you’ve made! Please leave a comment below and tell me how successfully you pulled off that smooth fudge texture. Did you try the peanut butter version? I love hearing about your adventures in simple holiday sweets!
If you snap a photo of your handiwork—especially if you’re packaging it up for easy edible gifts—tag me on social media! I always love seeing Cookery Command recipes conquering the world. If you need to reach out with questions, you can always use my contact page. Happy tasting!
PrintFoolproof Creamy Chocolate Fudge Without a Thermometer

Make rich, smooth, and decadent homemade chocolate fudge using simple ingredients. This no-fail recipe guarantees a creamy texture perfect for holiday treats or edible gifts.
- Prep Time: 10 min
- Cook Time: 5 min
- Total Time: 2 hours 15 min
- Yield: 36 squares 1x
- Category: Dessert
- Method: Stovetop
- Cuisine: American
- Diet: Vegetarian
Ingredients
- 1 (14 ounce) can sweetened condensed milk
- 1 (12 ounce) package semi-sweet chocolate chips
- 1 teaspoon vanilla extract
- 1/4 cup butter, cut into pieces
- 1 cup chopped nuts (optional, for old fashioned fudge texture)
Instructions
- Line an 8×8 inch baking pan with parchment paper, leaving an overhang on the sides for easy removal. Lightly grease the paper.
- In a medium saucepan over low heat, combine the sweetened condensed milk, chocolate chips, and butter.
- Stir constantly until the chocolate and butter are completely melted and the mixture is smooth. Do not let the mixture boil.
- Remove the saucepan from the heat. Stir in the vanilla extract and chopped nuts, if using.
- Pour the fudge mixture into the prepared baking pan. Spread evenly.
- Refrigerate for at least 2 hours, or until the fudge is firm enough to cut.
- Lift the fudge out of the pan using the parchment paper overhang. Cut into small squares.
Notes
- For the smoothest texture, use good quality chocolate chips.
- If you want a peanut butter fudge variation, substitute 1 cup of creamy peanut butter for the chocolate chips.
- To achieve a classic, old fashioned fudge look, sprinkle a little sea salt over the top immediately after pouring into the pan.
Nutrition
- Serving Size: 1 square
- Calories: 150
- Sugar: 18g
- Sodium: 35mg
- Fat: 8g
- Saturated Fat: 5g
- Unsaturated Fat: 3g
- Trans Fat: 0g
- Carbohydrates: 19g
- Fiber: 1g
- Protein: 3g
- Cholesterol: 10mg