
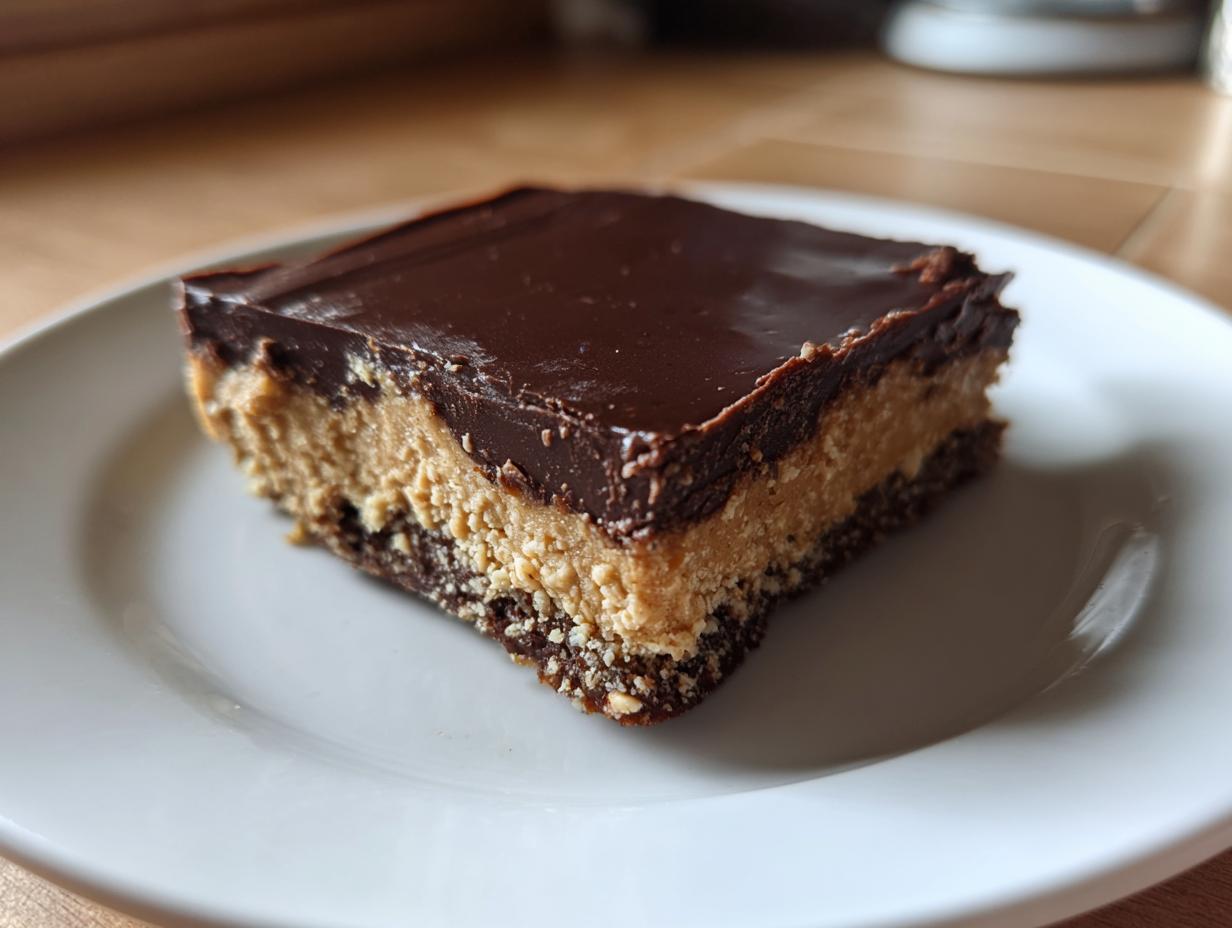
When that sweet craving hits—that intense, immediate need for something rich and salty—you don’t want to wait for an oven to preheat. Trust me, I’ve been there! That’s why I’m sharing my **Ultimate No-Bake Chocolate Peanut Butter Bars**. These bars taste just like your favorite candy cup, totally Reese’s Style, and they satisfy that craving in minutes. This recipe for peanut butter bars keeps the oven off entirely, relying on crisp chilling instead of baking time. Here at Cookery Command, we blend the heritage of classic American home cooking—the kind Emily Harrison grew up with—with technique that’s tested rigorously, ensuring these indulgent dessert bars are perfect every single time you whip them up.
- Why You Will Make These No Bake Peanut Butter Bars Often
- Essential Ingredients for Rich Peanut Butter Bars
- How to Prepare Ultimate No-Bake Chocolate Peanut Butter Bars
- Tips for Perfect No Bake Peanut Butter Bars Every Time
- Storage and Reheating for Your Peanut Butter Bars
- Variations on Classic Peanut Butter Bars
- Serving Suggestions for These Quick Dessert Bars
- Frequently Asked Questions About Making Peanut Butter Bars
- Nutritional Estimate for Homemade Peanut Butter Bars
Why You Will Make These No Bake Peanut Butter Bars Often
These simple bars are designed for real life—the busy weeknights, the last-minute potluck invitations, or just when you need a moment of pure, unadulterated chocolate and peanut butter joy. We make things easy here, and these treats prove it!
- Zero Oven Time Required: Seriously, you just need a microwave for the topping, but everything else stays cool. Perfect for those sweltering summer days!
- Lightning Fast Prep: You can mix the entire base in under 15 minutes. The longest part is waiting for the chill, and honestly, that’s a great excuse to clean up the kitchen.
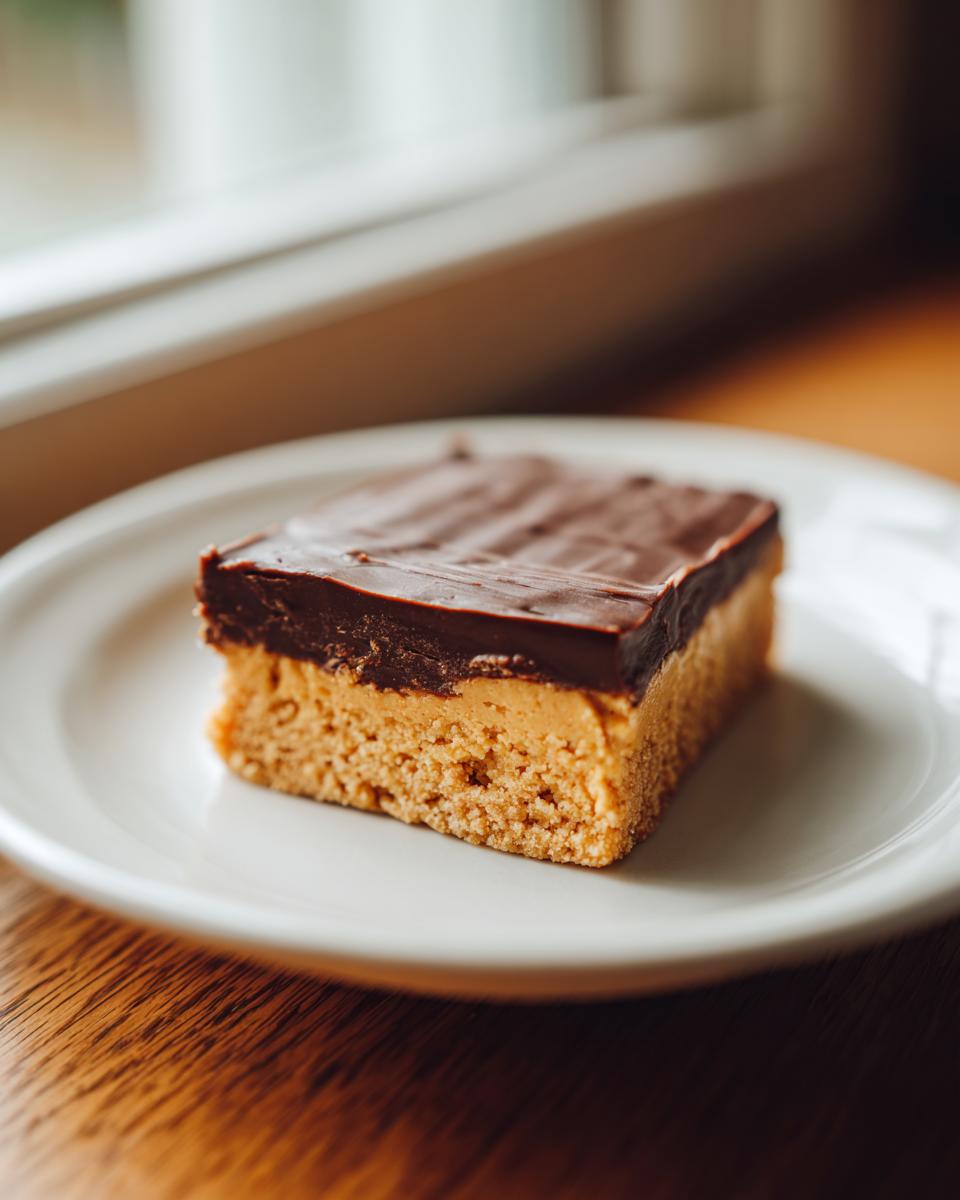
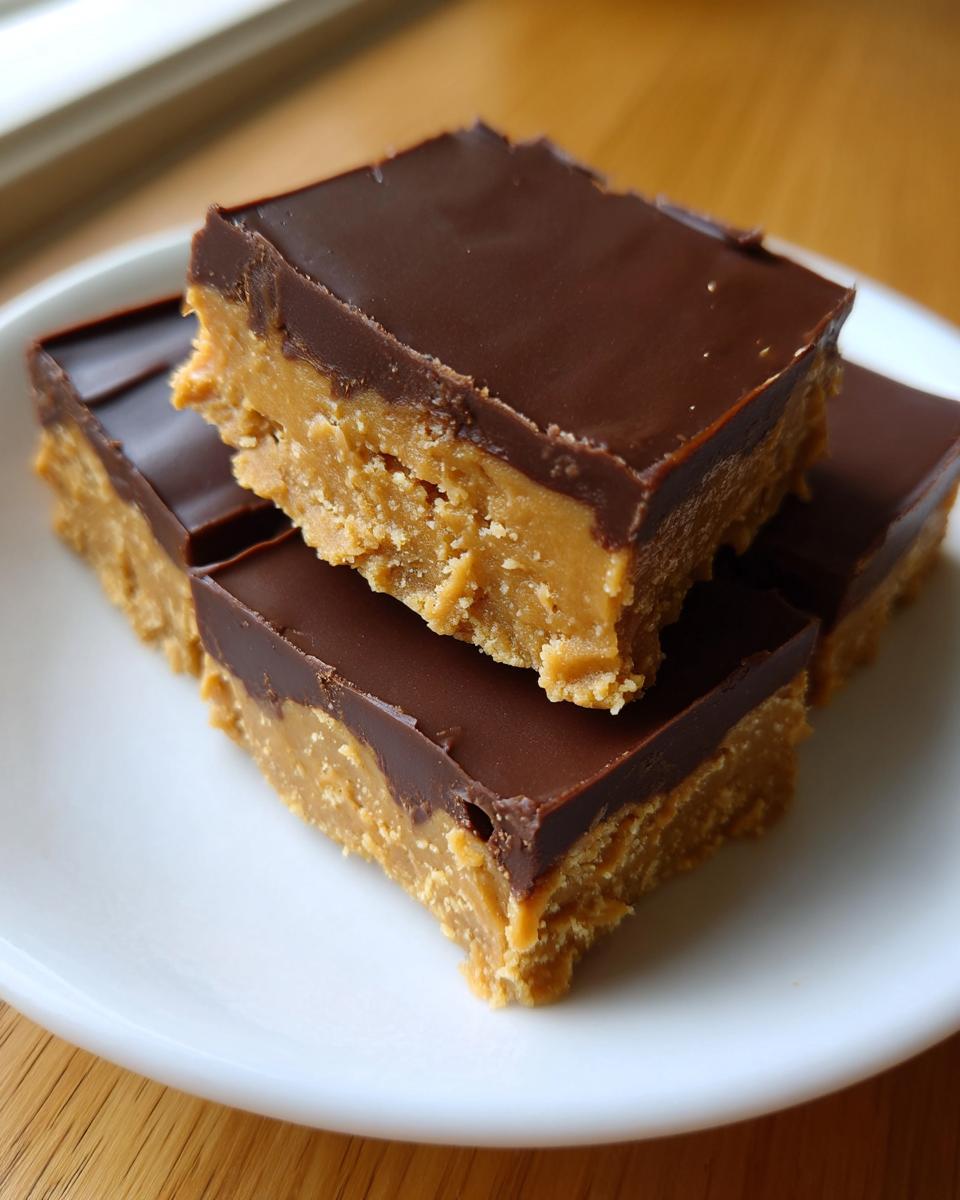
- Indulgent Texture: That bottom layer is unbelievably creamy and dense—it melts right in your mouth before giving way to that smooth chocolate shell. They stack up flavor-wise against any baked good.
- Crowd-Pleasing Simplicity: If you need a dessert for a gathering, these are your champions. Everyone loves peanut butter and chocolate, and nobody asks questions when they taste this good.
- Minimal Ingredient List: You probably have most of what you need in your pantry right now. No exotic grocery runs required for this creamy peanut butter dessert.
- They Travel Beautifully: Since they are no bake sweets that firm up nicely, they are perfect for taking to office parties or holiday events without worrying about them collapsing.
You’ll find yourself reaching for this recipe again and again when you need a quick dessert that truly satisfies. For another fail-safe, no-oven recipe that brings smiles, check out my famous no-bake dirt cake!
Essential Ingredients for Rich Peanut Butter Bars
Getting these components right is the secret sauce. Since we aren’t relying on baking powders or eggs for structure, precision in measuring your fats and sugars here makes all the difference in achieving that perfect, decadent texture we’re aiming for. Trust me, a quick stop for the right ingredients is worth it for these rich dessert bars.
I always measure carefully because every bit of fat and sugar contributes to how firm the base sets up. If you are looking for other quick cooking ideas after you finish your no-bake projects, my guide to easy 10-minute fried noodles is a lifesaver!
For the Creamy Peanut Butter Base
This layer needs to be completely decadent and press down just right. Don’t try to be a hero and use natural peanut butter here; the oils separate too much, and your base will be a sad, greasy mess. Stick to the standard creamy stuff!
- 1 cup unsalted butter, completely melted—this is crucial for mixing uniformity.
- 2 cups creamy peanut butter—like I said, the commercial kind works best for consistency!
- 2 cups powdered sugar, sifted—sifting stops clumps before they ever get into the batter.
- 1 teaspoon vanilla extract—just a touch to round out the flavor profile.
- A pinch of salt, if your peanut butter isn’t salted, to enhance that famous sweet/salty combo.
For the Silky Chocolate Peanut Butter Topping
This topping sets up beautifully and gives you that satisfying “snap” when you bite into it. We use extra peanut butter here to keep the final chocolate layer softer than hard candy, which helps when cutting.
- 1 1/2 cups semi-sweet chocolate chips—use good quality ones since this is the flavor star!
- 1/4 cup creamy peanut butter (yes, more of it!), for that classic creamy filling texture.
- 1 tablespoon coconut oil (this is optional, but I highly recommend it!). The oil helps the chocolate melt flatter and smoother, making spread application so much easier.
How to Prepare Ultimate No-Bake Chocolate Peanut Butter Bars
Okay, this is the fun part where our hard work pays off! Since we aren’t turning on the oven, we’re relying on the freezer to set everything up perfectly. Remember, the key to these amazing peanut butter bars staying intact when you slice them is making sure that foundation layer is rock solid before we add the chocolate. I always have my 8×8 pan lined and ready to go before I even start mixing the base. We want this process to be seamless! If you are looking for another great no-bake recipe that relies on chilling, my recipe for a chocolate mousse pie is always a winner.
Preparing the Pan and Peanut Butter Base for Peanut Butter Bars
First things first, line your 8×8 pan with parchment paper, but make sure you leave a good overhang on two sides—this is like having built-in handles later on for lifting the whole block out. Now combine your melted butter, the two cups of peanut butter, sifted sugar, and vanilla until it’s totally smooth. When you press this mixture into the bottom of that prepared pan, press it down with purpose! I use the bottom of a measuring cup or a flat spatula because you need a dense, firmly packed base for these peanut butter bars to hold their shape later.
Melting the Chocolate Topping for Rich Dessert Bars
Time for the chocolate layer! Don’t melt this all at once on high power. That just equals scorched, grainy chocolate, and we want silky smooth texture for our rich dessert bars. Use a microwave-safe bowl. Combine the chips, that extra splash of peanut butter, and coconut oil if you’re using it. Heat in 30-second bursts, stirring thoroughly between *every single one*. You want it just melted enough to stir smooth. This careful technique prevents any seizing!
Chilling and Cutting Your Creamy Peanut Butter Treats
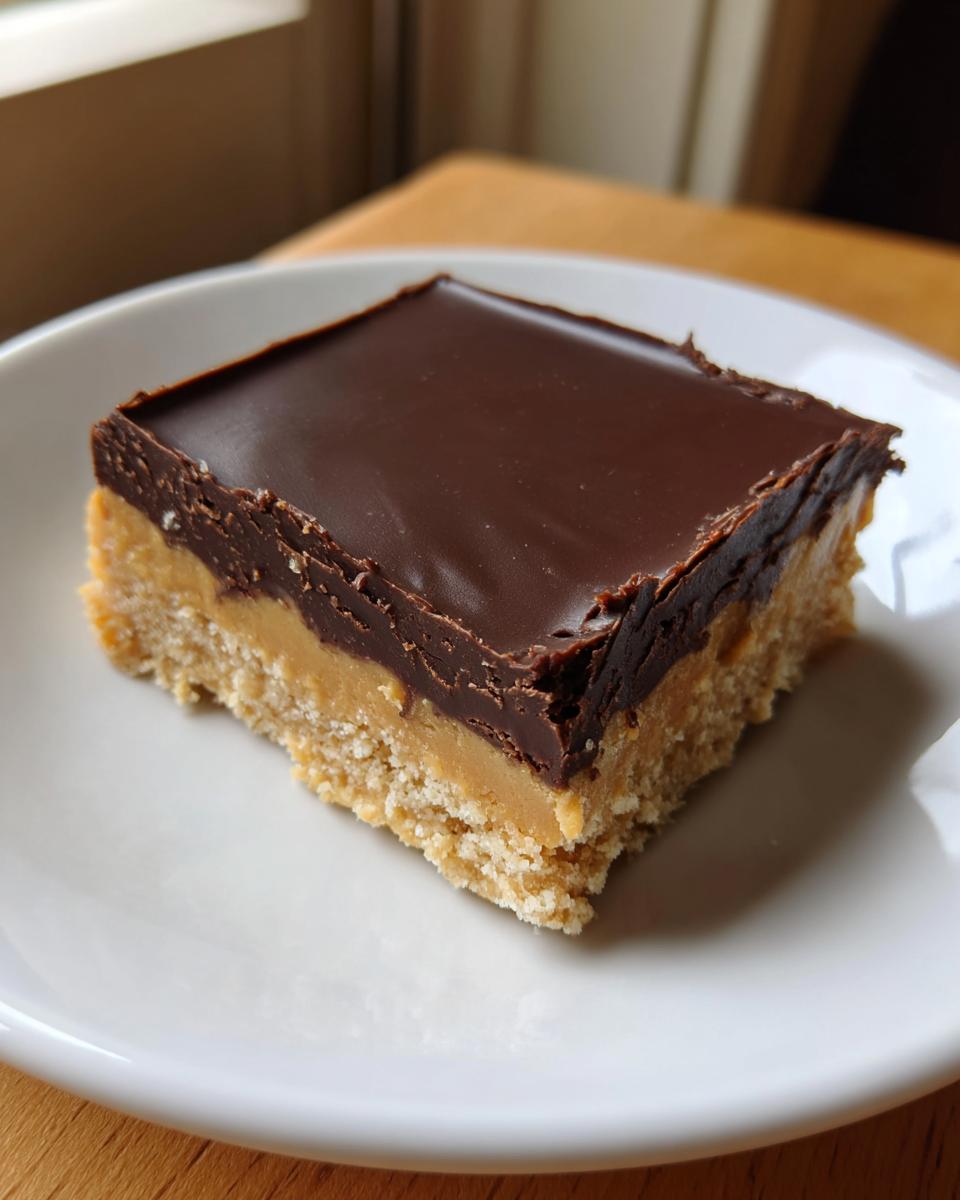
Once that chocolate is glossy and gorgeous, pour it right over the chilled peanut butter base. Spread it quickly to the edges so you get full coverage. Then, straight into the refrigerator it goes! You absolutely must chill this for a minimum of two hours—honestly, three is better if you can wait—so the chocolate hardens correctly. When it’s firm, grab those parchment paper handles like you’re lifting a cake! Pop the whole thing on a cutting board and slice cleanly through your creamy peanut butter treats. This is how you get Instagram-worthy squares!
Tips for Perfect No Bake Peanut Butter Bars Every Time
Even though these are no bake peanut butter bars, technique still matters! Since we rely on chilling instead of baking heat, we have to be proactive about texture and structure. I’ve learned a few tricks over the years to make sure these bars set up perfectly and never get too greasy or too crumbly when you cut them.
Achieving the Right Base Texture
If you remember those classic school cafeteria desserts—the ones folks sometimes call Lunch Lady Bars—they often had a little something extra going on in the base. If you want that *chewier*, oat-infused texture, you can absolutely try mixing in about a half-cup of quick oats after you combine the peanut butter and sugar mixture. You might need just a tiny splash more melted butter to keep it from getting too dry, but it totally changes the mouthfeel!
Another classic cheat for that Lunch Lady style? Crush up about two cups of graham crackers and mix them in with the melted butter *before* adding the peanut butter and sugar. It gives the base a fantastic, sturdy crunch that holds up well against the creamy filling.
Troubleshooting the Chocolate Topping Consistency
The chocolate topping is tricky because it sets up so fast once it hits that cold base. If you find your chocolate getting too thick while you’re spreading it, don’t panic! It just means your base was colder than mine was. Just pop the bowl back into the microwave for 10 or 15 seconds, stir, and it should flow easily again.
Now, what if your topping seems too runny after you pour it on? That usually means you added too much coconut oil, or maybe your peanut butter in the topping wasn’t quite room temperature leading to less resistance. If it’s really thin, just pop the whole pan immediately into the freezer for 20 minutes instead of the fridge. That blast of cold air will help it solidify quickly enough that you can move it to the fridge to finish setting up properly for clean cutting.
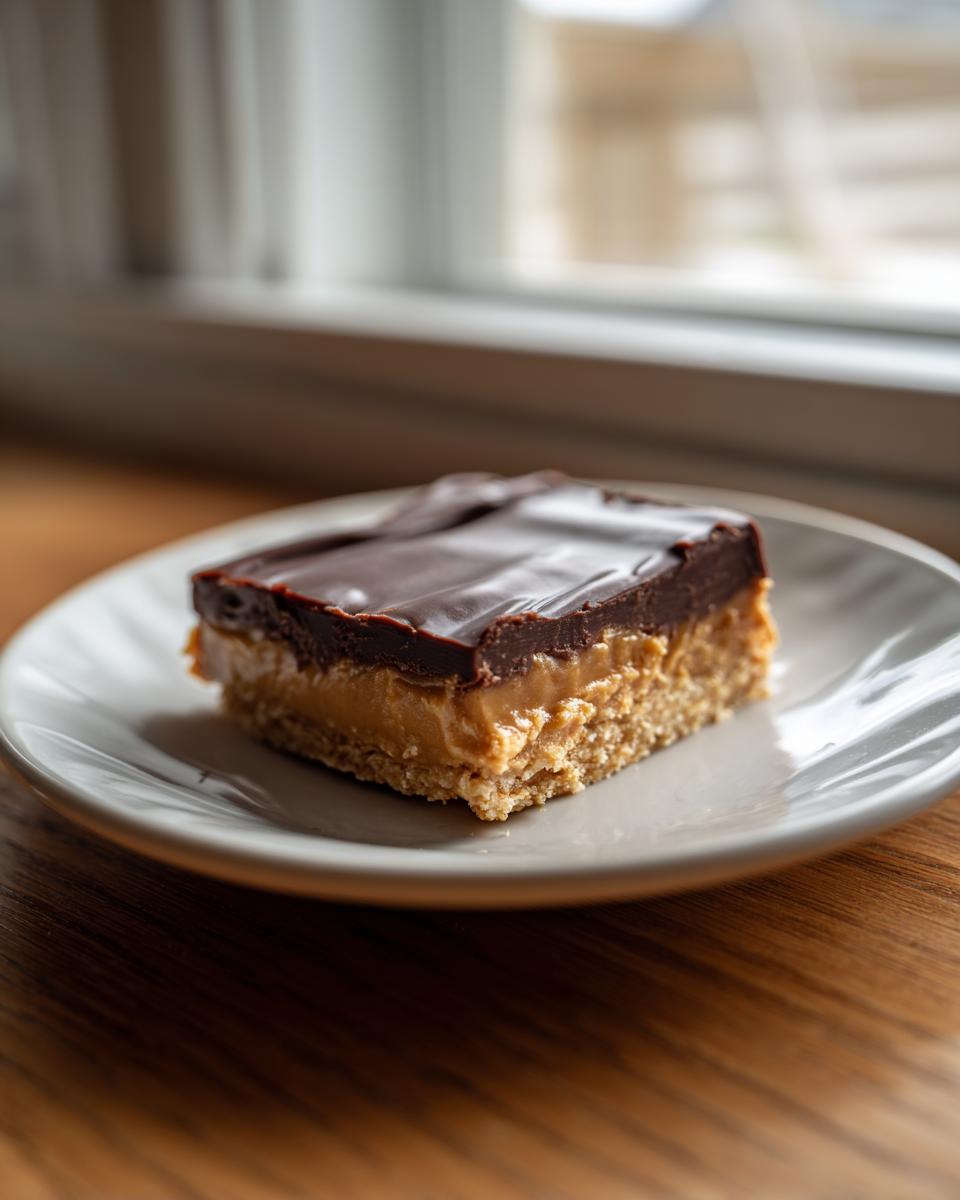
The goal with these peanut butter bars is always that beautiful contrast between the rich, soft filling and the firm, snappy chocolate shell.
Storage and Reheating for Your Peanut Butter Bars
Because these are completely no bake, they require a little bit of refrigeration to keep that lovely chocolate topping crisp and the peanut butter base firm. You can’t really “reheat” these bars, you see—they are designed to be served chilled! Think of them more like fudge or a refrigerated candy bar.
My absolute best advice, as noted in my testing, is to keep leftovers in an airtight container in the refrigerator. They stay perfectly fresh like this for up to a full week. If you cover them loosely, they can sometimes absorb smells from other things in the fridge, so make sure that lid is tight!
Yes, you can certainly freeze them! These treats freeze like a charm. Wrap the entire block—or pre-cut squares—tightly in plastic wrap, and then slide them into a freezer-safe bag. They’ll last great for maybe two or three months tucked away in the deep freeze.
When you want to enjoy one straight from the freezer, just pull out what you need and let it sit on the counter for about 15 minutes before slicing or eating. That little bit of time takes the chill off just enough so the base softens slightly, making them unbelievably creamy when you bite in. If you enjoy making things ahead of time, you should definitely check out my recipe for easy refrigerator dilly beans; they are another make-ahead star!
Variations on Classic Peanut Butter Bars
While I stand by my Ultimate No-Bake Chocolate Peanut Butter Bars as the definitive version, I love seeing what you all do to customize these amazing treats! The beauty of this simple recipe for peanut butter bars is how wonderfully it adapts to whatever you have on hand. We aren’t breaking any strict rules here; we’re just adding a little extra fun!
Don’t feel strictly tied to just peanut butter and chocolate, either. Think about what your favorite candy bar combinations are, and tweak them right into that creamy base or the silky topping.
Mix-Ins for the Peanut Butter Base
If you want to add texture or a second flavor note right into that bottom layer before it chills, here are my favorite things to gently fold in after everything is combined:
- Mini Chocolate Chips: Fold in about a half-cup of mini chips. They are small enough not to disrupt the setting too much, but they give you those lovely little bursts of chocolate throughout the peanut butter layer.
- Crushed Pretzels: For a fantastic sweet and salty crunch, gently fold in about a cup of crushed, plain pretzels. It works a bit like adding oats, giving you something substantial to bite into.
- M&M’s or Sprinkles: For kid-friendly versions or holidays, a mix-in of M&M’s or colorful sprinkles works beautifully. Just make sure these are added at the very end so the colors don’t bleed into the peanut butter too much.
Elevating the Chocolate Topping
The topping is where you can really get creative without compromising the structure of the whole bar. Since the chocolate layer is so prominent, changing it up makes a huge difference for these easy homemade bars.
- Swirl Technique: Before you chill the bars, take a tablespoon of extra peanut butter (maybe warmed slightly so it drizzles) and drop little dollops over the chocolate layer. Then, take a toothpick or the tip of a knife and swirl it dramatically across the surface. It looks so impressive!
- Flaky Sea Salt Finish: This is a must-try for me. Once the chocolate is poured on but *before* it sets, sprinkle a light, even layer of flaky sea salt (like Maldon) over the top. It really amplifies the peanut butter flavor wonderfully.
- Peanut Butter Drizzle Swap: If you are skipping the coconut oil in the topping, use that tablespoon space to melt down a couple of peanut butter cups instead! That reinforces that homemade Reese’s Bars flavor profile even more intensely.
No matter how you alter them, these creamy peanut butter treats are always a guaranteed winner at any gathering!
Serving Suggestions for These Quick Dessert Bars
Since these quick dessert bars come together so fast, you might be tempted to just eat them straight out of the pan while they are still cooling down—and honestly, I don’t blame you! But if you’re planning on serving these to guests or saving them for a special movie night, presentation counts, even for something this famously simple.
When it comes to presentation, I love leveraging that clean cut we worked so hard to achieve. If you chill them really well, the squares are already neat little packages, which makes them perfect for setting out on a platter!
- The Classic Pairing: Nothing cuts through the richness of peanut butter and chocolate better than a tall glass of ice-cold milk. It’s nostalgic, it’s perfect, and it brings you right back to childhood.
- Coffee Break Treat: If you are serving these in the afternoon or as a post-dinner treat, a strong cup of black coffee or a mocha is fantastic. The bitterness of the coffee really wakes up the sweetness of the chocolate topping.
- Potluck Perfection: Because they are sturdy and no-bake, these are amazing for potlucks or bake sales (if you can bear to part with them!). Just arrange them on a layered serving platter, maybe alternating them with a different colored bar or cookie to make the platter visually interesting.
- Temperature Control is Key: I always remind people that these taste best served cool, straight from the fridge. If you let them sit out at room temperature for too long, especially on a hot day, that creamy layer gets a little soft and sloppy, and you lose that nice contrast with the top.
Honestly, you can serve these rich dessert bars alongside almost anything, but keeping them cold ensures they remain that perfect, dense texture. They are truly designed to be an indulgent treat, no fuss required!
Frequently Asked Questions About Making Peanut Butter Bars
I know you might have a few questions swirling around, especially since we ditched the oven for this recipe! It happens to me every time I make a new batch of these easy homemade bars. Getting the texture and setting time right is crucial for perfect no bake peanut butter bars, so let’s dive into the tricky parts!
Can I use natural, runny peanut butter instead of creamy?
Oh, that’s a common question, especially for those of you who prefer minimal added sugars! I really, really advise against it for the base layer. Natural peanut butter has too much liquid oil that separates when it’s mixed with melted butter and sugar. If you use natural peanut butter, your base layer will likely end up oily and might not set up firmly in the fridge, leading to messy creamy peanut butter treats.
For the best results, stick to conventional, creamy peanut butter—the kind that’s emulsified and doesn’t require stirring before you open the jar. If you absolutely must use natural peanut butter, try to drain off any visible oil first, but honestly, it’s just safer to opt for the standard variety here.
How long do these bars absolutely need to chill before I can slice them?
This is where the patience part comes in, even though it’s a quick dessert! You need the chocolate topping to be fully firm so your slices are clean, and the peanut butter base needs to be completely stabilized. I say a minimum of two hours in the refrigerator. However, if you’re making these during a very warm time of year, or if your kitchen is humid, I push for three hours, or even popping them in the freezer for 30 minutes right before slicing.
Don’t try to rush this chill time on these no bake sweets! If you cut them early, the softened chocolate will smear, and the base will stick to your knife instead of slicing cleanly. Remember to check that the chocolate layer doesn’t jiggle at all before you pull them out.
What kind of chocolate is best for that rich topping?
For the ultimate experience that tastes like homemade Reese’s Bars, semi-sweet chocolate chips are my go-to. They melt easily in the microwave using our trusted method, and they provide a great balance against the sweetness of the peanut butter layer below.
If you want something richer, you can certainly substitute semi-sweet chips with dark chocolate chips. Just know that the darker the chocolate, the less sweet the topping will be, which creates a nice contrast! Avoid using milk chocolate chips unless you’re making these for small children; the milk chocolate melts differently and often stays a bit too soft for proper slicing, making them less ideal as potluck desserts.
Can I skip the coconut oil in the chocolate layer?
You can, but you’ll be missing out on the ultimate smooth finish! The coconut oil is added because it lowers the setting point of the chocolate just slightly, making the topping melt beautifully in your mouth instead of giving you that hard, waxy texture that sometimes happens with plain melted chocolate chips. It keeps the topping relatively soft.
If you skip it, or if you just prefer a firmer, snappier chocolate top, just omit the oil! The bars will still be delicious, but you might need to let the final product sit out for five minutes longer before slicing if the chocolate seems exceptionally hard right out of the fridge.
Nutritional Estimate for Homemade Peanut Butter Bars
Now, look, I’m a cook, not a certified nutritionist, so take these numbers with a grain of salt—or maybe a grain of flaky sea salt since we’re making bars! When we talk about rich, indulgent treats like these, we know they aren’t exactly health food, but knowing the rough breakdown is always helpful for planning ahead, especially if you’re aiming for potluck success.
The values listed below are just an estimate based on the standard ingredients used in my test batches. Bear in mind that using different brands of peanut butter, or swapping the type of chocolate chips, can change these numbers quite a bit. These estimates are calculated per one 16th slice of the pan, assuming you cut it evenly, which takes a little care with these no bake sweets!
Here is the general breakdown:
- Serving Size: 1 bar
- Calories: 310
- Sugar: 25 grams
- Sodium: 140 mg
- Fat: 21 grams
- Saturated Fat: 7 grams
- Cholesterol: 20 mg
- Carbohydrates: 28 grams
- Protein: 8 grams
As you can see, these bars pack a satisfying punch in the fat and sugar department, which is exactly what you want in a decadent dessert bar! They definitely deliver on that indulgent factor. If you want to check out some dishes that swing the other way—more on the lean and powerful side—you should take a peek at my recipe for easy high-protein bean salad!
PrintUltimate No-Bake Chocolate Peanut Butter Bars (Reese’s Style)

Make rich, creamy peanut butter bars without turning on your oven. This simple recipe delivers a decadent, no-bake dessert with a smooth chocolate topping, perfect for quick cravings or potlucks.
- Prep Time: 15 min
- Cook Time: 0 min
- Total Time: 2 hr 15 min
- Yield: 16 servings 1x
- Category: Dessert
- Method: No Bake
- Cuisine: American
- Diet: Vegetarian
Ingredients
- 1 cup unsalted butter, melted
- 2 cups creamy peanut butter
- 2 cups powdered sugar, sifted
- 1 teaspoon vanilla extract
- 1 1/2 cups semi-sweet chocolate chips
- 1/4 cup creamy peanut butter (for topping)
- 1 tablespoon coconut oil (optional, for smooth topping)
Instructions
- Line an 8×8 inch baking pan with parchment paper, leaving an overhang on two sides for easy removal.
- In a large bowl, combine the melted butter, 2 cups of creamy peanut butter, sifted powdered sugar, and vanilla extract. Mix until the base is completely smooth and uniform.
- Press the peanut butter mixture firmly and evenly into the bottom of the prepared pan. Place the pan in the freezer while you prepare the topping.
- In a microwave-safe bowl, combine the chocolate chips, 1/4 cup of creamy peanut butter, and coconut oil (if using). Microwave in 30-second intervals, stirring well after each, until the mixture is smooth and fully melted.
- Pour the chocolate mixture over the chilled peanut butter layer. Spread it quickly and evenly to cover the entire surface.
- Return the pan to the refrigerator and chill for at least 2 hours, or until the chocolate topping is firm.
- Use the parchment paper overhang to lift the bars from the pan. Cut into 16 squares before serving.
Notes
- For a texture similar to Lunch Lady Bars, you can press a thin layer of crushed graham crackers into the bottom before adding the peanut butter mixture.
- If you prefer a firmer topping, use only chocolate chips and skip the extra peanut butter and coconut oil in the topping layer.
- Store leftover peanut butter bars in an airtight container in the refrigerator for up to one week.
Nutrition
- Serving Size: 1 bar
- Calories: 310
- Sugar: 25
- Sodium: 140
- Fat: 21
- Saturated Fat: 7
- Unsaturated Fat: 14
- Trans Fat: 0
- Carbohydrates: 28
- Fiber: 1
- Protein: 8
- Cholesterol: 20