
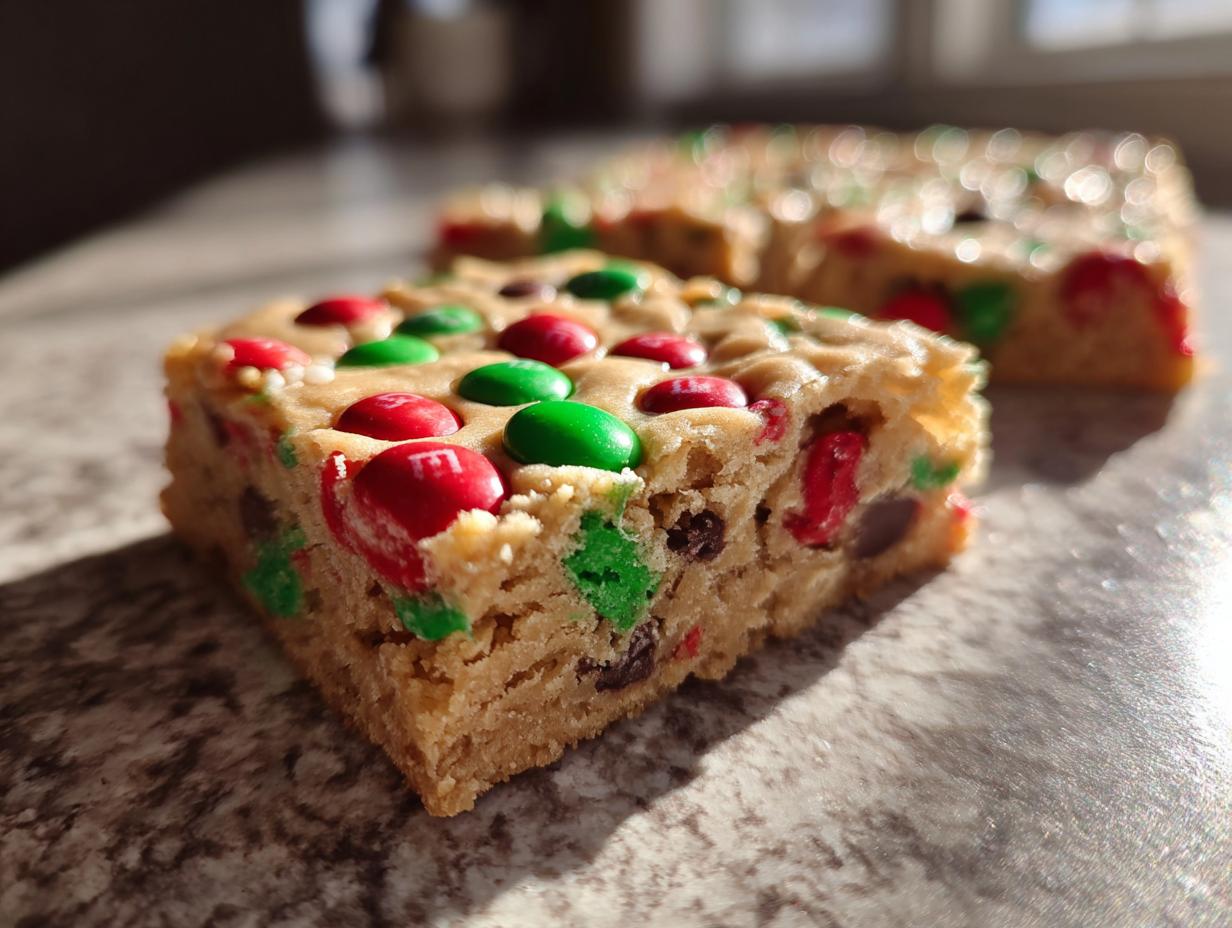
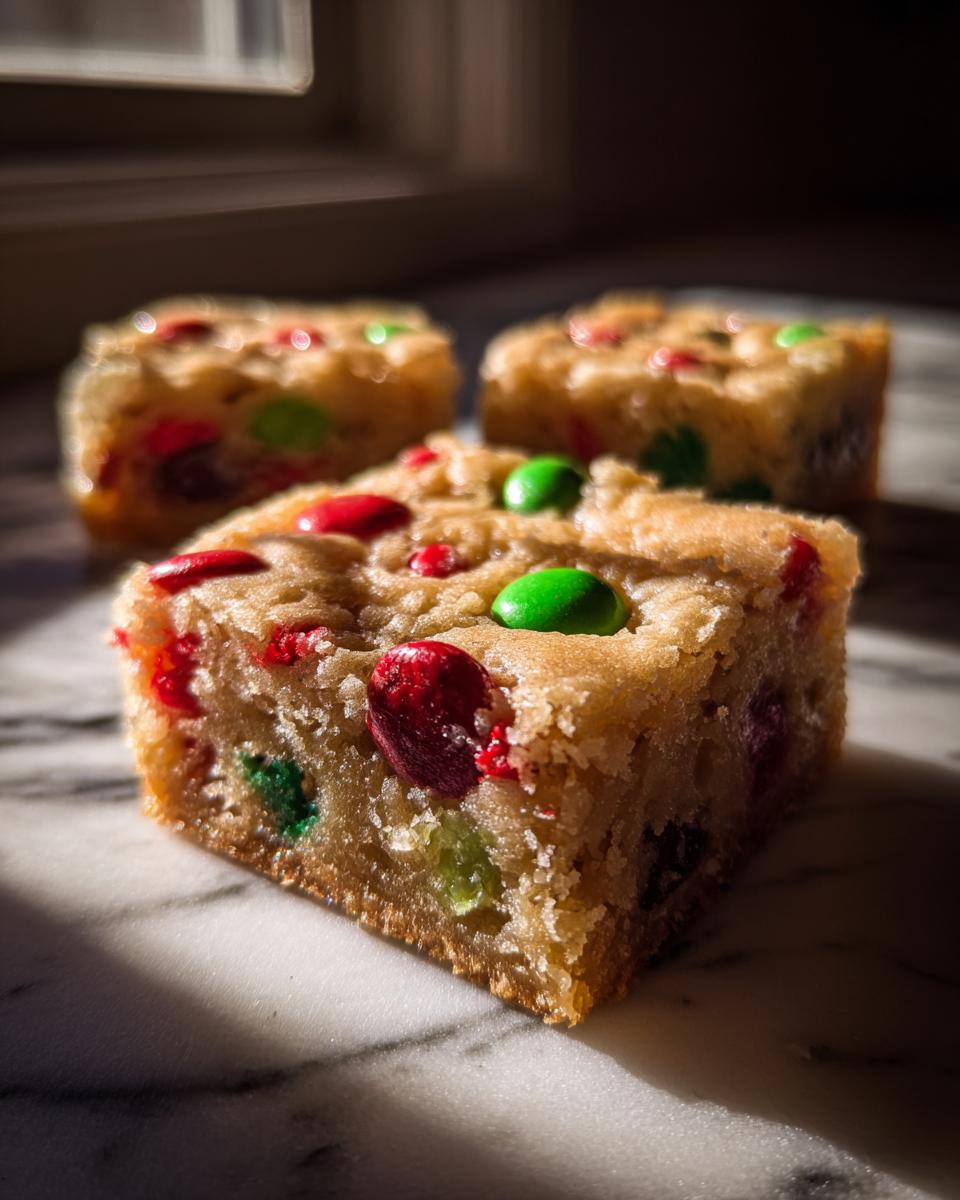
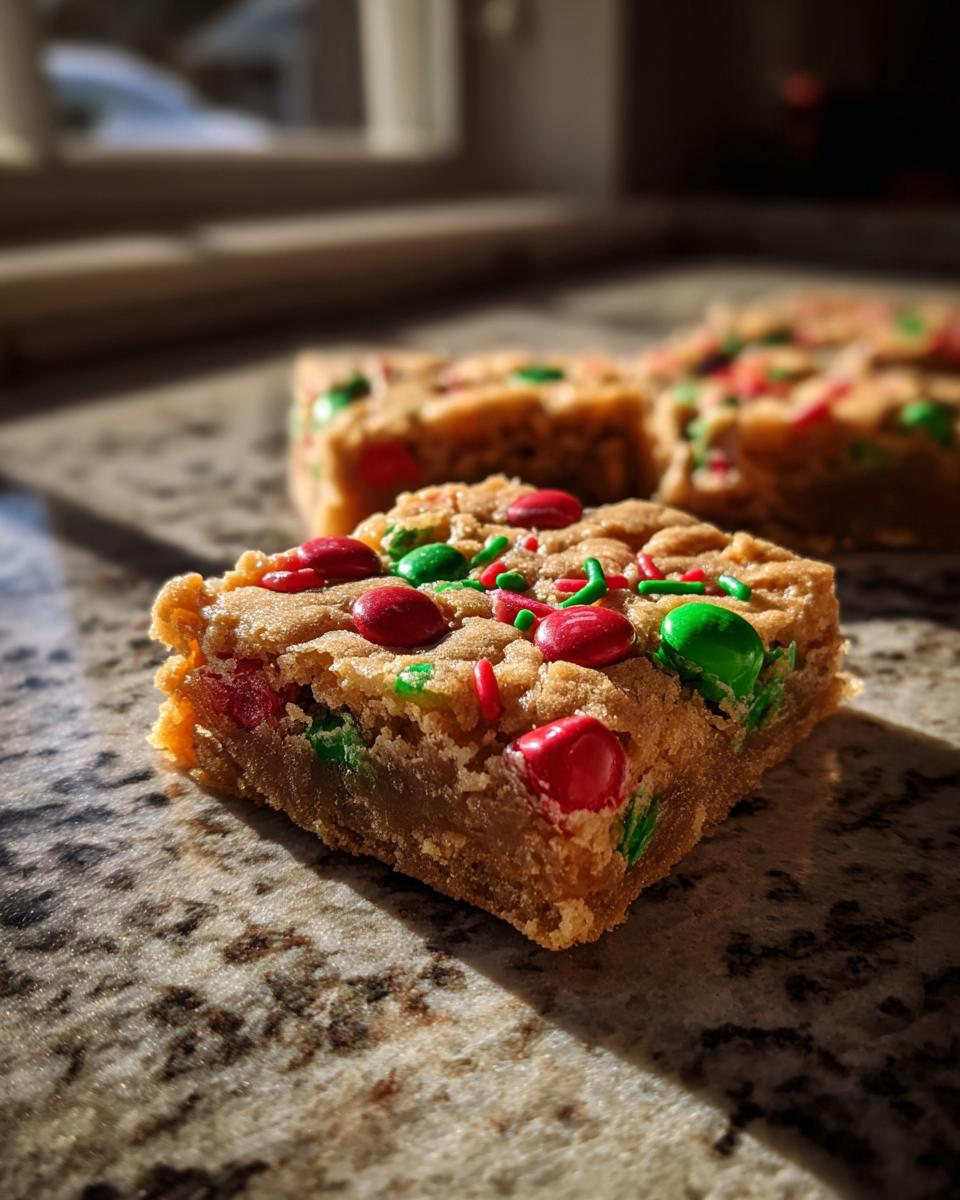
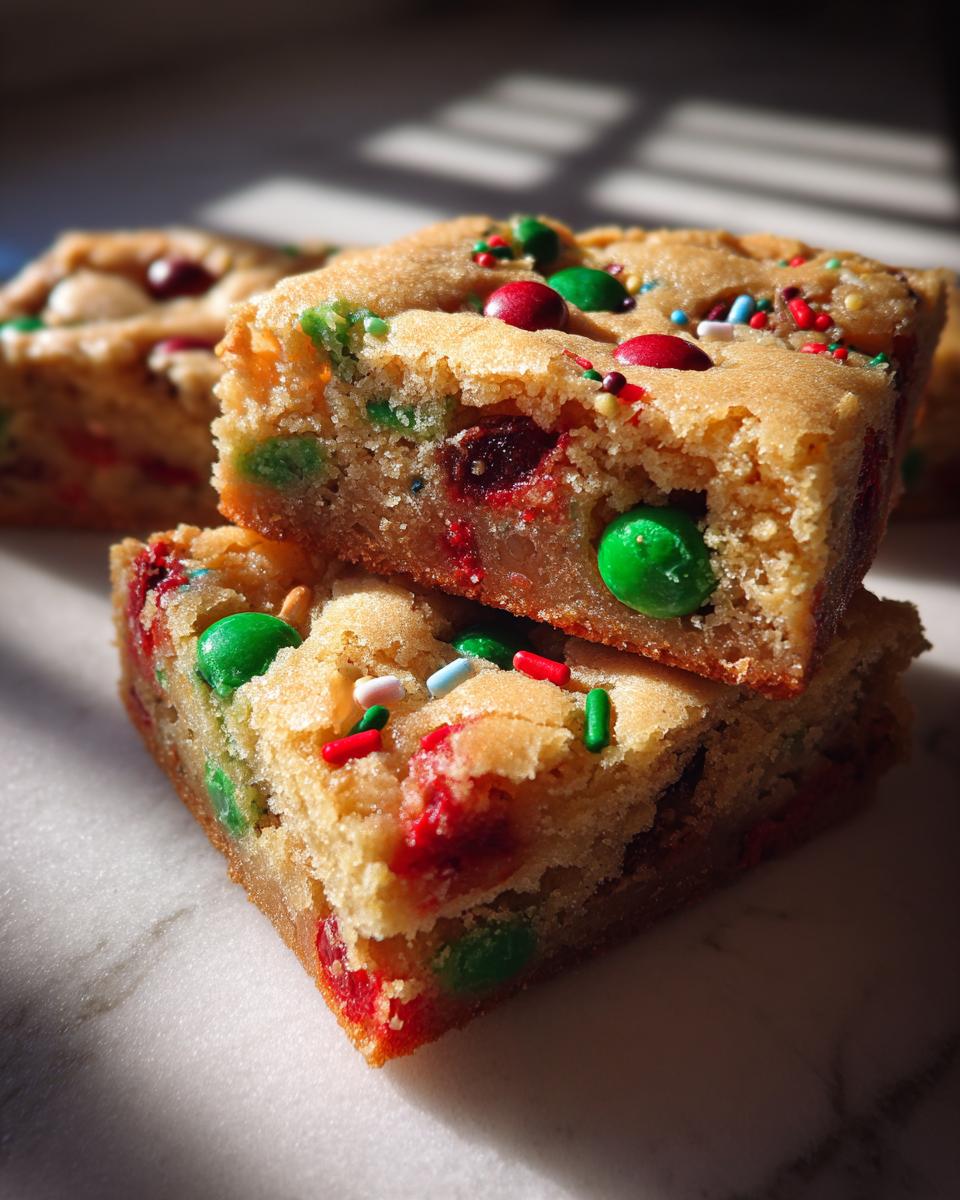
Okay, deep breath. I get it. The holidays descend, and suddenly everyone expects you to churn out dozens of perfectly shaped, intricately decorated sugar cookies. Stop right there! We’re taking a stand against unnecessary stress this year. I’m bringing you the secret weapon that saves my December sanity: these glorious, unbelievably easy Chewy Christmas cookie bars. They bake up beautiful right in one pan, are loaded with festive M&Ms and sprinkles, and they have the most wonderfully soft texture. Trust me, every recipe I share here has been rigorously tested in my command center—I promise these reliable holiday baking recipes work every single time, giving you maximum cheer with minimum fuss. If you need some simpler things to nibble on while you wait for these beauties to bake, check out some of my ideas for easy appetizers and snacks!
- Why You Will Love These Easy Chewy Christmas Cookie Bars
- Gathering Ingredients for Your Christmas Cookie Bars Recipe
- Expert Tips for Perfect Chewy Christmas Cookie Bars
- How to Prepare These Simple Christmas Desserts: Step-by-Step
- Making Ahead and Storing Your Christmas Cookie Bars
- Variations for Your Festive Cookie Bars
- Serving Suggestions for Christmas Cookie Bars
- Frequently Asked Questions About Christmas M&M Cookie Bars
- Nutritional Estimates for These Holiday Baking Recipes
Why You Will Love These Easy Chewy Christmas Cookie Bars
I’m not kidding when I say these are the only Christmas cookie bars recipe you’ll need this year. They check every single box when it comes to joyful, stress-free holiday baking. You want reliable? This is reliable.
- Zero Scooping Required! Seriously, this is a total game-changer. We make one big batch of dough and press it right into the pan. It’s how we keep things simple, which is key when you’re juggling a dozen other holiday treats.
- The Ultimate Chewy Texture: We aren’t messing around with hard, crumbly bars here. The texture is soft, thick, and perfectly chewy, thanks to the slight underbaking we do on purpose.
- One Pan, Maximum Impact: As true one pan Christmas cookies go, these are stars. Less cleanup means more time sipping cocoa and watching holiday movies. That’s a win in my book!
- Visually Stunning: Who doesn’t love red and green? The M&Ms and sprinkles make these look like they took hours of detailed decorating, but it all goes in right at the end. Instant festive flair!
- Kid-Friendly Baking: My little ones absolutely love folding in the candies. It’s a wonderful, low-stakes activity to get the kids involved in holiday dessert making.
- Make-Ahead Friendly: You can whip these up days before your party, cool them down, and they hold up beautifully. Perfect for getting ahead on your make ahead Christmas sweets list.
- Crowd-Pleasing & Versatile: These delicious Christmas M&M cookie bars are always the first to disappear at any gathering. They fit right into any Christmas cookie tray ideas display.
Gathering Ingredients for Your Christmas Cookie Bars Recipe
When you’re ready to start these best Christmas cookie bars, gathering your ingredients is easy because most of this is simple pantry fare dressed up for the holidays. I always keep my pantry stocked with flour and sugar, but for holiday treats, stocking up on festive M&Ms and sprinkles is non-negotiable! Having high-quality items on hand really makes a difference in the final flavor and texture, especially since these bars rely on that rich, buttery base. Since we’re aiming for that perfectly chewy blondie style, make sure your butter is truly softened—not melted, just soft enough to leave a springy dent when gently pressed.
If you want to see how I handle the ingredients for another favorite chewy bake, you should definitely sneak a peek at my recipe for the best soft and chewy snickerdoodle recipe; it uses a similar attention to sugar and fat!
Here is exactly what you need to pull together these fantastic festive cookie bars:
- 1 cup unsalted butter, softened—this is important for the creaming step!
- 1 cup packed light brown sugar—that molasses flavor is crucial for the chew.
- 1/2 cup granulated sugar
- 2 large eggs, room temperature is best, if you can swing it.
- 1 tablespoon vanilla extract
- 2 3/4 cups all-purpose flour
- 1 teaspoon baking soda
- 1/2 teaspoon salt
- 1 cup M&M’s (must be the red and green holiday mix, darling!)
- 1/2 cup semi-sweet chocolate chips
- 1/2 cup festive Christmas sprinkles—reserve a small handful for the top!
Expert Tips for Perfect Chewy Christmas Cookie Bars
If you want these holiday squares to truly shine, we need to focus on that texture. Nobody wants a hard, crumbly bar when they bite into something labeled chewy Christmas treats. A couple of little tricks from my test kitchen ensures absolute perfection every time. And speaking of perfection, always make sure your butter is exactly that: softened! Cold butter won’t cream right, and overly greasy butter messes up the structure. It’s all about temperature control, honey.
For more inspiration on achieving amazing chewiness, you absolutely must look at my guide on pudding cookies—the principles are similar!
Achieving the Ideal Chewy Christmas Treats Texture
The secret to keeping these cookie bar recipes for parties incredibly soft is simple: stop baking early! I know it feels wrong when the recipe doesn’t have a bone-dry toothpick test, but trust me here. You pull these bars out when the middle still looks a tiny bit unset. As they cool on the counter, carryover heat finishes the job, guaranteeing a gooey, soft center rather than a cakey top. Also, remember that rich, dark brown sugar we used? That molasses content keeps things moist and soft in a way plain white sugar just can’t touch. That’s the science talking!
How to Prepare These Simple Christmas Desserts: Step-by-Step
Alright, Commandos, this is where our simple Christmas desserts finally come together! Remember, baking is science, but holiday treats are all about timing and gentle hands. We want the softest, chewiest texture, and that starts the second we walk into the kitchen. Don’t rush the oven prep or the mixing—it makes all the difference between a perfect batch and something tough. Since these are cookie bar recipes for parties, we’re treating that 9×13 pan like gold.
Before anything else, get that oven humming at 350°F (175°C). Now, for the pan: I insist on lining a 9×13 inch pan with parchment paper, making sure you leave some paper hanging over the sides. That overhang is your lifeline later for gently lifting the whole slab out to cool and slice. Trust me, trying to cut baked bars tightly crammed in a pan is a recipe for broken edges!
If you need other make-ahead recipes you can stash in the fridge, check out my tips for easy refrigerator dilly beans; same principle applies—prep early!
Mixing the Wet and Dry Components for Christmas Cookie Bars
We start with the fat and sugar because this step creates the structure responsible for the chewiness. Grab your softened butter, that beautifully musky brown sugar, and the granulated sugar. You need to beat these together until they look genuinely fluffy and pale yellow—this is the creaming process, which whips in lots of air. Don’t skimp on this part; it lightens the batter!
Next, add your eggs. My rule? One at a time! Wait until the first egg is completely incorporated before adding the second. Follow that with your splash of vanilla. Now, switch gears to your dry ingredients—the flour, baking soda, and salt whisked in a separate bowl. Here is where you need the strongest discipline: add the dry mixture to the wet mixture in three parts, mixing on the absolute lowest speed, or even stirring by hand with a spatula. Stop mixing the second you see that last streak of flour disappear. Overmixing develops gluten, and gluten means tough, cakey bars instead of our desired chewy goodness.
Baking and Cooling Your Festive Cookie Bars
Once everything is *just* combined, gently fold in those gorgeous red and green M&Ms, the chocolate chips, and most of your sprinkles. Don’t stir aggressively! Press this thick dough evenly into your parchment-lined 9×13 pan. Use the back of an offset spatula or even the bottom of a measuring cup to get a solid, even layer. Now, take that reserved special handful of sprinkles and scatter them right over the top—this is your showpiece moment!
Slide the pan into that 350°F oven and set your timer for 22 minutes. You’re looking for the edges to be slightly golden brown. Crucially, when you peek in, the center should still look a little soft, maybe even *slightly* underdone. That indicates moisture heaven! Pull them out immediately. Resist the urge to touch them! These festive cookie bars need at least an hour—ideally two—to cool completely on a wire rack before you use the parchment overhang to lift them out and slice them cleanly. Patience here truly pays off.
Making Ahead and Storing Your Christmas Cookie Bars
One of the biggest secrets to surviving the holiday rush is getting things done early, right? That’s why I love these Christmas cookie bars so much! They are fantastic make ahead Christmas sweets, meaning you can bake them completely before the chaos of Christmas Eve hits. This buys you so much peace of mind later on.
The recipe notes mention that you can store these guys for a few days, and honestly, I think they taste even better the second day once the flavors have really settled into that buttery base. We’re talking about storing them uncut, which seems counterintuitive, but trust me, it keeps that glorious chewy center protected!
Here is the simple method I use:
- Cool Completely: You absolutely must let these bars cool down all the way in the pan before you even think about moving them. Trying to wrap warm bars leads to a gooey, sticky mess you’ll regret later.
- Keep Them Whole: Once cool, leave them right there in the parchment liner. Fold the parchment overhang up around the sides of the bars to create a little protective cocoon.
- Cover Tightly: Wrap the whole pan securely either with plastic wrap or foil. Make sure you’re using an airtight seal so they don’t dry out or absorb any weird fridge smells (even though we aren’t refrigerating them!).
- Room Temperature Storage: Store the wrapped pan at cool room temperature for up to three days. Because of the sugar and fat content, they stay perfectly fresh and soft.
I never freeze them, though—I find that thawing sometimes throws off that perfect chewy texture we worked so hard to achieve when mixing! They always disappear too fast anyway, so freezing usually isn’t necessary around here.
Variations for Your Festive Cookie Bars
While I absolutely adore this M&M and sprinkle version—it’s truly my tried-and-true base for making **festive cookie bars**—baking is all about making things your own during the holidays! I never want you to feel limited by one set of ingredients when you’re whipping up a batch of holiday baking recipes. This basic, unbelievably chewy blondie-style base is a fantastic canvas for all sorts of winter flavors.
If you’ve already made the classic look a few times, try swapping out some of the mix-ins to keep things exciting. Thinking about a slightly different flavor profile? You can totally transform these cookie bar recipes for parties in minutes!
For a truly unique, slightly tart holiday twist, you should check out my recipe for cranberry crumble bars. That recipe uses a similar pressed-in base, but the flavor shift is incredible!
Here are a few easy ways I like to switch things up when the mood strikes:
- Extract Swaps: Ditch the vanilla completely and use just 1 teaspoon of almond extract mixed with 1 teaspoon of peppermint extract. It gives the bars a wonderful candy cane essence without needing extra fuss.
- Nutty Crunch: If there are no nut allergies at your gathering, add about 3/4 cup of coarsely chopped pecans or walnuts into the mix along with the chocolate chips. They toast up beautifully during the bake time.
- Chocolate Variations: Hate semi-sweet? Swap those chips out for milk chocolate chips for a sweeter bite, or grab some white chocolate chunks for a lovely contrast against the red and green M&Ms.
- Butterscotch Bliss: Replace the semi-sweet chips with butterscotch chips. The buttery flavor just melts into the base, making these some truly rich Christmas cookie bars.
The beauty of keeping the base recipe consistent is that you already know the bake time is right! Just remember, if you add heavy mix-ins like large nuts, give them a minute or two extra in the oven, just in case.
Serving Suggestions for Christmas Cookie Bars
Okay, you’ve pulled your perfect, chewy Christmas cookie bars out of the oven, and they’ve cooled completely. Now, how do you serve them to make your holiday spread look professional without all the stress? We want these gorgeous, colorful squares to be the cornerstone of your delicious Christmas cookie tray ideas, naturally!
Because these are so rich and loaded with chocolate and M&Ms, they deserve the perfect counterpart. I always think pairing something intensely sweet with something warm and slightly spiced is always the way to go. If you’re serving these alongside your other holiday favorites, you need drinks that can stand up to that buttery, sugary goodness.
Speaking of warm pairings, you simply *must* pair these with a robust, comforting beverage. I swear by making a big batch of my stovetop Mexican Hot Chocolate recipe; the hint of cinnamon and chili balances the sweetness of the bars so perfectly. You can find the recipe for that comforting deliciousness right here: easy stovetop Mexican hot chocolate.
Here are a few ways to elevate your presentation and pairings:
- The Hot Drink Duo: Serve these bars warm (if you sneak one out early!) or at room temperature alongside mugs of coffee, warm apple cider, or that Mexican hot chocolate I mentioned. The warmth contrasts beautifully with the chewy texture.
- The Ice Cream Crunch: For a decadent evening dessert, crumble a couple of these bars over vanilla bean ice cream. The cold creaminess with the slightly firm M&Ms scattered throughout? Unbeatable.
- The Balanced Tray Addition: On your main Christmas cookie tray ideas setup, make sure to place items that offer contrast nearby. If your tray is all chewy and sweet, add something tart like a lemon shortbread or some simple gingerbread to keep the palette from getting overwhelmed.
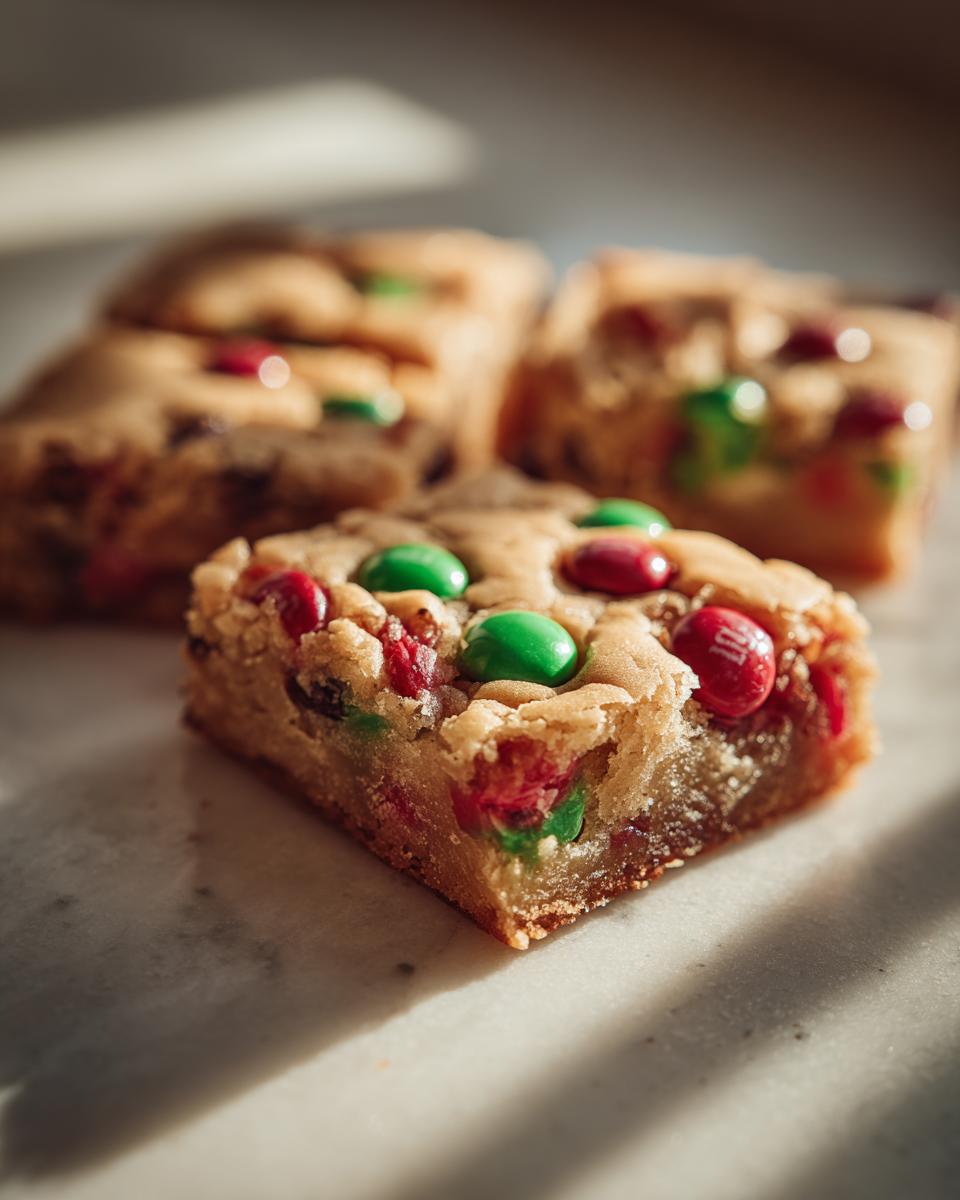
- Presentation Tip: I always slice these into neat squares (about 4×6 slices from the 9×13 pan) and then arrange them slightly overlapping on a simple white platter. The bright red and green just pop all on their own!
These easy holiday dessert bars are so versatile, they really don’t need much dressing up, but a little complementary drink always makes the moment feel more special, doesn’t it?
Frequently Asked Questions About Christmas M&M Cookie Bars
It happens every time I post a recipe—the inboxes start filling up with questions! That’s totally fine by me; I love helping you troubleshoot so your holiday baking recipes turn out flawlessly. Since these are such a hit for Christmas cookie tray ideas, folks always want to nail down the specifics regarding color and texture. Here are the top questions I get about making these beautiful, colorful squares.
If you’ve mastered these bars and want to whip up something homemade to spread on toast later, you should check out my guide for easy cinnamon butter recipe. It’s a different kind of sweet treat!
Can I use different colored M&Ms for these Christmas cookie bars?
Absolutely, you can! The red and green mix is my go-to because it screams ‘Christmas!’ the loudest, making them perfect additions to your holiday spread. But honestly, if you have the regular primary colors kicking around, or maybe the pastel spring mix for some reason, even those bright pops look fantastically messy and fun baked into these festive cookie bars. The flavor isn’t changing, just the visual theme. You do you!
How do I prevent my cookie bars from becoming hard instead of chewy?
This is the number one fear when making any baked square, isn’t it? You want that irresistible, soft bite, not something you need a steak knife to cut! My strong advice, which is key for achieving those chewy Christmas treats, is two-fold. First, temperature matters: make absolutely certain your butter is room temperature, not just slightly soft, so the sugars can properly hold onto air when you cream them. Second, and this is the big one: pull them out when the center still looks just a touch *soft*. They continue to set up as they cool on the counter. If they look fully baked in the oven, they will be hard when they cool down, guaranteed. Don’t overbake!
Are these considered one pan Christmas cookies?
Yes, 100%! That’s one of the biggest reasons I love them for busy holiday bakers. These are the definition of one pan Christmas cookies. You mix up your blonde base, press it into one standard 9×13 inch baking dish, top it, and bake the whole thing in a single pan. This keeps all the cleanup contained to just that one dish (plus your mixing bowls, of course!). It’s the absolute easiest way to produce a massive batch of simple Christmas desserts for a crowd.
Nutritional Estimates for These Holiday Baking Recipes
Now, I swear by my recipes being delicious, and while these Christmas cookie bars are definitely meant for enjoying during the season, I know some of you still like to have a general idea of what’s in your treats! Because we’re dealing with butter, sugar, and M&Ms, they are certainly indulgent—and that’s okay! We should call these what they are: rich, celebratory holiday baking recipes.
I’ve run the numbers through my testing software based on the ingredients list, and here are the general estimates for one square cut from the 9×13 pan. If you’re looking for a lighter option, maybe check out my recipe for easy bean salad—it’s my go-to for high-protein make-ahead snacks!
Please remember, these are just estimates! The actual numbers can change based on the brand of M&Ms you use, how much butter soaks into the parchment, and the exact size you cut your bars. But this gives you a good ballpark figure for these fantastic easy holiday dessert bars:
- Serving Size: 1 bar
- Calories: 210
- Fat: 11g
- Carbohydrates: 27g
- Protein: 2g
- Sugar: 18g
- Cholesterol: 35mg
See? A perfect little burst of festive energy! Enjoy them responsibly, and remember, the joy of baking these festive cookie bars far outweighs counting every single calorie during the holidays. Just make sure to balance them out with lighter fare the rest of the week!
PrintEasy Chewy Christmas M&M Cookie Bars

Make these simple, festive Christmas cookie bars loaded with M&Ms and sprinkles. This one-pan recipe delivers chewy holiday treats perfect for any gathering.
- Prep Time: 15 min
- Cook Time: 25 min
- Total Time: 40 min
- Yield: 24 servings 1x
- Category: Dessert
- Method: Baking
- Cuisine: American
- Diet: Vegetarian
Ingredients
- 1 cup unsalted butter, softened
- 1 cup packed light brown sugar
- 1/2 cup granulated sugar
- 2 large eggs
- 1 tablespoon vanilla extract
- 2 3/4 cups all-purpose flour
- 1 teaspoon baking soda
- 1/2 teaspoon salt
- 1 cup M&M’s (red and green holiday mix)
- 1/2 cup semi-sweet chocolate chips
- 1/2 cup festive Christmas sprinkles
Instructions
- Preheat your oven to 350°F (175°C). Line a 9×13 inch baking pan with parchment paper, leaving an overhang for easy removal.
- In a large bowl, beat the softened butter, brown sugar, and granulated sugar together until the mixture is creamy.
- Beat in the eggs one at a time, then mix in the vanilla extract.
- In a separate bowl, whisk together the flour, baking soda, and salt.
- Gradually add the dry ingredients to the wet ingredients, mixing on low speed until just combined. Do not overmix.
- Gently fold in the M&M’s, chocolate chips, and most of the Christmas sprinkles, reserving some sprinkles for the top.
- Press the dough evenly into the prepared 9×13 inch pan. Sprinkle the reserved sprinkles over the top of the dough.
- Bake for 22 to 25 minutes, or until the edges are lightly golden brown and the center is set. The bars should still look slightly soft in the middle for a chewy texture.
- Let the cookie bars cool completely in the pan on a wire rack before lifting them out using the parchment overhang.
- Once cool, slice into squares. These are the best Christmas cookie bars for parties.
Notes
- For the chewiest bars, avoid overbaking. The center should look slightly underdone when you remove them from the oven.
- You can make these ahead of time; store cooled, uncut bars tightly covered at room temperature for up to 3 days.
- Use high-quality, room-temperature butter for the best creaming action when mixing the sugars.
Nutrition
- Serving Size: 1 bar
- Calories: 210
- Sugar: 18
- Sodium: 105
- Fat: 11
- Saturated Fat: 7
- Unsaturated Fat: 4
- Trans Fat: 0
- Carbohydrates: 27
- Fiber: 1
- Protein: 2
- Cholesterol: 35