
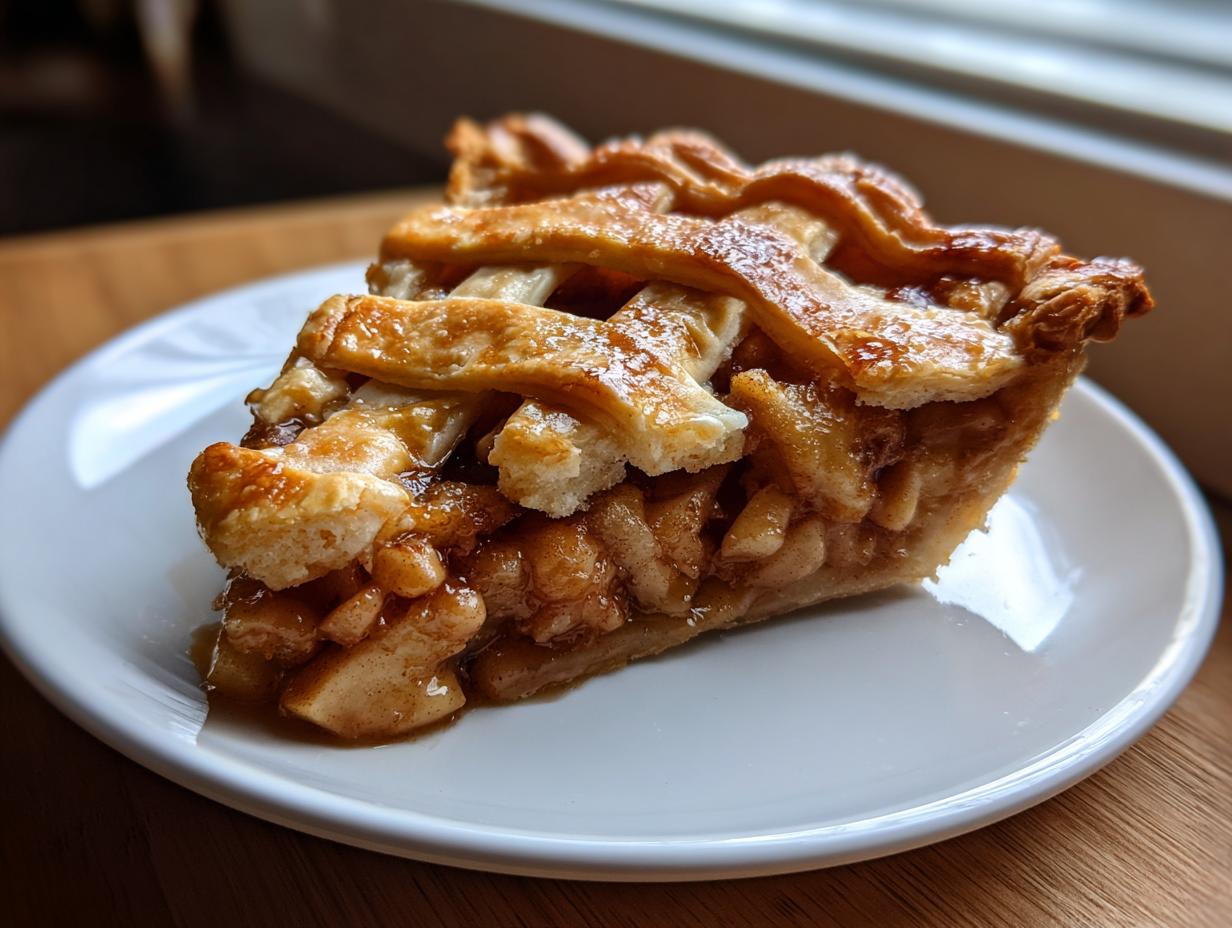
There’s just something about that cozy, vintage feeling, isn’t there? We’re seeing the return of true, hands-on cooking—the “Granny revival”—and for me, nothing embodies that spirit more than making a truly magnificent **Classic apple pie** from scratch. Forget those store-bought shortcuts; we’re going straight to the source today!
I’m Emily Harrison from Cookery Command, and after years of testing and perfecting the time-honored secrets passed down in my Midwestern kitchen, I can finally share the recipe I stand by: this is the best-ever, reliable recipe for a pie that boasts a perfectly flaky homemade pie crust hugging a spiced, juicy interior. Trust me, once you master this combination, you’ll feel like you’ve inherited a piece of culinary history.
My whole philosophy here at Cookery Command is taking those beautiful, traditional American recipes and making sure they work flawlessly in your modern kitchen. We respect tradition, but we demand perfection! This apple pie is exactly that—it’s dependable, it’s gorgeous, and it tastes like pure comfort.
- Why This Classic Apple Pie Recipe is Your New Heritage Favorite
- Ingredients for the Best Apple Pie Recipe
- How to Prepare the Classic apple pie
- Tips for Success with Your Classic apple pie
- Variations on the Classic apple pie
- Serving Suggestions for Traditional Desserts
- Storage and Reheating Instructions for Classic apple pie
- Frequently Asked Questions About This Classic apple pie
- Estimated Nutritional Data for Classic apple pie
Why This Classic Apple Pie Recipe is Your New Heritage Favorite
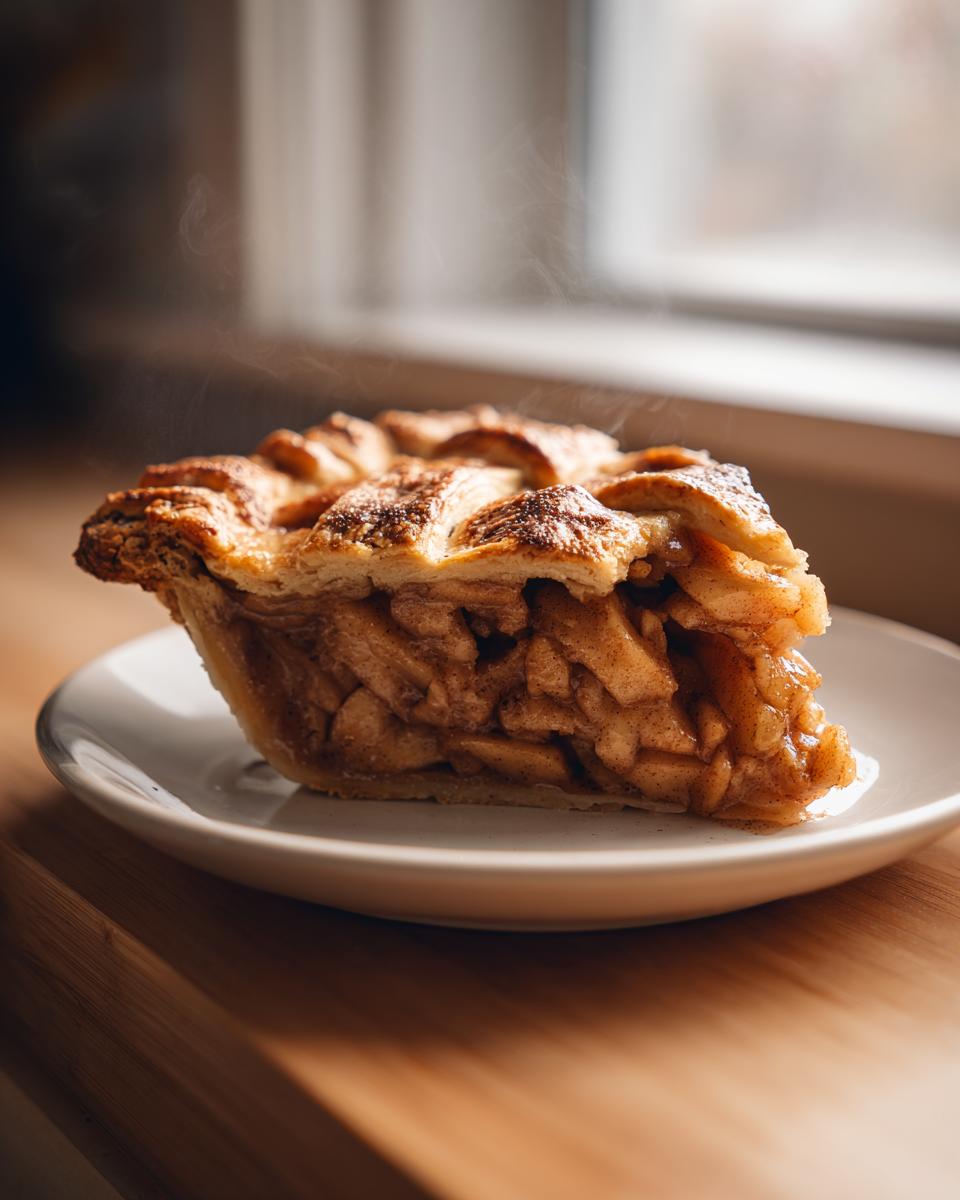
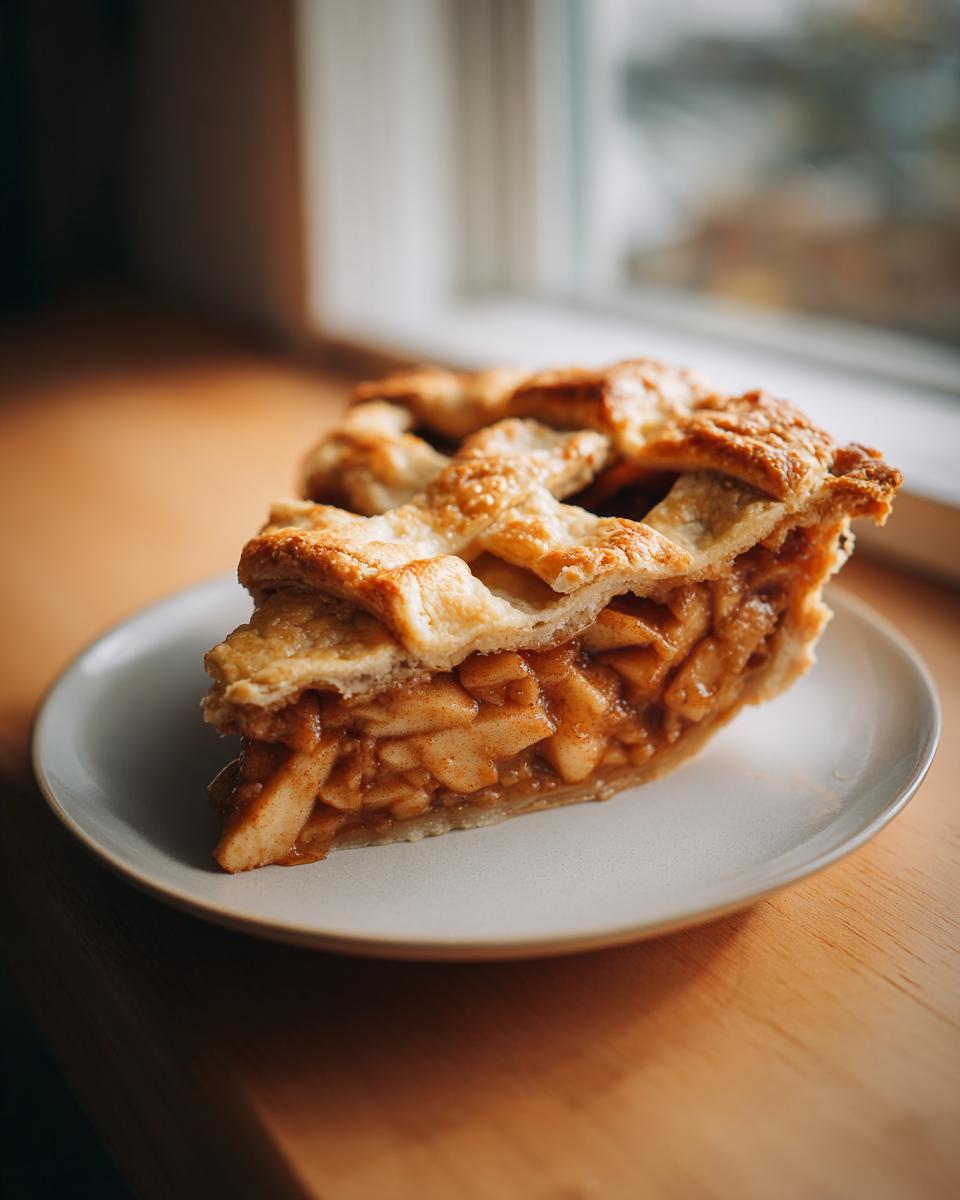
Look, a truly stunning pie isn’t just about the taste; it’s about the *look* too, right? This recipe is designed specifically to nail that vintage, treasured look you see on the best Pinterest boards. It’s reliable, which means less stress for you, and that crust—oh, that crust is going to make you feel like a baking champion. We’re focused on texture and balance because that’s what separates an okay pie from a showstopper.
- It’s utterly dependable. I’ve tested this so many times, you can set your watch by the baking times.
- The texture is paramount: we’re achieving that shatteringly flaky crust that screams homemade goodness.
- The spices are perfectly calibrated to complement the tartness of the apples, creating a vibrant, juicy filling.
If you’re looking for the best foundation for that incredible filling, I have a few more deep dives on flavor components, like how to handle the exact apple pie filling ratios if you ever want to jazz things up later on. Check out my tips specifically for balancing fillings if you’re curious!
Achieving the Perfect Flaky Homemade Pie Crust
This is where we earn our bragging rights! Flakiness comes down to keeping everything icy cold. When that super cold butter hits the hot oven, the moisture inside turns to steam and pushes those layers of dough apart. That’s the science behind the perfect, light texture you want in a homemade pie crust. Don’t rush the chilling process; that time in the fridge is honestly the secret weapon for handling dough that doesn’t fight back later.
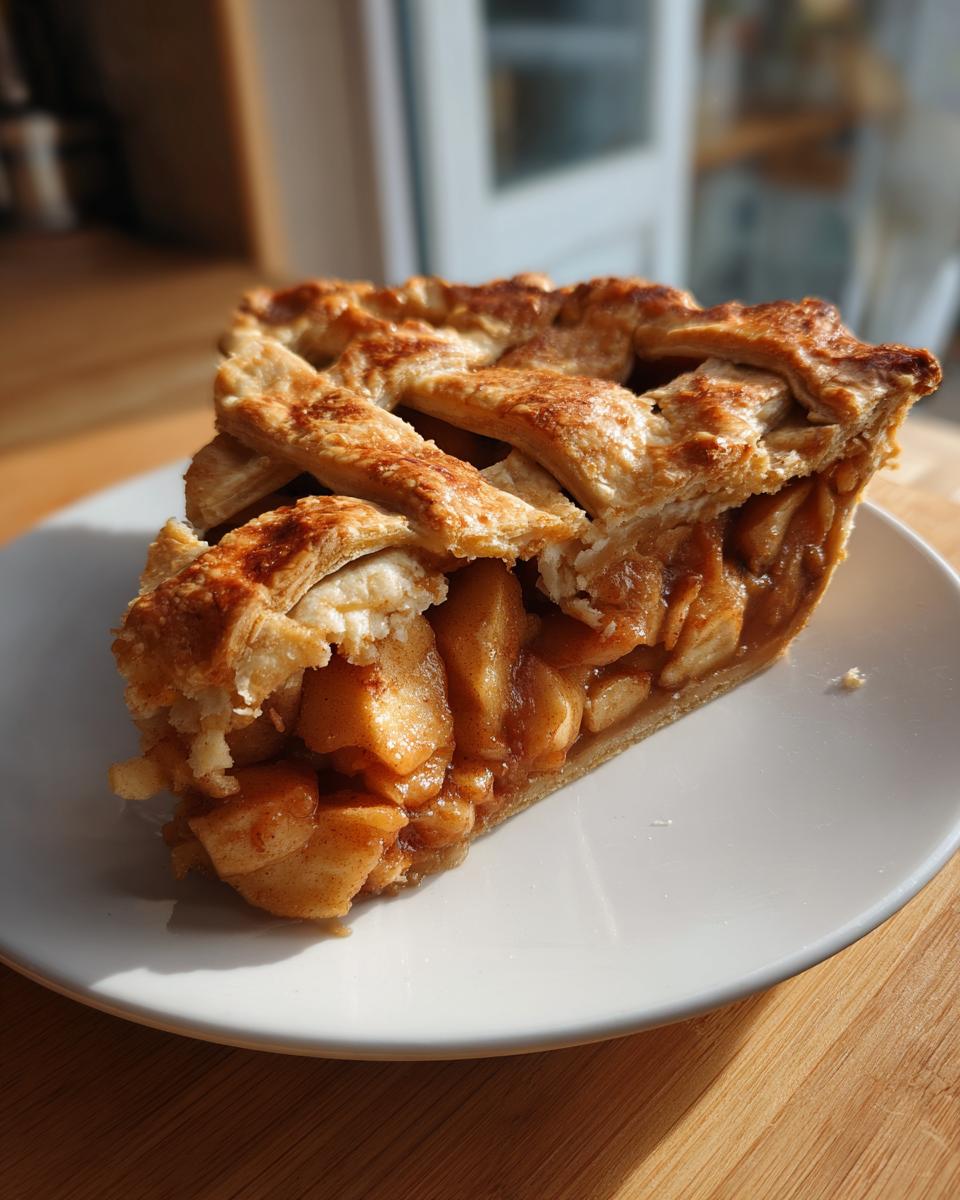
The Spiced, Juicy Apple Pie Filling Profile
We use Granny Smiths because they hold their shape beautifully and give us that necessary tartness, but they need friends! We balance them out with both white and brown sugar for depth, and that signature fall trio: cinnamon, nutmeg, and just a whisper of allspice. A little bit of flour mixed in with the sugar isn’t just filler; it thickens the juices beautifully as they cook, ensuring you get a gorgeously set pie, not a soupy mess at the bottom!
Ingredients for the Best Apple Pie Recipe
When we’re aiming for a truly traditional dessert, the quality of what goes in is everything. You can’t fake a great crust or a vibrant filling! Before you even turn the oven on, take a moment to appreciate these components. Remember, we’re using very cold butter—I mean Arctic cold—for the crust, and fresh, crisp apples for the filling. If you’re curious about managing moisture in other baked goods, check out my thoughts on managing wet ingredients in my brown sugar glaze recipe post!
For the Homemade Pie Crust
- 2 1/2 cups all-purpose flour
- 1 teaspoon salt
- 1 cup (2 sticks) unsalted butter, very cold and cut into 1/2-inch cubes
- 1/2 cup ice water, plus more if needed
For the Classic apple pie Filling
- 6 large Granny Smith apples, peeled, cored, and sliced 1/4-inch thick
- 1/2 cup granulated sugar
- 1/4 cup packed light brown sugar
- 1 teaspoon ground cinnamon
- 1/4 teaspoon ground nutmeg
- 1/8 teaspoon ground allspice
- 2 tablespoons all-purpose flour (for filling)
- 1 tablespoon lemon juice
- 1 large egg, beaten with 1 teaspoon water (for egg wash)
- 1 tablespoon coarse sugar, for sprinkling
How to Prepare the Classic apple pie
Alright, time to bring this masterpiece together! We’re moving from cold ingredients to wonderful aromas. I know breaking down the steps can seem daunting, but follow me closely here, and you’ll have a showstopper that rivals anything from the 1950s. If you’re looking for more incredibly detailed pie work, my guide on making mini pecan pies goes even deeper into crust handling!
Making the Flaky Homemade Pie Crust Dough
This is pure technique. Remember those pea-sized bits of butter we want? That’s key! Use a pastry blender or really cold fingers to cut the butter into your flour and salt. You want the mixture to look crumbly, almost like coarse sand, but with definite, distinct little slivers of butter showing. Now, add that ice water slowly, just until the dough holds together when you squeeze a bit. Stop mixing immediately! Seriously, I mean it—overmixing develops gluten, and we want tender, not tough. Divide that into two disks, wrap them tight, and they need a solid hour chilling. I often grate my butter on a box grater straight into the flour because my hands heat things up too fast!
Assembling the Apple Pie Filling
Get those gorgeous Granny Smiths sliced about a quarter of an inch thick—not too thick, not too thin. In a big bowl, gently toss them with those sugars, the wonderful spices (cinnamon, nutmeg, allspice!), the little bit of flour for thickening, and the lemon juice. You have to be gentle here; we want everything coated, but we absolutely do not want to bruise the apples and start releasing too much juice too soon. The lemon brightens up the whole flavor profile!
Shaping and Baking the Classic apple pie
Preheat that oven to 425 degrees Fahrenheit. Roll out your bottom crust and ease it into your pie plate, leaving that one-inch overhang. Pour in your filling; pile it high in the middle! Now, roll out the top crust. I love cutting vents—maybe a simple cross or a few neat slits—to let the steam escape. That steam is powerful, and if it can’t get out, it essentially steams your beautiful crust from the inside out! Brush that top with the egg wash and sprinkle with coarse sugar for that beautiful, shiny finish.
Here’s the two-step temperature trick: Bake it hot for 15 minutes at 425°F to set the bottom crust structure. Then, drop the temp down to 375°F for another 40 to 50 minutes. If you notice the edges getting too dark—which happens because of that rich butter—just make little tin foil shields and tuck them around the rim. That’s my trick for making sure the overall pie cooks evenly without burning the edges.
Tips for Success with Your Classic apple pie
Truly mastering this recipe means understanding the little non-negotiables—the details that separate a good effort from greatness. I’ve saved you the trial and error by incorporating all the wisdom from my test kitchen right here. We don’t want tough crusts or runny filling! These are the critical moments where you need to pay close attention to guarantee success when making this flaky homemade pie crust.
The Critical Role of Cold Ingredients in Your Homemade Pie Crust
I cannot stress this enough: keep those ingredients cold! If your butter softens even a little, it will blend right into the flour, resulting in a tough, shortbread-like texture rather than those beautiful, airy flakes we are chasing. When you’re cutting in your butter, work fast! If you feel things warming up, just pop your bowl back into the freezer for five minutes before continuing. The ice water also needs to be genuinely icy—I even toss a few extra cubes in there while I’m mixing ingredients just to keep that temperature down. That shock of cold is what creates the perfect structure.
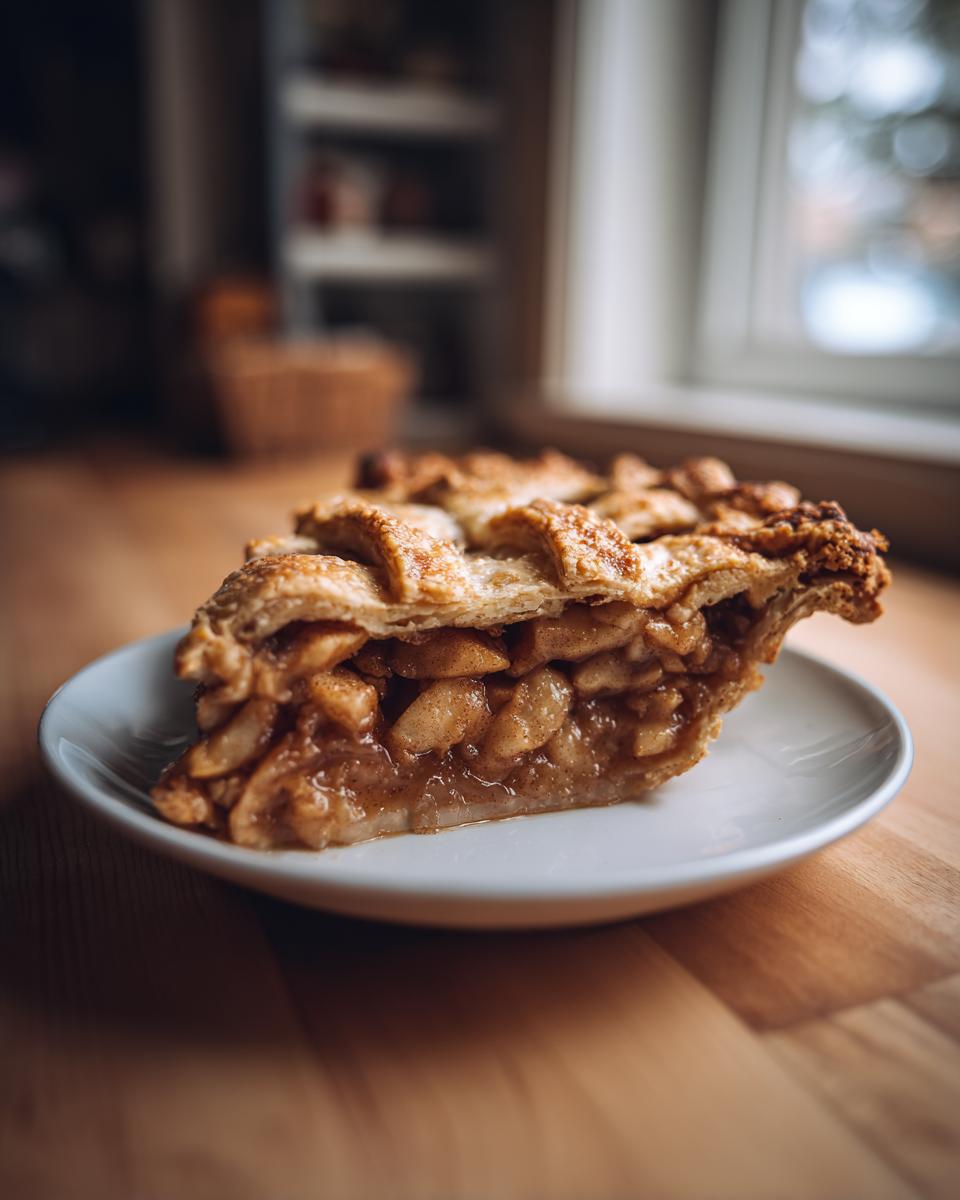
Setting the Apple Pie Filling Properly
This is the hardest part because it requires the most patience, but it’s essential if you want beautiful slices that hold their shape. See how the instructions say to cool for at least 3 hours? You absolutely must honor that time. When the pie first comes out, the juices in the apple pie filling are like lava and very thin. As it cools, the starches and butter work their magic to truly set up. If you slice into it too early, all that gorgeous, spiced juice will pour right out onto the plate, and nobody wants that sad, soupy bottom crust!
Variations on the Classic apple pie
Even though this is the definitive, best-ever version, creating something new is half the fun of baking, right? We love honoring tradition, but sometimes we need a little twist, especially when dealing with all the amazing produce we get in the fall!
You can stick to the core recipe—the crust and the basic baking method are sacred—and just tweak what goes inside to make this your own. It’s a perfect canvas for all those great seasonal flavors that pop up in fall baking recipes.
- Apple Combo Swap: Don’t be afraid to mix Granny Smiths with something sweeter, like Honeycrisp or Fuji. I love doing half-n-half. It deepens the flavor without losing that necessary tart structure.
- Spice It Up: If you want a deeper, warmer flavor, try adding a pinch of freshly grated nutmeg or even a tiny hint of cardamom to the spice mix. It adds a lovely, complex aroma!
- Caramel Drizzle: My personal favorite addition is a quick homemade salted caramel sauce. Just add a thin drizzle over the apples right before sealing the top crust. It makes the pie extra decadent without altering the structural integrity.
- Nutty Crunch: Fold in about a half cup of toasted pecans or walnuts with the apples. They add a marvelous texture contrast to the soft fruit. Just make sure they are toasted first to bring out their maximum flavor!
Serving Suggestions for Traditional Desserts
Once you’ve wrestled that perfect, golden-brown beauty out of the oven and let it cool (which is the hardest part, I promise!), you need the right supporting cast. Since we’ve worked so hard to achieve this top-tier, classic apple pie, we don’t want to smother it with anything too complicated. We are aiming for that quintessential, heritage dessert experience!
For me, a slice of this perfect pie cries out for something simple yet rich that melts right into those warm spices. A generous scraping of vanilla bean ice cream is always a winner—especially if it’s just starting to soften around the edges of the hot pie. That hot/cold contrast is just heaven!
If you want to elevate that dairy component, try making a batch of homemade cinnamon butter. I have a super simple recipe you can whip up in minutes for spreading on biscuits, but it is *divine* dolloped right on top of a warm slice of pie. You can find my super easy cinnamon butter recipe here, and it makes the whole experience feel even more special.
If you prefer something a bit tangier to cut through the rich crust, a dollop of chilled crème fraîche or a high-quality, slightly soured whipped cream works wonders. It’s all about complementing those traditional dessert flavors we worked so hard to build!
Storage and Reheating Instructions for Classic apple pie
Now that you’ve made this stunning pie, the last thing you want is to waste a single crumb! Storing and reheating properly is crucial, especially because we worked so hard to get that bottom crust crisp and flaky. We definitely don’t want any sogginess creeping in!
You can safely keep your completely cooled classic apple pie covered loosely at room temperature for about two days. Honestly, if your kitchen is warm, or if you live somewhere humid, you should cover it tightly with plastic wrap and put it in the fridge after the first 12 hours. It will hold up beautifully in the fridge for about four days total.
But here’s my main piece of advice: never, ever reheat a whole pie wrapped in plastic. You’ll steam the crust right back into softness. If you’re only reheating a slice or two, skip the microwave entirely. The microwave might make the filling hot again fast, but it turns the beautiful crust rubbery or soggy.
Take those slices and pop them right onto a baking sheet. Heat them in a 350-degree oven for about 10 to 15 minutes. You want the crust to warm up until it’s just starting to feel crisp again. Trust me, that little bit of extra time in the oven brings back that flaky snap we worked so hard for. It’s worth the few extra minutes!
Frequently Asked Questions About This Classic apple pie
I know you’ve got questions! When you’re aiming for the absolute best apple pie recipe, it’s natural to want to customize a little or troubleshoot potential snags. I’ve pulled together the things I get asked the most about mastering this traditional dessert and getting that filling just right.
Can I use store-bought pie dough instead of a homemade pie crust?
Oh, bless your heart, you could, I suppose! But listen, if you’re going through the effort to make this incredible, spiced apple pie filling, why stop short of the finish line? Store-bought dough is just… fine. It usually lacks that incredible, shatteringly flaky texture we achieve with the slow incorporation of ice-cold butter in our homemade pie crust recipe. For this specific classic apple pie, I really plead with you to try making the dough from scratch at least once. You’ll taste the difference immediately!
What is the best type of apple for the apple pie filling?
For guaranteed success and that perfect balance of tart and sweet, Granny Smith apples are your foundation. They are firm, they don’t turn to mush halfway through baking, and they provide that necessary tang. However, if you want to make your apple pie filling truly sing, mix your Granny Smiths half-and-half with something slightly sweeter, like Honeycrisp or Braeburn. That blend gives you complexity!
My pie crust edges browned too fast. What should I do next time?
That’s such a common issue, especially with pies that bake for a long time! It means the heat is hitting those delicate edges harder and faster than the center. The fix is simple: Tin foil shields! In the instructions, you’ll see I mention covering the edges loosely with foil once they start getting deeply golden, usually around the 30-minute mark. This protects them while the rest of the pie finishes baking at that lower temperature. It’s the oldest trick in the book for a reason!
Estimated Nutritional Data for Classic apple pie
You know, once you pull that gorgeous, golden-brown loaf out of the oven, you start wondering about the whole picture, right? Since we’re talking about mastering traditional desserts, it’s only right to have a clear idea of what we’re serving up. I pulled the numbers based on that specific ingredient list for the classic apple pie, using the standard 8-slice yield.
But here’s my important disclaimer right up front: this data is based on my specific ingredient measurements and the size of my pie plates. If you swap out butter for shortening, or use different apples, the numbers will shift! Treat this as a very good, evidence-based estimate for this recipe, not a contractual guarantee. I always try to be transparent about the science behind the food we love!
- Serving Size: 1 slice
- Calories: 450
- Sugar: 35g
- Sodium: 250mg
- Fat: 25g
- Saturated Fat: 15g
- Unsaturated Fat: 10g
- Trans Fat: 0g
- Carbohydrates: 58g
- Fiber: 4g
- Protein: 5g
- Cholesterol: 60mg
It’s a rich, satisfying slice, no doubt about it! That fat content comes straight from the glorious, cold butter in our homemade pie crust—it’s what gives us those incredible flakes! Enjoy every bite, knowing you baked it with love and true artisanal technique.
PrintBest-Ever Classic Apple Pie with Flaky Homemade Crust
Master the art of the traditional American apple pie. This recipe delivers a perfectly spiced, juicy filling encased in a reliable, flaky homemade pie crust, connecting you to heritage baking.
- Prep Time: 45 min
- Cook Time: 65 min
- Total Time: 110 min
- Yield: 8 servings 1x
- Category: Dessert
- Method: Baking
- Cuisine: American
- Diet: Vegetarian
Ingredients
- 2 1/2 cups all-purpose flour
- 1 teaspoon salt
- 1 cup (2 sticks) unsalted butter, very cold and cut into 1/2-inch cubes
- 1/2 cup ice water, plus more if needed
- 6 large Granny Smith apples, peeled, cored, and sliced 1/4-inch thick
- 1/2 cup granulated sugar
- 1/4 cup packed light brown sugar
- 1 teaspoon ground cinnamon
- 1/4 teaspoon ground nutmeg
- 1/8 teaspoon ground allspice
- 2 tablespoons all-purpose flour (for filling)
- 1 tablespoon lemon juice
- 1 large egg, beaten with 1 teaspoon water (for egg wash)
- 1 tablespoon coarse sugar, for sprinkling
Instructions
- Prepare the crust: In a large bowl, whisk together the 2 1/2 cups flour and salt. Cut in the cold butter using a pastry blender or your fingers until the mixture resembles coarse crumbs with some pea-sized pieces of butter remaining.
- Gradually add the ice water, one tablespoon at a time, mixing until the dough just comes together. Do not overmix. Divide the dough in half, form each half into a disk, wrap in plastic wrap, and chill for at least 1 hour.
- Prepare the filling: In a large bowl, combine the sliced apples, granulated sugar, brown sugar, cinnamon, nutmeg, allspice, 2 tablespoons flour, and lemon juice. Toss gently to coat the apples evenly.
- Preheat your oven to 425 degrees Fahrenheit.
- On a lightly floured surface, roll out one disk of dough into a 12-inch circle. Carefully transfer the dough to a 9-inch pie plate. Trim the edges, leaving a 1-inch overhang.
- Pour the apple filling into the crust. Dot the top of the apples with a few small pieces of leftover butter if desired.
- Roll out the second disk of dough for the top crust. Place it over the filling. Trim the top crust, leaving a 1-inch overhang. Crimp the edges of the top and bottom crusts together to seal.
- Cut several slits in the top crust to allow steam to escape. Brush the top crust evenly with the egg wash and sprinkle with coarse sugar.
- Bake for 15 minutes at 425 degrees Fahrenheit. Then, reduce the oven temperature to 375 degrees Fahrenheit and continue baking for 40 to 50 minutes, or until the crust is golden brown and the filling is bubbling. If the edges brown too quickly, cover them loosely with foil.
- Cool the pie on a wire rack for at least 3 hours before slicing and serving. This allows the filling to set properly.
Notes
- For the flakiest crust, keep all your ingredients, especially the butter and water, as cold as possible.
- If you prefer a lattice top, cut the second dough disk into strips and weave them over the filling before sealing the edges.
- Use a mix of tart and sweet apples for the best flavor balance in your apple pie filling.
Nutrition
- Serving Size: 1 slice
- Calories: 450
- Sugar: 35g
- Sodium: 250mg
- Fat: 25g
- Saturated Fat: 15g
- Unsaturated Fat: 10g
- Trans Fat: 0g
- Carbohydrates: 58g
- Fiber: 4g
- Protein: 5g
- Cholesterol: 60mg