
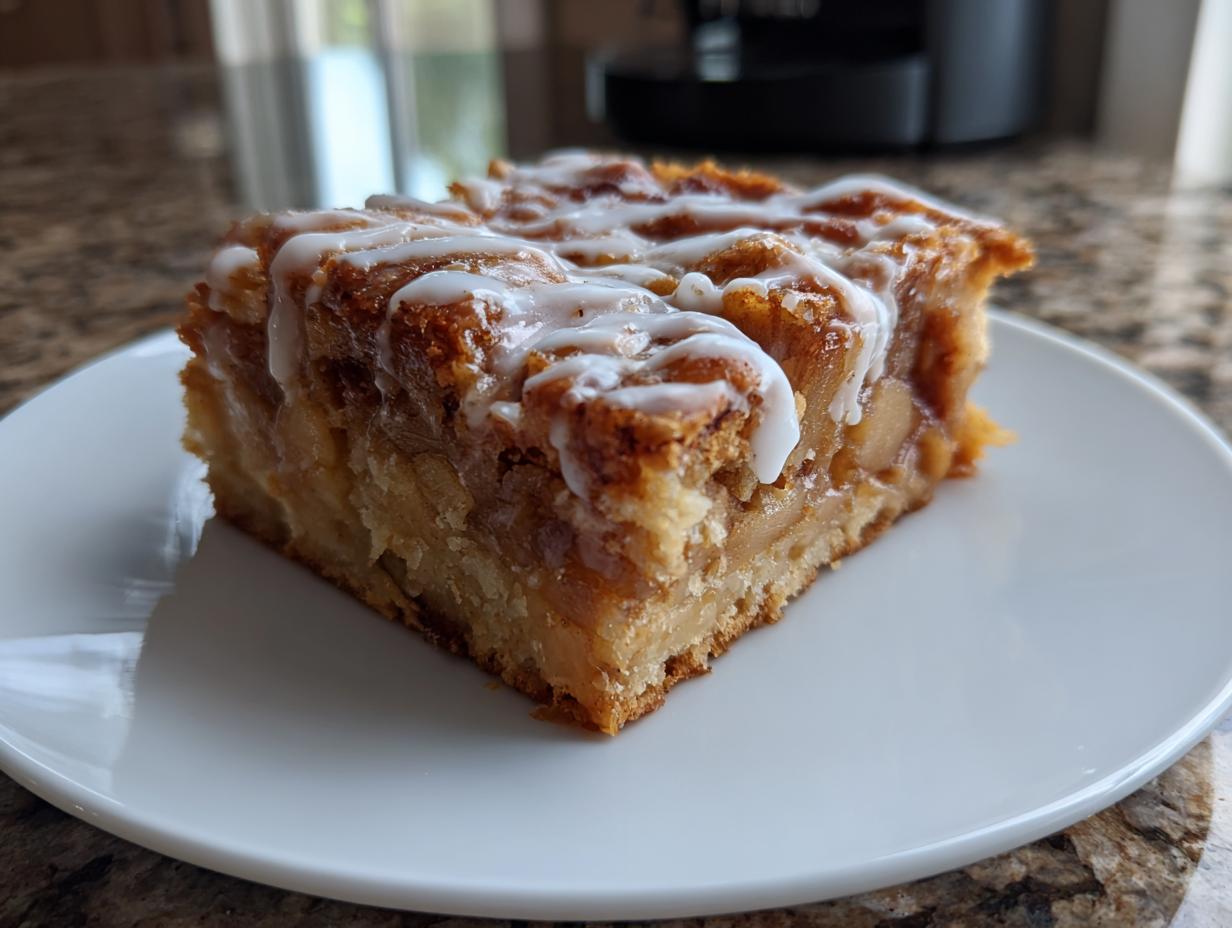
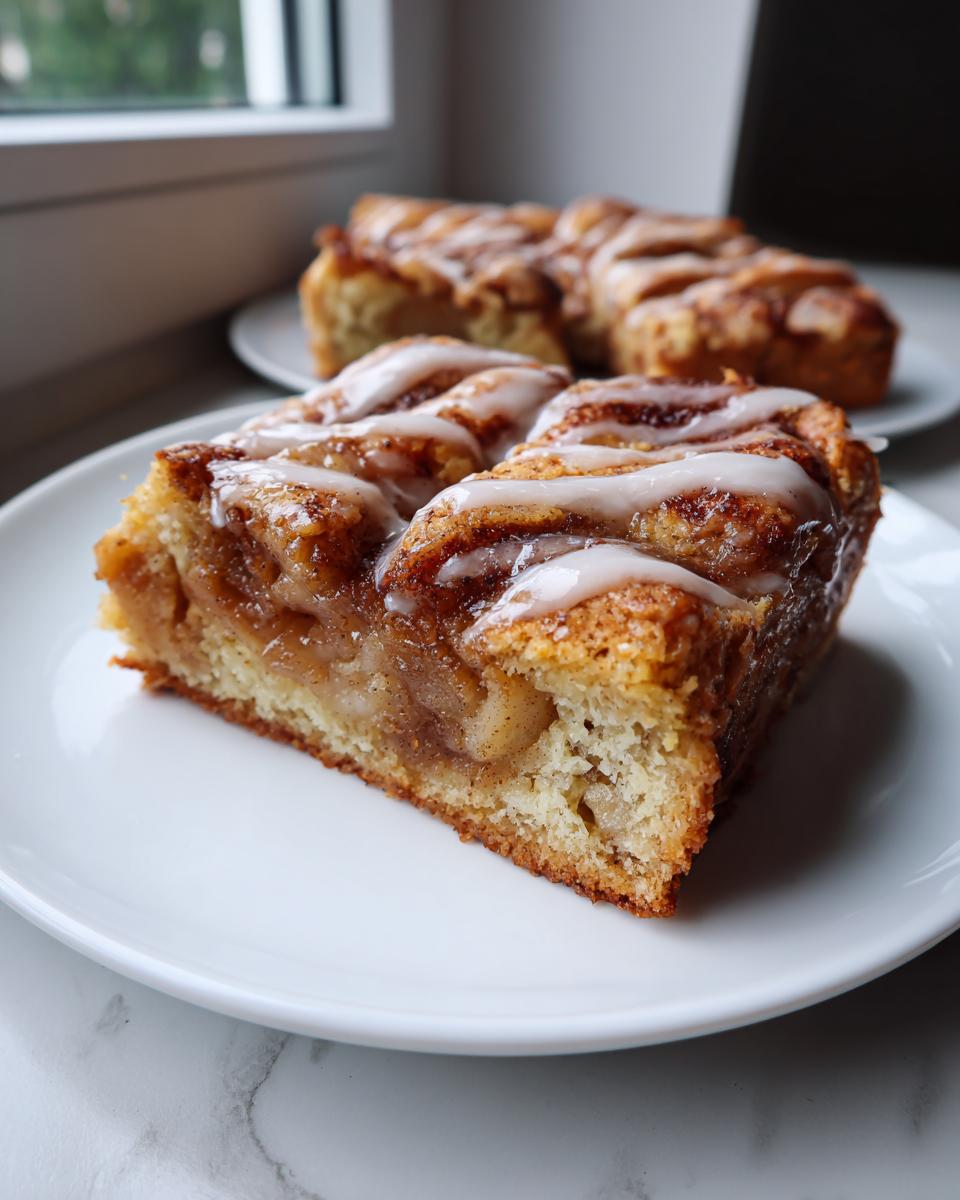
Oh, nothing screams comfort food quite like a pie with that perfect, flaky crust, yet rolling out that dough right before a big gathering can feel like wrestling an octopus. That’s where my passion for taking classic American recipes and making them totally approachable really shines through. Here at Cookery Command, we believe you shouldn’t miss out on that warm, spiced apple goodness just because you’re short on time or patience. That’s why I absolutely adore these **apple pie bars**. We take the best part—that amazing, buttery flavor and tender cinnamon filling—and bake it into a simple, perfect square that you can just slice and serve. If you want to get a head start on that incredible cinnamon apple filling, check out my separate filling recipe, though we combine the steps here for ease! These bars deliver that nostalgic taste without the fuss, making them reliable for any baker. They are truly the definition of homemade joy!
- Why These Buttery Apple Pie Bars Are Easier Than Pie (E-E-A-T Focus)
- Ingredients for the Best Apple Pie Bar Recipe
- Step-by-Step Instructions for Perfect Apple Pie Bars
- Tips for Success with Your Flaky Crust Apple Bars
- Storage and Reheating Instructions for Apple Pie Bars
- Variations on Classic Apple Pie Bars
- Frequently Asked Questions About Apple Pie Bars
- Estimated Nutritional Data for Apple Pie Bars
- Share Your Perfect Apple Pie Bars Creation
Why These Buttery Apple Pie Bars Are Easier Than Pie (E-E-A-T Focus)
I’ve spent years in test kitchens perfecting reliability, and when it comes to presentation, simplicity is king! Making **easy apple pie bars** cuts out about half the fiddly work of a traditional double-crust pie. No more worrying about fitting a lattice or patching up a crimped edge. These are designed to be **no fork needed desserts**, which I always love showing off at a potluck.
The Advantage of a Flaky Crust Apple Bars Base
The crust is the real game-changer here. Instead of mixing and chilling butter just to roll it out as large as a dinner plate—which is always stressful—this is a shortbread-style dough. You mix it, press it right into the pan, and boom, you have a perfect, thick, buttery apple pie bars base. It’s sturdy, it’s delicious, and it just handles itself so much better.
Perfect for Baking Recipes for Gatherings
When you’re taking treats to a party, convenience matters. You simply cannot beat bars for transport! They stay flat, they don’t wobble, and they slice uniformly. If you’re looking for fantastic desserts for gatherings, these bars are your winner. Serving is as simple as boxing them up; no extra plates or serving utensils required!
Ingredients for the Best Apple Pie Bar Recipe
Okay, this is the fun part where we gather our supplies! Since this recipe delivers such a rich, buttery apple pie bars experience, every ingredient counts. I’ve listed out exactly what you need, broken down into the three parts: the crust you press in, the filling that makes your kitchen smell amazing, and the final touch of glaze. When you’re following along, make sure to use tart apples—they hold up so much better than sweet ones and balance the sugar in the shortbread base!
For the Buttery Shortbread Crust
- 2 1/2 cups all-purpose flour
- 1 cup granulated sugar, divided
- 1 teaspoon salt
- 1 cup (2 sticks) cold unsalted butter, cubed
- 1 large egg yolk
- 3 tablespoons ice water
For the Tender Cinnamon Apple Bars Filling
- 6 medium tart apples (like Granny Smith), peeled, cored, and thinly sliced
- 1/4 cup packed light brown sugar
- 1 tablespoon lemon juice
- 1 teaspoon ground cinnamon
- 1/4 teaspoon ground nutmeg
- 2 tablespoons cornstarch
That cornstarch is crucial, trust me! It absorbs all the liquid the apples release, guaranteeing that your middle layer stays thick, not runny. If you’re making my Dapple Cake too, you already know how brown sugar deepens that baked flavor!
For the Simple Vanilla Glaze on Apple Pie Bars
- 1 cup powdered sugar
- 2 tablespoons milk or cream (plan on adding more if you need it thinner)
- 1/2 teaspoon vanilla extract
Step-by-Step Instructions for Perfect Apple Pie Bars
Okay, let’s get baking! This process is really straightforward because we aren’t fighting with a rolling pin for the base. Since I’m all about reliability, I have my 9×13 pan lined with parchment paper before I even start mixing the dough. Leaving those long overhangs makes lifting the finished bars out so much easier—don’t skip that part! If you’re tackling any fussy crusts soon, remember the lessons learned from my mini pecan pies; cold is always better!
Making and Chilling the Buttery Apple Pie Bars Dough
First, we handle the shortbread. Whisk your dry ingredients together, then cut in that cold, cubed butter. You want the mixture to look like coarse meal or those little peas you see in cookbooks. If you’re using your hands, work fast so the butter doesn’t melt! Once the butter is incorporated, drizzle in the egg yolk and ice water gently. Mix it just until it clumps into a shaggy dough. Divide it in two, wrap those little disks tight, and get them into the fridge for at least 30 minutes. That chill time is non-negotiable; it keeps the crust flaky!
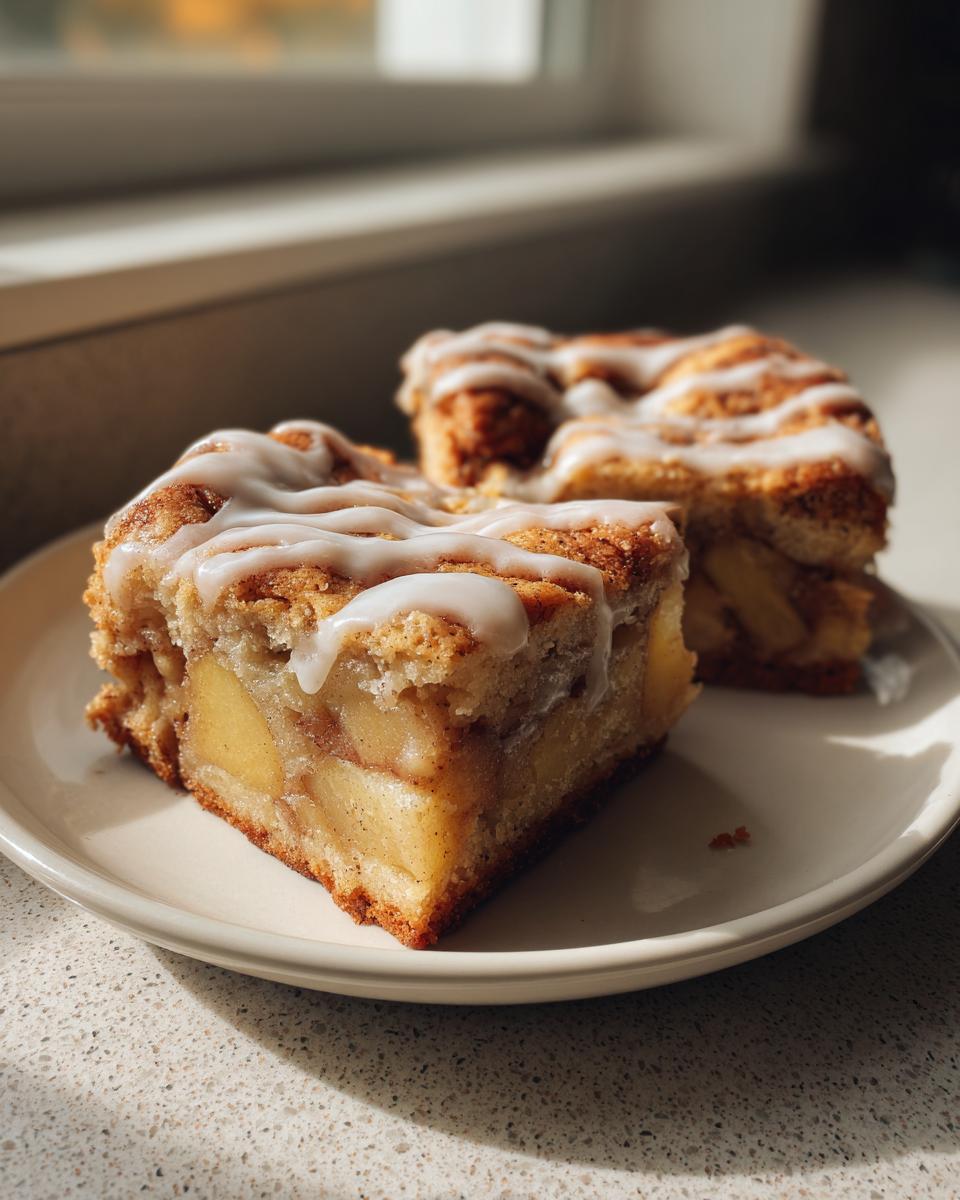
Assembling the Tart Apple Filling
While the dough is chilling, we toss the apples. Grab a big bowl and make sure those sliced apples get thoroughly coated with both the sugars, lemon juice, cinnamon, nutmeg, and that essential cornstarch. You want everything slick and covered so that when they bake, they turn into that thick, luscious filling instead of just releasing a watery mess. Set this aside; we’ll layer it onto the bottom crust soon.
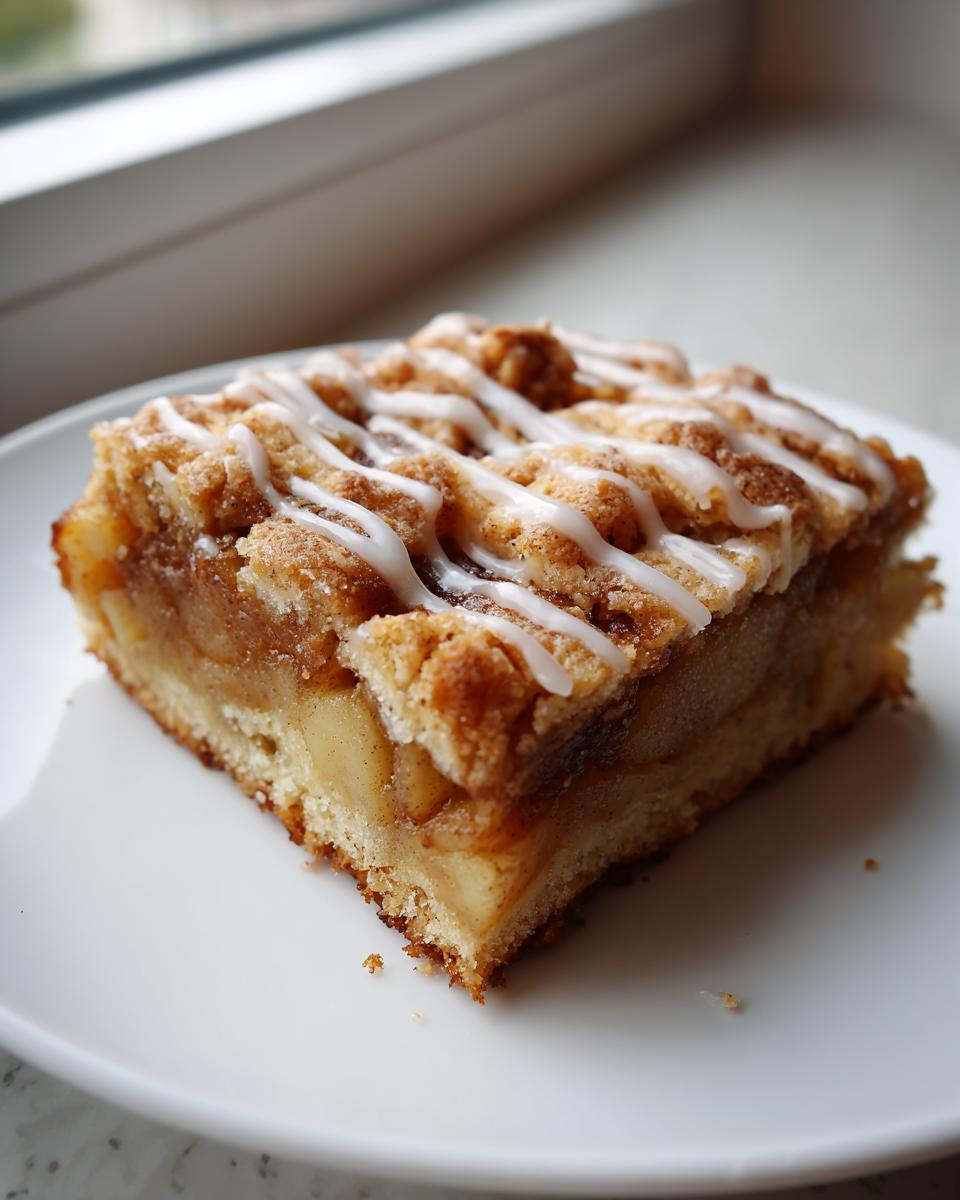
Baking the Apple Pie in Bar Form
Time to heat things up! Preheat your oven to 375 degrees Fahrenheit. Press one chilled dough disk evenly into the bottom of that prepared pan. Now, spread the apple mixture right over the top of that crust layer. For the second disk, you have options! I sometimes grate the whole thing right over the apples for a more rustic, **buttery apple pie bars** look, or you can cut it into strips for a simple lattice. Brush the top with a little milk and maybe a tiny sprinkle of sugar for crunch. Bake everything for about 45 to 55 minutes. You’re looking for a deep golden brown on the edges and you should see the filling bubbling happily in the center. Pop over to check out some other great bakery looks from this source if you need visual inspiration for toppings!
Cooling and Applying the Glaze to Glazed Apple Pie Bars
This is the hardest part—waiting! You absolutely must let these cool! If you try slicing them warm, they will fall apart into messy pools of apple and crumbs. Let them sit on a wire rack for at least two hours until they are totally room temperature. Once cool, whisk together your glaze ingredients until smooth. It should be thick but pourable. Drizzle that gorgeous vanilla glaze all over the top and let it set up before you slice them into perfect squares. Now you have beautiful **glazed apple pie bars**!
Tips for Success with Your Flaky Crust Apple Bars
Getting these bars perfect really comes down to a few key moments in the process. It’s all about managing temperature and ingredient choice to maximize that incredible flavor we’re after. Trust me, a little attention paid here makes all the difference between a good bar and truly the best apple pie bar recipe.
Choosing the Right Apples for Apple Pie Bars
I need to repeat this because it’s vital: use something tart! Granny Smiths are my default choice because their acidity cuts right through the richness of the buttery apple pie bars crust and that sweet glaze. If you use a softer, sweeter apple, you risk ending up with applesauce instead of perfectly tender slices after baking. Stick to tart for the best texture balance.
Achieving the Flakiest Crust Texture
Remember the crust dough? The secret to that “flaky” element we’re aiming for is keeping everything **cold**. If your butter is starting to look greasy or too soft when you cut it into the flour, stop mixing immediately and pop the whole bowl back into the fridge for ten minutes. Cold butter creates steam pockets during baking, which gives you that beautiful crumbly, flaky texture. If your hands are super warm, run them under cold water right before mixing!
For another fantastic fall treat, you should really try my pumpkin crunch recipe—that one also depends heavily on temperature control! See how others have tackled these bars at this resource, too.
Storage and Reheating Instructions for Apple Pie Bars
You’ve made the best apple pie bar recipe, now we want to make sure they last! Luckily, because these **apple pie bars** have a nice, sturdy shortbread base, they hold up really well—much better than, say, a standard cake. If I’m just making these for a weekend treat, I leave them right on the counter. Store them in an airtight container at room temperature; they’ll stay wonderfully fresh for about two days. That buttery crust just locks in the flavor!
If you need them to last longer, especially if you added the glaze, move them into the refrigerator. They’ll keep nicely for up to a week in the fridge, still in that airtight container. Just know that the glaze might get a little firmer when cold, so you might want to let them sit on the counter for 20 minutes before serving.
Reheating is optional, but oh so good if you want that fresh-from-the-oven gooeyness, especially if you’re skipping the glaze or just reheating a plain square. I just pop a single bar on a microwave-safe plate for about 10 to 15 seconds. It warms the apples right up beautifully! If you prefer them crisper, a quick five minutes in a toaster oven works wonders, too. For keeping those flavors sharp for future baking projects, you’ll want to check out my instructions for my easy toffee pretzels—storage science applies everywhere!
Variations on Classic Apple Pie Bars
Once you master the base of these **apple pie bars**, you can start having some real fun! I love adapting things based on what I have in the pantry, and these are so versatile. They are definitely one of my favorite dessert variations because the shortbread crust holds up to almost anything you throw at it.
Adding a Caramel Swirl to Your Cinnamon Apple Bars
If you want to take these instantly from cozy to totally decadent, just grab your favorite jar of caramel sauce. Before you press down that top layer of dough, drizzle ribbons of caramel all over the apple filling. When it bakes, it melts into those gorgeous pockets of gooey sweetness. You can find inspiration for a great sauce over at Sally’s site, or just use a jarred one!
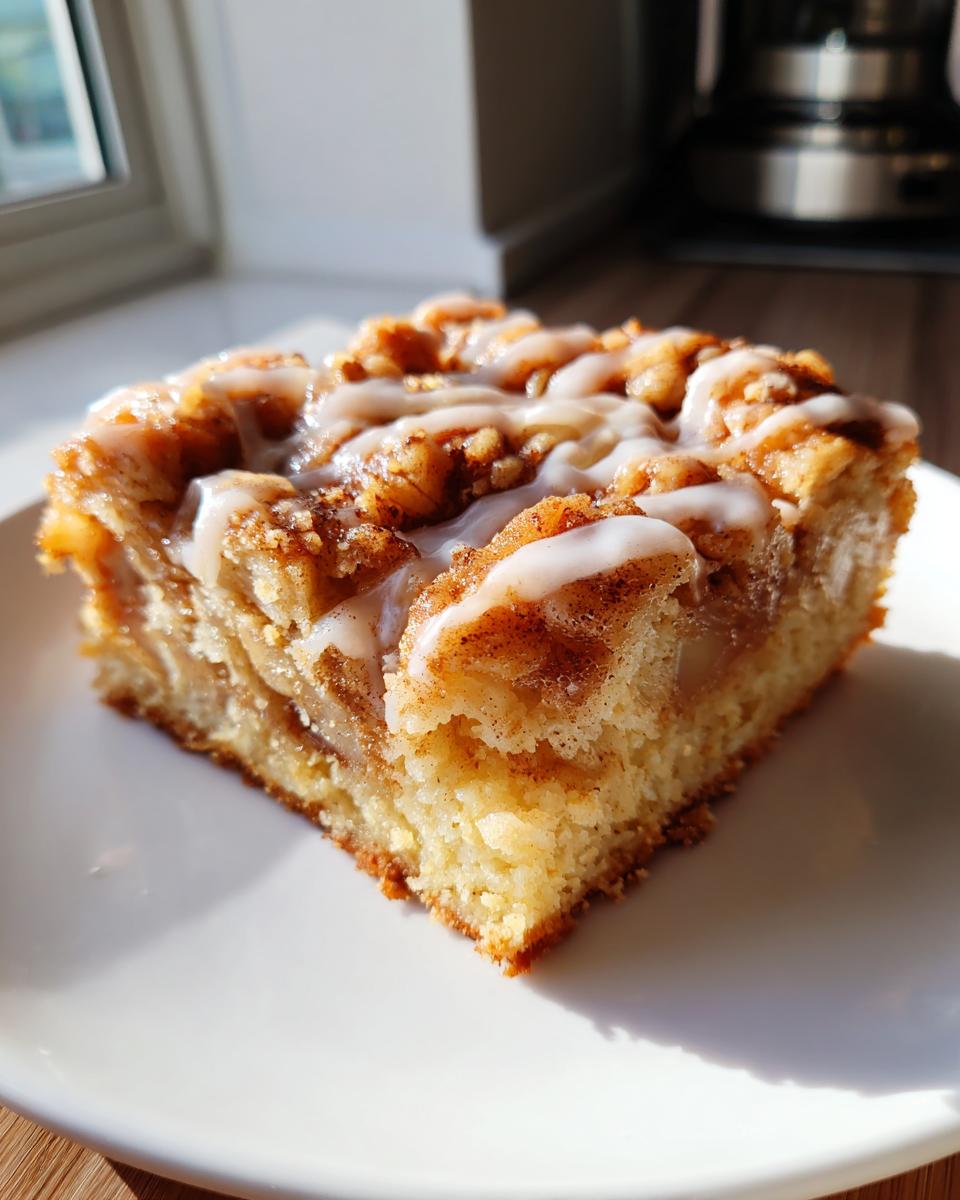
Making Easy Apple Desserts with an Oat Topping
If you’re craving a texture closer to an apple crisp—a popular twist on these **easy apple desserts**—swap out grating the top dough layer entirely! Just mix a half cup of rolled oats with a tablespoon of cold butter, a tablespoon of brown sugar, and a tiny pinch of cinnamon. Sprinkle that mixture right over your apple layer before baking. It creates the best **apple crumble bars** texture!
Frequently Asked Questions About Apple Pie Bars
I know you might have a few lingering questions before diving into the dough! It’s smart to ask. Getting the details right ensures you end up with the perfect, sliceable, home-style dessert. Honestly, people ask me the silliest things about getting that crust just right, but it always comes down to a few foundational rules. You totally want to make sure you get this right if you’re bringing these to a potluck!
Can I use pre-made pie crust for these apple pie bars?
You absolutely *can* cheat with store-bought dough if you’re in a total rush. It will work in a pinch, and the recipe is flexible enough for that. However, I have to warn you: that amazing, rich, melt-in-your-mouth quality comes straight from the homemade shortbread base. That crust is what makes these the genuine article—the **buttery apple pie bars** you dream about. So, I highly recommend taking those extra 15 minutes just for the crust dough!
What is the best way to slice these fall dessert bars cleanly?
This is where patience really pays off! If you try to cut these warm, the filling will ooze out and the crust will crumble everywhere. You have to let them cool—and I mean *completely* cool—for at least two hours in the pan. Once they are cool, take a large, sharp knife and wipe it clean between cuts, maybe even dipping it in hot water first. That slight heat from the knife cuts right through the set glaze and the layered filling for perfect squares. You don’t want messy slices when you’re serving at a gathering!
Are these easy apple pie bars suitable for freezing?
Yes, they freeze wonderfully! Just make sure you cool them completely, slice them into individual servings (or whatever size squares you prefer), and store them in an airtight container. I usually lay a piece of parchment or wax paper between the layers so they don’t stick together. You can freeze them without the glaze, too, which is often better. When you want to eat one, just pull it out and let it thaw on the counter for an hour, or gently warm it up. For more great tips on storing baked goods, check out my guide on freezing leftovers—the science is basically the same!
If you need more inspiration on classic bar variations, you can look at how Ina handled her versions over at this link.
Estimated Nutritional Data for Apple Pie Bars
Now, I know some of you are watching macros, and others just want to know what you’re diving into! Remember, this is just my best estimate based on the standard pantry staples I use in my kitchen. Since we’re dealing with all that real butter and natural sugar to make these the best apple pie bar recipe, they are definitely a treat, not a diet food. These numbers can fluctuate wildly depending on how heavy-handed you are with that gorgeous vanilla glaze, so consider this your starting point!
If you’re looking for ways to lighten up other parts of your meal planning, I’ve got some great ideas for homemade salad dressings that make veggies taste amazing. But honestly, sometimes you just need a comforting bite of apple and cinnamon!
- Serving Size: 1 bar
- Calories: 285
- Sugar: 25g
- Sodium: 110mg
- Fat: 15g
- Saturated Fat: 9g
- Carbohydrates: 37g
- Protein: 3g
Please keep in mind these are estimates based on 24 servings. If you cut your **apple pie bars** into smaller squares, the numbers change! Just enjoy the flavor of home-baked comfort when you treat yourself to one of these marvelous **apple pie bars**.
Share Your Perfect Apple Pie Bars Creation
Now that you’ve mastered the dough, baked the filling, and drizzled that beautiful glaze, I genuinely want to know how they turned out! The greatest joy for me, as Emily Harrison and the team here at Cookery Command, is seeing our reliable techniques turn into your real-life kitchen successes. Did that flaky crust *actually* stay flaky? Were your slices clean?
Don’t be shy! Please take a moment to leave a star rating right down in the comments below. Telling me if these **buttery apple pie bars** lived up to the hype helps other home cooks gain the confidence to try them next. If you took a beautiful photo—maybe they’re sitting on your cooling rack, waiting for dessert time—snap a picture and tag us on social media! Seeing your creations using our favorite baking recipes genuinely makes my day.
We love hearing which apple varieties worked best for you or if you decided to try that oat crumble topping variation. Your feedback helps me continue translating those classic American techniques into recipes that work perfectly every single time in your kitchen. Happy baking, and thank you for inviting these **apple pie bars** to your table!
PrintButtery Apple Pie Bars with Flaky Crust
Make these easy apple pie bars featuring a rich, buttery shortbread crust and a tender, cinnamon-spiced apple filling. This recipe delivers classic pie flavor in a simple, sliceable format perfect for gatherings.
- Prep Time: 25 min
- Cook Time: 50 min
- Total Time: 1 hour 45 min
- Yield: 24 servings 1x
- Category: Dessert
- Method: Baking
- Cuisine: American
- Diet: Vegetarian
Ingredients
- 2 1/2 cups all-purpose flour
- 1 cup granulated sugar, divided
- 1 teaspoon salt
- 1 cup (2 sticks) cold unsalted butter, cubed
- 1 large egg yolk
- 3 tablespoons ice water
- 6 medium tart apples (like Granny Smith), peeled, cored, and thinly sliced
- 1/4 cup packed light brown sugar
- 1 tablespoon lemon juice
- 1 teaspoon ground cinnamon
- 1/4 teaspoon ground nutmeg
- 2 tablespoons cornstarch
- 1/4 cup milk (for brushing)
- 1 cup powdered sugar (for glaze)
- 2 tablespoons milk or cream (for glaze)
- 1/2 teaspoon vanilla extract (for glaze)
Instructions
- Prepare the crust dough: In a large bowl, whisk together the flour, 1/2 cup of the granulated sugar, and salt. Cut in the cold butter using a pastry blender or your fingers until the mixture resembles coarse crumbs.
- Mix in the egg yolk and ice water until the dough just comes together. Divide the dough in half, flatten each half into a disk, wrap in plastic, and chill for at least 30 minutes.
- Prepare the apple filling: In a separate bowl, toss the sliced apples with the remaining 1/2 cup granulated sugar, brown sugar, lemon juice, cinnamon, nutmeg, and cornstarch until the apples are evenly coated.
- Preheat your oven to 375 degrees Fahrenheit. Line a 9×13 inch baking pan with parchment paper, leaving an overhang on the long sides for easy removal.
- Press one disk of chilled dough evenly into the bottom of the prepared pan to form the bottom crust.
- Spread the cinnamon apple filling evenly over the bottom crust.
- Remove the second disk of dough from the refrigerator. You can either grate it over the apples or roll it out and cut it into strips to create a lattice or crumble topping.
- Brush the top crust or crumble lightly with milk and sprinkle with a little extra granulated sugar if desired.
- Bake for 45 to 55 minutes, or until the crust is golden brown and the apple filling is bubbly.
- Let the bars cool completely in the pan on a wire rack. Cooling is essential for clean slicing.
- Prepare the vanilla glaze: Whisk together the powdered sugar, 2 tablespoons of milk or cream, and vanilla extract until smooth. Add more liquid, one teaspoon at a time, if the glaze is too thick.
- Once completely cool, drizzle the vanilla glaze over the top of the bars. Let the glaze set before slicing into squares.
Notes
- Use tart apples for the best flavor balance against the sweet crust and glaze.
- For the flakiest crust, keep your butter and water very cold when mixing the dough.
- These bars slice cleanly after they have cooled for at least two hours.
Nutrition
- Serving Size: 1 bar
- Calories: 285
- Sugar: 25
- Sodium: 110
- Fat: 15
- Saturated Fat: 9
- Unsaturated Fat: 6
- Trans Fat: 0
- Carbohydrates: 37
- Fiber: 2
- Protein: 3
- Cholesterol: 45