
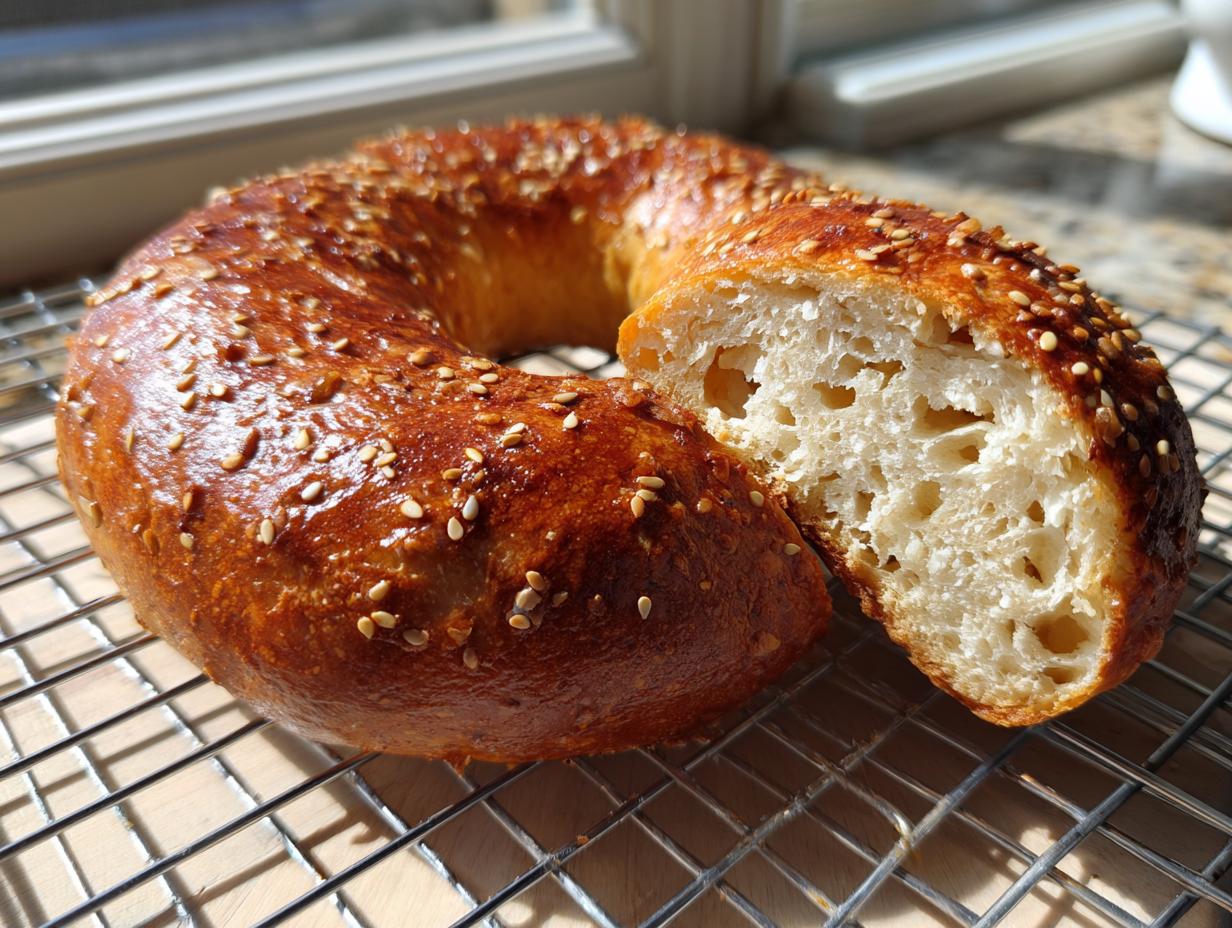
Let’s be honest, watching that sourdough starter get fed day after day only to toss out a big scoop of discard feels like throwing away potential, right? Well, I’ve got the absolute answer for using up those leftovers while treating yourself to something truly spectacular. We’re making what I consider The Best Chewy New York Style Sourdough Discard Bagels (Quick Method). My goal here at the Command Center is always to balance that timeless tradition with rock-solid technique, and these sourdough discard bagels offer that perfect chewy middle ground without demanding an overnight process. Trust me, once you see how fast these come together, they’ll be a staple in your kitchen. You can even dive into more ways to use that discards, like my popular sourdough discard cinnamon rolls after you finish up here.
- Why You Will Make These Sourdough Discard Bagels Often
- Essential Ingredients for Perfect Sourdough Discard Bagels
- Step-by-Step Instructions for Chewy Sourdough Discard Bagels
- Tips for Success When Making Sourdough Discard Bagels at Home
- Variations for Your Sourdough Discard Bagels
- Storing and Reheating Your Homemade Bagels
- Frequently Asked Questions About Sourdough Discard Bagels
- Nutritional Estimates for These Sourdough Discard Bagels
- Share Your Best Sourdough Discard Bagels Creations
- Nutritional Estimates for These Sourdough Discard Bagels
- Share Your Best Sourdough Discard Bagels Creations
Why You Will Make These Sourdough Discard Bagels Often
Look, the biggest reason is that we are finally stopping that food waste! But honestly, these bagels are winners on their own merits:
- You get that incredible, satisfyingly chewy texture that only a real bagel has.
- We’ve streamlined this into a genuinely quick method—ready way faster than traditional sourdough.
- It’s the perfect strategy for using up sourdough discard without feeling guilty about tossing it.
Say goodbye to sad, boring breakfasts; these homemade bagels are about to change your weekend routine!
Essential Ingredients for Perfect Sourdough Discard Bagels
Getting the right ingredients is half the battle, especially when aiming for that authentic New York style bagel chewiness. We aren’t messing around here; structure is key! You’ll need bread flour, your trusty discard, the right liquid, and a few supporting players.
The recipe calls for 400g of bread flour, and I really want you to stick with that high-protein bread flour if you can. It makes all the difference in developing that strong gluten network needed for a fantastic chewy bagels recipe structure. Don’t skimp! Also, a nice tip for you regarding the discard: for this quick bagel recipe, unfed or very recently fed discard is perfect. It brings that sourdough tang without needing a long 12-hour rest period.
Ingredient Notes and Substitutions for Sourdough Discard Bagels
Let’s talk sweeteners and yeast, because they are doing some heavy lifting here. That tablespoon of honey or, even better, malt syrup, isn’t just for sweetness. That syrup is what helps give these homemade bagels that signature glossy crust when they come out of the oven—it caramelizes so nicely!
Now, the instant yeast is optional, depending on how quickly you need these or if you’re aiming for a pure sourdough flavor. If you skip it, expect a richer flavor because the dough rests longer for a natural rise, making this one of the more thoughtful sourdough discard recipes. But if you’re short on time, the yeast speeds things up dramatically. You can find some neat pairing ideas for dipping, like my creamy easy beer cheese dip, if you happen to have leftovers!
Step-by-Step Instructions for Chewy Sourdough Discard Bagels
This is where the magic really happens, friends! Don’t let the boiling step scare you off—it’s the absolute secret sauce for turning a good dough into legendary New York style bagels. Because we’re using the quick method and sometimes a touch of yeast, the timing is pretty straightforward. Just follow along, and you’ll have these ready before you know it. We aren’t talking about an overnight fermentation here; we are getting these glorious things on the cooling rack fast!
Mixing and Kneading the Sourdough Discard Bagels Dough
First, get your liquids and your starter discard together in a big bowl with the flour. Mix it until it’s just shaggy—don’t worry about perfection yet. Once the salt and that bit of olive oil go in, it’s time to work! You need to knead this for a solid 8 to 10 minutes until the dough looks smooth and feels really elastic. If you are skipping the optional yeast, you’ll need to let this initial mix rest longer, maybe 3 or 4 hours, to let that sourdough flavor develop and give it a good rise.
Shaping and Proofing Your Homemade Bagels
Once the dough has expanded nicely during its rest, divide it into 8 equal parts. Roll each one into a tight little ball. Now for the crucial part of shaping: I poke a hole with my floured thumb right in the center. Gently use your fingers to stretch that hole out to about an inch and a half wide. Trust me, they shrink! If the hole is tiny, your bagel will puff up into a ball instead of a classic ring shape. Pop these beauties on parchment and let them hang out for just 30 minutes while the oven heats up.
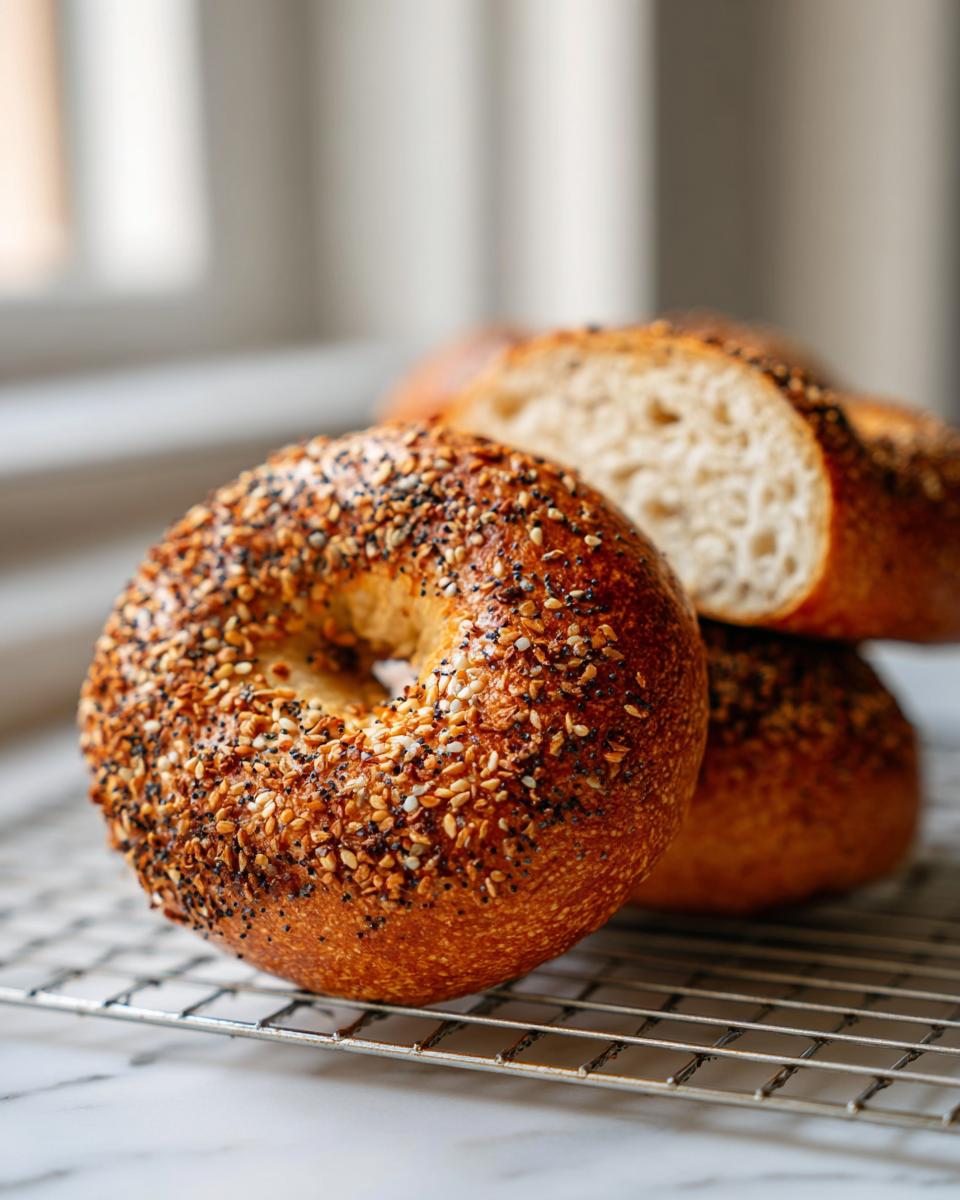
The Crucial Boil: Creating the Best Bagel Texture
Okay, this is non-negotiable if you want that amazing chew! Get a big pot of water boiling, and drop in a splash of malt syrup or even a teaspoon of baking soda—that helps big time with browning later. Carefully lower 2 or 3 bagels into the actively boiling water. You only boil them for 30 seconds on each side. Seriously, that’s it! Any longer, and you lose the fluffiness inside to the chewiness outside. Pull them out with a slotted spoon, brush them quickly with egg white, load up on your everything seasoning, and get them into that hot oven (425°F!) for about 20 minutes until they are beautifully golden brown. Don’t forget you can find more brilliant baking ideas, like my homemade marshmallows recipe, right here on the site!
Tips for Success When Making Sourdough Discard Bagels at Home
Achieving that perfect structure for New York style bagels at home is all about the final few steps. My biggest piece of advice, beyond the boil, centers on keeping things moving and keeping your hands clean. When you are shaping those dough balls, if they start sticking to your hands or the counter, don’t panic and dump in a ton more flour! That will dry out the final product.
Instead, keep a tiny bowl of oil next to your work surface. A light coating on your hands makes magically shaping those rings so much easier. Also, when you pull them out of the water, blot them gently with a paper towel before brushing with egg white; too much surface moisture means the seasoning won’t stick well.
When they go into the oven, you want that heat cranked up to 425°F. If your oven temperature tends to run low, I suggest using an oven thermometer just this once to make sure you’re hitting that high heat required for a crisp, golden crust. It’s those little details that turn good homemade bagels into something truly fantastic. For more tips on nailing precise cooking results, check out my guide for ultimate crispy roast potatoes recipe!
Variations for Your Sourdough Discard Bagels
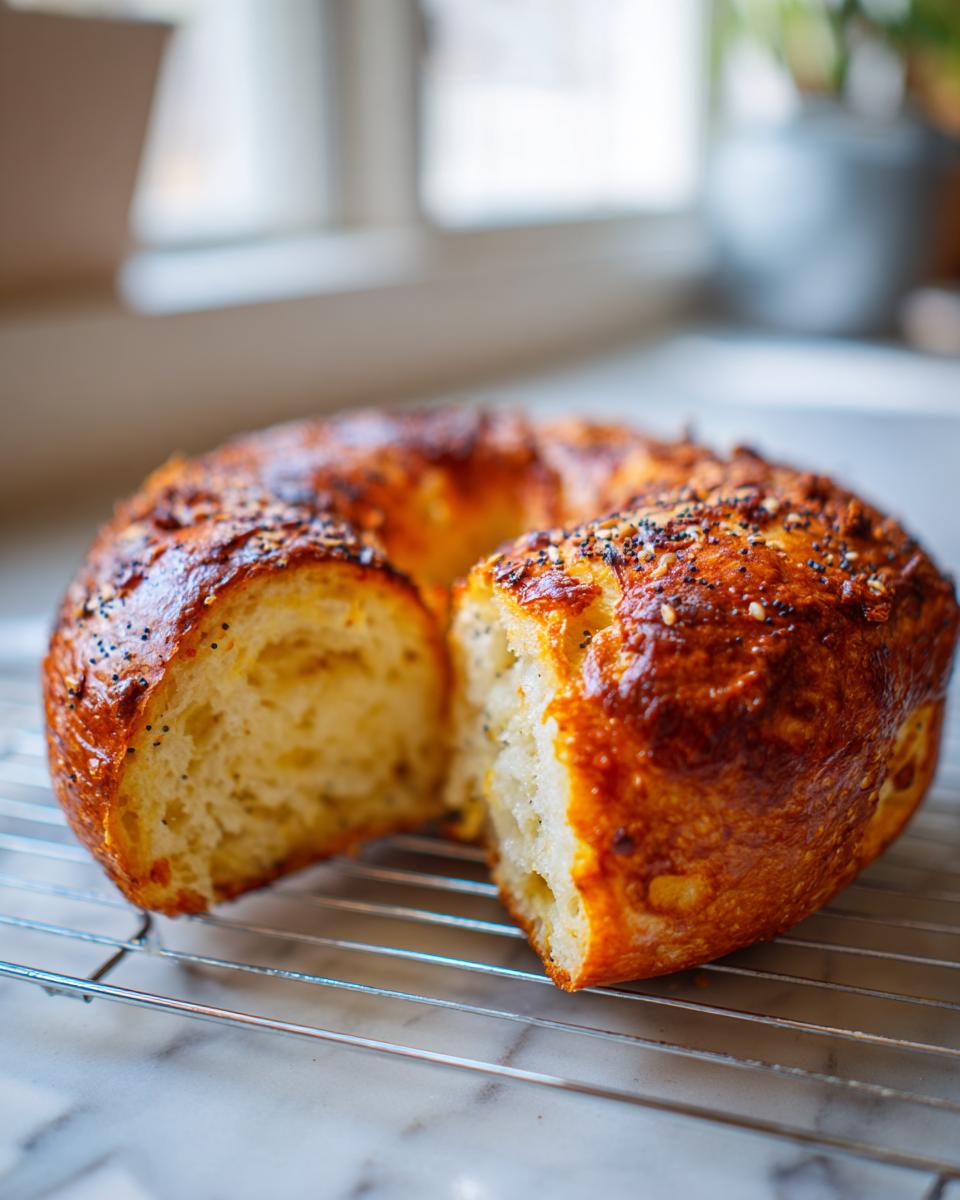
Once you master the classic everything seasoning, the sky is the limit with these easy sourdough bagels! They are perfect for all kinds of breakfast baking ideas, really. If you want a savory twist, try mixing 50g of shredded sharp cheddar or Gruyère right into the final dough mix before shaping. That melts beautifully.
For toppings, don’t stop at ‘everything’! Poppy seeds or sesame seeds work great on their own. You could even try a mild jalapeno flake mixed with Parmesan cheese for a spicy kick. If you need other simple recipes to fill out your weekend baking spread, you should look at my easy sweet potato muffins recipe next!
If you want to see another fantastic approach to using your starter, check out this linked guide for another take on using sourdough discard or starter in bagels!
Storing and Reheating Your Homemade Bagels
These bagels taste best the day they are made, but they freeze beautifully! Once completely cool, toss them into an airtight container or freezer-safe baggie. They keep really well for up to three months—perfect for having homemade bagels ready anytime.
To reheat and get that crust back? Don’t bother with the microwave! Slice them open, spray the cut sides lightly with water, and pop them in a toaster oven or a regular oven set around 350°F until warmed through and the edges are slightly crisp again. It’s like baking them a second time! For more simple, reliable recipes, check out my easy fudge recipe with no thermometer.
Frequently Asked Questions About Sourdough Discard Bagels
I know you have questions! When you’re diving into something new like combining discard with bagels, it’s smart to double-check a few things first. Don’t worry, I’ve answered the most common questions I get about making these easy sourdough bagels to make sure you feel confident tackling this recipe.
Can I make sourdough discard bagels without yeast?
Yes, absolutely! If you’re looking specifically for no yeast bagels, you can skip that optional tablespoon of instant yeast. However, you must adjust your expectations regarding time. When you rely only on the natural lift from your starter discard, you’ll need a much longer initial rest period—sometimes up to 4 hours instead of just 1 or 2. This longer ferment time develops a deeper sourdough tang for those who really love that flavor profile. It just means the rise is slower, which is fine, especially if you are following my general advice for beginner sourdough recipes.
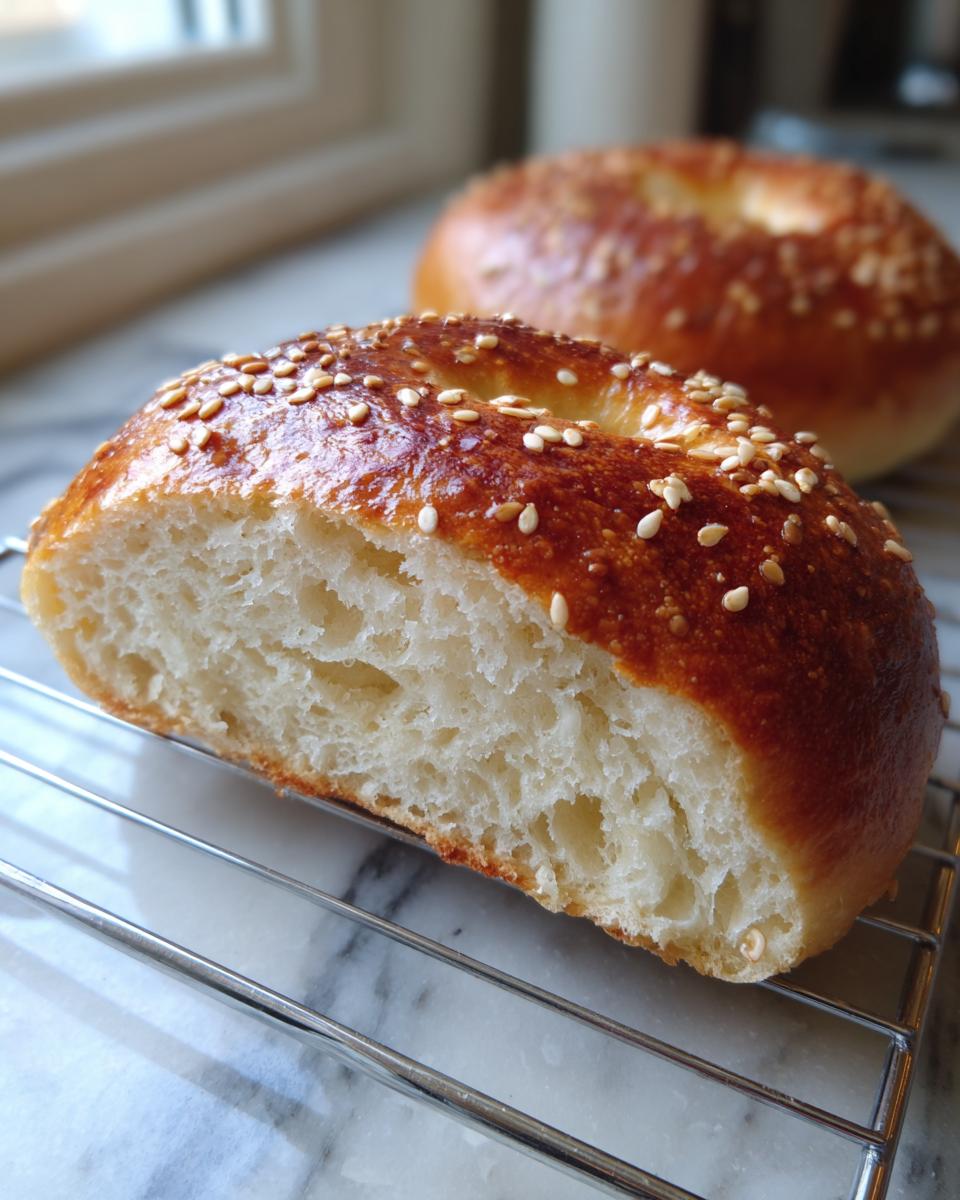
What is the secret to a chewy bagel texture?
It isn’t one thing, it’s two non-negotiables! The first secret is using good quality bread flour, which gives you the gluten structure needed to handle the next step. The second, and most important part for achieving that iconic, slightly dense, chewy center, is the boil. You must drop those shaped bagels into actively boiling water for about 30 seconds per side. That brief dunk sets the exterior crust and traps the moisture inside. If you skip the boil, you just get a lovely, dense bread roll, not a true bagel!
How much discard do I need for these sourdough discard recipes?
For this specific recipe, we call for exactly 100 grams of sourdough discard. And here’s the great bit for anyone trying to clear out their fridge: it doesn’t need to be actively bubbly or fed right before you use it. If your discard has been chilling in a sealed jar for a few days, that’s perfectly fine for this quick method. The recipe is balanced to handle slightly less active discard, which is why it’s such a fantastic way to tackle those inevitable leftovers. If you want another source outlining their approach to using the discard, you can always check out this external link on no yeast sourdough discard bagels!
Nutritional Estimates for These Sourdough Discard Bagels
Since we are making these from scratch using simple flour and discard, they naturally manage calories quite well compared to store-bought versions swimming in preservatives! Keep in mind that these numbers are just estimates based on my basic ingredients—your exact serving size and toppings will change things. Generally, one of these homemade bagels clocks in around 260 calories, with only about 3 grams of sugar. That’s a brilliant baseline for such a hearty breakfast item! Remember to check out my guide on easy, healthy homemade salad dressing recipes for lighter pairings.
Share Your Best Sourdough Discard Bagels Creations
Now that you have the blueprint for the best sourdough discard bagels, I truly want to see what you come up with! Please leave a rating at the top of the page if you loved the chewy texture. Did you go savory with cheese, or stick to that classic everything seasoning? Better yet, snap a photo and tag me online! These are fantastic for impromptu weekends, so definitely try making a big batch next time you plan brunch recipes with starter. And if you’re done with bagels, maybe try my rich easy crab shrimp stuffed salmon recipe next!
PrintNew York Style Sourdough Discard Bagels (Quick Method)
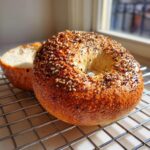
Make chewy, New York style bagels using your sourdough starter discard. This recipe provides a glossy crust and satisfying texture, perfect for breakfast or brunch.
- Prep Time: 25 min
- Cook Time: 25 min
- Total Time: 50 min
- Yield: 8 servings 1x
- Category: Breakfast
- Method: Boiling and Baking
- Cuisine: American
- Diet: Vegetarian
Ingredients
- 400 g bread flour
- 100 g sourdough discard (unfed or recently fed)
- 240 ml warm water
- 1 tablespoon honey or malt syrup
- 1 teaspoon instant yeast (optional)
- 10 g fine salt
- 1 tablespoon olive oil
- 1 egg white (for boiling)
- Everything seasoning (for topping)
Instructions
- In a large bowl, combine the bread flour, sourdough discard, warm water, honey or malt syrup, and instant yeast if you are using it. Mix until a shaggy dough forms.
- Add the salt and olive oil to the dough. Knead the dough on a lightly floured surface for about 8 to 10 minutes until it becomes smooth and elastic.
- Place the dough in a lightly oiled bowl, cover it, and let it rest in a warm place for 1 to 2 hours, or until it has visibly increased in size. This recipe moves faster than traditional sourdough.
- Divide the dough into 8 equal pieces. Roll each piece into a ball, then poke a hole through the center of each ball using your thumb or a floured finger. Gently stretch the hole to about 1.5 inches wide.
- Place the shaped bagels on a parchment-lined baking sheet. Cover them loosely and let them rest for 30 minutes.
- Preheat your oven to 425°F (220°C). Bring a large pot of water to a boil and add a splash of sweetener like malt syrup or a teaspoon of baking soda if desired for extra browning.
- Gently drop 2 or 3 bagels into the boiling water. Boil for 30 seconds on each side. This step creates the chewy interior and glossy crust.
- Remove the boiled bagels with a slotted spoon and place them back on the baking sheet. Brush the tops lightly with the whisked egg white.
- Sprinkle generously with everything seasoning.
- Bake for 18 to 22 minutes, turning halfway through, until the bagels are golden brown and cooked through.
- Cool the bagels on a wire rack before slicing and serving.
Notes
- If you skip the optional instant yeast, allow the dough a longer initial rise time, up to 4 hours, for better flavor development.
- For a crispier crust, you can add a teaspoon of baking soda to the boiling water.
- These bagels freeze well once cooled. Store them in an airtight container for up to three months.
Nutrition
- Serving Size: 1 bagel
- Calories: 260
- Sugar: 3
- Sodium: 450
- Fat: 2
- Saturated Fat: 0.5
- Unsaturated Fat: 1.5
- Trans Fat: 0
- Carbohydrates: 54
- Fiber: 2
- Protein: 9
- Cholesterol: 0