
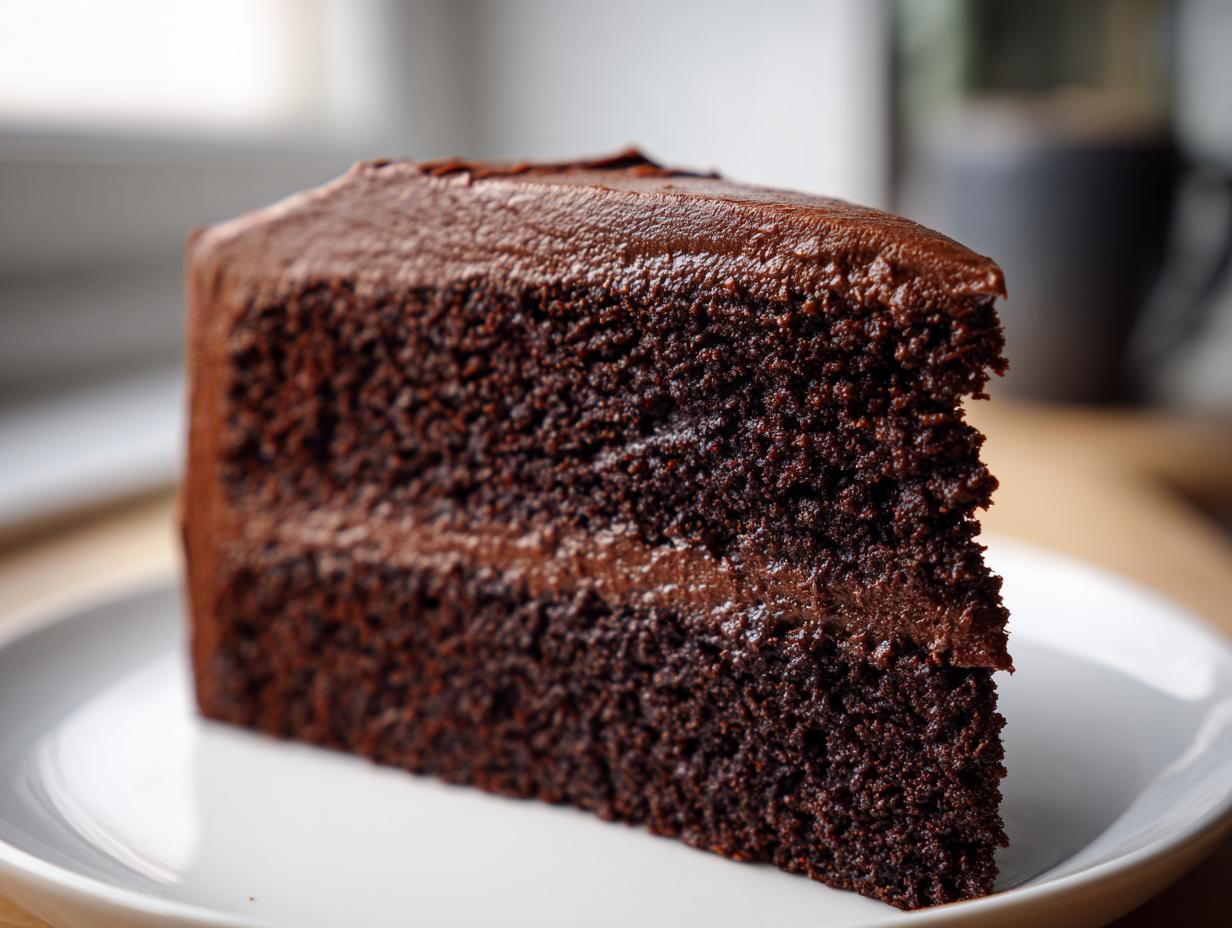
If you’ve ever been burned by a chocolate cake that turned out dry or crumbly, I feel you. Seriously, there’s nothing more disappointing than craving that deep, dark, decadent experience and getting something…well, lackluster. For years, I was on a mission to find the moist chocolate cake recipe that just couldn’t fail, and trust me, I’ve tossed out enough dense flops to fill a compost bin. But don’t worry, because I finally cracked the code! This isn’t just another recipe; this is the recipe—the ultimate, ultra moist chocolate cake that is completely and totally foolproof. It uses a few simple tricks that guarantee a tender crumb every single time you bake it. You can finally stop searching! If you want to dive deeper into my general guidelines for moisture in cakes, check out my thoughts on making a great moist cake based on simple adjustments.
- Why This is the Ultimate Moist Chocolate Cake Recipe
- Gathering Ingredients for Your Moist Chocolate Cake
- Step-by-Step Instructions for the Foolproof Chocolate Cake
- Expert Tips for an Ultra Moist Dessert
- Assembling Your Decadent Chocolate Layer Cake
- Storage and Reheating Instructions for Moist Chocolate Cake
- Frequently Asked Questions About This Moist Chocolate Cake
- Estimated Nutritional Data for This Rich Dark Chocolate Dessert
- Share Your Experience Baking This Moist Chocolate Cake
Why This is the Ultimate Moist Chocolate Cake Recipe
When I say this is the moist chocolate cake you’ve been dreaming of, I mean it. We built this recipe around reliability and pure decadence. It’s designed so you can throw ingredients together, walk away, and know you’ll pull out a showstopper. It’s seriously a no-brainer, which is why I love it for busy days!
- It’s surprisingly fast—we’re talking ready-to-bake in under 20 minutes.
- The texture is pure velvet; no dry edges, ever.
- The deep flavor profile feels like you bought it from a high-end bakery.
Foolproof Technique for a Tender Crumb
The secret to keeping this cake from ever drying out is actually in Step 4 where we add that cup of hot liquid at the end. It blooms the cocoa powder and gelatinizes the starches just enough. Unlike some drier recipes that rely only on fat, ours uses that temperature shock to lock in moisture. It’s the ultimate insurance policy against a dry bake, making this a totally no-fail cake recipe.
Achieving Rich Dark Chocolate Flavor
If you want that intense, adult chocolate flavor, you need to lean into quality cocoa and, yes, that hot coffee. Trust me on the coffee; it doesn’t make the cake taste like your morning brew. Instead, it just deepens the darkness of the chocolate notes. This combination moves it beyond a simple dessert and firmly into the category of a truly rich dark chocolate dessert. If you want more ideas on deep chocolate, I also have a fantastic recipe for guaranteed moist chocolate fudge cake.
Gathering Ingredients for Your Moist Chocolate Cake
The best part about this incredibly moist chocolate cake is that it doesn’t ask for any fancy, hard-to-find things. It’s an easy homemade chocolate cake built on pantry staples, which is why I trust it completely when I need a dessert in a pinch!
Just make sure you have everything ready before you start mixing. You’ll need two 9-inch round pans prepared, or you can use that one standard 9×13 inch pan if you prefer a sheet cake version. For the buttermilk, please make sure it’s at room temperature if you can—it really helps those chemical reactions happen smoothly! If you’re curious about how buttermilk impacts texture in other recipes, I wrote a whole piece on classic buttermilk pie.
Cake Batter Components
Here is everything you need to combine for that beautiful, thin batter that turns into the ultimate crumb:
- 1 3/4 cups all-purpose flour
- 1 3/4 cups granulated sugar
- 3/4 cup unsweetened cocoa powder (use a good quality one!)
- 1 1/2 teaspoons baking soda
- 1 1/2 teaspoons baking powder
- 1 teaspoon salt
- 1 cup buttermilk (room temperature is best)
- 1/2 cup vegetable oil (yes, oil makes it so much moister than just butter!)
- 2 large eggs
- 1 teaspoon vanilla extract
- 1 cup hot brewed coffee (it must be hot when you add it!)
For the Rich Chocolate Buttercream Frosting
You’ll need one cup of frosting for layering and covering this cake. I can’t give you my full frosting recipe here, but I promise it’s the perfect creamy companion to this rich cake. If you need the absolute best frosting in your life, go check out my tutorial for the best chocolate frosting recipe right now!
Step-by-Step Instructions for the Foolproof Chocolate Cake
Okay, now for the fun part! We are turning those simple ingredients into what I promise will be the best **moist chocolate cake** you’ve ever made. Seriously, just follow these steps without messing with the order, and you won’t recognize how easy it is to get that bakery-style result at home. If you’re looking for more easy dessert ideas, I have a fun recipe for easy chocolate fondue too!
Preparing the Pans and Dry Mix
First things first: get that oven preheated to 350°F (175°C). Next, you need to prep your pans. Grease them well and flour them—don’t skip this! Whether you use your two 9-inch rounds or that 9×13 pan, give them a good coating. Now, grab your biggest mixing bowl. Whisk together all your dry stuff: the flour, sugar, cocoa, baking soda, baking powder, and salt. You want to whisk this really well—we’re talking three full minutes if you can—to break up any lumps in that cocoa powder and make sure the leavening agents are totally distributed. That’s your insurance for an even rise!
Mixing the Batter and Adding Coffee
Now, add the wet things right into that dry mix: the buttermilk, oil, those two eggs, and the vanilla. Beat this with your electric mixer on medium speed for a full two minutes. It’s going to look thick, which is totally normal. The crucial part comes next: carefully pour in that 1 cup of hot coffee. Mix it on low speed only until it’s just combined. Stop mixing! I know it looks thin, like soup almost, but trust me, that watery batter is precisely what creates a moist chocolate cake texture. Don’t panic; this is exactly what you want.
Baking and Cooling for Perfect Texture
Pour that thin batter evenly into your prepared pans. Pop them into the oven and bake them for about 30 to 35 minutes, or if you used a 9×13 pan, plan for closer to 35 to 40 minutes. You’re looking for the time when a wooden pick inserted into the center comes out clean, maybe with a few moist crumbs clinging to it—that’s the indicator of perfect saturation! Once they are done, let them sit in the pan for 10 minutes. Then, carefully flip them onto a wire rack to cool completely. Seriously, do not even think about frosting them until they have cooled down totally, or you’ll have a melted mess!
Expert Tips for an Ultra Moist Dessert
Now that you have the “how” down, let me give you the “why” so you can achieve an ultra moist dessert every single time. Baking is science, and understanding these small chemical reactions is what separates a good cake from one that melts in your mouth. These little details are what I picked up testing recipes in a professional setting, and they make a huge difference when you’re aiming for that rich, deep flavor profile.
The Role of Buttermilk in Your Moist Chocolate Cake
You might normally grab regular milk, but please stick to the buttermilk here! Buttermilk is acidic, see? When it bumps into the baking soda we added to the dry ingredients, it creates a massive, gentle lift. This reaction, combined with the cup of oil, is what guarantees that incredibly tender crumb we keep talking about. It keeps the cake soft and light, even though the flavor is super rich. It’s the key to stopping that dry, dense texture from ever showing up in your beautiful moist chocolate cake!
Maximizing Chocolate Depth with Coffee
We already talked about the hot coffee being essential, but let’s circle back to it as a finisher. The heat isn’t just activating the cocoa; it’s helping everything emulsify beautifully without overworking the gluten. When you are choosing your powder, skip the regular stuff if you want that intense, almost black color. Go for Dutch-process or a labeled dark cocoa powder. It gives you that beautiful, dramatic darkness that makes it look like a high-end bakery cake. If you’re looking for a different kind of fresh side to go with your decadent chocolate, you should check out my thoughts on the best Caesar salad recipe with chicken—sometimes you just need something bright after all that chocolate!
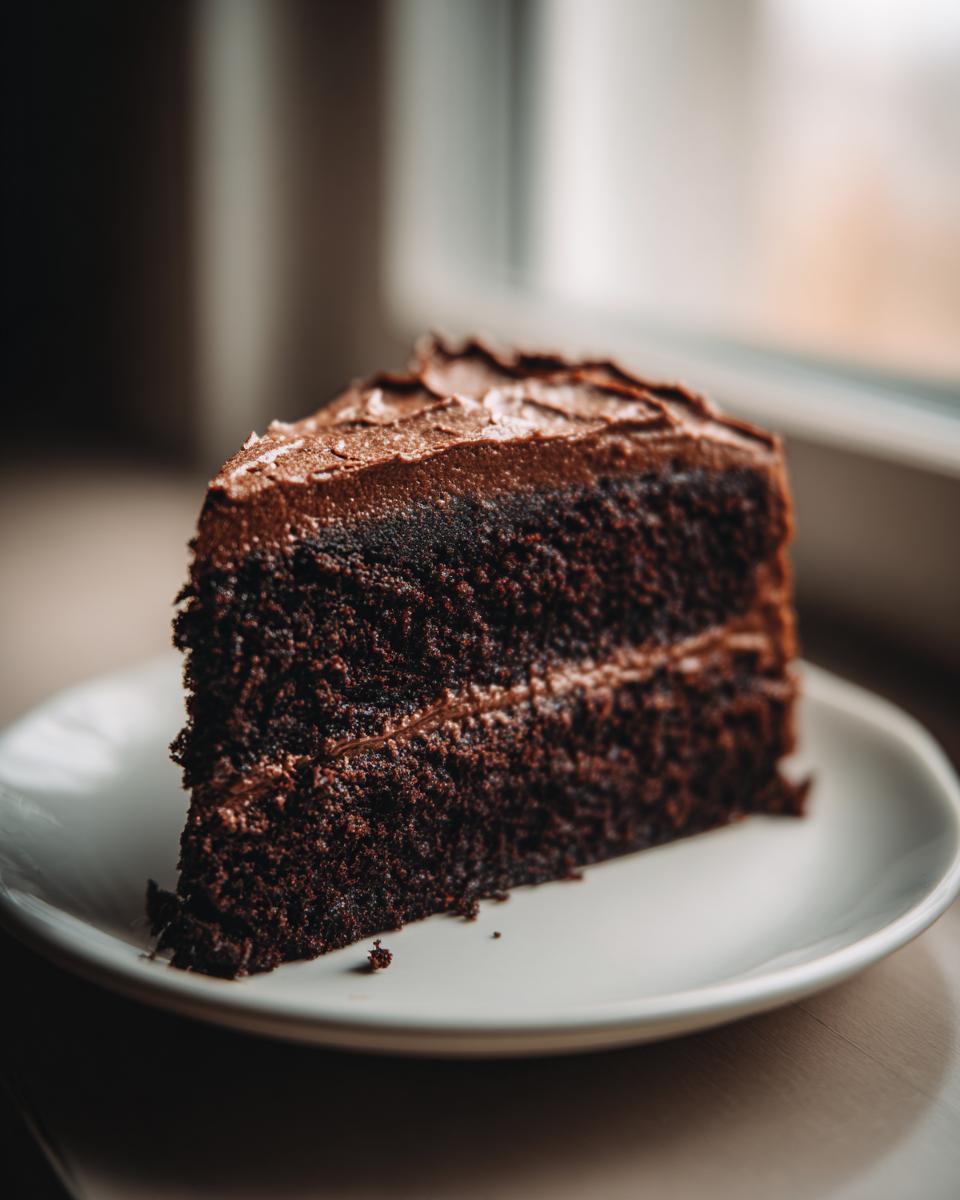
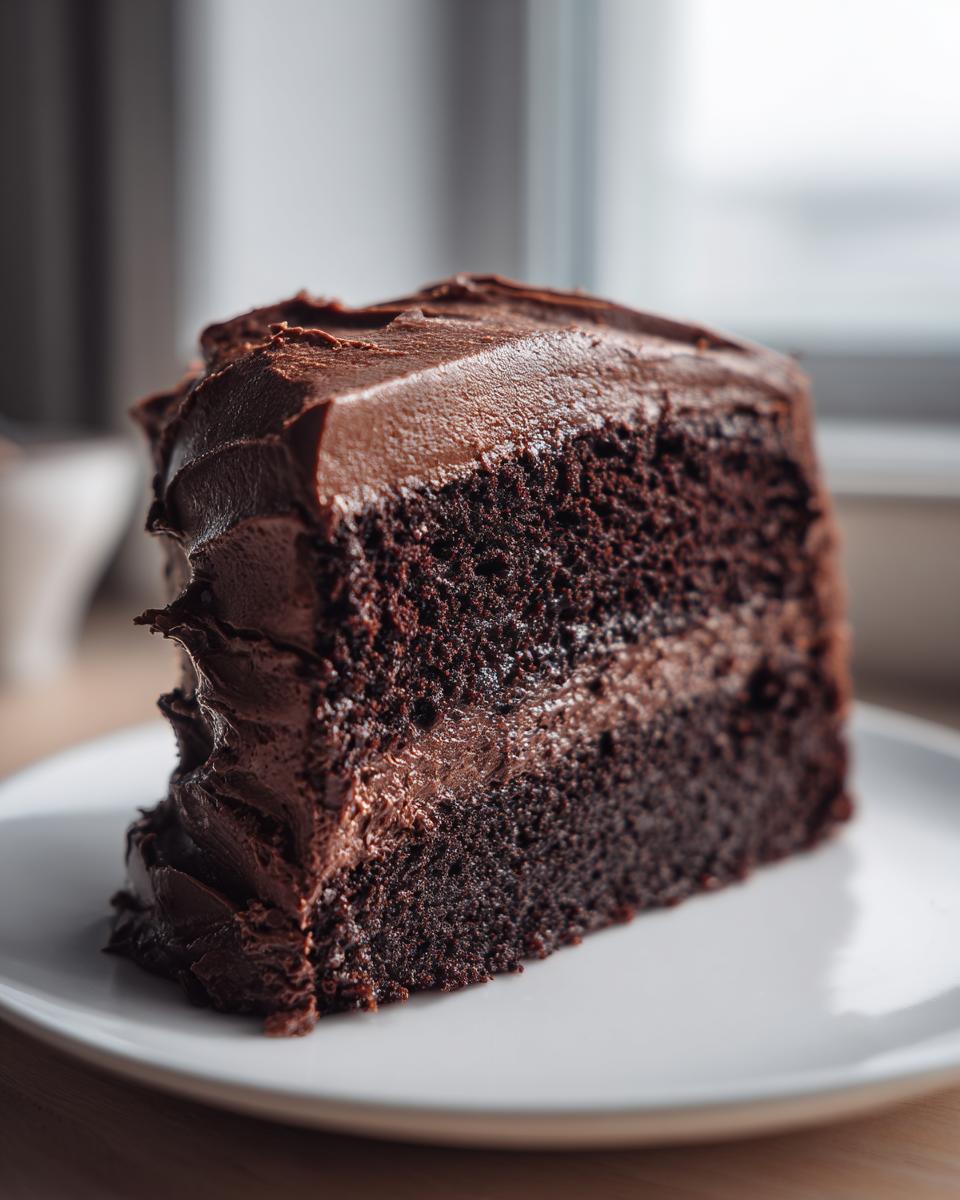
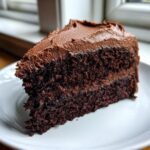
Assembling Your Decadent Chocolate Layer Cake
This is the moment where all that patience during cooling finally pays off! You cannot rush frosting this cake, trust me. If you try to stack and frost even slightly warm layers, you’ll end up with sliding layers and a frosting disaster. I learned this the very first time I made this recipe for my nephew’s birthday, I was so excited I forgot to let the bottom layer cool completely. The entire center slicked right over onto the counter! It was salvageable, but man, was it a mess.
Once those cakes are completely cooled, you’re ready to build your decadent chocolate layer cake. Make sure your frosting is smooth and spreadable—if it’s too stiff, just warm it up for 15 seconds in the microwave. For the best results, I recommend using a dollop of frosting in the middle of your first layer, spreading it evenly right up to the edge, and then gently placing the top layer on. A nice thick coating of that rich chocolate buttercream looks utterly divine, and honestly, the taller the cake, the more satisfying it is!

If you are looking for the perfect pairing to this super moist cake recipe, you absolutely must try my tutorial on making vanilla buttercream. Sometimes that slightly lighter vanilla frosting is the perfect contrast to such a deep chocolate base.
Storage and Reheating Instructions for Moist Chocolate Cake
Now that you have this incredible, tender cake, the last thing you want is for it to dry out sitting on the counter! Thankfully, because we used vegetable oil and buttermilk, this cake holds its moisture exceptionally well compared to purely butter-based cakes. The way you store it honestly changes how long it stays perfect.
If you’re planning to eat this beauty within two days, leaving it at room temperature, covered tightly, is totally fine. I use a big cake dome or I’ll just lightly tent a large piece of plastic wrap over the entire thing, making sure it doesn’t touch the frosting too much.
If you need it to last longer, or if your kitchen is super hot, you absolutely should refrigerate it. Just make sure you slice off the piece you want to eat first! Once iced, the frosting acts as a little seal. When you take a slice out of the fridge, let it sit on the counter for about 30 minutes before you try to eat it. Cold mutes flavor, and we don’t want that!
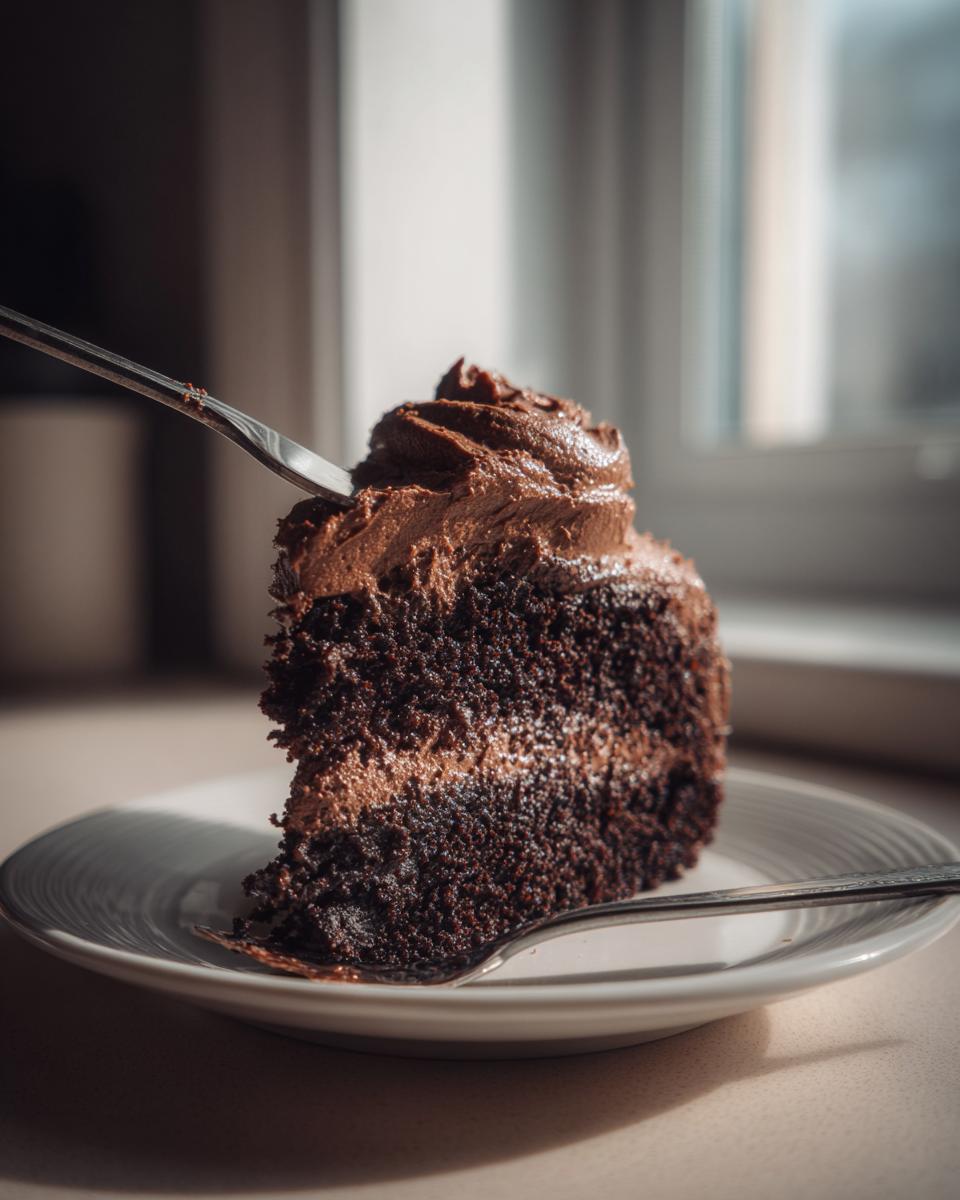
Speaking of reviving slices, sometimes I just want one perfect bite a few days later. If a slice seems a little firm, don’t toss it! I’ll microwave a single piece for just 8 to 10 seconds. It warms the oil slightly, bringing back that unbelievable tenderness instantly. It’s like a mini second bake, and it’s heavenly. For other long-term storage tips for things you refrigerate, you might find my guide on easy refrigerator dilly beans gives you some good ideas on sealing freshness!
Frequently Asked Questions About This Moist Chocolate Cake
I know when you commit to baking a centerpiece like this, you want zero guesswork. It’s totally normal to have a few last-minute questions before you even turn the oven on! I tried to cover everything important in the main recipe, but here are the things people ask me most often about making sure this foolproof chocolate cake comes out perfectly, every single time.
Can I substitute the buttermilk in this foolproof chocolate cake recipe?
Yes, you absolutely can manage a substitution if you’re totally out of buttermilk, though I strongly recommend seeking it out because it really makes a difference in the tenderness of your moist chocolate cake. If you have to swap, just take 1 cup of regular milk—whole milk works best—and stir in 1 tablespoon of white vinegar or lemon juice. Let that sit on the counter for about 5 minutes until it curdles slightly. It won’t give you the exact same rich tang, but it provides the necessary acidity to activate that baking soda for lift.
How do I ensure I have a bakery style chocolate cake texture?
Achieving that beautiful bakery style chocolate cake texture comes down to two things: leavening and mixing control. First, make sure your baking soda and baking powder are fresh and measured precisely—they are critical for that light rise that balances the density of the oil. Second, and this is huge: once you add that hot coffee, you must stop mixing as soon as the streaks disappear. Overmixing after the liquid goes in develops gluten, and gluten means toughness. We want velvet, not rubber!
Is this the best chocolate cake recipe for making cupcakes?
It totally is! This recipe crosses over beautifully into cupcake territory because the high liquid content keeps them from drying out during the shorter baking time. Line a standard cupcake tin very well—since they are small, they can stick easily. Instead of 30–35 minutes, you’ll only need about 18 to 22 minutes at the same 350°F. Use a toothpick to check one in the center of the tray when the timer goes off. These little guys make the most decadent chocolate layer cake bites, and they’re perfect for little hands!
If you’re looking for the perfect topping for those cupcakes, don’t forget to check out my instructions for the best chocolate frosting recipe—it pipes like a dream!
Estimated Nutritional Data for This Rich Dark Chocolate Dessert
So, we all know that when you’re making a truly decadent chocolate layer cake, you aren’t exactly worried about counting every single calorie, right? But for those of you who do like to keep track, I wanted to lay out a general overview of what you can expect from one slice of this masterpiece. Remember, this is purely based on standard assumptions for the ingredients listed—homemade versions of things like the buttercream can change these numbers a bit! I certainly don’t weigh my ingredients when I’m chasing that moist texture, but it’s good to have a ballpark idea.
These numbers represent just one generous slice, perfect for enjoying guilt-free while basking in the glory of how amazing your baking turned out. It’s a rich dessert, and the stats reflect that deep, satisfying flavor!
- Serving Size: 1 slice
- Calories: 450
- Sugar: 45g
- Fat: 25g (with 8g saturated fat)
- Total Carbohydrates: 55g
- Protein: 5g
See? Totally worth it for that rich dark chocolate dessert experience. Don’t let the sugar content stop you; this recipe is about indulgence and making memories, not stress!
Share Your Experience Baking This Moist Chocolate Cake
Now that you’ve successfully navigated the steps and hopefully pulled that perfectly tender, ultra moist cake out of the oven, I absolutely want to hear about it! Honestly, being a home cook means sharing the wins, and this recipe is one of my biggest wins against dry desserts everywhere.
Did you use two layers or go for the 9×13 pan? Were you surprised how thin the batter was? Did your family fight over the first slice? Drop a comment right down below. I read every single one, and seeing your successes truly makes my day. It proves that this moist chocolate cake recipe truly is reliable for everyone.
If you snapped a picture of your final, dazzling rich dark chocolate dessert creation, please share it on social media and tag me! I love seeing these beauties come to life in different kitchens across the country. Or, if you had any questions come up during the baking process that weren’t covered in the FAQs, don’t hesitate to send me a message through my contact page. Happy baking, friends—I hope this cake becomes a tradition at your table just like it is at mine!
PrintThe Ultimate, Ultra Moist Chocolate Cake (Foolproof Recipe)
Follow this simple, no-fail recipe to create an ultra moist chocolate cake with rich, dark chocolate flavor. This bakery-style dessert is easy to make and perfect for any celebration.
- Prep Time: 20 min
- Cook Time: 35 min
- Total Time: 55 min
- Yield: 12 servings 1x
- Category: Dessert
- Method: Baking
- Cuisine: American
- Diet: Vegetarian
Ingredients
- 1 3/4 cups all-purpose flour
- 1 3/4 cups granulated sugar
- 3/4 cup unsweetened cocoa powder
- 1 1/2 teaspoons baking soda
- 1 1/2 teaspoons baking powder
- 1 teaspoon salt
- 1 cup buttermilk
- 1/2 cup vegetable oil
- 2 large eggs
- 1 teaspoon vanilla extract
- 1 cup hot brewed coffee
- 1 cup rich chocolate buttercream frosting
Instructions
- Preheat your oven to 350°F (175°C). Grease and flour two 9-inch round cake pans or one 9×13 inch pan.
- In a large bowl, whisk together the flour, sugar, cocoa powder, baking soda, baking powder, and salt.
- Add the buttermilk, oil, eggs, and vanilla extract to the dry ingredients. Beat with an electric mixer on medium speed for two minutes.
- Carefully pour in the hot brewed coffee and mix on low speed until just combined. The batter will be thin.
- Pour the batter evenly into your prepared pans.
- Bake 30 to 35 minutes for round layers, or 35 to 40 minutes for a 9×13 pan, or until a wooden pick inserted into the center comes out clean.
- Let the cakes cool in the pans for 10 minutes before inverting them onto a wire rack to cool completely.
- Once cool, frost the cake layers with your rich chocolate buttercream frosting.
Notes
- Using hot coffee deepens the dark chocolate flavor without making the cake taste like coffee.
- Buttermilk reacts with the baking soda to create a tender, moist crumb.
- For an extra decadent layer cake, use a dark cocoa powder.
Nutrition
- Serving Size: 1 slice
- Calories: 450
- Sugar: 45g
- Sodium: 350mg
- Fat: 25g
- Saturated Fat: 8g
- Unsaturated Fat: 17g
- Trans Fat: 0g
- Carbohydrates: 55g
- Fiber: 3g
- Protein: 5g
- Cholesterol: 50mg