
When those first vibrant stalks of spring rhubarb appear, I know it’s time to pull out the family recipe box. Nothing signals a proper celebration—especially Mother’s Day Sunday dinners—like a glorious, bubbling strawberry rhubarb pie. If you’ve ever been disappointed by a soupy mess in the bottom of your pie plate, trust me when I say we’re fixing that right now!
We’re going to nail two things today: ensuring that gorgeous, tart-sweet filling sets up perfectly without leaking everywhere, and creating a show-stopping lattice crust that makes everyone gasp. This isn’t just another dessert, this pie is the centerpiece, the hero we bring out when the whole family gathers. I learned the hard way what *not* to do, but through lots of testing (even forgoing my usual apple pie cheesecake indulgence!), I now have the tried-and-true technique for that flawless, non-watery filling.
Keep your pastry chilled, and I promise you, this will be the best spring dessert you’ve ever served. We’ll get that beautiful final product that carries memories from my kitchen right onto your table. Ready to make some magic?
- Why This Strawberry Rhubarb Pie Delivers Nostalgic Perfection
- Ingredients for the Ultimate Strawberry Rhubarb Pie
- Step-by-Step Instructions for Your Strawberry Rhubarb Pie
- Tips for Success with Your Strawberry Rhubarb Pie
- Ingredient Notes and Substitutions for This Classic Rhubarb Pie
- Serving Suggestions for Your Hero Dessert
- Storage and Reheating Instructions for Strawberry Rhubarb Pie
- Frequently Asked Questions About Making Strawberry Rhubarb Pie
- Estimated Nutritional Data for One Slice
Why This Strawberry Rhubarb Pie Delivers Nostalgic Perfection
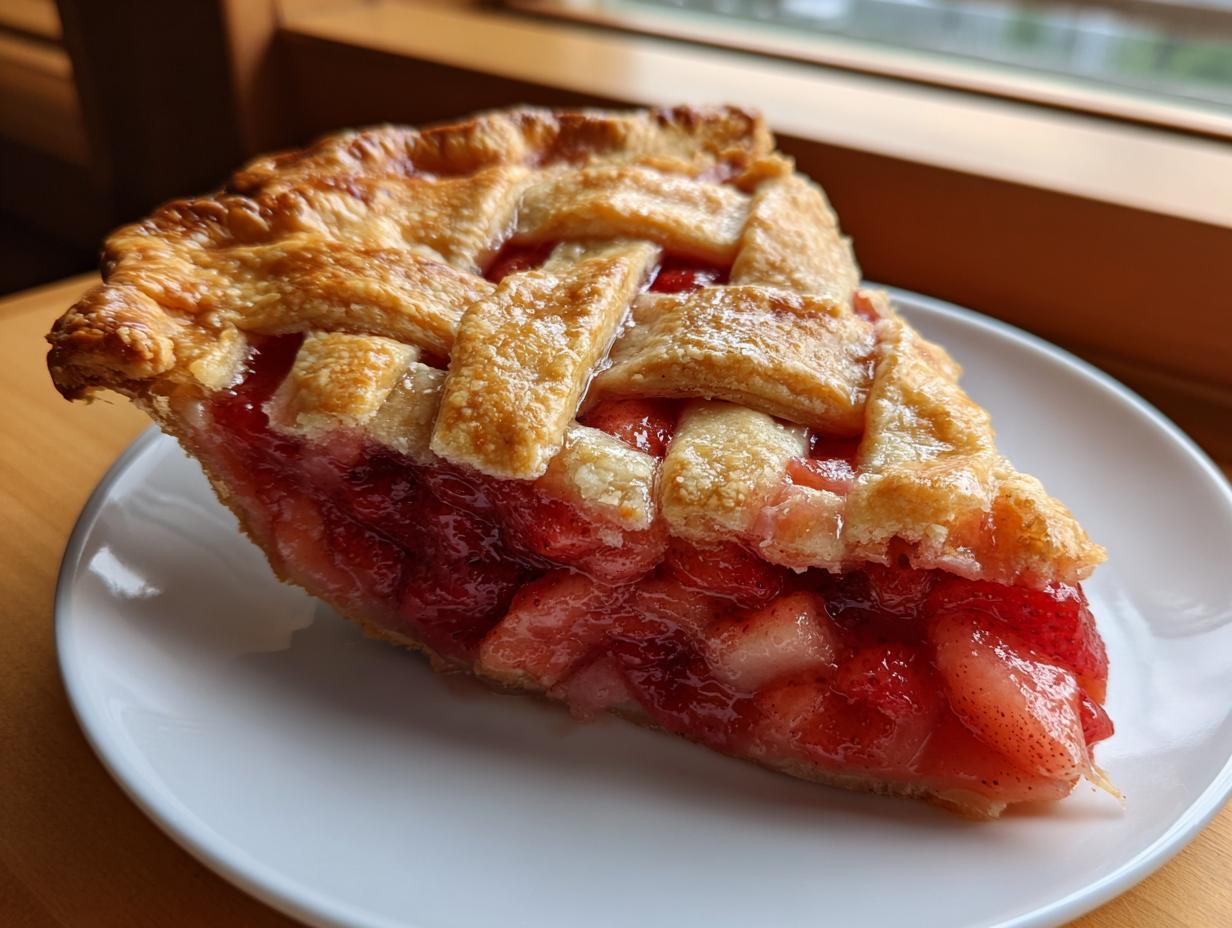
This recipe isn’t just about flavor; it’s about nailing the expectation of what a true, classic rhubarb pie should be. When you bring this golden, perfectly woven pie to the table, you’re delivering that sweet taste of home that everyone craves when spring finally hits. It’s the star of our Mother’s Day spread, and here’s why I know it will be yours too.
- It’s the ultimate hero dessert, utilizing the absolute peak season for both strawberries and rhubarb so the flavor is bright, not dull.
- The pastry is flaky and sturdy enough to hold up the gorgeous lattice top, which is always the centerpiece moment everyone loves.
- We use a specific technique to stop the dreaded runny filling—a non-negotiable for serving perfectly-set slices.
If you’re looking for the best spring desserts out there, this strawberry rhubarb pie recipe is it. It hits every mark of tradition without sacrificing technical success.
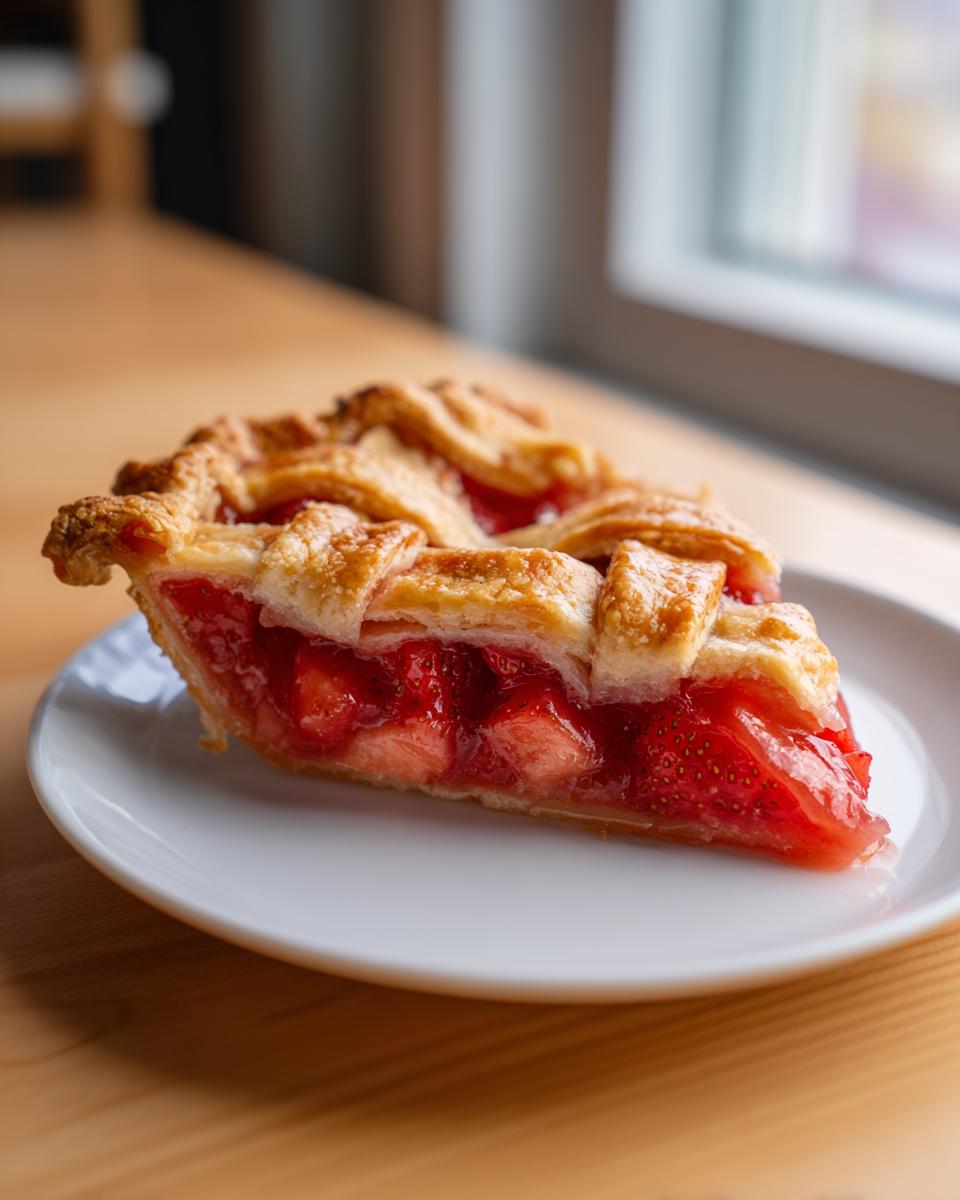
The Secret to a Non-Watery Filling in Your Strawberry Rhubarb Pie
Oh, the watery filling! I swear, if I had a dollar for every slightly soupy pie I’ve had to apologize for, I could buy a commercial dehydrator! The biggest complaint about this kind of pie is the liquid that leaks out when you slice it. But we are not having that today. The secret here is patience, which sounds easy, but it takes discipline!
The trick is allowing the fruit to macerate—that’s when you toss your cut rhubarb and strawberries with some of the sugar and let them sit out on the counter for a solid 30 minutes. The sugar draws the moisture out of the fruit naturally before it even sees the oven. Then, and this is crucial, you must drain off that excess liquid. Don’t just pour it off the side; drain it completely! That sloppy juice ends up as soup in your crust.
As an expert tip, I always make sure my rhubarb is extremely fresh. Look for stalks that are firm and have a nice, bright color. If your rhubarb looks limp or dull, it has already surrendered too much moisture, and frankly, the acid/sweet balance won’t be as punchy.
Ingredients for the Ultimate Strawberry Rhubarb Pie
When we talk about the best spring desserts, the ingredients have to sing because the season is so short! For this strawberry rhubarb pie to be a true centerpiece, you need quality stuff, especially when it comes to the fruit. Remember how I mentioned technique is everything? Well, technique starts with having the right components measured out perfectly. We divide the sugar because some of it works to pull the water out, and the rest is for general sweetness once that liquid is gone.
I love that we can whip up amazing homemade treats like this, especially when I only need a few things like fluffy homemade marshmallows later in the year. But for this pie, let’s look at what goes into that flaky crust and that vibrant filling.
Pie Dough Ingredients: Key to a Flaky Crust
This is where being cold really matters, folks! The temperature of your fat dictates how flaky your crust becomes. We need everything super chilled, not just slightly cool, to get those beautiful layers that crackle when you cut into them. You’ll need:
- 2 1/2 cups all-purpose flour
- 1 teaspoon salt
- 1 cup (2 sticks) cold unsalted butter, cut into cubes
- 1/2 cup ice water, plus more if needed
Filling Components for the Strawberry Rhubarb Pie
Here’s the powerhouse for flavor and setting! Notice how the sugar is split—that’s part of the non-watery magic we discussed earlier. Don’t mix it all together yet!
- 6 cups fresh rhubarb, cut into 1-inch pieces
- 4 cups fresh strawberries, hulled and halved
- 1 3/4 cups granulated sugar, divided
- 1/4 cup cornstarch
- 1 tablespoon lemon juice
- 1 teaspoon vanilla extract
- 1 large egg, beaten (for egg wash)
- 1 tablespoon milk or cream (for egg wash)
- 1 tablespoon coarse sugar (for topping)
Step-by-Step Instructions for Your Strawberry Rhubarb Pie
Okay, we have our ingredients and we know the secrets to avoiding soup, so now it’s time to put it all together. I’ve tested these steps countless times to make sure they work smoothly, whether you’re experienced or just tackling your first strawberry rhubarb pie. My goal is always to translate that traditional technique into something completely manageable for you. Follow these steps closely, especially around the chilling and draining, and you’ll have a masterpiece!
Don’t rush the cooling time at the end; that’s where the magic of setting happens. If you’re interested in diving deeper into moisture control while baking, you might want to check out some of my tips for moist fruit cake, though the logic for setting fruit filling is slightly different.
Making the Perfect Pie Dough
This starts with Step 1, and remember: cold is king! Whisk your dry ingredients, then use a pastry blender or your fingers to work in the cold, cubed butter. You absolutely want to stop when you have coarse crumbs, and you should still see some pea-sized pieces of butter floating around in there. That fat melts in the oven and creates the steam for flake! Add the ice water slowly until it just barely sticks together. Divide that dough into two disks, wrap them up tight, and get them chilling for at least one full hour. Seriously, don’t skip that time!
Preparing the Non-Watery Filling
This is Step 2, our famous anti-soup maneuver. Combine your rhubarb and strawberries. In a separate little bowl, mix up 1 1/2 cups of sugar with the cornstarch—this acts as our thickening agent. Toss that sugar mix over the fruit, add the lemon juice and vanilla, and let it sit on the counter for exactly 30 minutes. When that time is up, you will see liquid pooling at the bottom. Scoop the fruit out and—this is the important bit—you must carefully drain off all that accumulated liquid before putting the fruit into your crust. Trust me, draining it makes all the difference.
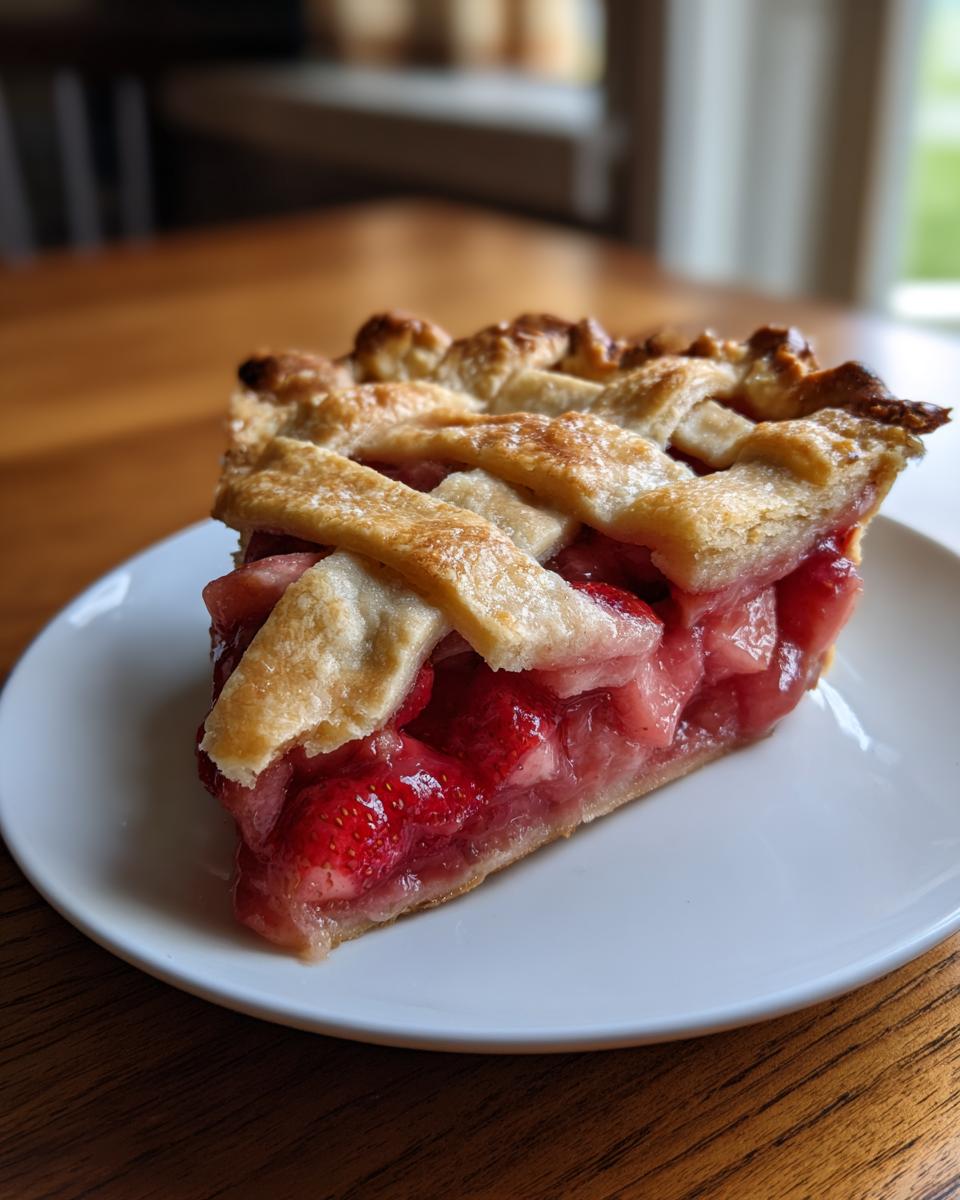
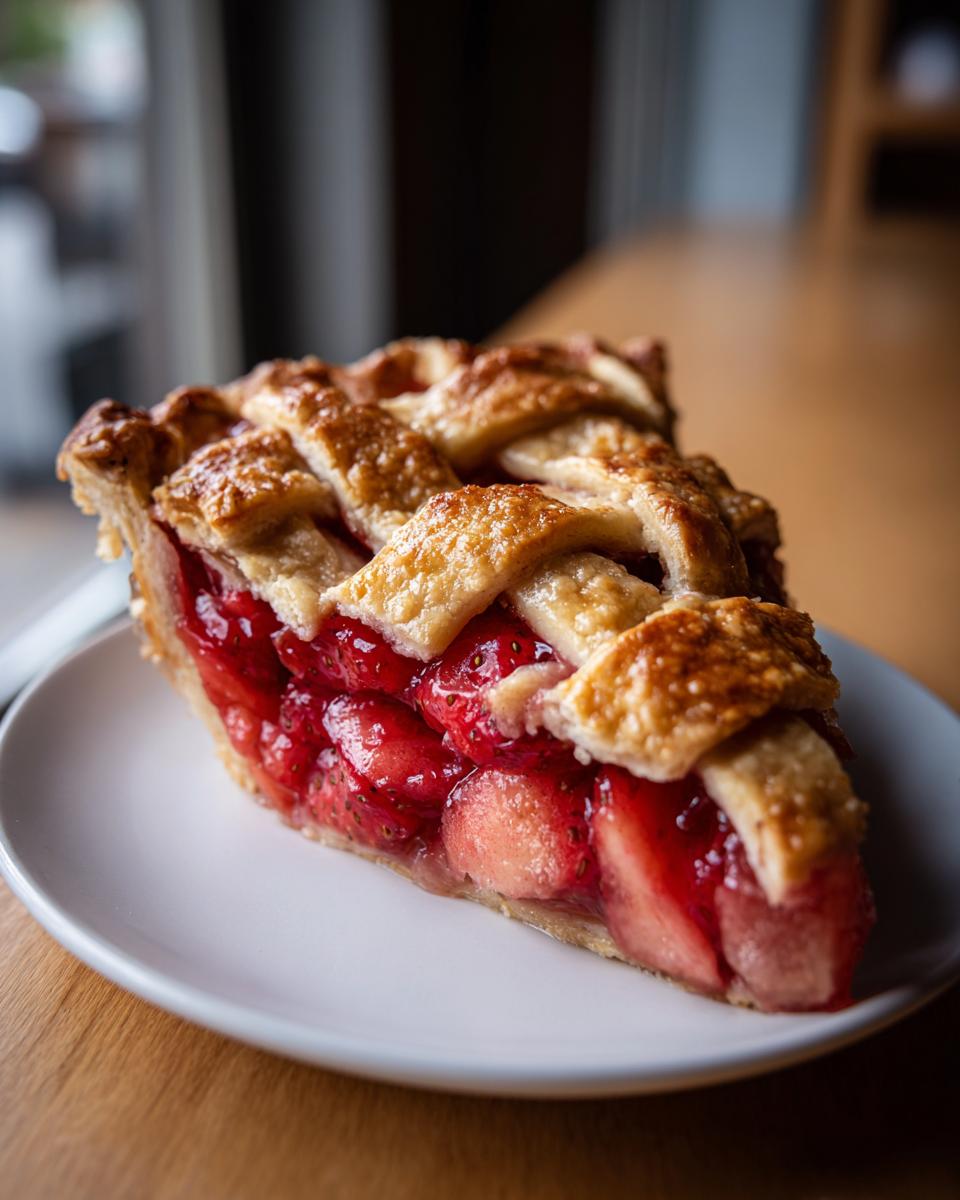
Mastering the Lattice Crust Tutorial for Strawberry Rhubarb Pie
Once your bottom crust is nestled in the plate (Step 4), it’s time for the presentation! Roll out your second disk of dough and cut it into strips about 3/4 inch wide—uniformity helps with weaving. Now, weave those strips over the filling to create your lattice pattern (Step 6). Start by laying down some parallel strips, then lift every other one to thread the perpendicular strip underneath. Once you’re happy with the look, trim all loose ends and gently crimp the edges of the top and bottom dough together to seal everything in. Brushing the top with your egg wash and sprinkling it with coarse sugar makes this strawberry rhubarb pie shine (Step 7)!
Baking and Setting the Classic Rhubarb Pie
After dotting the filling with the reserved sugar (Step 5), we bake! Preheat to 400°F (200°C) (Step 3) and bake for 20 minutes. Then, you need to immediately reduce the heat to 375°F (190°C) and go for another 40 to 50 minutes (Step 8). You’re looking for a deep golden crust and a filling that is bubbling thickly right in the center. If you see the edges getting too dark too soon, just loosely tent them with foil. But here’s the final test of authority: Step 9 says to let that beautiful classic rhubarb pie cool completely—at least 4 hours! If you slice it early, all that careful work setting the filling will spill out.
Tips for Success with Your Strawberry Rhubarb Pie
Listen, achieving that perfect slice of strawberry rhubarb pie is really about managing the environment inside that crust. Beyond just draining the fruit, I have a few little tricks I always lean on when I’m making this for a big gathering. Firstly, if your kitchen is on the warmer side—and spring kitchens can get steamy quickly—don’t hesitate to put your assembled, unbaked pie back in the fridge for 15 minutes before it hits the oven. That super-chilled fat is what guarantees you get those incredible flakes. This technique is similar to keeping things cold when making other treats, like my recipe for fluffy homemade marshmallows!
Secondly, when you are creating your lattice, be mindful of the weaving tension. If you pull the strips too tightly over the filling, they can shrink too much during baking and tear open, letting steam escape unevenly. I like a nice, relaxed weave. Also, always use an egg wash that includes a splash of milk or cream; that’s the secret to that rich, deep golden color that makes the top look truly professional!
Finally, just know that this pie is always better the next day. Don’t feel you have to serve it piping hot after it cools down! The filling truly sets up firm after a full 24 hours.
Ingredient Notes and Substitutions for This Classic Rhubarb Pie
I want you to feel super confident handling this classic rhubarb pie, so let’s talk quickly about why I chose what I chose in that ingredient list. For the rhubarb, always aim for stalks that look vibrant and firm; if they look floppy, you’re starting with moisture already lost, and we worked hard to prevent that!
Now, about the thickener: I insisted on cornstarch, and here’s why! It gives you that clear, glossy look when baked, whereas flour can sometimes turn the filling a little bit cloudy. If you absolutely *must* substitute, use 3 tablespoons of all-purpose flour instead of the 1/4 cup of cornstarch.
Also, remember that chilling your dough longer than an hour is always fine, especially if your kitchen is running warm. Cold fat equals maximum flakiness, no matter what some recipes say! If you need more general tips on fresh ingredients, you know I have dressing recipes like my easy healthy homemade salad dressing recipes where quality matters just as much!
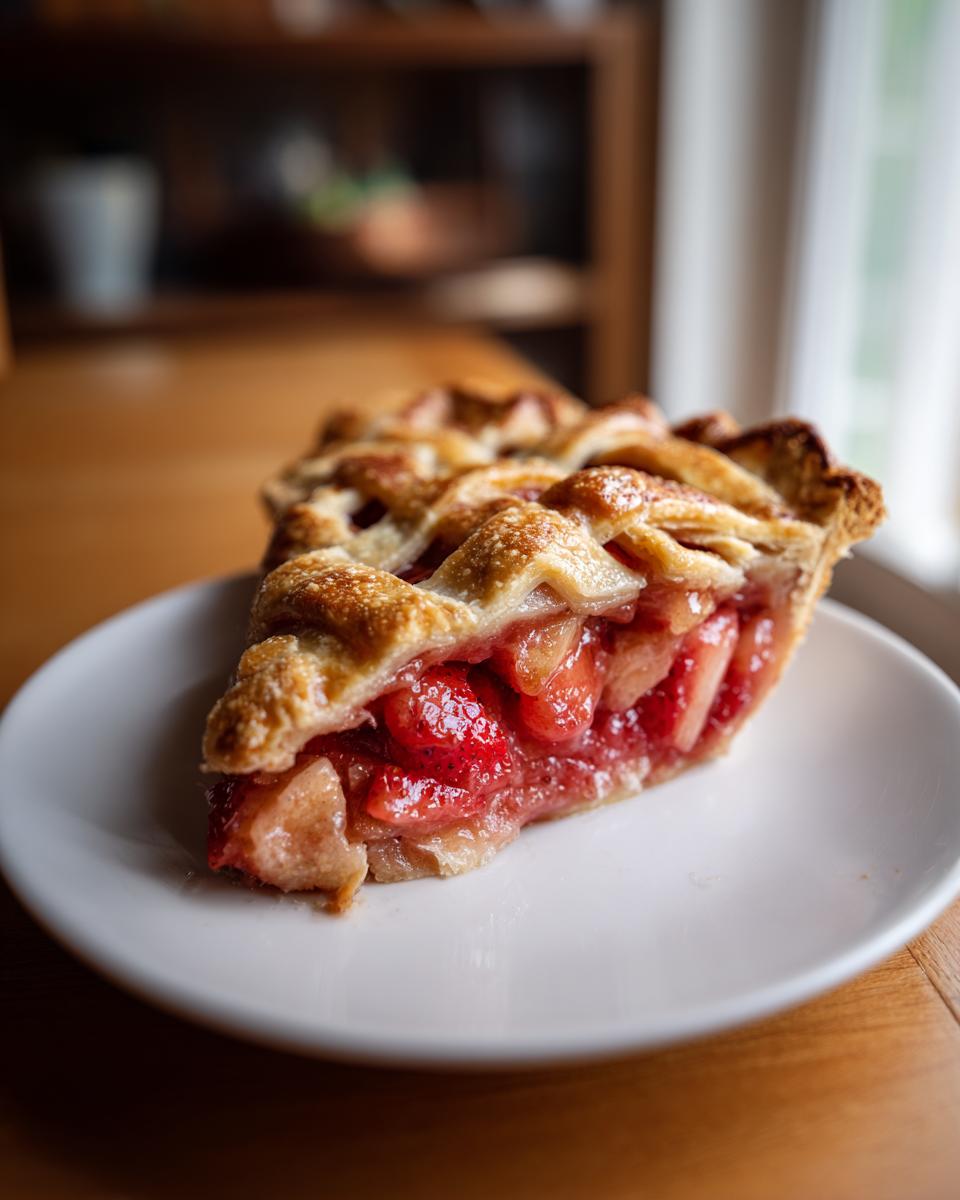
Serving Suggestions for Your Hero Dessert
This beautiful, tart strawberry rhubarb pie deserves its moment in the spotlight, especially when it’s the centerpiece of a celebration like Mother’s Day. You can serve it slightly warm—just remember that 4-hour cooling time is essential for the filling to stay set! If you want a little extra indulgence, pair a slice with a dollop of real vanilla bean ice cream or even a beautiful swirl of homemade whipped cream. I sometimes skip the cream altogether and just go for a light dusting of powdered sugar right before serving. It really lets that lovely, intricate vanilla buttercream flavor shine through in the topping.
Storage and Reheating Instructions for Strawberry Rhubarb Pie
Once you’ve managed to wait the full 4 hours for your strawberry rhubarb pie to set, the leftovers behave really well! Because this pie has such a high sugar and acid content, it holds up beautifully at room temperature for a full day if your house isn’t too warm. If you’re storing leftovers longer than that, pop it in the fridge—but cover it loosely, please, so the crust doesn’t get soggy!
When you want to reheat a slice? Skip the microwave entirely! It turns the crust chewy. I like to warm individual slices on a baking sheet in a 325°F oven for about 10 minutes. This warms the filling back up just slightly while keeping your crust crisp and flaky. Perfect for enjoying the next day!
Frequently Asked Questions About Making Strawberry Rhubarb Pie
I know when you tackle a traditional recipe like this, questions always pop up. I’ve answered the biggest ones right here so you can send your strawberry rhubarb pie off to the oven with absolute confidence. Seriously, don’t let fear stop you from making one of the best spring desserts!
Can I use frozen strawberries or rhubarb in this Strawberry Rhubarb Pie?
You certainly can in a pinch, but you need to adjust how you handle the moisture right from the start. If you use frozen fruit, don’t thaw it first! Toss the frozen fruit directly with the sugar/cornstarch mixture. Because frozen fruit releases water faster, you might need to let it sit for 15 minutes longer before draining, and you may need an extra tablespoon of cornstarch if the liquid seems very watery. Remember, using fresh fruit is always my preference for the best texture in this pie.
What is the difference between this and an old fashioned pie?
That’s a great question! When people talk about an old fashioned pie, they usually mean a very traditional structure—often just fruit, sugar, and a thickener in a simple double crust. Our recipe follows that beautiful, classic rhubarb pie framework, but we are slightly more scientific about the filling stability. The draining step is what separates this modern, reliable version from the older ones that sometimes ended up soupy. It’s tradition, but perfected so you don’t have to struggle! If you love classics, you might also enjoy my recipe for banana cream pie.
Estimated Nutritional Data for One Slice
I always include this section because I know many of you track ingredients and macros, even when baking something celebratory like this strawberry rhubarb pie! I did the math based on the amounts listed in the recipe above. Remember, baking is chemistry, and these numbers are based on using standard pantry staples and the exact ingredient weights laid out for you previously.
This information is meant to be a general guideline only. If you substitute butter brands, use a different type of sugar, or adjust the fruit ratios, your final nutrition facts will shift slightly. Treat these values as a helpful estimate for enjoying your slice of homemade perfection!
- Serving Size: 1 slice
- Calories: 410
- Sugar: 45g
- Sodium: 180mg
- Fat: 22g
- Saturated Fat: 14g
- Unsaturated Fat: 8g
- Trans Fat: 0g
- Carbohydrates: 54g
- Fiber: 3g
- Protein: 4g
- Cholesterol: 55mg
Classic Strawberry Rhubarb Pie with Non-Watery Filling

Make the perfect spring dessert, a classic strawberry rhubarb pie, using techniques to prevent a watery filling and featuring a beautiful lattice crust.
- Prep Time: 45 min
- Cook Time: 60 min
- Total Time: 105 min
- Yield: 8 servings 1x
- Category: Dessert
- Method: Baking
- Cuisine: American
- Diet: Vegetarian
Ingredients
- 2 1/2 cups all-purpose flour
- 1 teaspoon salt
- 1 cup (2 sticks) cold unsalted butter, cut into cubes
- 1/2 cup ice water, plus more if needed
- 6 cups fresh rhubarb, cut into 1-inch pieces
- 4 cups fresh strawberries, hulled and halved
- 1 3/4 cups granulated sugar, divided
- 1/4 cup cornstarch
- 1 tablespoon lemon juice
- 1 teaspoon vanilla extract
- 1 large egg, beaten (for egg wash)
- 1 tablespoon milk or cream (for egg wash)
- 1 tablespoon coarse sugar (for topping)
Instructions
- Prepare the Pie Dough: In a large bowl, whisk together the flour and salt. Cut in the cold butter using a pastry blender or your fingers until the mixture resembles coarse crumbs with some pea-sized pieces of butter remaining. Gradually add the ice water, one tablespoon at a time, mixing until the dough just comes together. Divide the dough in half, form each half into a disk, wrap in plastic, and chill for at least 1 hour.
- Prepare the Filling (Secret to Non-Watery Filling): In a large bowl, combine the rhubarb and strawberries. In a separate small bowl, whisk together 1 1/2 cups of the granulated sugar and the cornstarch. Pour the sugar mixture over the fruit. Add the lemon juice and vanilla extract. Gently toss to coat. Let the mixture sit for 30 minutes. Drain off any excess liquid that accumulates at the bottom of the bowl; this step prevents a watery pie.
- Preheat your oven to 400°F (200°C).
- Roll out one disk of dough and carefully place it into a 9-inch pie plate. Trim the edges, leaving a 1-inch overhang.
- Pour the drained fruit filling into the bottom crust. Dot the top of the filling with the remaining 1/4 cup of sugar.
- Create the Lattice Crust Tutorial: Roll out the second disk of dough. Cut it into even strips (about 3/4 inch wide). Weave the strips over the filling to create a lattice pattern. Trim the strips and crimp the edges of the top and bottom crusts together to seal.
- Brush the lattice top with the egg wash (beaten egg mixed with milk or cream) and sprinkle evenly with coarse sugar.
- Bake for 20 minutes at 400°F (200°C). Reduce the oven temperature to 375°F (190°C) and continue baking for another 40 to 50 minutes, or until the crust is golden brown and the filling is bubbling thickly. If the edges brown too quickly, cover them loosely with foil.
- Cool the pie completely on a wire rack for at least 4 hours before slicing. This allows the filling to set properly.
Notes
- For the best flavor, use rhubarb that is firm and bright red or pink.
- If you do not have cornstarch, you can substitute with 3 tablespoons of all-purpose flour, but cornstarch yields a clearer, glossier filling.
- Chill your pie dough for longer than one hour if your kitchen is warm; cold fat is key to a flaky crust.
Nutrition
- Serving Size: 1 slice
- Calories: 410
- Sugar: 45g
- Sodium: 180mg
- Fat: 22g
- Saturated Fat: 14g
- Unsaturated Fat: 8g
- Trans Fat: 0g
- Carbohydrates: 54g
- Fiber: 3g
- Protein: 4g
- Cholesterol: 55mg