
If you’re hosting any big event this year—a major graduation party or maybe a lovely Mother’s Day brunch on the lawn—you know the drill. Everyone wants to mingle, chat, and eat, but nobody wants to be stuck holding a plate and fumbling for a fork. That’s exactly why my heart belongs to antipasto skewers right now! These aren’t your typical dip-and-chip situation; these are visually stunning, completely handheld appetizers bursting with those classic, tangy Italian flavors we all love. This simple trick is one of my favorite go-to easy appetizers and snacks you can rely on. Trust me when I say this recipe is the ultimate hosting convenience solution you need tucked away in your back pocket. You’ll find yourself reaching for this method every time you need a showstopper that requires zero cooking!
- Why Assemble These Antipasto Skewers? (Hosting Convenience and Visual Appeal)
- Essential Components for Your Antipasto Skewers
- Step-by-Step Assembly of Antipasto Skewers
- Finishing Touches for Your Antipasto Skewers
- Tips for Success When Making Antipasto Skewers
- Storage and Serving Instructions for Party Food on a Stick
- Frequently Asked Questions About Antipasto Skewers
- Estimated Nutritional Snapshot of Antipasto Skewers
- Share Your Beautiful Antipasto Skewers Creations
Why Assemble These Antipasto Skewers? (Hosting Convenience and Visual Appeal)
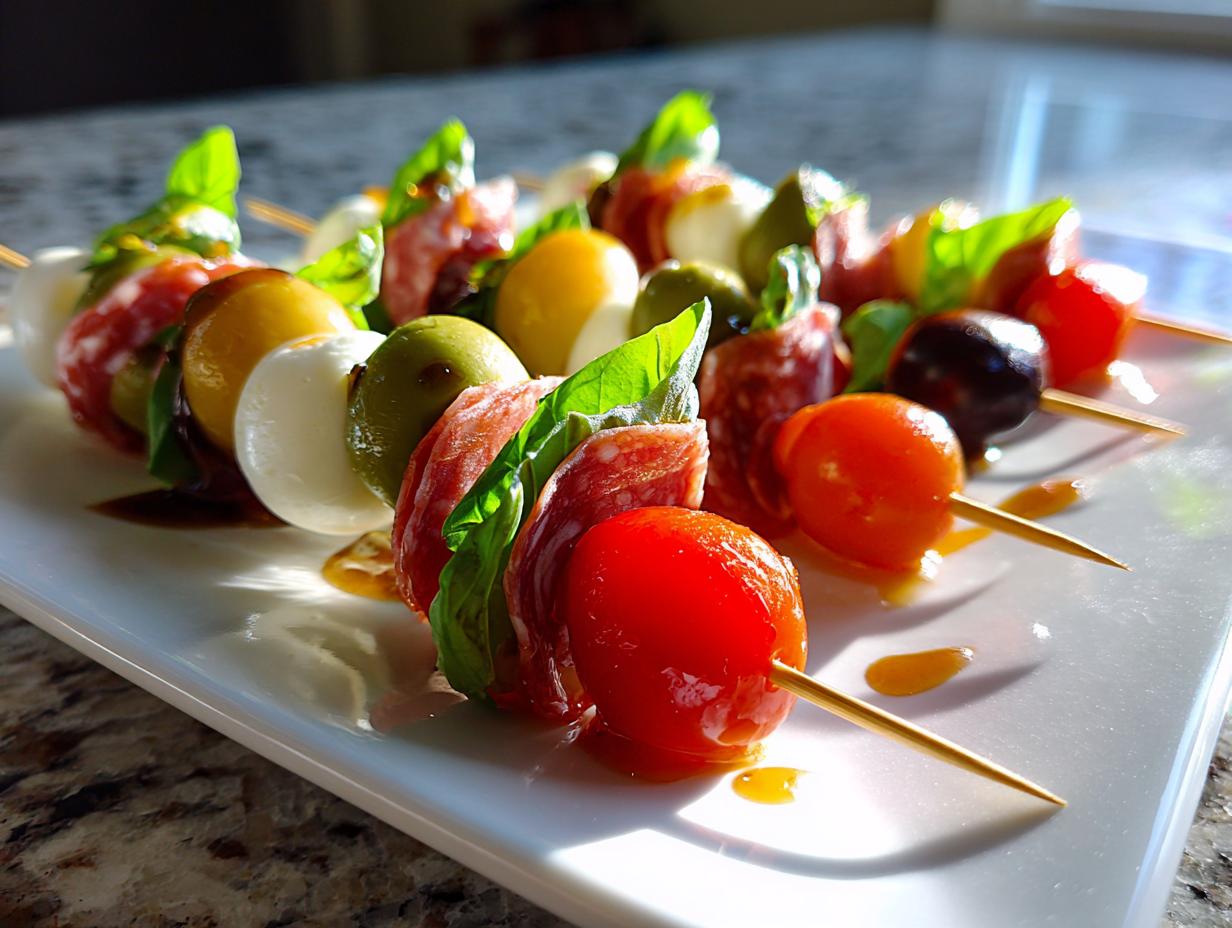
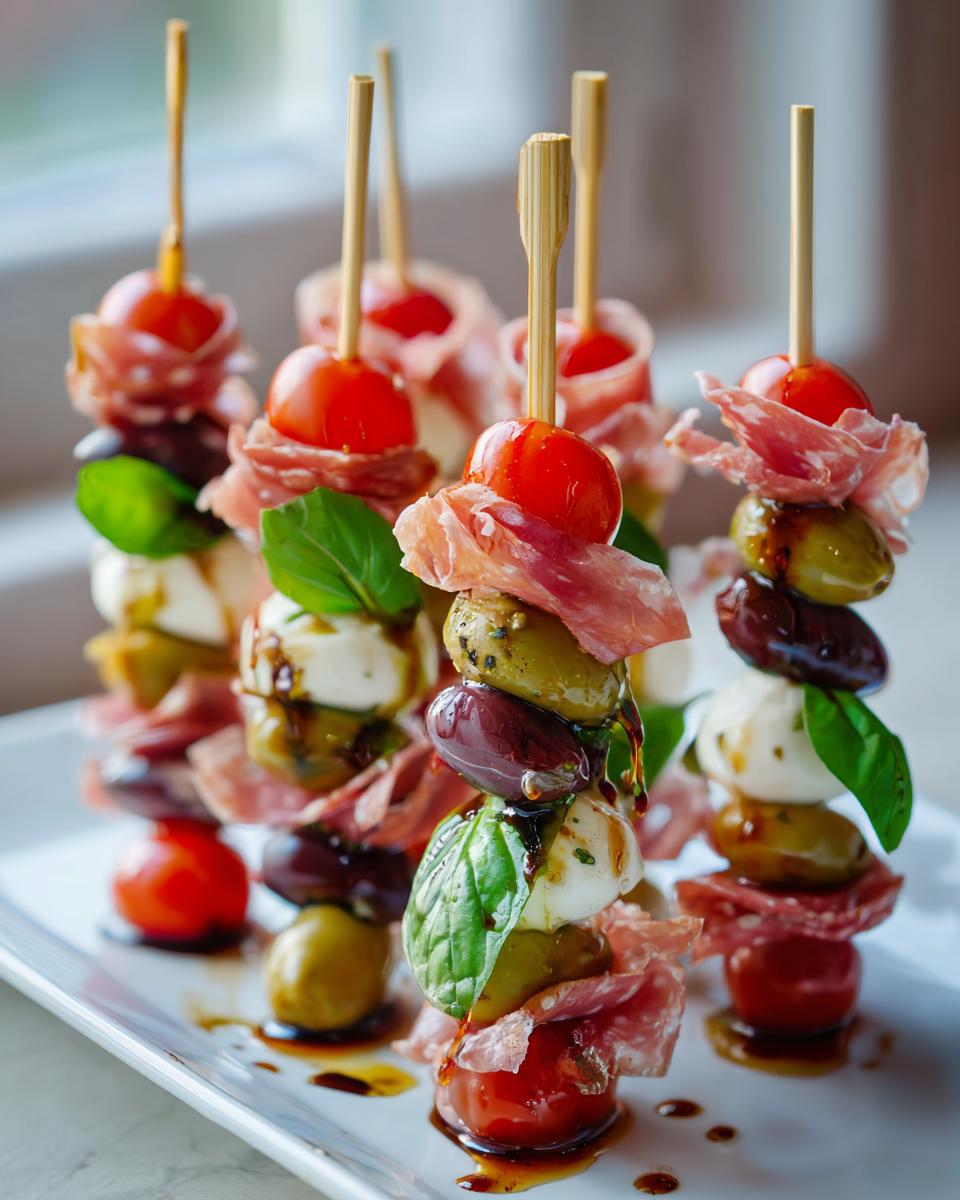
Honestly, if you aren’t aiming for gorgeous food that people can grab while holding a drink and chatting, what are you even doing? That’s why these antipasto skewers are my current obsession. They tick every single box for modern entertaining. First off, they are stunning! The bright colors from the tomatoes, olives, and peppers just leap off the platter, making them totally Instagram-worthy without you trying too hard.
More importantly, they are the definition of hosting convenience. My goal is always to spend time with my guests, not chained to the stove. Since these are completely no-fork-required, you can stack them high, cover them, and know they’ll be safe and sound right up until serving time. It’s my favorite way to bring classic Italian flavors into a simple format.
Perfect Party Food on a Stick for Social Eating Ideas
You see it everywhere now—people love food they can manage standing up. These fit that ‘social eating’ trend perfectly. They are the easiest handheld appetizers you can manage, especially for big bashes like graduation party snacks. Forget little bowls or fussy serving spoons! These party food on a stick solutions let everyone grab exactly what they want quickly. It keeps the flow moving and makes cleanup a snap. Who doesn’t love less work?
Essential Components for Your Antipasto Skewers
When you’re making something this simple, the ingredients have to be amazing. That’s where the trust factor comes in! I learned a long time ago that shortcuts on quality for antipasto skewers just don’t pay off. We are aiming for that beautiful, vibrant look, so make sure you buy the best little mozzarella pearls you can find—they are called bocconcini usually. High-quality dry salami is key here too; we’re folding it into neat quarters so it looks substantial on the stick, not limp.
We need those bright pops of color! Think about draining your artichoke hearts well and cutting those roasted red peppers so they sit nicely between the cheese and olives. If you’re looking for another way to use up fresh herbs, you should check out my recipe for a fantastic Greek salad—it uses similar fresh components!
Ingredient Clarity for Perfect Easy Charcuterie Skewers
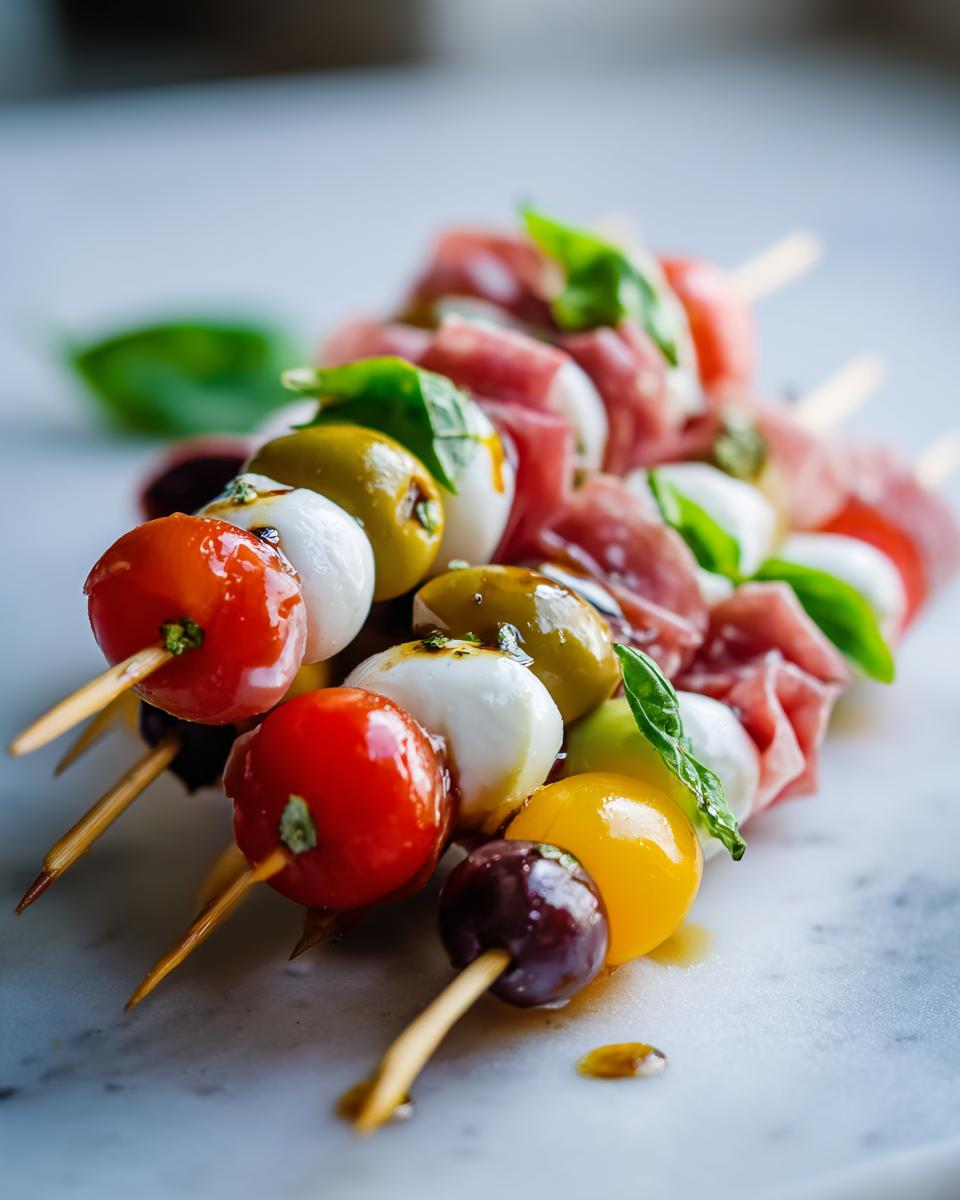
So, let’s talk about what exactly is going onto those 6-inch wooden dowels. You need the mozzarella pearls, which are non-negotiable for that creamy texture. Then, the salami, folded strategically. I always make sure to have vibrant cherry tomatoes and some pitted green olives for that salty kick. Next, we layer in some marinated artichoke hearts and stunning strips of roasted red pepper. To finish it off, we thread a fresh basil leaf right near the top—that green is what really makes these easy charcuterie skewers pop visually. Don’t forget those sturdy little skewers!
Step-by-Step Assembly of Antipasto Skewers
Okay, let’s get these beauties assembled! This is the fun part, and honestly, it’s so quick you’ll be shocked. Grab all your prepared goodies and your stack of wooden skewers. We’re building these up piece by piece to ensure they look incredible when they hit the table and function perfectly as handheld appetizers. Remember, we’re aiming for balance and color, so don’t just jam things on there randomly!
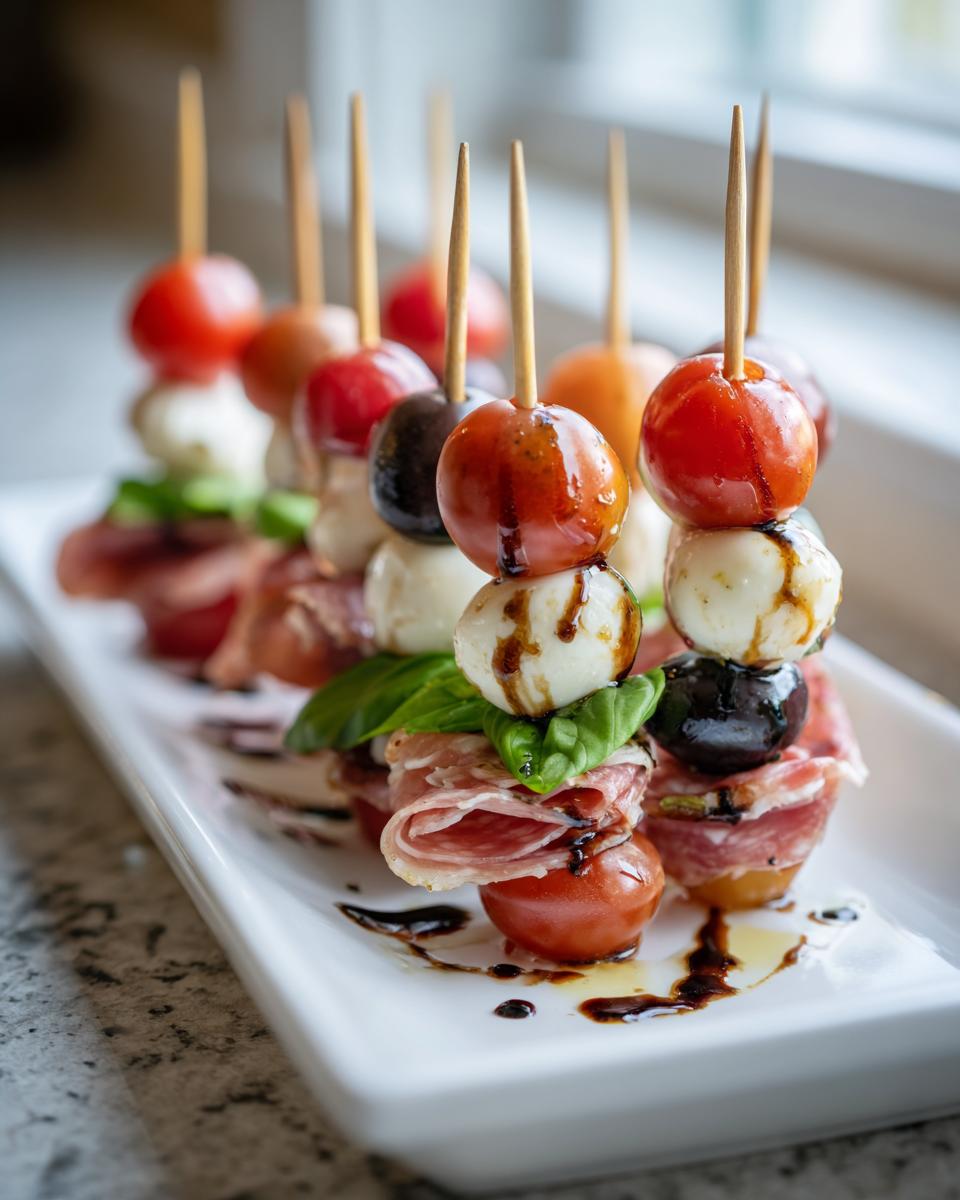
Start with one piece of that lovely folded salami. Then, it’s time for a mozzarella pearl, followed by some salty flavor with a pitted green olive and a bright cherry tomato. Next up, we get a little something tangy with a piece of roasted red pepper and one of those marinated artichoke hearts. I find arranging them so the colors contrast keeps things interesting!
If you want a great little recipe for flavor boosters for other things, check out how I jazz up smoked salmon on crostini—it uses some similar flavor profiles.
The Art of Threading: Creating Visually Appealing Handheld Appetizers
The sequence matters for these antipasto skewers! Make sure you place that beautiful, fresh basil leaf right near the top of the stick. It acts like a little green flag and adds that fresh herbal scent right before people take a bite. Since we aren’t cooking anything, the entire focus is on the threading technique to create height and texture on the stick. Repeat that exact color sequence over and over for all 16 skewers so they look uniform and totally professionally done when they are ready for your guests!
Finishing Touches for Your Antipasto Skewers
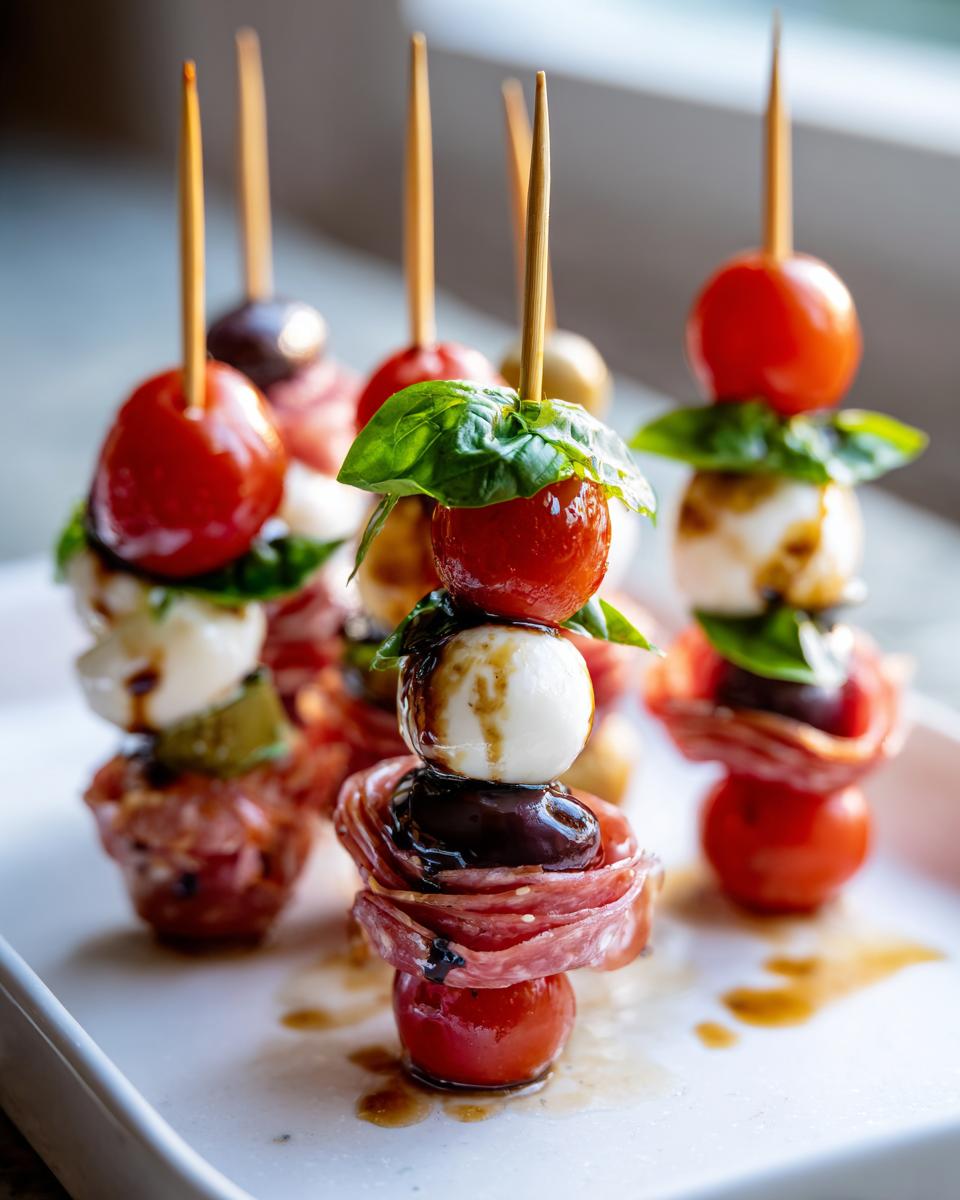
We are almost there! We want these antipasto skewers to taste as good as they look, so we need a little drizzle right before they go out onto the serving tray. Don’t overthink this part; it’s fast! In a tiny bowl, just whisk together some really good quality extra virgin olive oil with a teaspoon of balsamic glaze. I just use a fork for this—no need to get out extra gadgets! A light drizzle over the finished platter adds richness and a gorgeous sheen. For more inspiration on simple flavor boosts, check out my guide to homemade dressing recipes.
Tips for Success When Making Antipasto Skewers
I feel like a broken record, but prep is where you win hosting! When it comes to these antipasto skewers, presentation is just as important as the taste. If you’re worried about things getting knocked around before the party starts, remember you can assemble the whole tray up to four hours ahead of time. Just stack them close together on your serving platter, cover the whole thing super tightly with plastic wrap, and let them chill out in the fridge until company arrives. They hold up beautifully, promise!
This is exactly the kind of simple, high-impact presentation I love to share because it moves appetizers out of the serving bowl and into the hands of your guests!
Ingredient Substitutions for Customizing Your Skewers
Part of taking command of your kitchen is knowing when you can switch things up! If you want a slightly firmer cheese or maybe you just prefer the look, feel free to swap out those soft mozzarella pearls for small cubes of Provolone. Provolone stands up really nicely and gives the skewer a bit more bite. Just make sure any cheese you use is cut into bite-sized chunks so it balances well with everything else!
Storage and Serving Instructions for Party Food on a Stick
Since hosting convenience is our main goal, let’s talk timing. You totally can prep these amazing antipasto skewers ahead of time, which is a huge relief on party day! Once they are fully assembled and drizzled lightly, cover that entire platter really tight with plastic wrap. They need to stay chilled, but you don’t want them drying out. About 30 minutes before your first guest walks in, pull them out of the fridge. This lets them warm up just slightly so the olive oil gets glossy again. If you love making make-ahead snacks, my classic Chex mix recipe is another great item to prep early—you can see how I handle large-batch chilling over here!
Frequently Asked Questions About Antipasto Skewers
When you’re planning a party, it’s natural to have a few questions about timing and components. I want you to feel totally in command of your spread, so here are the things folks ask me most often when they’re looking for the perfect handheld appetizers!
Can I prepare these ahead of time for my graduation party snacks?
Yes, you absolutely can, and I highly recommend it! This is where the hosting convenience shines. You can assemble the entire tray of graduation party snacks up to four hours before you need them. Just stack them neatly on your platter, cover it tightly with plastic wrap, and stick it in the fridge. Take them out about 30 minutes before serving so the olive oil drizzle looks its best!
What makes these different from regular easy charcuterie skewers?
That’s a great question! Standard easy charcuterie skewers often focus only on meat, cheese, and maybe a grape. What sets these apart as true antipasto skewers is that we lean heavily into the marinated elements—the artichoke hearts and olives—along with fresh tomatoes and basil. They aren’t just strips of meat and cheese; they are essentially a deconstructed, colorful, and much easier-to-handle version of an Italian platter. They really nail those social eating ideas because they are so much more satisfying than just a piece of salami!
If you have any other technical questions about the process or timing for serving a big crowd, don’t hesitate to reach out to us via our contact page!
Estimated Nutritional Snapshot of Antipasto Skewers
Now, I know we aren’t focusing on tracking every calorie when we are hosting, but it’s nice to have a general idea! Based on the specific ingredients listed—especially the high-quality salami and mozzarella—one of these wonderful party food on a stick servings clocks in right around 95 calories. You get about 5 grams of protein and 7 grams of fat per skewer. Just a quick reminder, these numbers are estimates based on the exact components I used, so they are really just a snapshot!
Share Your Beautiful Antipasto Skewers Creations
The best part of developing these recipes is seeing them come to life on your tables! I truly hope these antipasto skewers make your next gathering feel effortless and look absolutely stunning. If they were a hit at your last event, please come back and leave a rating! I love hearing how these easy preparations help you shine as a host. And don’t forget to tag us in your photos—I can’t wait to see your vibrant platters! If you enjoyed this recipe, you can learn more about our mission over on the About Us page.
PrintAntipasto Skewers: No-Fork-Required Party Appetizers
Create colorful, handheld antipasto skewers perfect for graduation parties or garden gatherings. This recipe offers hosting convenience and visual appeal using classic Italian components.
- Prep Time: 20 min
- Cook Time: 0 min
- Total Time: 20 min
- Yield: 16 skewers 1x
- Category: Appetizer
- Method: Assembly
- Cuisine: Italian-American
- Diet: Vegetarian
Ingredients
- 1 cup small mozzarella pearls (bocconcini)
- 8 ounces high-quality dry salami, folded into quarters
- 1 cup marinated artichoke hearts, drained
- 1 cup small green olives, pitted
- 1 cup cherry tomatoes
- 1/2 cup roasted red peppers, cut into strips
- 1/4 cup fresh basil leaves
- 16 wooden skewers (6-inch length)
- 2 tablespoons extra virgin olive oil
- 1 teaspoon balsamic glaze
Instructions
- Gather all your ingredients and wooden skewers. Prepare the vegetables by draining the artichoke hearts and cutting the roasted red peppers into manageable strips.
- Begin assembling the antipasto skewers. On each skewer, thread one piece of folded salami.
- Next, thread one mozzarella pearl onto the skewer.
- Follow the mozzarella with one green olive and one cherry tomato.
- Add a strip of roasted red pepper and one marinated artichoke heart.
- Finish the skewer with a fresh basil leaf threaded near the top. Repeat this sequence until all ingredients are used, aiming for a visually appealing color pattern on each stick.
- Arrange the finished easy charcuterie skewers closely together on a large serving platter.
- In a small bowl, whisk together the extra virgin olive oil and balsamic glaze.
- Just before serving, lightly drizzle the olive oil and balsamic mixture over the assembled skewers for added flavor.
- Serve immediately as your go-to party food on a stick.
Notes
- For maximum visual presentation, ensure the salami is folded neatly to give the skewer height and texture.
- You can prepare all components, including assembly, up to four hours ahead. Cover the platter tightly with plastic wrap and refrigerate.
- If you want a slightly tangier flavor, substitute the mozzarella pearls with small cubes of provolone cheese.
Nutrition
- Serving Size: 1 skewer
- Calories: 95
- Sugar: 1
- Sodium: 280
- Fat: 7
- Saturated Fat: 3
- Unsaturated Fat: 4
- Trans Fat: 0
- Carbohydrates: 3
- Fiber: 0
- Protein: 5
- Cholesterol: 15