
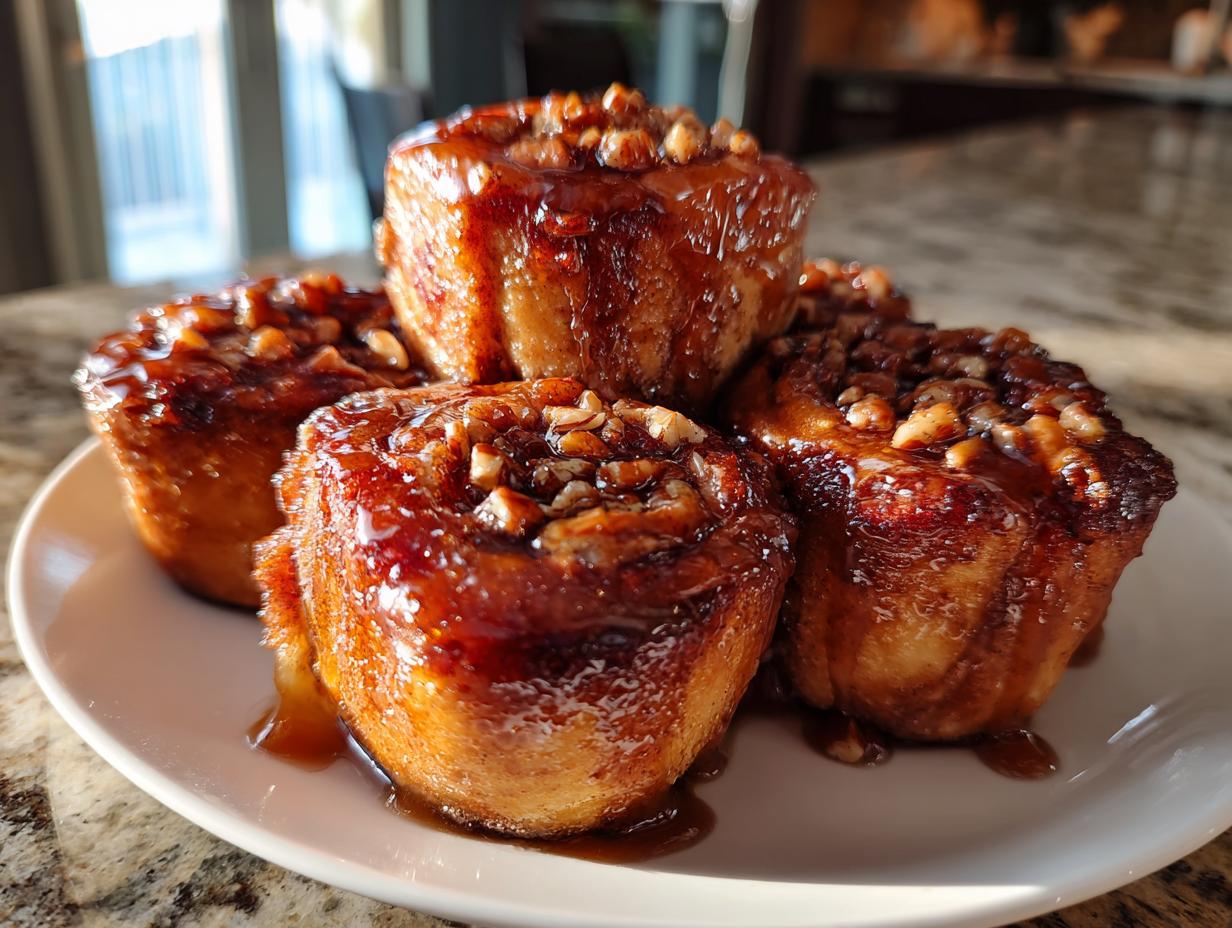
When May rolls around, I just crave that bright, rosy color popping up in the garden, and that’s exactly what we’re baking with today! Forget the heavy comfort of winter cinnamon rolls; it’s time for something fresh and tangy. These Rhubarb sticky buns are the absolute perfect spring breakfast baking centerpiece, trading deep spice for tart fruitiness. Here at Cookery Command, we believe making something special like this needs to be totally reliable—no complicated techniques here! We took the irresistible stickiness people love and mixed it with the beautiful pink blush of rhubarb so you can command your kitchen with confidence and create a visually stunning pastry everyone will talk about.
- Why You Will Command Your Kitchen with These Rhubarb Sticky Buns
- Essential Ingredients for Perfect Rhubarb Sticky Buns
- Step-by-Step Instructions for Making the Best Rhubarb Sticky Buns
- Tips for Success with Seasonal Fruit Pastries
- Storage and Reheating for Your Homemade Sweet Rolls
- Frequently Asked Questions about Rhubarb Sticky Buns
- Serving Suggestions for Spring Breakfast Baking
- Estimated Nutritional Information for Rhubarb Sticky Buns
- Share Your Spring-Forward Baking Creations
Why You Will Command Your Kitchen with These Rhubarb Sticky Buns
I’m telling you, these aren’t your average sweet rolls, and they’re designed specifically to make your mornings feel special. We stripped out all the fuss but kept all the flavor, which is exactly what Cookery Command is all about!
- They are built on easy sticky buns foundations, using refrigerated dough so you don’t have to spend hours kneading.
- That beautiful pink color from the rhubarb is pure springtime perfection—just wait until you flip them out of the pan!
- The tartness of the rhubarb cuts right through the sweetness of the brown sugar topping, giving you that perfect flavor challenge.
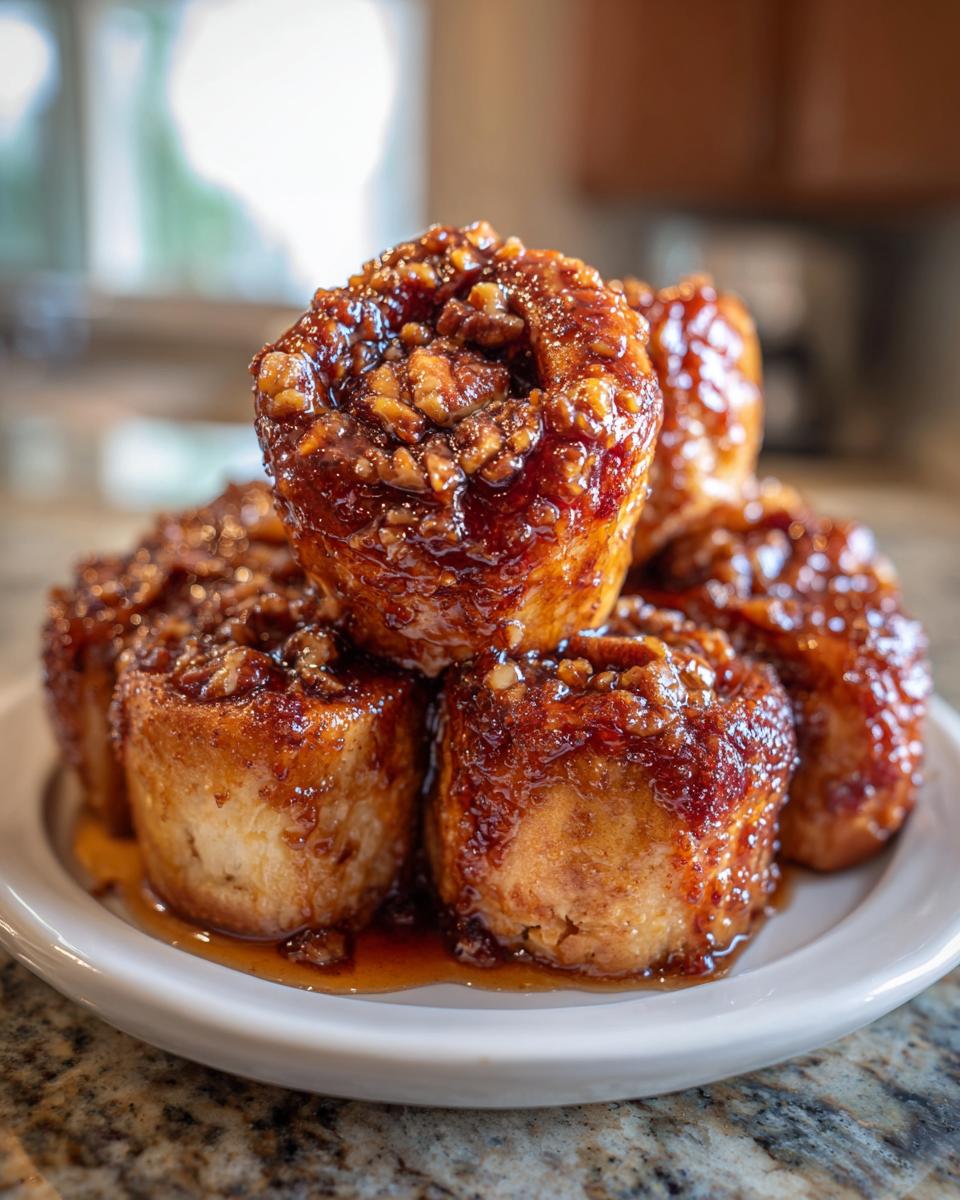
- You get that gorgeous, messy, gooey experience that defines the best homemade sweet rolls without any special yeast tricks.
- These Rhubarb sticky buns are perfectly seasonal; using that fresh May produce just makes everything taste better.
- They bake up faster than traditional homemade sweet rolls, making them ideal for a weekend treat when time is still a bit tight.
Essential Ingredients for Perfect Rhubarb Sticky Buns
When we talk about technique here at Cookery Command, it starts with the absolute right components. Since we want these to be fast and fun—perfect for your seasonal fruit pastries rotation—we’re leaning hard on that refrigerated dough. Trust me, it saves so much time! But the rhubarb filling needs a little love to balance its natural tang. Getting the measurements exact here is how you ensure one roll isn’t too dry, and the next isn’t swimming in liquid. It’s all about precision for that perfect spring flavor profile.
For the Rhubarb Filling Component
- You need exactly 1 cup of fresh rhubarb, and this must be chopped up before you start simmering it.
- Alongside that, grab 1/2 cup of regular granulated sugar and 1/4 cup of water to help it break down nicely.
For the Sticky Topping and Dough
This is where the gooey magic happens. We need 1/4 cup (which is four tablespoons!) of unsalted butter for the topping base. Then, pack 1/4 cup of light brown sugar, and add 2 tablespoons of light corn syrup—that’s key for shine! Don’t forget that final splash of 1/2 teaspoon of vanilla extract for depth. And of course, the star shortcut: one package (14.4 ounces) of that refrigerated sweet roll dough works perfectly for these easy sticky buns.
Step-by-Step Instructions for Making the Best Rhubarb Sticky Buns
This is where our technique really comes in handy! We need to handle the two main components—the filling and the topping—separately before assembling everything into those beautiful easy sticky buns we’re aiming for. Follow these steps exactly, and you’ll have bakery-quality rolls without the headache of making dough from scratch.
Cooking Down the Rhubarb Filling
First things first, we get that rhubarb nice and tender. In a small saucepan, you’re going to combine your chopped rhubarb, granulated sugar, and water. We cook this over medium heat. You need to stir it sometimes, but don’t hover! After about 8 to 10 minutes, the rhubarb should look soft, and the liquid should have thickened up just a bit, almost like a thin syrup. This is important: pull it right off the heat immediately so it doesn’t turn to mush, and let it cool down completely before you use it. If it’s warm, it will melt the dough when you roll it up!
Creating the Sweet Sticky Topping Base
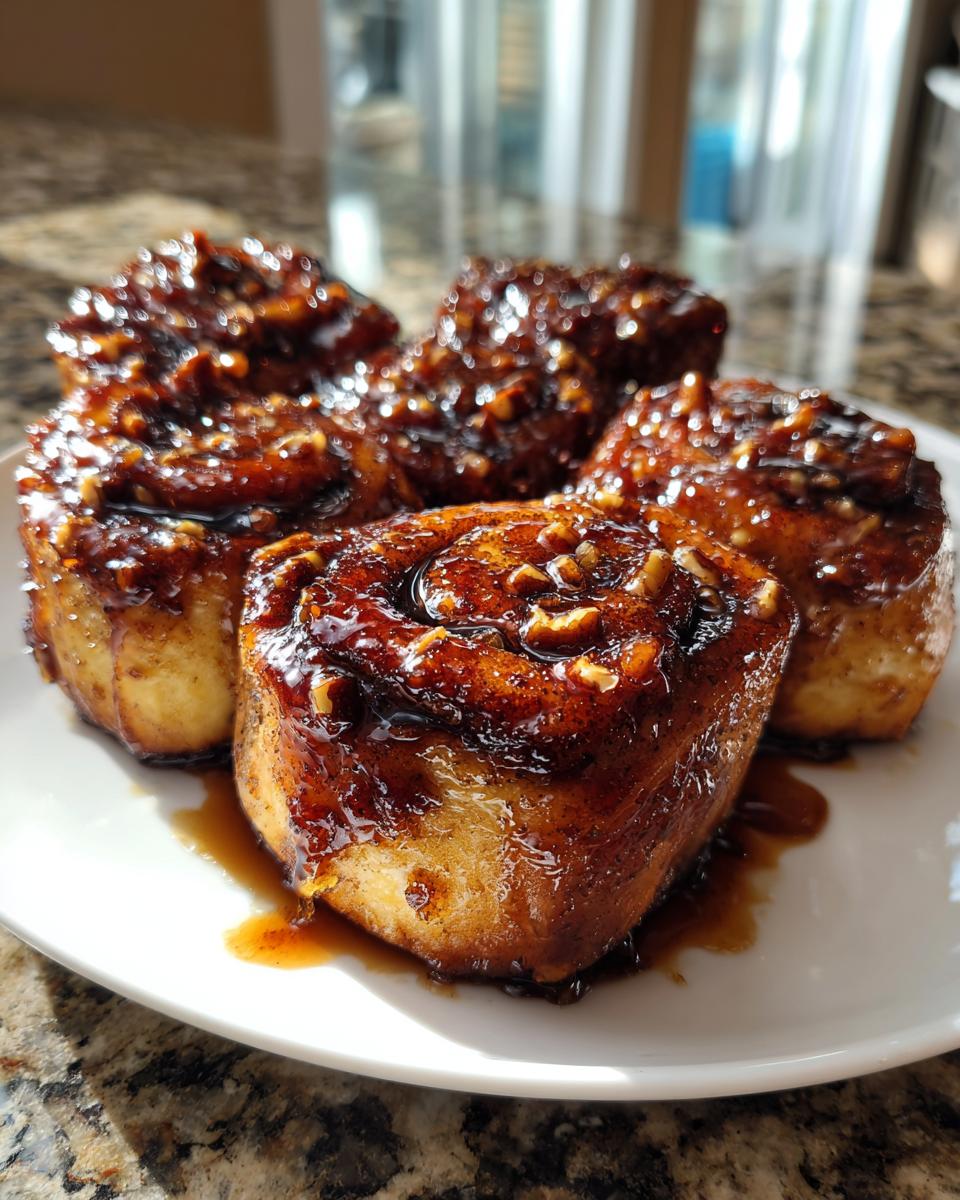
While that filling is cooling, move onto the topping—this is what makes these buns shiny! Melt your butter in a separate little saucepan. Once it’s liquid, stir in that brown sugar and the corn syrup. Bring this mixture up to a simmer, and this part is key: stir constantly for exactly one minute. Take it off the heat, stir in your vanilla, and then pour this syrupy mixture right into the bottom of your 9×9 inch baking pan. If you’re using nuts, sprinkle them over this gooey layer now. Go ahead and preheat your oven to 375 degrees Fahrenheit while you assemble!
Assembling and Slicing Your Rhubarb Sticky Buns
Now for the fun part! Unroll your refrigerated dough onto a clean surface. Don’t stretch it, just open it and gently flatten each roll a tiny bit. Take that cooled rhubarb filling and spread it out as evenly as you possibly can over the dough pieces. Now, roll the whole thing up—roll it tightly into a log so you get those nice swirls later. Use a sharp knife to cut that log into 12 equal slices. You need to place these cut-side up, snug against each other, right on top of that sticky topping you prepared in the pan.
Baking and Inverting for Perfect Presentation
Get them into that 375°F oven. The trick for that perfect aesthetic bake is two stages. First, cover the whole pan loosely with aluminum foil, and bake for 20 minutes. Take the foil off, and let them bake for another 5 to 10 minutes until the tops are golden brown—not too dark! Here is the ultimate secret for presentation: let them cool down for *only* five minutes after they come out. If they sit too long, the caramel hardens onto the pan. Place your serving plate upside down over the pan, and in one swift, confident move, flip the whole thing over. Tap the bottom lightly, and those rosy buns should slide right out, covered in glorious sticky topping!
Tips for Success with Seasonal Fruit Pastries
We want these seasonal fruit pastries to be absolutely perfect for your spring gathering, and sometimes that means tweaking things based on what Mother Nature gives us that week. Rhubarb is such a moody ingredient—sometimes it’s incredibly tart, and other times it’s got a surprising sweetness hiding in there! Don’t feel chained by the recipe; feel empowered to adjust based on taste, that’s how you truly command the kitchen.
Adjusting Tartness in Rhubarb Recipes
If you taste your filling after simmering and you feel like your rhubarb is extra on the sour side—maybe it’s early season rhubarb—don’t hesitate! My initial recipe calls for 1/2 cup of granulated sugar. If it’s screaming sour, I always add another couple tablespoons of sugar right then and there. You want that lovely tart punch, sure, but you don’t want your guests wincing! Taste it before you spread it on the dough; that little adjustment is your secret weapon for perfect balance.
Achieving the Signature Pink Hue
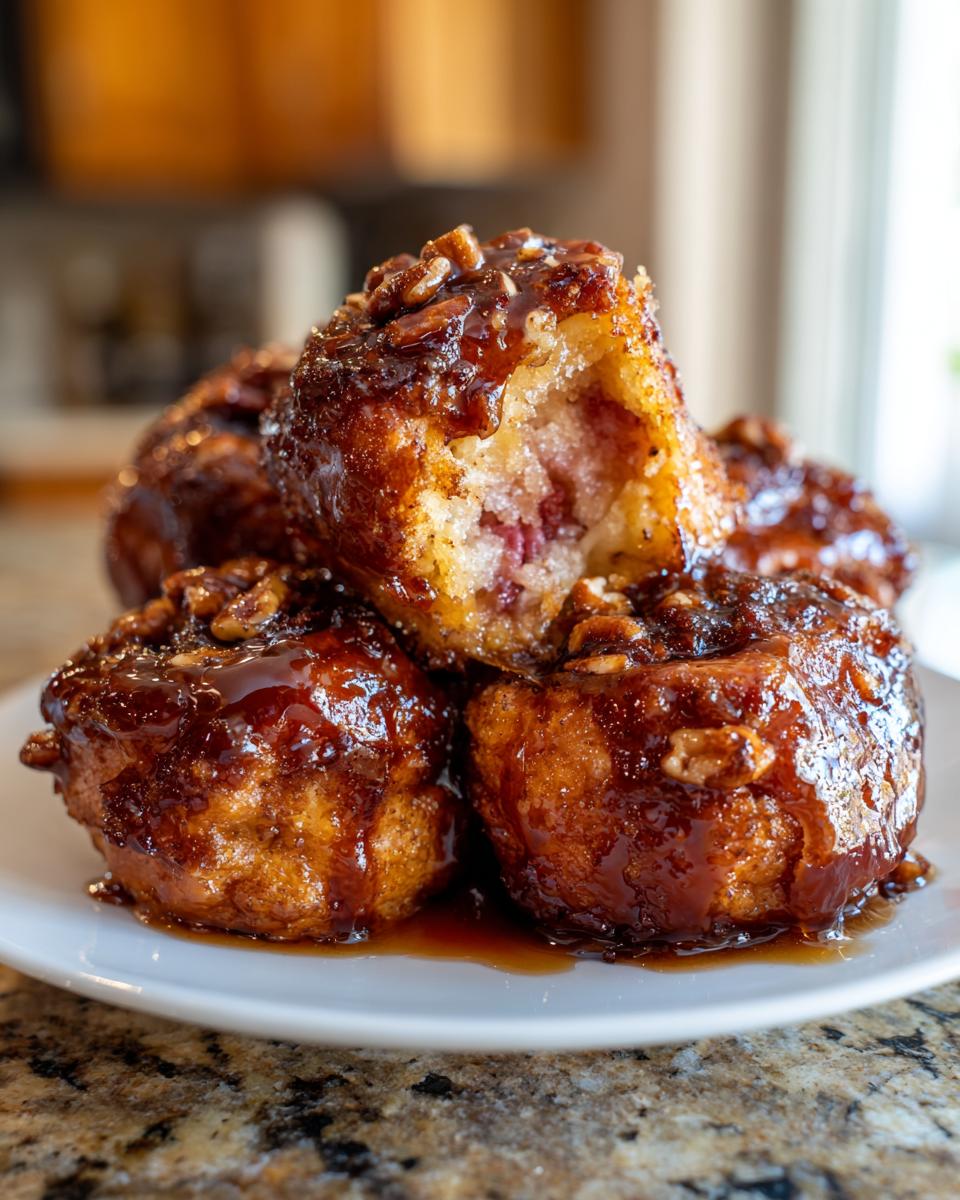
Because we aren’t using any artificial colors in our standard recipe, the pink hue really depends on the stalks themselves. If you want that vibrant, bakery-case look that just screams ‘spring,’ I sometimes cheat a tiny bit! I’ll add just one drop—and I mean one single drop—of red food coloring to the rhubarb mixture right before I pull it off the heat. It’s optional, obviously, but trust me, it takes those beautiful pink swirls from lovely to absolutely show-stopping for photos!
Storage and Reheating for Your Homemade Sweet Rolls
These homemade sweet rolls are absolutely best right out of the oven, no question. Who doesn’t want that warm, gooey topping dripping down their fingers? But let’s be real, sometimes you have leftovers, or maybe you baked them the day before a big brunch. I’ve got the foolproof method for keeping them soft!
If you have leftovers, the main enemy is air drying them out. You must store them covered tightly. If you plan to eat them within a day or two, keeping them covered on the counter usually works fine. If it’s longer, put them in the fridge, still covered. The topping might firm up a little, but don’t panic!
Reheating is simple. For a quick fix, zap one or two rolls in the microwave for about 15 to 20 seconds. That melts the topping right back into that perfect drizzle. If you’re reheating the whole batch, cover them loosely with foil and pop them back in a 300°F oven for about 10 minutes. That gentle heat revives the dough beautifully without scorching the beautiful pink rhubarb filling.
Frequently Asked Questions about Rhubarb Sticky Buns
Whenever I share these gorgeous rhubarb recipes, I always get the same questions, especially about planning ahead for easy sticky buns. Cooking should never feel stressful, so let’s get these last little bits sorted out so you can bake with total confidence!
Can I make the rhubarb filling ahead of time?
Absolutely, and I highly encourage it! This is one of my favorite make-ahead tricks. You can cook down the rhubarb filling exactly as the instructions say, let it cool completely, and then store it in an airtight container in the fridge for up to three days. When you’re ready to bake, just let it sit on the counter for about 15 minutes so it’s not ice-cold when you spread it on the dough. This separation of tasks makes the final assembly feel lightning fast!
What can I use instead of corn syrup in the topping?
That’s a great question about substitutions! The corn syrup is there mostly for the amazing shine and that specific gooey texture that doesn’t crystallize easily. The recipe notes suggest using real maple syrup if you prefer a different flavor profile, and it works beautifully! Maple syrup brings its own lovely caramelized notes. Just remember that maple syrup is often thinner than corn syrup, so you might let that topping mixture simmer for just a tiny bit longer—maybe an extra 15 seconds—to ensure it’s perfectly sticky before pouring it into the pan.
Are these suitable for a spring breakfast baking menu?
Oh, my gosh, yes! They are tailor-made for a spring breakfast baking menu. The whole point of using rhubarb is to capture that early spring tartness, which is such a refreshing change from heavy winter pastries. Because they look so stunning with all their pink swirls, they automatically elevate any brunch table. They serve as a beautiful centerpiece that signals the season has truly arrived!
Serving Suggestions for Spring Breakfast Baking
Baking is an event, right? And these buns deserve a supporting cast that matches their bright, slightly tart flavor! Since these rolls have that gorgeous sticky topping, you don’t want anything too heavy alongside them for your spring brunch spread. You want things that refresh the palate after that wonderful burst of sugar and fruit.
Forget heavy syrups; the tartness of the rhubarb begs for something light. I love pairing these with a side of fresh yogurt, maybe sweetened just lightly with a drizzle of honey. It echoes the light sweetness of the dough while offering a cooling contrast to the warm buns.
Also, consider what you’re putting *on* your coffee. If you want something extra special for a holiday spread, try making my super easy, fluffy homemade marshmallows—they add a soft sweetness that melts gorgeously on top if you don’t use the glaze. For something savory, keep it simple: a platter of crisp, salty bacon or maybe some sharp cheddar cheese slices balances the sugar perfectly. This makes the whole spring breakfast baking spread feel complete!
Estimated Nutritional Information for Rhubarb Sticky Buns
Now, I have to give you the usual disclaimer here: these numbers are just estimates! Anytime you use refrigerated dough, that nutritional breakdown can shift based on the specific brand you buy. But based on the recipe components we used to create these beautiful rhubarb sticky buns, here is what you can generally expect per roll. Remember, this is a treat, not a daily staple, so enjoy every decadent bite!
We definitely lean into the sweet side here, as you can see from the sugar content, but we’ve balanced it out with that tart fruit factor. When you compare it to a traditional heavy cinnamon roll, you’ll find these feel a little brighter, even with the gooey topping.
- Serving Size: 1 roll
- Calories: Approximately 350
- Fat: Around 18g (with 10g of that being saturated fat from the butter)
- Carbohydrates: About 45g
- Protein: Fairly low, about 5g
- Sugar: Expect roughly 30g
- Cholesterol: Around 35mg
- Fiber: Only about 1g, which is consistent with pastries made with white flour dough.
Keep in mind that if you skip the optional nuts, those numbers will shift slightly, especially the fat content. Use these as a guideline as you budget your day!
Share Your Spring-Forward Baking Creations
I’ve given you all my secrets for getting those gorgeous pink swirls and that perfect gooey bottom on your Rhubarb sticky buns! Now it’s your turn. This recipe is all about seasonal fun and that immediate “Wow!” factor when you flip them onto the plate. I truly hope you take that leap and try making these stunning spring-forward baking treats!
When you pull them out of the oven and see that vibrant pink rhubarb contrasting with the golden brown dough? You HAVE to take a picture! Tag us or share your photo; I love seeing how our community brings these recipes to life in their own kitchens. Did you use pecans or walnuts? Did you go for the extra pink coloring? Let me know!
And please, if you followed along and loved the balance of tart and sweet we achieved here, leave us a rating right down below. Those ratings are how new bakers find reliable recipes, and they mean the world to us here at Cookery Command. Every rating helps us continue our mission to put home cooks firmly in command of their ovens!
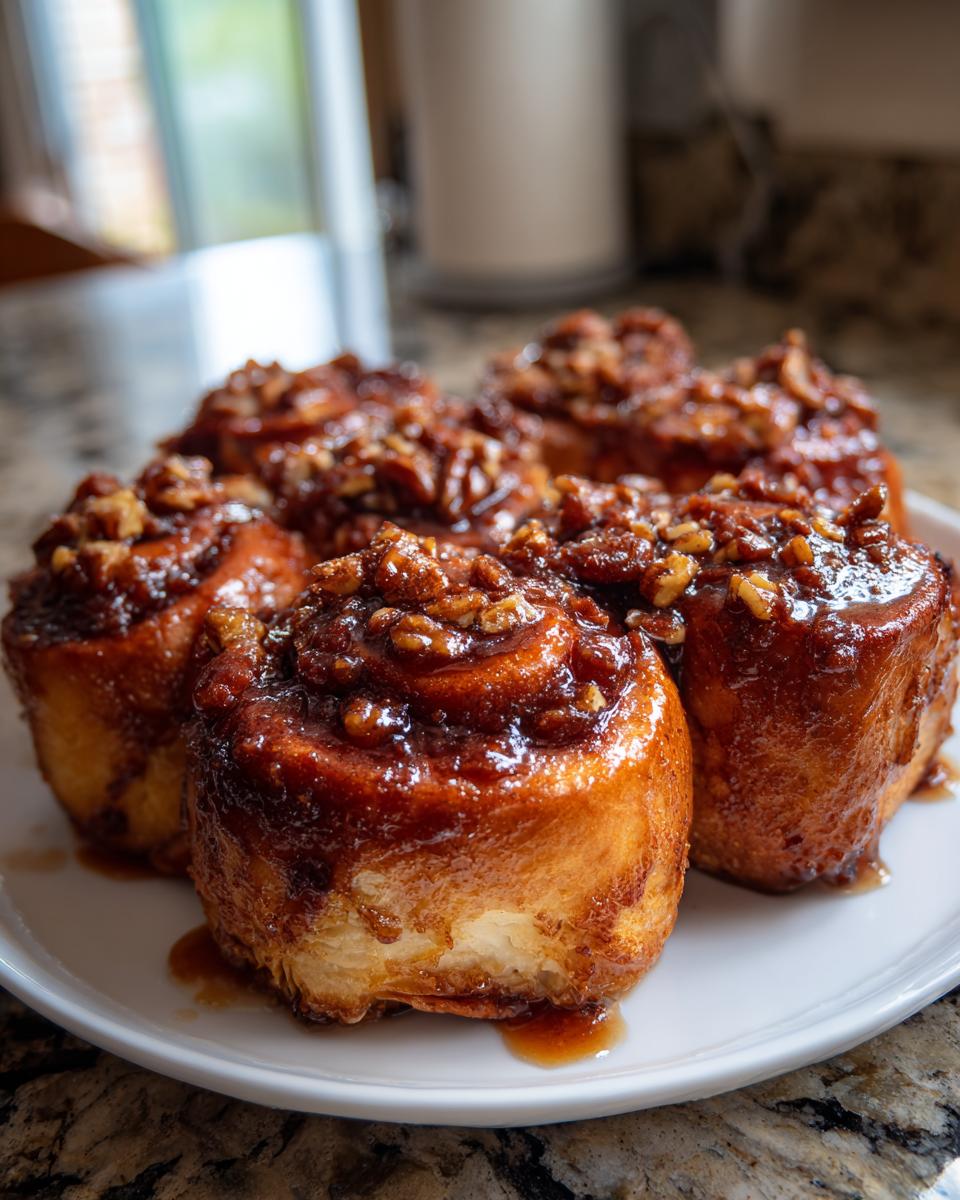
PrintRhubarb Sticky Buns: A Rosy Spring Treat

Make these visually striking rhubarb sticky buns for a unique spring breakfast. The tart rhubarb balances the sweet glaze, offering a fresh alternative to traditional cinnamon rolls.
- Prep Time: 20 min
- Cook Time: 35 min
- Total Time: 55 min
- Yield: 12 servings 1x
- Category: Breakfast
- Method: Baking
- Cuisine: American
- Diet: Vegetarian
Ingredients
- 1 package (14.4 ounces) refrigerated sweet roll dough
- 1 cup chopped fresh rhubarb
- 1/2 cup granulated sugar
- 1/4 cup water
- 1/4 cup (4 tablespoons) unsalted butter
- 1/4 cup packed light brown sugar
- 2 tablespoons light corn syrup
- 1/2 teaspoon vanilla extract
- 1/4 cup chopped pecans or walnuts (optional)
Instructions
- Prepare the rhubarb filling: In a small saucepan, combine the chopped rhubarb, granulated sugar, and water. Cook over medium heat, stirring occasionally, until the rhubarb softens and the mixture thickens slightly, about 8 to 10 minutes. Remove from heat and set aside to cool.
- Prepare the sticky topping: In a separate small saucepan, melt the butter over medium heat. Stir in the brown sugar and corn syrup. Bring the mixture to a simmer and cook for 1 minute, stirring constantly. Remove from heat and stir in the vanilla extract. Pour this mixture evenly into the bottom of a 9×9 inch baking pan. Sprinkle the chopped nuts, if using, over the topping.
- Prepare the rolls: Unroll the refrigerated sweet roll dough onto a clean surface. Gently flatten each roll slightly. Spread the cooled rhubarb filling evenly over the surface of the dough pieces.
- Roll and cut: Roll the dough up tightly into a log. Slice the log into 12 equal pieces. Place the cut rolls, cut-side up, snugly in the prepared baking pan over the sticky topping.
- Bake: Preheat your oven to 375 degrees Fahrenheit. Cover the pan loosely with foil and bake for 20 minutes. Remove the foil and bake for another 5 to 10 minutes, or until the tops are golden brown.
- Cool and invert: Let the buns cool in the pan for only 5 minutes. Place a serving plate upside down over the baking pan. Carefully flip the pan and plate over together to release the sticky buns onto the plate. Serve warm.
Notes
- For a brighter pink color, you can add one drop of red food coloring to the rhubarb mixture before filling the rolls.
- If you prefer a less tart flavor, increase the granulated sugar in the rhubarb filling by 2 tablespoons.
- You can substitute maple syrup for the corn syrup in the sticky topping for a different flavor profile.
Nutrition
- Serving Size: 1 roll
- Calories: 350
- Sugar: 30
- Sodium: 300
- Fat: 18
- Saturated Fat: 10
- Unsaturated Fat: 8
- Trans Fat: 0
- Carbohydrates: 45
- Fiber: 1
- Protein: 5
- Cholesterol: 35