
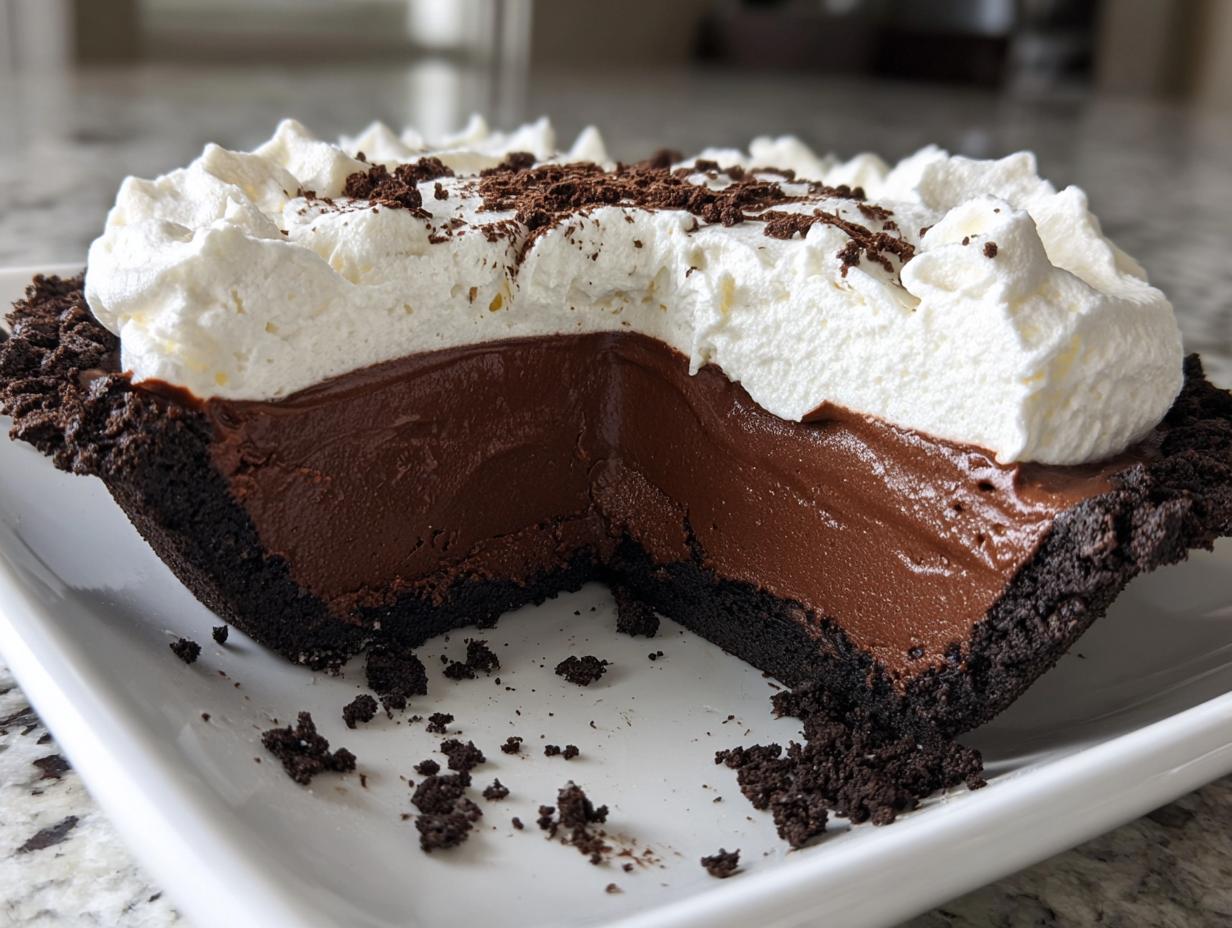
When you need a dessert so rich and deeply satisfying that it feels like cheating, but you also need it on the table *tonight*, you call for the ultimate indulgence: the chocolate mousse pie. Forget the fuss of baking; we are keeping things cool and utterly decadent here at Cookery Command. This version sets up beautifully with zero oven time and features that addictive, crunchy Oreo crust we all secretly love. If you enjoyed making the easy ice cream pie, you are going to adore this! We take the classics, apply a little technique, and guarantee you a showstopper every single time. Trust me, this deeply layered, creamy delight is about to become your go-to easy chocolate dessert that always impresses.
- Why This No-Bake Oreo Chocolate Mousse Pie is Your New Favorite Easy Chocolate Dessert
- Gathering Ingredients for Your Decadent Chocolate Pie
- Step-by-Step Instructions for the Best Chocolate Pie
- Tips for an Expert-Level Chocolate Mousse Pie Recipe
- Serving Suggestions for Your Rich Chocolate Pie
- Storage and Make-Ahead Tips for Your Chocolate Mousse Pie
- Troubleshooting Common Issues with Your Chocolate Mousse Pie
- Frequently Asked Questions About This Chocolate Mousse Pie Recipe
- Nutritional Information for One Slice of Chocolate Mousse Pie
- Share Your Kitchen Successes
Why This No-Bake Oreo Chocolate Mousse Pie is Your New Favorite Easy Chocolate Dessert
Listen, I know you love the classics, but sometimes baking seems like too much effort, right? That’s why this No Bake Chocolate Pie recipe is an absolute lifesaver. At Cookery Command, we aim for perfection without complication, and this dessert nails it. It’s reliable, incredibly rich, and honestly, it tastes way more complicated than it actually is. You can find tons more amazing dessert recipes right here on the site, but this one usually wins every time!
Zero Oven Time: The Ultimate No Oven Chocolate Dessert
This is the magic part! We only need 20 minutes of active prep time. That’s right, 20 minutes! Because there’s no baking involved, the total time is dominated by chilling, which happens quietly in the fridge while you’re busy doing… well, anything else! It’s the ultimate low-effort, high-reward Easy Chocolate Dessert for those busy weeknights or spur-of-the-moment cravings.
Perfectly Creamy Chocolate Mousse Texture
We achieve that true, luxurious mouthfeel by using two power players: instant pudding mix and softened cream cheese. They blend together so beautifully to create a stabilized, dreamy filling. It’s unbelievably silky, and it sets up perfectly every time, giving you the satisfying structure you want from a truly Decadent Chocolate Pie.
Gathering Ingredients for Your Decadent Chocolate Pie
Okay, let’s talk about what you need to grab. If you want this chocolate mousse pie to set up perfectly—and trust me, you do—we need to be precise with these measurements. Since this is a no-bake recipe, the ratios matter a ton for that dreamy, silky finish. We need quality ingredients that work together seamlessly. Once you have everything, check out my foolproof guide for making a moist chocolate fudge cake for other techniques!
For the Crunchy Oreo Crust Pie Base
We are keeping the crust super simple, and yes, we are using the whole darn cookie! You’ll need about 1 3/4 cups of those crushed Oreo cookies—that usually means about 25 cookies, depending on how big they are. Mix ‘em up with 6 tablespoons of unsalted butter that you’ve melted down. Don’t be shy; really press that buttery mixture firmly into your 9-inch pie dish. That solid base is what holds our creamy filling!
For the Silky Chocolate Mousse Filling
This is where the layers of flavor come in! Make sure your cream cheese is completely soft—I mean, room temperature soft. You need an 8-ounce package of it. We also need 1 cup of powdered sugar, 1 teaspoon of vanilla extract, 1 cup of cold heavy whipping cream, and 1 package (the standard 3.9 ounces) of instant chocolate pudding mix. Don’t forget the cold milk (1 1/2 cups), 1 cup of thawed frozen whipped topping, and 2 ounces of unsweetened chocolate that you’ve melted and let cool down just a touch.
Step-by-Step Instructions for the Best Chocolate Pie
Now for the fun part! This is where we put together our chocolate mousse pie. If you follow these steps exactly, you’re going to get that beautiful, non-weeping, perfectly set filling every single time. Remember, no baking means we rely on the cold, so have some patience lined up! We’re aiming for a fantastic result, much like the satisfaction you get from finishing those easy no-bake protein balls.
Creating and Chilling the Oreo Crust Pie
First things first, let’s lock down that base. Take your buttery Oreo crumb mixture and press it down firmly into your 9-inch pie plate. I mean really press it—get right up the sides. If it’s loose, your Oreo Crust Pie will crumble when you try to slice it! Once it’s packed solid, pop that entire dish into the freezer. It needs to chill out while we work on the filling, so let it hang out there for a good 15 minutes minimum.
Mixing the Cream Cheese Base and Pudding Layer
Grab a large bowl for the base. Beat that softened cream cheese until it’s silky smooth—no lumps allowed! Then slowly beat in the powdered sugar and the vanilla extract until it looks light and fluffy. Now, in a separate medium bowl, measure out your instant chocolate pudding mix and the cold milk. You need to whisk this vigorously for exactly 2 minutes. It won’t be fully stiff yet, but you should see it starting to thicken up nicely.
Assembling the Creamy Chocolate Mousse
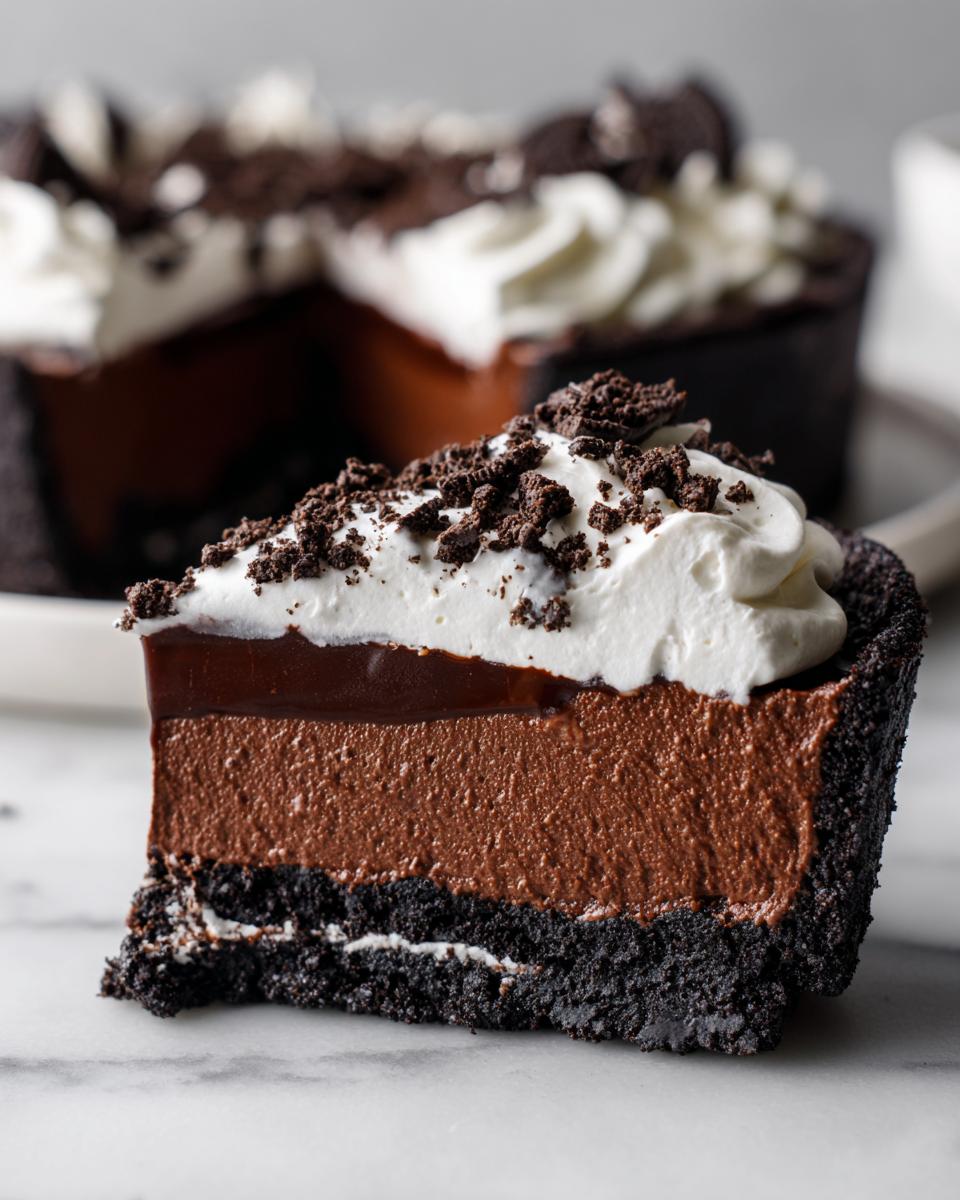
Time to combine! Gently fold that slightly thickened pudding mixture into your cream cheese base. Just combine until you see no more white streaks; don’t beat it! Next, carefully fold in your cup of thawed frozen whipped topping and those 2 ounces of slightly cooled, melted unsweetened chocolate. We are folding, folding, folding—gentle motions only! We want to keep all that lovely air we incorporated, ensuring we get that light, Creamy Chocolate Mousse texture.
Final Chill Time for the Perfect Chocolate Mousse Pie
Pour that beautiful, slightly airy filling right into your frozen crust. Smooth the top with a spatula. Now, cover the pie loosely with plastic wrap—we don’t want it sticking to the mousse! Into the refrigerator it goes. This is the hardest part: waiting. You must refrigerate this chocolate mousse pie for a minimum of 4 hours, but honestly, overnight is best. That long chill time is what guarantees a successful, firm slice.
Tips for an Expert-Level Chocolate Mousse Pie Recipe
Even though this is a no-bake treat, getting that professional, stable texture requires paying attention to a few little details. This isn’t just guesswork; this is science meeting tradition, which is how we roll here at Command Central! Following these expert tips—which I learned the hard way, believe me—will ensure your Homemade Mousse Pie is unbelievably silky and doesn’t weep when you slice it. It’s all about respecting the ingredients. If you are loving the cream cheese aspect of this pie, you might also want to check out my guide for the best cream cheese frosting recipe!
Ingredient Preparation for Flawless Results
First off, let’s talk temperature for your cream cheese. If your 8 ounces of cream cheese isn’t fully softened, you are guaranteed to end up with little lumps in your beautiful layers. Don’t rush it by microwaving it on high—just leave it out for an hour! Also, since this is a truly indulgent dessert idea, please use the best unsweetened dark chocolate you can find for that melted component. It makes a world of difference in the depth of flavor in that mousse!
Achieving the Right Consistency in Your Homemade Mousse Pie
My number one piece of advice when dealing with any mousse is this: be gentle! Once you start folding in the whipped topping and the chocolate, stop mixing the second the streaks disappear. Overmixing deflates the air, and suddenly, your light filling turns into something closer to fudge. If you ever decide to skip the instant pudding and try a cooked custard instead (which adds cooling time), you need to make sure that custard is fully chilled before combining it, or the cream cheese will just melt.
Serving Suggestions for Your Rich Chocolate Pie
This Rich Chocolate Pie deserves a stunning finale! Since this Layered Chocolate Pie is so deeply flavored, you don’t need a ton of extras, but a little flair goes a long way, especially when you want to impress your guests. If you’re feeling extra motivated after making this easy dessert, you might even want to check out how to make some easy maple fudge to serve alongside it!
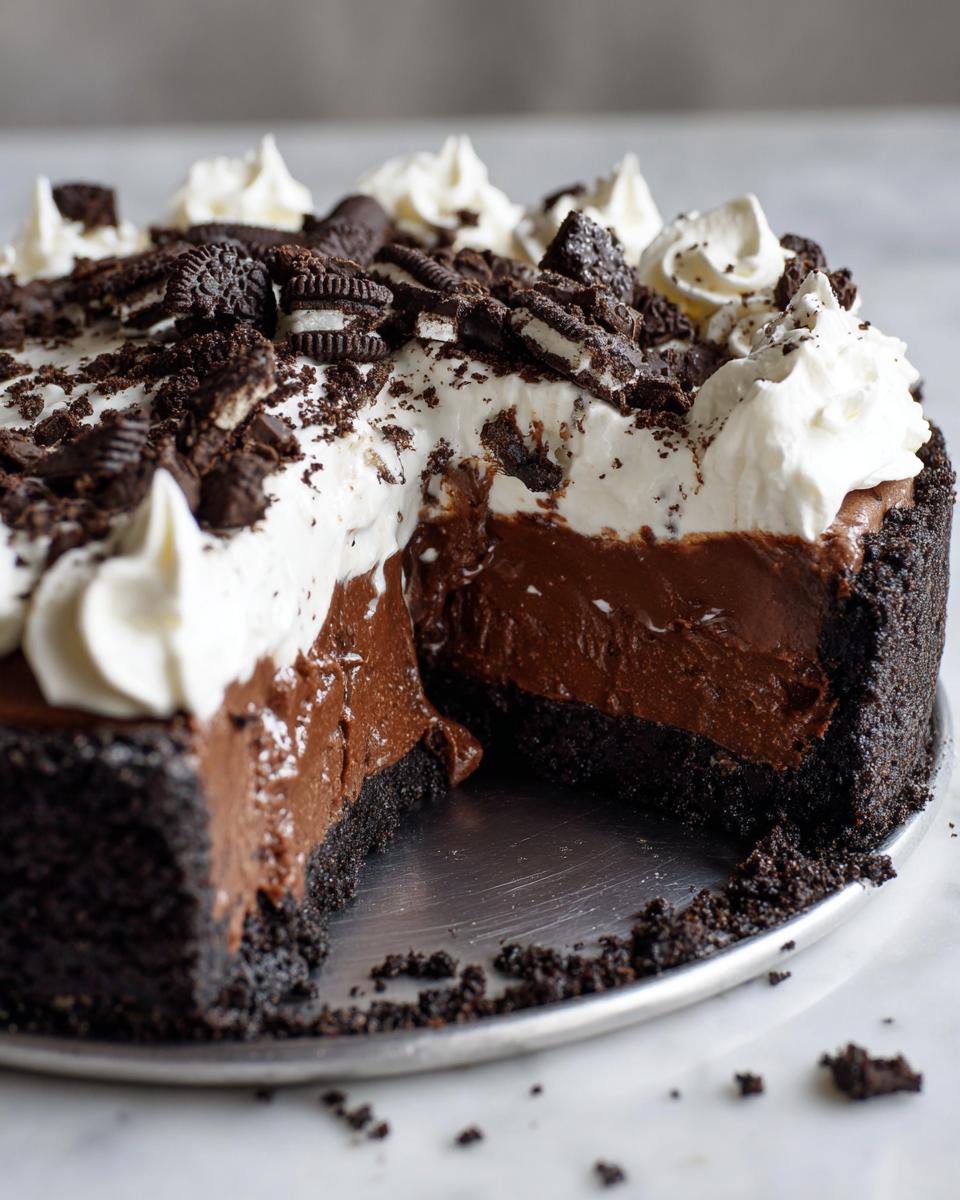
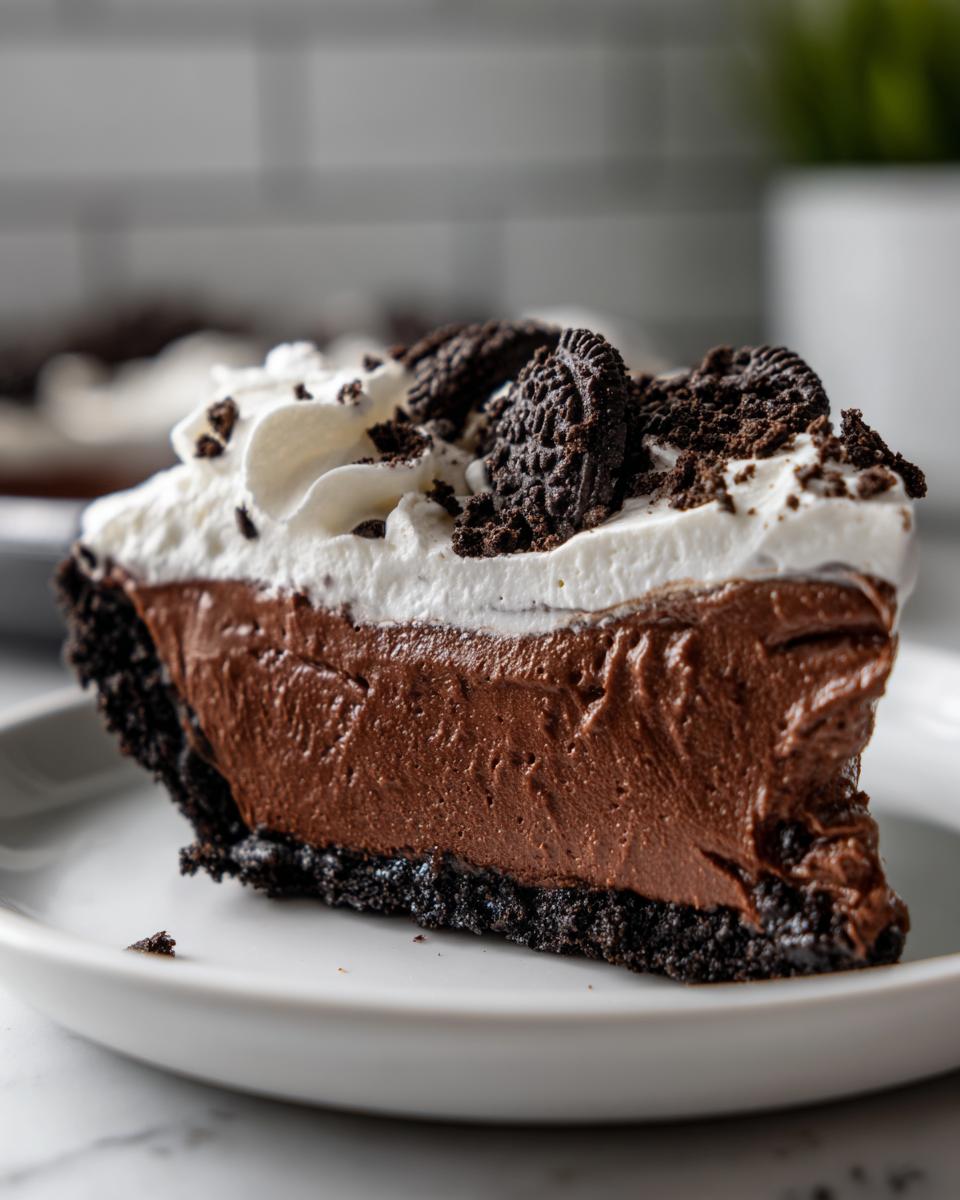
Topping and Garnishing the Layered Chocolate Pie
The final touch for our Whipped Cream Topping Pie is all about presentation. I mentioned using some extra thawed whipped topping right on top, but don’t stop there! A light dusting of unsweetened cocoa powder makes it look instantly professional. For real drama, grab a vegetable peeler and shave some high-quality dark chocolate right over the top just before serving. It catches the light beautifully and tells everyone they are about to dig into something truly special.
Storage and Make-Ahead Tips for Your Chocolate Mousse Pie
One of the best things about this kind of No Bake Chocolate Pie is that it’s actually better when you plan ahead a little bit. It gives the mousse layers time to truly settle into that perfect, sliceable texture we are aiming for. I find that the flavor deepens overnight, too, making it an ideal dessert for busy entertaining days! Planning ahead is just smart kitchen command!
Make-Ahead Instructions for This No Bake Chocolate Pie
You have a nice window here. While this Chocolate Mousse Pie is ready in 4 hours, I personally think it tastes best when made the day before serving. You can safely keep it covered in the fridge for up to two whole days! Now, here’s a critical tip—and this is something I learned when trying to make a sauce and forgetting about it—you must cover it loosely. If you wrap it tight while it’s still gaining firmness, condensation can build up, making the top of the mousse or the crust soggy. A loose layer of plastic wrap works like a charm to keep fridge odors out without trapping excess moisture. If you are looking for some great dipping ideas, you should check out my thoughts on making easy creamy homemade tartar sauce!
Troubleshooting Common Issues with Your Chocolate Mousse Pie
Look, even when we follow the science here at Command HQ, baking (or, in this case, no-baking!) can sometimes throw a curveball. If your beautiful chocolate mousse pie isn’t looking quite right after that long chill, don’t panic! We handle failures here, too. This is where that E-E-A-T comes in—anticipating problems so you can fix them fast, like a true kitchen commander. If your recipe for easy crockpot pulled chicken ever goes sideways, you know I have tips for that too!
Why Won’t My Creamy Chocolate Mousse Set?
This is the big fear with any Creamy Chocolate Mousse dessert! Usually, there are only two culprits that stop that filling from getting delightfully firm. First, did you whisk the pudding mix and milk for the full two minutes? If you stop too soon, it won’t have enough structure to hold up when you fold in the cream cheese. Second, did you give it enough time in the fridge? Four hours is the absolute bare minimum for this chocolate mousse pie.
If you are 100% sure on mixing and chilling time and it’s still too soft, it usually means the temperature of your wet ingredients was too warm when you started mixing. For a backup plan next time—and this is just an advanced tip—you can always dissolve one teaspoon of unflavored gelatin into 1/4 cup of warm milk, let it cool slightly, and then fold that into the pudding mixture before you add the cream cheese. That gives you bulletproof stability!
Frequently Asked Questions About This Chocolate Mousse Pie Recipe
I always get a ton of questions whenever I post this recipe online, which tells me you all love an indulgent dessert idea that doesn’t require turning on the oven! Since this is such a crowd-pleasing dessert, I figured I’d answer the top queries right here. Don’t forget, if you have more questions or just want to share a picture of your stunning creation, you can always reach out to me through the contact page!
Can I substitute the Oreo Crust Pie?
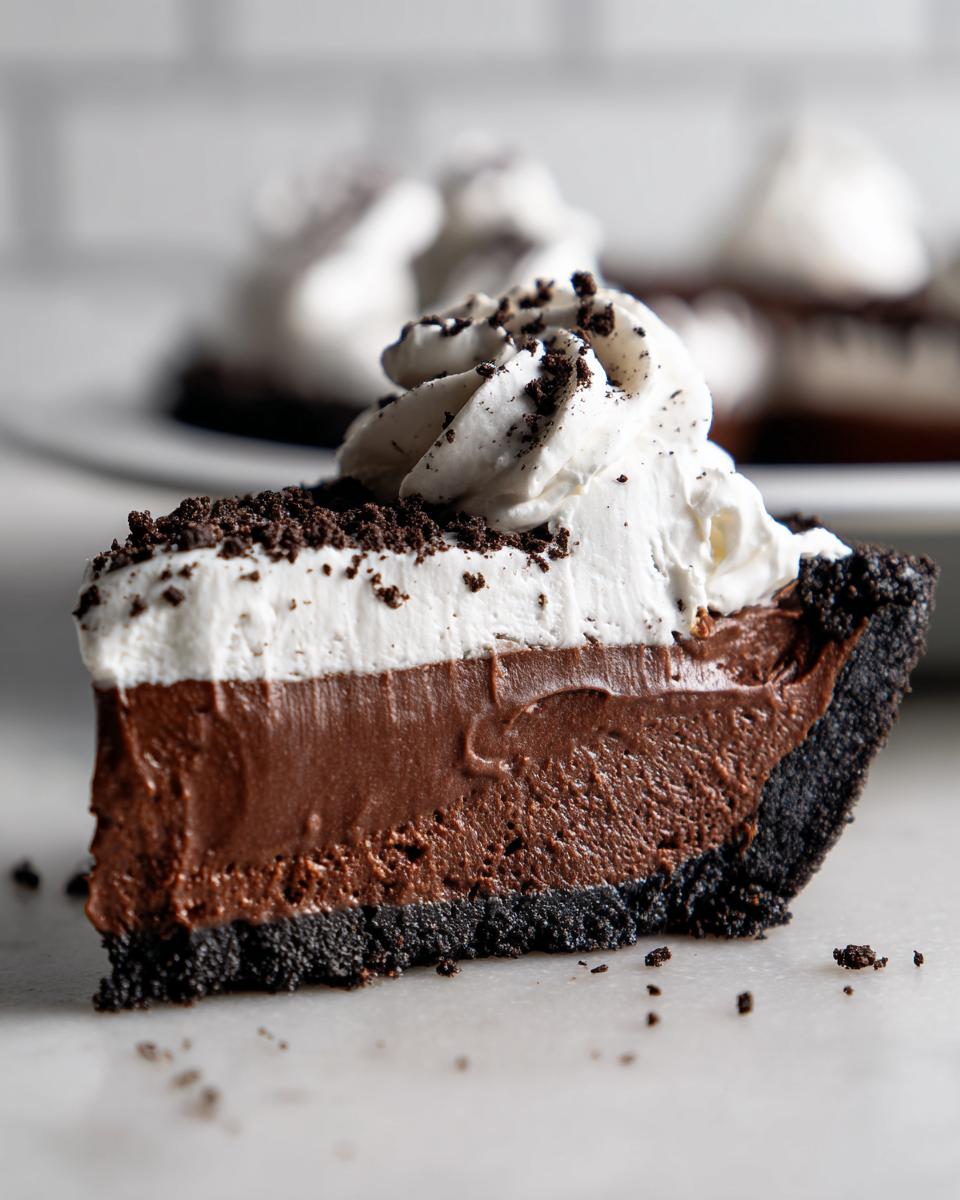
You absolutely can swap out the crust! If you don’t have Oreos on hand, a standard graham cracker crust works beautifully, or even a shortbread crust would be yummy. However, I have to tell you, the deep chocolate crunch of the Oreo Crust Pie just complements the lightness of the mousse so perfectly in this specific chocolate mousse pie. It’s worth the effort to seek out those cookies!
What if I want a lighter Whipped Cream Topping Pie?
That’s a great question if you’re trying to lighten things up just a tiny bit from the standard recipe! Instead of using the thawed frozen topping in the filling, you can use heavy whipping cream that you whip up yourself until soft peaks form, and fold that in gently. That homemade, stabilized whipped cream will result in a lighter, airier feel for your Whipped Cream Topping Pie. We’re aiming for ultimate silkiness here!
Is this recipe considered a Quick Chocolate Dessert?
It depends on how you define “quick”! The active prep time for this entire Rich Chocolate Pie is super fast—we’re talking 20 minutes flat, tops. But because we rely on the fridge for structure, you do need that 4-hour chill. So, it’s not instant gratification, but compared to baking a cake or pie from scratch, it’s certainly a wonderfully Quick Chocolate Dessert option that saves so much time!
Nutritional Information for One Slice of Chocolate Mousse Pie
Look, when you’re pulling out a slice of something this wonderfully indulgent dessert idea, you know it’s not exactly a health food, right? But transparency is key here at Command Central! We want you to know exactly what you’re serving up. Below you’ll find the estimated nutritional breakdown for one standard slice of this amazing dessert. Since we are using real butter, cream cheese, and rich chocolate, the numbers reflect that decadent profile. It’s good to have the facts, even when indulging!
This data is purely representative based on the ingredients listed in the recipe above. Please remember that these values are estimates, and they absolutely will vary depending on the specific brands of cookies, chocolate, and topping you choose to use. If you swap out the Oreo crust for something lighter, those numbers will naturally change!
- Serving Size: 1 slice
- Calories: 450
- Sugar: 35g
- Fat: 30g
- Saturated Fat: 18g
- Carbohydrates: 42g
- Protein: 6g
Share Your Kitchen Successes
There you have it! You’ve mastered the chocolate mousse pie, and honestly, that makes me so proud. That’s the whole point of Cookery Command—taking a gorgeous, decadent recipe and proving that you can absolutely make it flawlessly in your own kitchen. I’ve crossed my fingers that the silky texture and the simple Oreo base were everything you hoped for!
Now, I need to see what you created! Did the filling come out perfectly firm? Did you sprinkle on extra chocolate shavings? Don’t keep that kitchen success to yourself! Please take a moment, right now, to leave a star rating and a comment below telling me how it went. Hearing your feedback helps me continue to refine these recipes and build confidence for the next home cook wanting to try this Easy Chocolate Dessert!
If you snapped a photo of that beautiful slice, please tag us on social media! Seeing your creations reminds me that our mission to share reliable American home cooking is working. If you want to know more about our testing process and philosophy, check out the About Us page. Happy baking—or, well, happy chilling!
PrintNo-Bake Oreo Chocolate Mousse Pie

You can create this rich, creamy No-Bake Oreo Chocolate Mousse Pie using simple steps. It features a crunchy Oreo crust, a silky dark chocolate mousse filling, and a light whipped cream topping. This decadent chocolate pie requires no oven time.
- Prep Time: 20 min
- Cook Time: 0 min
- Total Time: 4 hr 20 min
- Yield: 8 servings 1x
- Category: Dessert
- Method: No Bake
- Cuisine: American
- Diet: Vegetarian
Ingredients
- 1 3/4 cups crushed Oreo cookies (about 25 cookies)
- 6 tablespoons unsalted butter, melted
- 1 package (8 ounces) cream cheese, softened
- 1 cup powdered sugar
- 1 teaspoon vanilla extract
- 1 cup cold heavy whipping cream
- 1 package (3.9 ounces) instant chocolate pudding mix
- 1 1/2 cups cold milk
- 1 cup frozen whipped topping (thawed), plus more for topping
- 2 ounces unsweetened chocolate, melted and cooled slightly
Instructions
- Prepare the crust: Mix the crushed Oreo cookies and melted butter in a bowl until combined. Press the mixture firmly into the bottom and up the sides of a 9-inch pie dish. Place the crust in the freezer while you prepare the filling.
- Make the cream cheese layer: In a large bowl, beat the softened cream cheese, powdered sugar, and vanilla extract until smooth. Set aside.
- Prepare the mousse filling base: In a separate medium bowl, whisk together the instant chocolate pudding mix and cold milk for 2 minutes until it begins to thicken.
- Combine the fillings: Gently fold the thickened pudding mixture into the cream cheese mixture until just combined.
- Add chocolate and whipped topping: Fold in the cooled melted unsweetened chocolate and the 1 cup of thawed whipped topping until no streaks remain.
- Assemble the pie: Pour the chocolate mousse filling into the chilled Oreo crust, spreading it evenly.
- Chill: Cover the pie loosely with plastic wrap and refrigerate for at least 4 hours, or until the mousse is firm.
- Top and serve: Before serving, top the pie with additional whipped topping and chocolate shavings, if desired. Slice and serve cold.
Notes
- For the best texture, ensure your cream cheese is fully softened before mixing.
- Use high-quality dark chocolate for a richer flavor in the mousse.
- If you do not have instant pudding mix, you can substitute with a cooked chocolate custard base, but this will require additional cooling time.
Nutrition
- Serving Size: 1 slice
- Calories: 450
- Sugar: 35g
- Sodium: 280mg
- Fat: 30g
- Saturated Fat: 18g
- Unsaturated Fat: 12g
- Trans Fat: 0.5g
- Carbohydrates: 42g
- Fiber: 2g
- Protein: 6g
- Cholesterol: 65mg