

Have you ever left a sushi restaurant wondering, “How do they get their rice *just right*?” It’s the make-or-break element, isn’t it? Too hard, it crumbles. Too soft, and you’ve got paste. Here at Cookery Command, I believe that mastering foundational techniques, like getting truly perfect **sushi rice**, is where true confidence in the kitchen starts. Forget the frustration; this guide is my promise to you that you will achieve that ideal sticky-yet-fluffy consistency every single time. My goal is simple: to empower you to make restaurant-quality rice right here on your stovetop.
I learned long ago that the difference between a mediocre roll and an incredible one comes down to the starch, the soak, and the gentle seasoning. We’re going to walk through every essential step, from washing the grains to folding in that beautiful, sharp seasoning mixture, and I guarantee you’ll feel like you’ve cracked the code on this cornerstone of Japanese cuisine. You’ll be ready to roll your own California maki in no time!
- Why Achieving Perfect Sushi Rice Texture Matters (E-E-A-T Focus)
- Essential Preparation: How to Wash Sushi Rice Correctly
- Mastering the Sushi Rice Cooking Techniques
- Creating the Seasoned Rice Vinegar Mixture for Authentic Sushi Rice
- The Folding Technique: How to Season Hot Sushi Rice
- Tips for Success: Avoiding Mushy Sushi Rice
- Storage and Serving Suggestions for Your Sushi Rice
- Frequently Asked Questions About Making Sushi Rice
- Nutritional Estimate for This Easy Fluffy Rice Guide
Why Achieving Perfect Sushi Rice Texture Matters (E-E-A-T Focus)
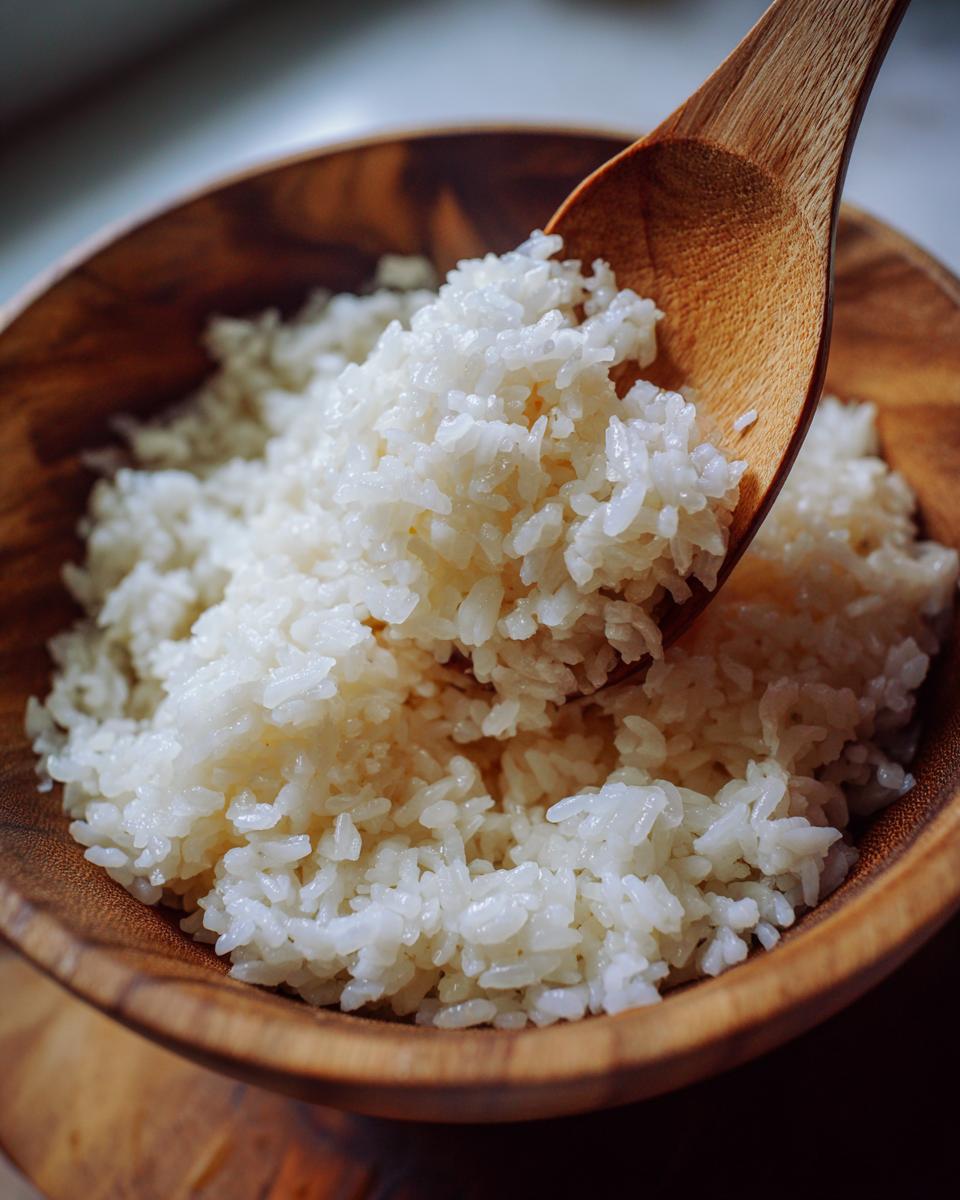
If you try to make sushi with regular long-grain rice, well, I feel for you! The temperature and texture just won’t cooperate. Achieving that truly transcendent **perfect sushi rice texture**—the one that’s sticky enough to hold its shape but tender enough to melt slightly in your mouth—comes down entirely to starch management. It’s science, really! When you cook the right rice, the starches release just enough to bind the grains together without gluing them into a solid, gummy mass.
This is the foundation of good sushi, whether you’re making nigiri or just a spicy salmon bowl. When the seasoning hits that perfectly cooked, warm rice, the grains firm up just right. Mess up the way the starch cooks, though, and no amount of fancy vinegar mix can save it. Trust me, understanding this texture difference is what separates the home cook from the sushi master.
Selecting the Best Short Grain Rice for Sushi Rice
You simply must use short-grain Japanese rice, often labeled specifically as sushi rice. It’s non-negotiable! These grains are plump and shorter than what you’d use for pilaf. That shape is intentional because short-grain varieties are loaded with amylopectin, the starch responsible for that signature stickiness. Long-grain rice has too much amylose and just cooks up fluffy and separate—great for Indian food, terrible for rolls. We need that glue, folks!
Essential Preparation: How to Wash Sushi Rice Correctly
Okay, if you skip this entire section, your rice will fail. I’m not trying to be dramatic, but knowing how to wash sushi rice is the secret weapon against that dreaded gummy layer on the outside of the grains. Think of it like washing delicate clothes—you have to get the surface dust off before the main cleaning cycle. You need to rinse the rice repeatedly, gently swirling it with your hand, and draining off that milky, cloudy water. I usually go through six or seven rinses until the water looks nearly clear. It feels like forever, but this removes the excess surface starch that causes clumping during cooking.
The Crucial Soaking Step for Sushi Rice
Once you’ve done the hard work and the water is finally clear, don’t just throw that dry rice straight into the pot! You absolutely must drain it well and let it sit for about 30 minutes. Soaking allows the grains to absorb some of that moisture internally so they cook evenly all the way through. If you skip this, you end up with rice that’s crunchy in the center, I promise you that.
Mastering the Sushi Rice Cooking Techniques
Now that our rice is clean and soaked, it’s time for the actual cooking, which is where many people get nervous. But don’t worry! Mastering **sushi rice cooking techniques** is much easier than you think once you treat the rice like a delicate process rather than just boiling water. The goal here is steam magic, not brute force boiling. We need to cook it gently so those starches swell perfectly without bursting. I’ve found the stovetop gives you the most control, but if you’re short on time, I even have some great tips for the Instant Pot, like the ones you can find detailed over at Umami Girl’s rice guide, though we’ll focus on the classic method first.
Stovetop Sushi Rice Instructions for Beginners
If you’re using my mainline recipe, this is for you. Combine the drained rice and cold water in a pot—make sure it’s a heavy-bottomed pot, that helps tremendously! Bring it up to a rolling boil over medium-high heat. The second it hits a proper boil, reduce that heat immediately to the absolute lowest setting. Cover it with a tight-fitting lid and let it simmer for exactly 15 minutes. Here’s the golden rule for **stovetop sushi rice instructions**: Do not, under any circumstances, peek under the lid! If you let that steam escape, you ruin the even cooking. After 15 minutes, take the pot completely off the burner and let it stand, still covered, for another 10 minutes. That quiet rest finishes the job beautifully.
Alternative Rice Cooker Sushi Rice Method
If you’re relying on your trusty machine, that’s totally fine! The washing and soaking steps matter just as much here. For the **rice cooker sushi rice method**, you usually use slightly less water than the stovetop method calls for, so check your machine’s guidelines for short-grain rice. Just load it up after soaking, press start, and let it run its cycle. Once it switches to warm, let it sit for that 10-minute rest period before opening the lid!
Creating the Seasoned Rice Vinegar Mixture for Authentic Sushi Rice
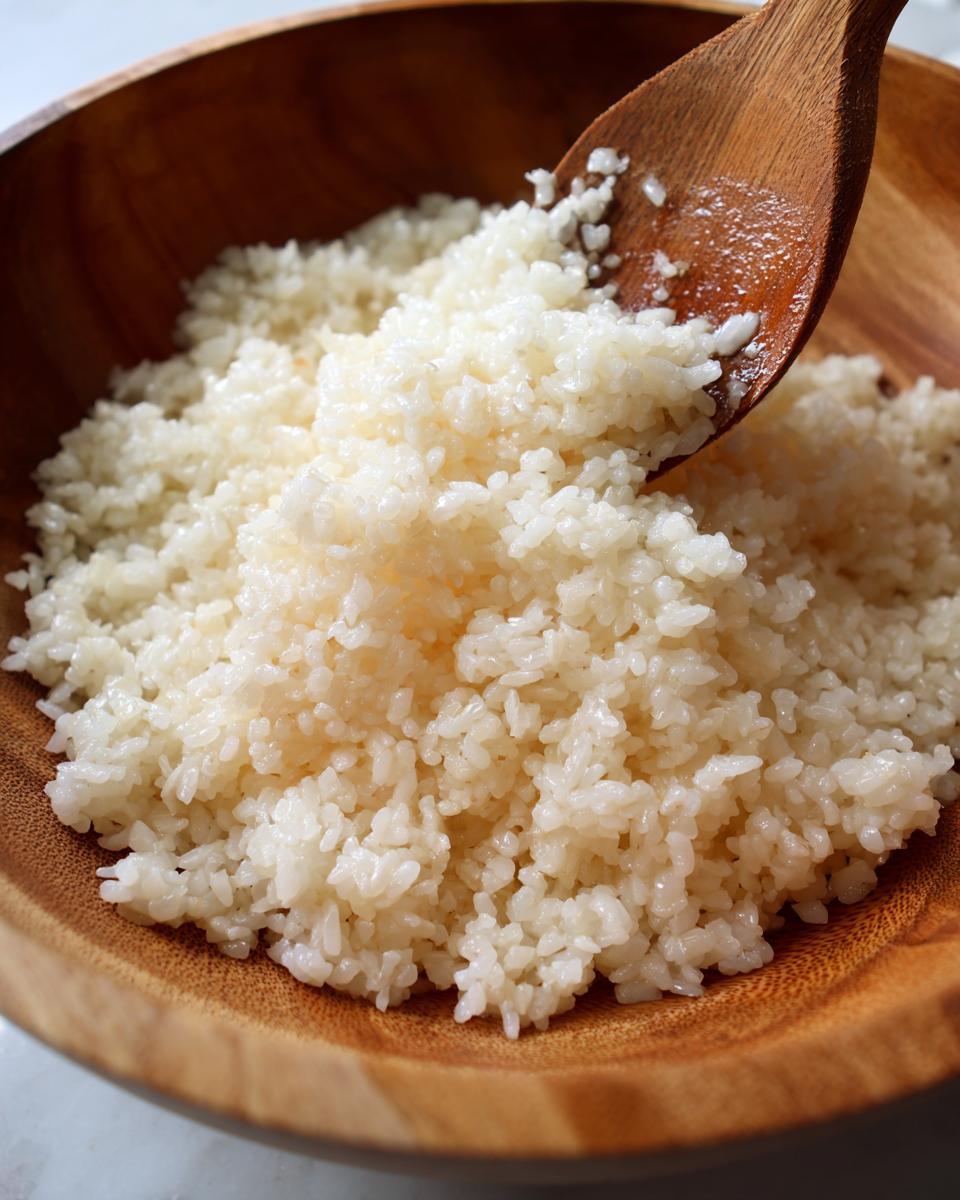
Okay, we have perfectly fluffy rice that’s still hot, which means it’s ready to meet its delicious destiny: the seasoning! This mixture is what turns plain steamed short-grain rice into proper **sushi rice**—it needs that signature tang and subtle sweetness. I always measure this carefully, because getting the balance right here is vital for your *homemade sushi rice recipe*. My ratio keeps things sharp but never biting.
For every two cups of *uncooked* rice we used, we need about one-half cup of rice vinegar, three tablespoons of granulated sugar, and one teaspoon of fine sea salt. Toss all those lovely ingredients into a small saucepan. The trick here, friends, is gentle heat. You want to warm it up just enough so that the sugar and salt completely dissolve when you stir. Do not let this mixture boil! If you boil the vinegar, you lose that bright, necessary acidity. You’re just making a slightly sweet vinegar syrup. As soon as everything dissolves into that beautiful, clear liquid—which is your **authentic Japanese rice seasoning**—pull it right off the heat and let it cool down just a touch before we pour it over the hot grains!
I always check out recipes like the one over at Simply Scrumptious Eats when I want to double-check my ratios, but honestly, this measurement has been my go-to for locking in that perfect restaurant flavor profile.
The Folding Technique: How to Season Hot Sushi Rice
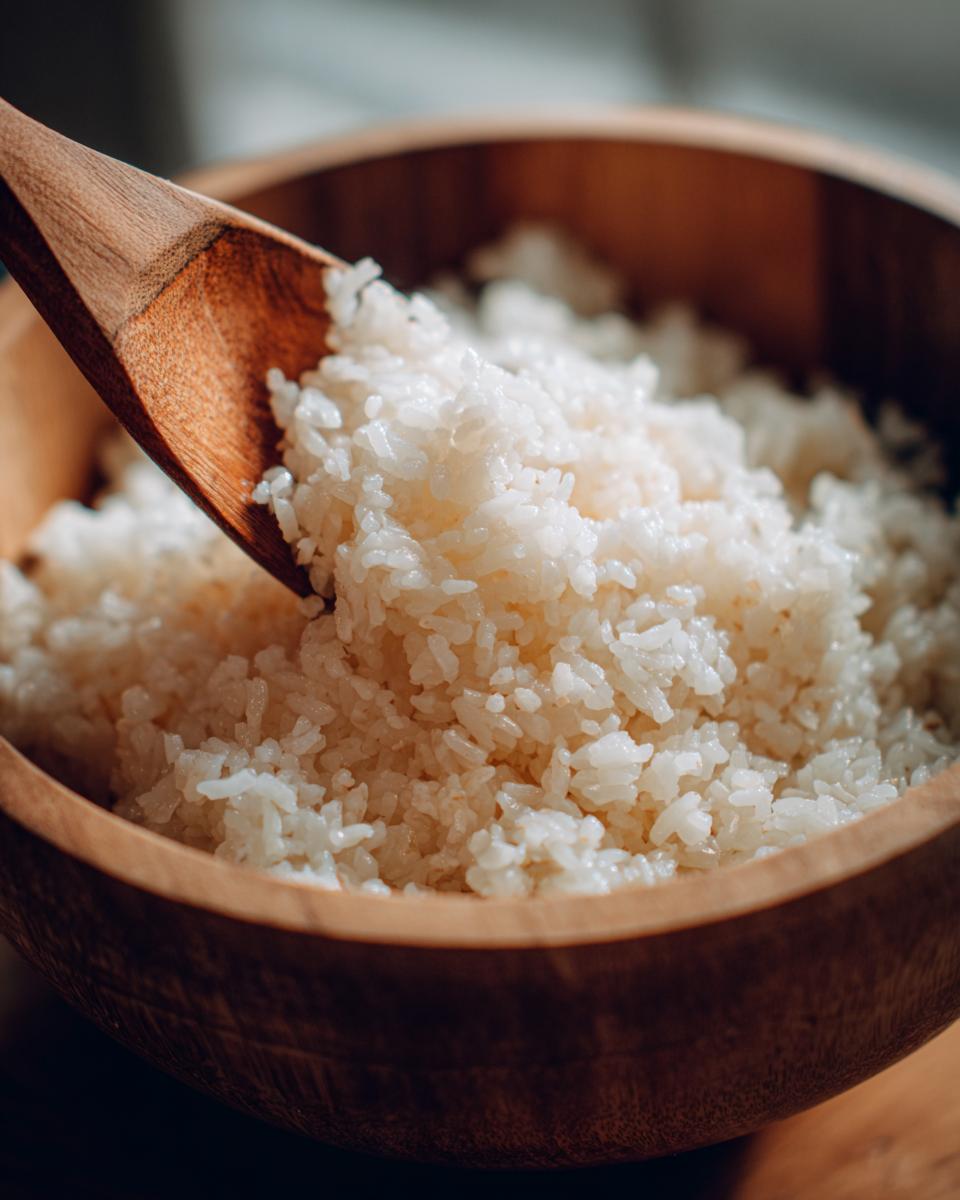
We’ve got our gorgeous, hot rice sitting in the bowl, and our seasoning mix is ready to go—but this is where beginners often panic and stir too vigorously! Stop right there! If you stir this mixture like you’re making oatmeal, you will break those tender grains, and suddenly your *homemade sushi rice recipe* turns into something closer to sticky porridge. That’s not what we want for maki!
Instead, we use a slicing motion. Take your wooden paddle or sturdy spoon and gently cut down through the rice, then scoop slightly underneath and “fold” the seasoned liquid over the top layer. Keep turning the bowl and repeating this gentle slicing motion. It’s about incorporating the seasoning without smashing the structure we worked so hard to build during washing and cooking.
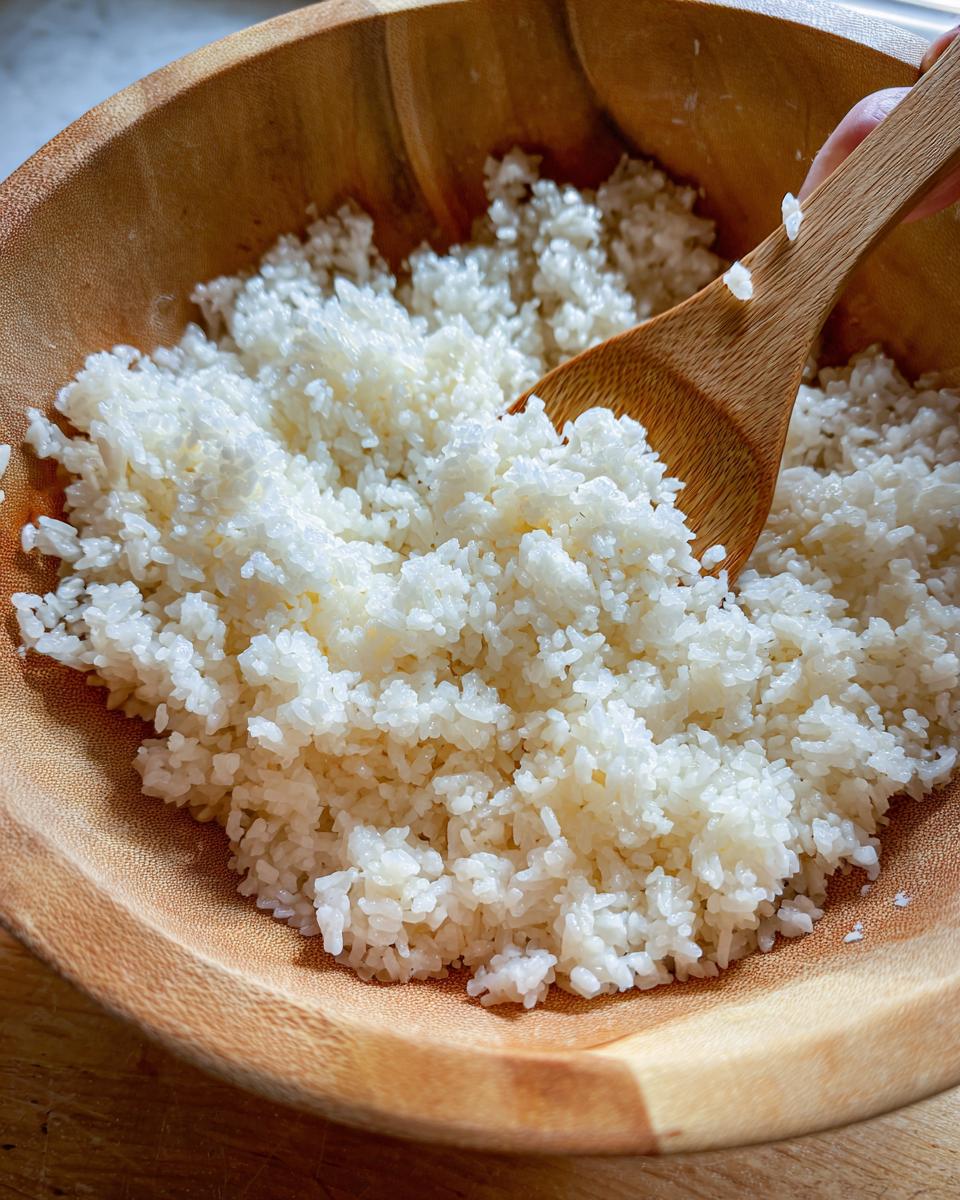
As you fold, you absolutely need to introduce some cool air. If you have a kitchen fan handy, point it toward the rice while you fold. This cools the rice rapidly down to body temperature, which helps the vinegar absorb beautifully and gives the rice that characteristic glossy sheen. This whole process takes maybe 5 or 6 minutes, and once it’s done, you’re ready to roll! If you wanted to make a spicy dipping sauce for your rolls, I’ve shared my favorite recipe for a quick cilantro lime dressing, which is fantastic on the side.
Tips for Success: Avoiding Mushy Sushi Rice
Look, everyone’s made mushy rice at least once—it happens to the best of us! But since we dove deep into every crucial step for great **sushi rice**, let’s just quickly recap the three habits that will guarantee you avoid that heavy, gummy failure texture every time. First, that initial washing? Don’t rush it! Rinsing until the water is almost clear pulls off the surface starch necessary for that light, fluffy feel.
Second, once the rice is cooking on the stovetop, put the lid down and don’t touch it. Seriously, no peeking! Let the steam do its job during the simmer and the resting phase. That trapped heat is essential for finishing the grain evenly. Finally, when you add the seasoning, remember that slicing and folding motion we talked about—no mixing! You aren’t trying to combine ingredients; you are gently marrying the seasoning to the grain. Follow those three rules, and your rice will be perfect for everything from poke bowls to your delicate chicken rice bowls!
Storage and Serving Suggestions for Your Sushi Rice
Alright, your rice is perfectly seasoned, glistening, and cooled for use. Great job! Now, we need to talk about keeping that texture alive until you eat it. The big thing to know is that this rice is best used *immediately* or within a few hours. It is made to be served around body temperature for sushi; if you chill it down in the fridge, it gets hard as a rock because the starches lock up! So, for **make maki rolls rice**, cover the bowl with a damp towel and leave it out on the counter at room temperature for up to four hours maximum.
If you absolutely must store it longer, put it in a shallow, airtight container and refrigerate, but be warned—it will be stiff. To try and bring it back to life, never use the microwave! That just makes it chewy. Instead, take out what you need, sprinkle a tiny bit of water over it, and gently steam it for a few minutes to loosen those grains up. This rice is phenomenal for your homemade rolls, but it’s also the perfect base for anything saucy, especially when you’re building amazing chicken rice bowls!
Frequently Asked Questions About Making Sushi Rice
I know even after going through all those steps, you might still have a few little questions bubbling up. That’s totally normal when you’re mastering a foundational recipe like this! Here are the questions I get the most from folks trying to nail that restaurant quality right at home.
Can I use Jasmine rice instead of short-grain rice for sushi rice?
Oh, please don’t try it! If you use Jasmine or Basmati, you will end up with a big, fluffy disaster that won’t stick together for rolling. Those grains lack the necessary starch, so your supposed **sushi rice** will just turn into a pile of separate, hard grains that fall apart immediately. Stick to the short-grain label!
How long does seasoned sushi rice last?
For the absolute best flavor and texture, you want to use it the day you make it. If you must store it, keep it covered with a damp cloth at cool room temperature for no more than 4 hours. After that, it’s really best to eat immediately. Refrigeration is your enemy here, as it dries out the rice!
What is the ratio of vinegar mix to rice for a flavorful homemade rice side dish?
We used a ratio based on 2 cups of *uncooked* rice. That meant we mixed up a half-cup of our vinegar seasoning blend. This amount is perfect for ensuring every grain gets coated for the ideal flavor balance—sharp, sweet, and salty. This ratio guarantees that your rice sings when served as a **flavorful homemade rice side dish**!
If you want to dip into some other favorites we have around here, I just posted my recipe for creamy Mexican street corn dip, which is amazing for parties!
Nutritional Estimate for This Easy Fluffy Rice Guide
I always try to keep track of what we’re eating, but remember, this nutritional breakdown is just an estimate based on the recipe specifications we used! Since we are focusing on achieving the perfect texture in this **easy fluffy rice guide**, the numbers are based on a half-cup serving size of the finished product. We’re looking at about 210 calories, 46 grams of carbs, and just a touch of natural protein. Naturally, the sugar content comes entirely from the seasoning mix, but you can adjust that slightly!
If you’re looking for heartier meals featuring rice, check out my recipe for quick black bean soup—it’s an absolute weeknight lifesaver!
PrintFoolproof Sushi Rice: The Ultimate Sticky & Fluffy Guide
Learn the exact steps to make authentic, perfectly textured, and seasoned sushi rice at home using short-grain rice. This guide ensures your rice is sticky, fluffy, and never mushy, ideal for homemade sushi rolls or poke bowls.
- Prep Time: 40 min
- Cook Time: 25 min
- Total Time: 1 hour 5 min
- Yield: 4 servings 1x
- Category: Side Dish
- Method: Stovetop
- Cuisine: Japanese
- Diet: Vegetarian
Ingredients
- 2 cups short-grain Japanese rice (sushi rice)
- 2 cups cold water (for cooking)
- 1/2 cup rice vinegar
- 3 tablespoons granulated sugar
- 1 teaspoon fine sea salt
Instructions
- Wash the rice: Place the rice in a large bowl. Cover with cold water and swirl the rice gently with your hand. Drain the cloudy water. Repeat this washing process 5 to 7 times until the water runs mostly clear. This step is essential for perfect sushi rice texture.
- Soak the rice: Drain the washed rice completely and let it sit in a fine-mesh sieve for 30 minutes.
- Cook the rice (Stovetop Method): Combine the drained rice and 2 cups of cold water in a heavy-bottomed pot with a tight-fitting lid. Bring the water to a boil over medium-high heat. Once boiling, immediately reduce the heat to the lowest setting, cover the pot, and simmer for 15 minutes. Do not lift the lid during this time.
- Rest the rice: After 15 minutes, remove the pot from the heat and let it stand, still covered, for another 10 minutes. This resting period allows the steam to finish cooking the grains evenly.
- Prepare the seasoning mixture: While the rice rests, combine the rice vinegar, sugar, and salt in a small saucepan. Heat gently over low heat, stirring until the sugar and salt completely dissolve. Do not boil the mixture. Remove from heat and let it cool slightly. This is your authentic Japanese rice seasoning.
- Season the rice: Transfer the cooked rice to a large, non-metallic bowl (wood or glass is best). Pour the seasoning mixture evenly over the hot rice.
- Fold and cool: Using a wooden spoon or rice paddle, gently slice and fold the seasoning into the rice. Do not stir or mash the grains, as this will break them and create mushy rice. Fan the rice while folding to help it cool quickly to body temperature. This technique creates the perfect sticky rice for sushi.
- Use immediately for maki rolls or cover and store at room temperature for up to 4 hours before use.
Notes
- Use only short-grain rice labeled as sushi rice for the best results. Long-grain rice will not achieve the correct sticky texture.
- If using a rice cooker, use the standard water-to-rice ratio specified by the manufacturer, but follow the washing and soaking steps exactly.
- For Instant Pot sushi rice, use a 1:1 water-to-rice ratio. Cook on High Pressure for 4 minutes, followed by a 10-minute natural pressure release, then quick release any remaining pressure.
Nutrition
- Serving Size: 1/2 cup cooked
- Calories: 210
- Sugar: 7
- Sodium: 180
- Fat: 0.5
- Saturated Fat: 0
- Unsaturated Fat: 0.5
- Trans Fat: 0
- Carbohydrates: 46
- Fiber: 1
- Protein: 4
- Cholesterol: 0