

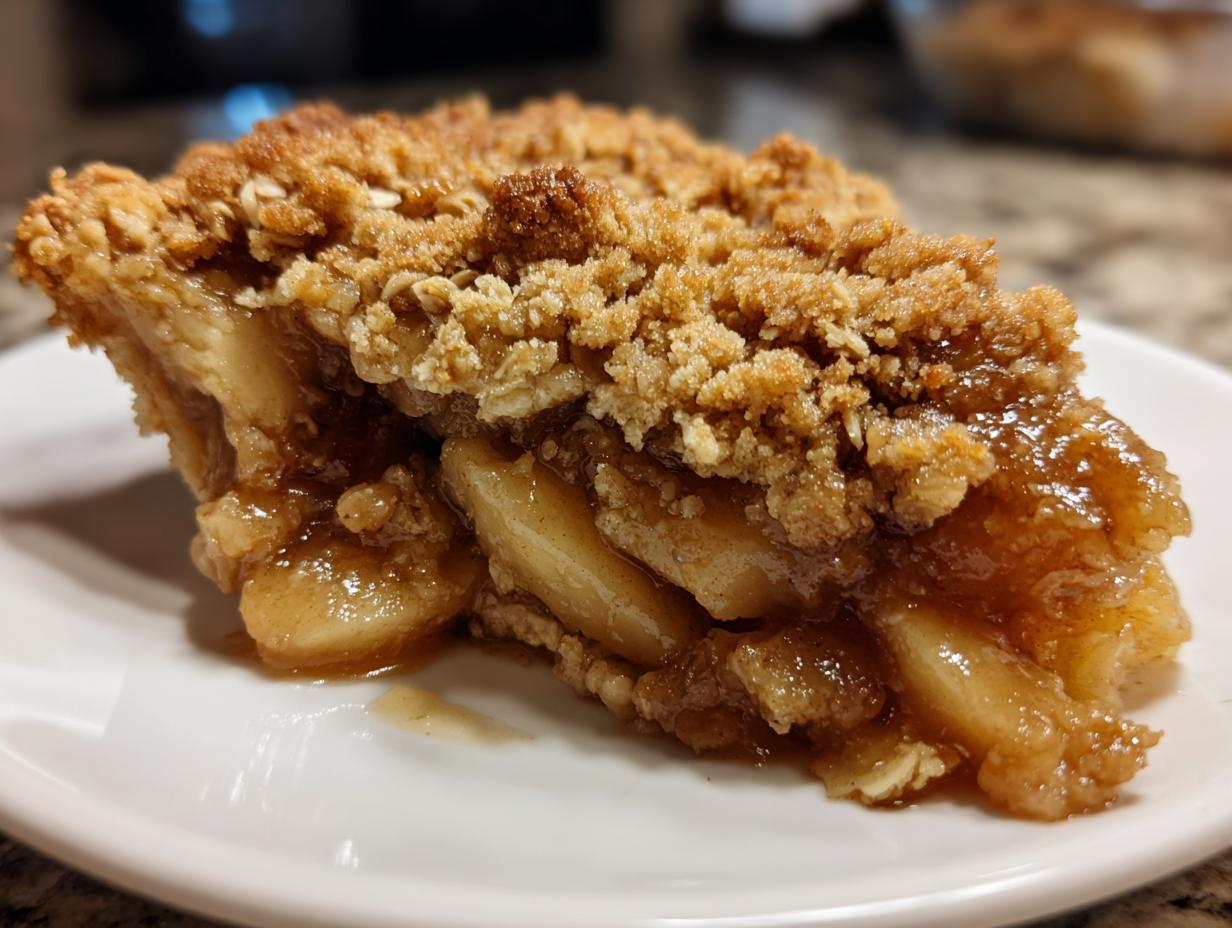
When that first chill hits the air, you just *know* it’s time for baking. For me, nothing screams cozy comfort like a dessert pulled piping hot from the oven, and that’s why this apple crisp recipe is locked in as my absolute go-to. Tradition meets technique here at Cookery Command; we celebrate those classic, time-honored flavors but apply a little rigor to guarantee success. Forget fussy latticework! This is about tender, cinnamon-spiced apples buried under the most ridiculously well-behaved, buttery oat topping you’ll ever make. It truly is the best classic apple crisp dessert you’ll ever try. If you wonder where that dedication to dependable baking comes from, I’d encourage you to stop by our About page and learn more about our story!
- Why This is The Best Classic Apple Crisp Recipe
- Ingredients for Your Foolproof Apple Crisp Guide
- How to Prepare Your Easy Homemade Apple Crisp
- Tips for Success with This Apple Crisp Recipe
- Serving Suggestions for Your Warm Apple Crisp Recipe
- Storage and Reheating Instructions for Apple Crisp
- Frequently Asked Questions About This Apple Crisp Recipe
- Estimated Nutritional Data for This Apple Crisp Recipe
- Share Your Apple Crisp Creations
Why This is The Best Classic Apple Crisp Recipe
Listen, I’ve tested enough fall baking desserts to know what separates a decent crisp from the absolute *best* apple crisp dessert. It all comes down to ratios and temperature control. We nail the perfect balance here—enough sweet, tender apples to make it worthwhile, but never so many that the topping gets soggy first. That buttery oat topping is everything because we demand it be crunchy, not soft! This is exactly why we insist on using very cold butter when we mix the crumble. That little step is the secret science behind creating a truly phenomenal Jewish Apple Cake sibling, and what makes ours the ultimate comfort food apple dessert.
Achieving the Ultimate Warm Apple Crisp Recipe Texture
The magic happens when you bake it long enough—you need that filling to aggressively bubble up around the edges! That bubbling means the apples are beautifully tender and steeped in spiced syrup. But here’s the thing: the topping must maintain its integrity. We want golden brown, almost sandy crunch contrasting with the soft fruit below. Pulling it out when it’s hot and bubbly delivers that perfect warm apple crisp recipe experience, especially spoonfuls taken right away.
Ingredients for Your Foolproof Apple Crisp Guide
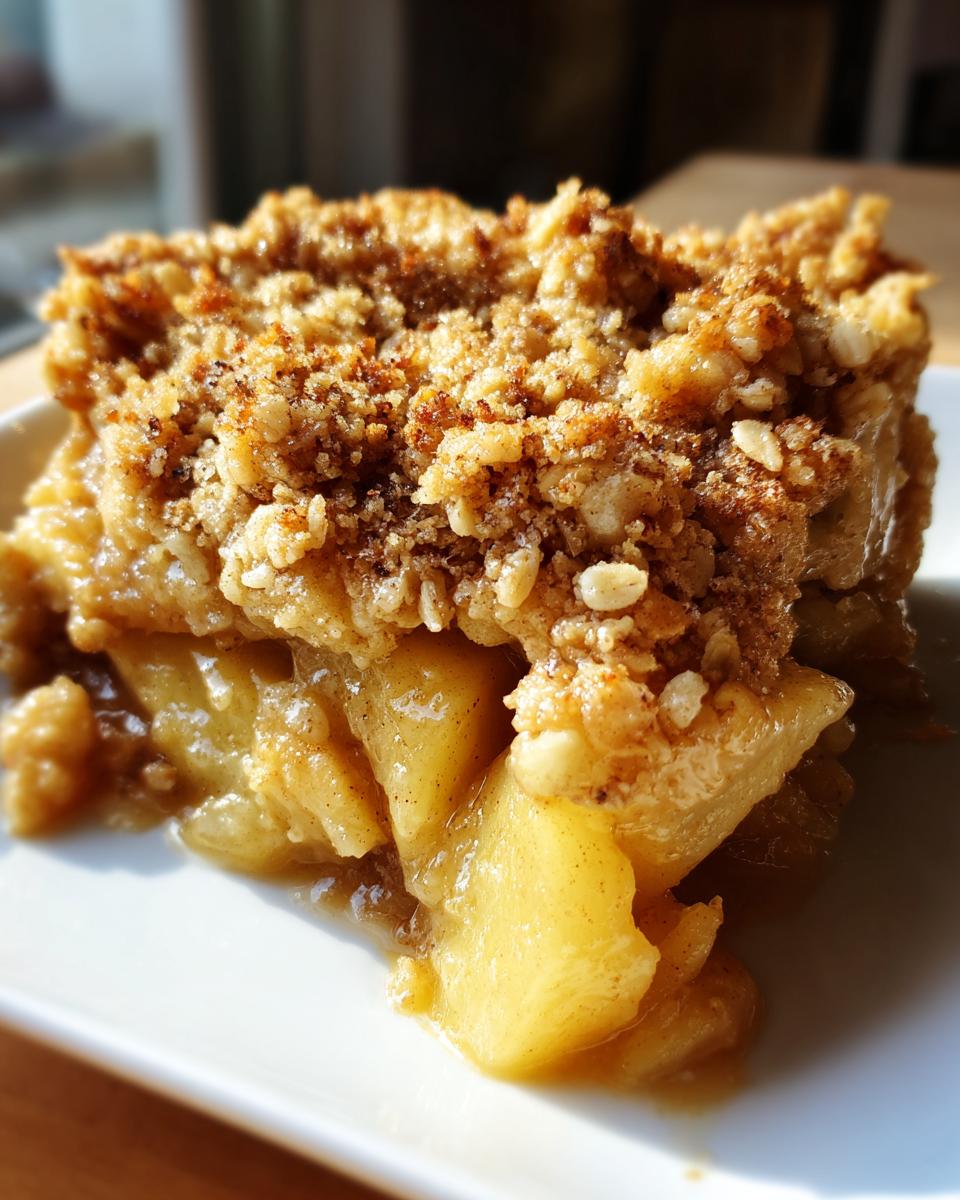
When you’re aiming for foolproof baking, the ingredients list is where we establish our non-negotiables. Trust me, sticking exactly to these measurements—especially the temperature of the butter—is going to give you that amazing texture we talked about. We clearly divide things into two camps: what goes into making the apples tender and what creates that incredible crunch on top. No substitutions on the good stuff, please! I want you to feel confident walking into the kitchen knowing you have the exact right components for the Buttery Oat Topping Apple Crisp.
For the Tender Apple Filling
You absolutely need six large Granny Smith apples, and yes, they must be peeled, cored, and sliced evenly. We mix those with just 1/4 cup of granulated sugar, a tablespoon of bright lemon juice to keep things fresh, a full teaspoon of ground cinnamon, just a hint of ground nutmeg for depth, and finally, 1/4 cup of all-purpose flour to help that syrupy sauce thicken up nicely while it bakes.
For the Buttery Oat Topping Apple Crisp
This is our golden layer! Grab one cup of those hearty old-fashioned rolled oats—none of the instant stuff, please. You’ll whisk those together with 3/4 cup of deeply packed light brown sugar, 1/2 cup of regular all-purpose flour, half a teaspoon of cinnamon for extra spice, and a tiny pinch of salt to balance everything. The absolute star, though, is the half cup (or one stick) of cold, unsalted butter, already cut into small, neat cubes.
How to Prepare Your Easy Homemade Apple Crisp
This is where the magic really starts to happen, and I promise you, this easy homemade apple crisp recipe is designed to be foolproof. We’re going to walk through this assembly stage by stage so you get that amazing contrast between the soft fruit and the crunchy top every single time. Think of this as gentle direction, not rigid rules! Because we want this to be a comforting dessert, speed is key here once we start mixing. If you’ve ever made those buttery biscuit toppings for an apple cobbler, you’ll recognize this same loving attention to detail.
Preparing the Apples and Oven Setup
First things first: crank that oven up to 375°F (190°C) right now, and give your 8×8 baking dish a light grease. Now for the apples! In a big bowl, combine your sliced Granny Smiths with the 1/4 cup of granulated sugar, that splash of lemon juice, the full teaspoon of cinnamon, the nutmeg, and the 1/4 cup of flour for the filling. Give it a gentle toss—we don’t want mushy apples before they even hit the pan—just make sure every slice gets coated evenly. Spread that mixture right into your prepared dish.
Creating the Perfect Buttery Oat Topping
Time for the best part! In a separate bowl, mix all your dry topping ingredients: the oats, the brown sugar, the remaining 1/2 cup of flour, the topping cinnamon, and the salt. Now, grab those cold butter cubes we talked about. You need to cut that butter in. Use a pastry blender if you have one, or honestly, just use your very clean fingertips! Work it quickly until the mixture looks like rough, coarse crumbs, and you can spot some pea-sized chunks of butter still intact. Don’t over-mix! Those little chunks are what create our crispiness.
Baking and Resting the Apple Crisp Recipe
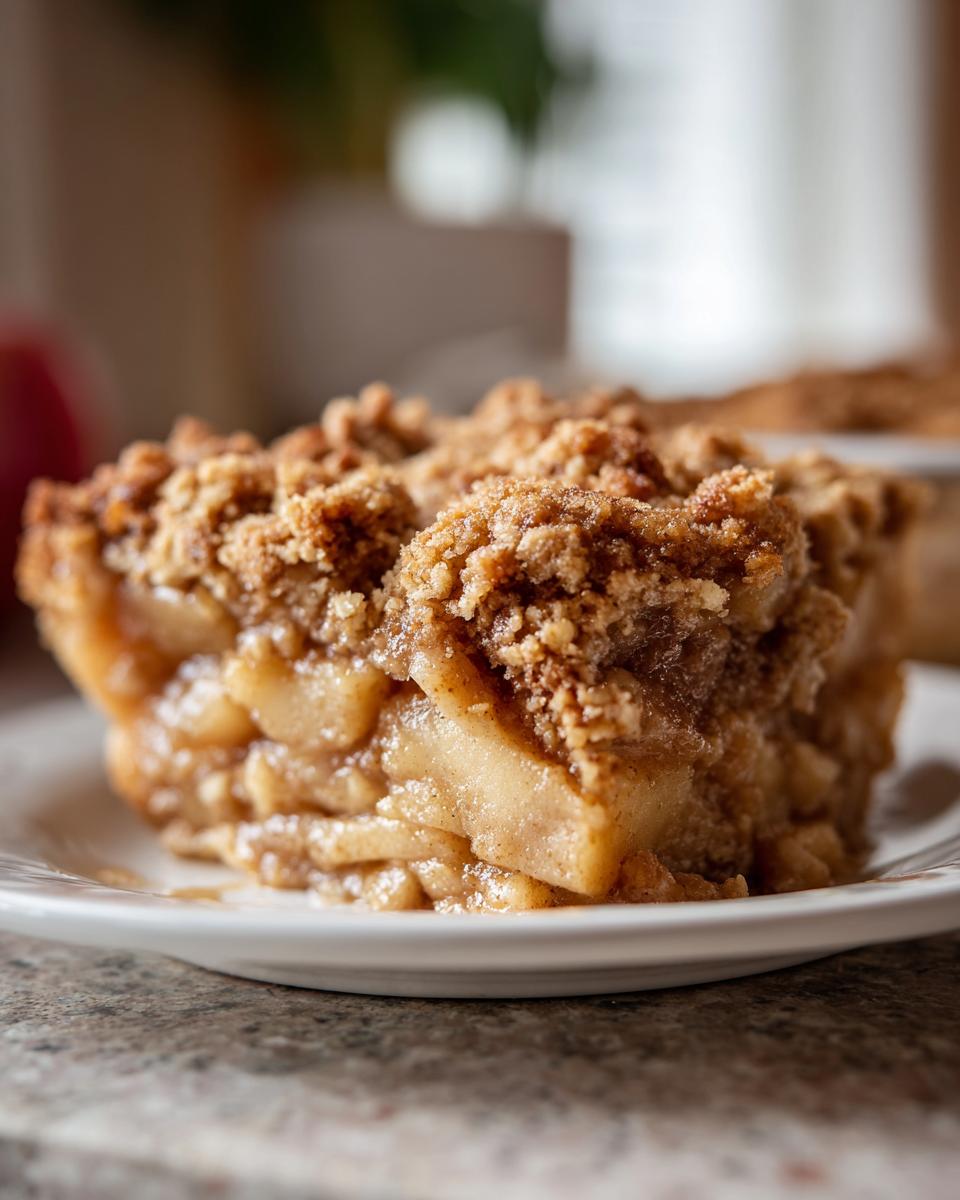
Take that glorious oat mixture and sprinkle it evenly across the apples. Press it down just a tiny bit—don’t squash it flat, though! Pop the dish into the hot oven for 40 to 45 minutes. You are looking for that deep golden-brown topping and filling that is totally bubbly. This is essential: once it’s done, pull it out and let your apple crisp recipe rest on the counter for a full 15 minutes. Seriously, wait. This resting time lets the juices set up so you get that perfect texture when you serve your Warm Apple Crisp Recipe.
Tips for Success with This Apple Crisp Recipe
Okay, we’ve got the technique down, but sometimes baking throws you subtle curveballs! As a home cook, you want to feel totally in command, so here are a few things I’ve learned to guarantee this falls into the category of the Cinnamon Apple Crisp you dream about. We’re just tweaking standard methods slightly to make sure your results are consistent every single time you pull this out for a gathering.
Apple Selection and Flavor Variations
While Granny Smith holds up beautifully because it’s firm, I honestly love mixing apples! Try using half Granny Smith and half Honeycrisp if you can find them—the Honeycrisp breaks down a little more, adding natural sweetness and complexity. If you want a richer flavor profile, feel free to add a tiny pinch more nutmeg or even a whisper of ground cloves to the filling mixture. Some people even fold in chopped pecans or walnuts right into the topping dough for extra bite!
Troubleshooting the Topping Browning Too Fast
This is such a common issue with anything that has a lot of sugar in the topping! If you notice your beautiful oat crumb is turning dark brown way before those apples underneath are bubbly and soft, don’t panic! Just grab a small sheet of aluminum foil—I usually tear off a piece big enough to loosely drape over the entire baking dish. Pop that foil “tent” on top, and let it finish baking. That protects the topping while allowing the bottom layer to cook through perfectly. If you want something savory to go with your next bake, check out this cowboy butter dipping sauce recipe!
Serving Suggestions for Your Warm Apple Crisp Recipe
This amazing apple crisp recipe truly shines when it’s served exactly as the name promises: warm! You’ve worked hard on that beautiful, crunchy topping, so don’t let it cool down completely before plating up the first servings. Honestly, it’s a crime not to pair this with something cool and creamy.
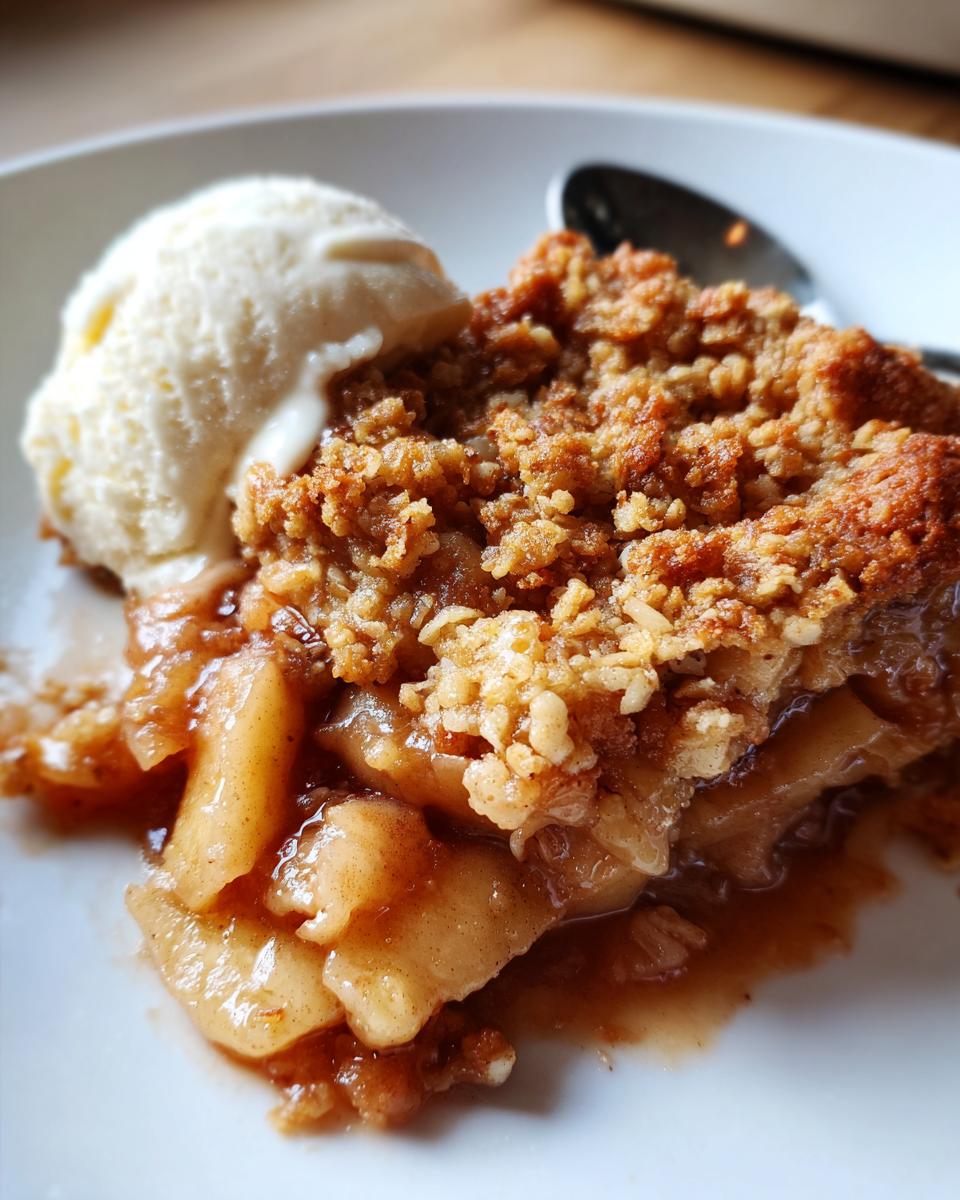
The classic move, and the one I insist on for the ultimate comfort experience, is serving each portion with a generous scoop of vanilla ice cream. That contrast between the hot, cinnamon apples and the melting, cold ice cream? Perfection! If you’re feeling adventurous later, you can even try serving it with a dollop of homemade whipped cream or maybe even a drizzle of caramel sauce, but stick to the tried-and-true easy ice cream pie maker’s favorite pairing—vanilla! That’s how we do the Apple Crisp with Vanilla Ice Cream here.
Storage and Reheating Instructions for Apple Crisp
Luckily, this apple crisp recipe keeps wonderfully! Once it has cooled completely—and I mean completely—you can store leftovers in an airtight container right on the counter for a day, but for longer storage up to three days, the fridge is your best bet. You’ll notice the topping softens overnight, but that’s not a problem!
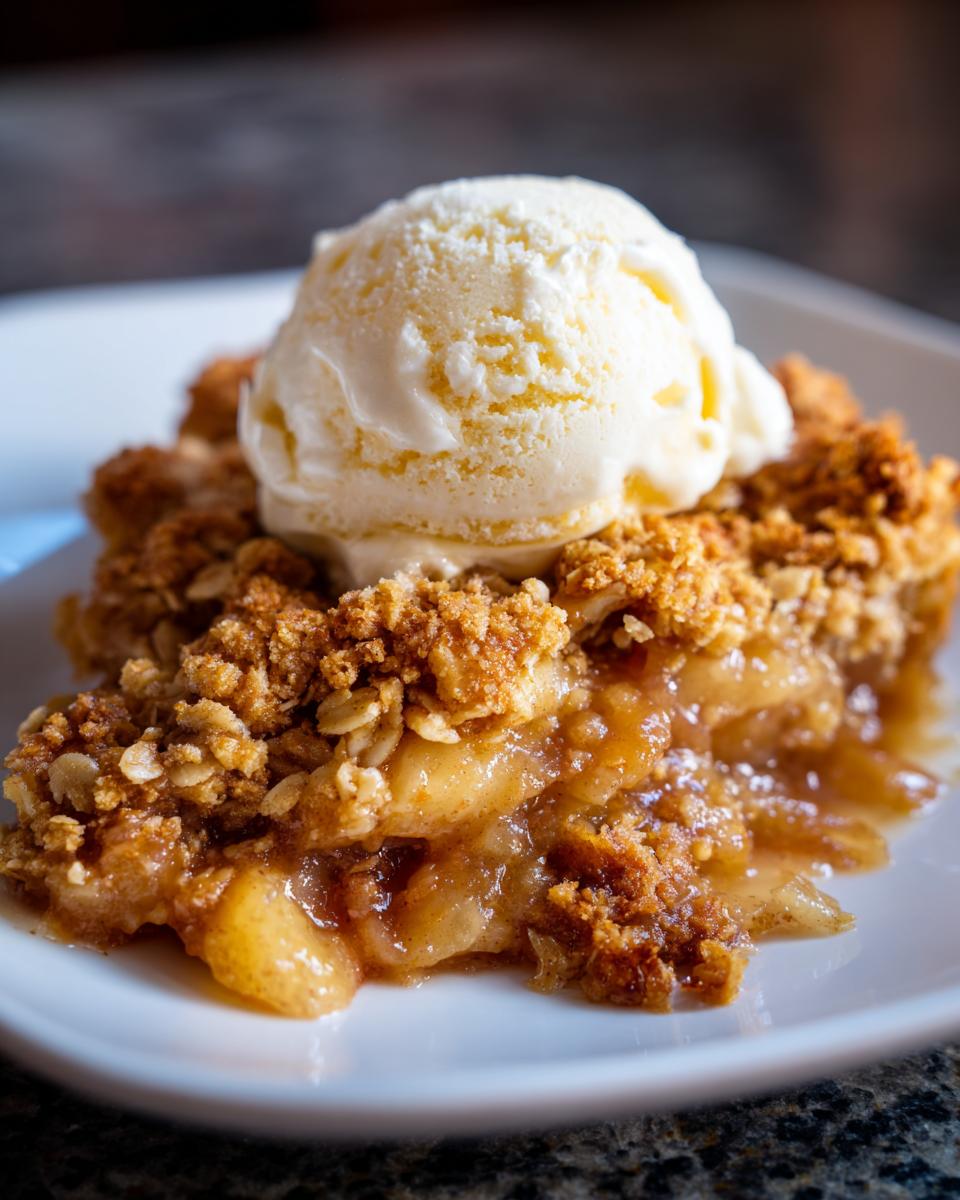
To bring back that fantastic, buttery crunch, you must reheat it in the oven. Skip the microwave! Pop the serving into a small oven-safe dish and heat at 350°F (175°C) for about ten minutes. This dries out the topping just enough to restore that wonderful, comforting texture.
Frequently Asked Questions About This Apple Crisp Recipe
I know that when you’re trying out a new, favorite recipe like this one, you might have a few little questions pop up. That’s totally normal! We want to make sure your experience making this wonderful Old Fashioned Apple Crisp is perfect. Here are some of the things I hear most often when people are ready to bake.
Can I make this Old Fashioned Apple Crisp ahead of time?
You absolutely can assemble this ahead of time, which is a lifesaver for entertaining! If you prep everything—apples tossed and topping mixed—just cover the unbaked crisp tightly with plastic wrap and keep it in the fridge for up to 12 hours. When you’re ready to bake, just add about 10 minutes to the baking time since it’s going in cold. I generally don’t recommend baking it completely and then trying to reheat it the next day, as the topping doesn’t stay as crisp.
What is the best way to store leftovers of this Simple Apple Crumble Recipe?
For leftovers, cover the dish tightly with foil or transfer portions to an airtight container. Because it’s a very moist dessert, it’s best kept in the refrigerator if you plan on having it for more than a few hours, and it will hold up nicely for about three days. Remember what I said earlier? Reheating portions in the oven is key to bringing that buttery texture back! If you want another classic fruit treat, my easy classic French apple tart is another winner!
And yes, you should always serve this warm! That perfect contrast is what makes it the best apple desserts for fall.
Estimated Nutritional Data for This Apple Crisp Recipe
Now, while I am obsessed with making sure this apple crisp recipe tastes incredible, I also know that lots of you are tracking what goes into your bodies! I always tell folks that baking is about joy, but having the facts helps you feel in command of your choices. So, based on my standard recipe breakdown using the ingredients listed, here are the estimated numbers per serving.
Remember, though, this is just an estimate! If you use a different type of apple or decide to butter up that topping a little extra (I won’t judge!), things will certainly change. This data assumes 6 servings from the recipe.
- Serving Size: 1 serving
- Calories: 380
- Total Fat: 20g (Watch out for that Saturated Fat at about 12g, mostly from that wonderful butter!)
- Carbohydrates: 50g
- Sugar: 35g (That comes from the apples, brown sugar, and granulated sugar—all the good stuff!)
- Protein: 4g
We try to keep this recipe balanced, offering a decent 5g of fiber for a sweet treat. It’s definitely a classic comfort food dessert, so enjoy it mindfully!
Share Your Apple Crisp Creations
I truly hope you’ve felt empowered today to take command of your kitchen and whip up this fantastic apple crisp recipe! Now that it’s baked, golden, and smelling heavenly, I want to hear all about it. Honestly, seeing your crisp turn out perfectly is the best part of my day.
Did you stick strictly to the Granny Smiths, or did you try that Honeycrisp variation we talked about? Did it stay warm long enough on the counter for the filling to set just right? Don’t be shy! Please drop a rating below—five stars if you agree this is the ultimate comfort food apple dessert—and leave any and all comments. Your detailed feedback helps every other home cook approach this recipe with confidence next time.
If you snap a picture of your warm apple crisp overflowing with vanilla ice cream, I’d absolutely love to see it! You can share those beauties with me by getting in touch through our contact page. Happy baking, and enjoy every single crunchy, buttery bite!
PrintThe Best Classic Apple Crisp Recipe with Buttery Oat Topping
Follow this foolproof apple crisp recipe to create a warm, comforting dessert featuring tender cinnamon apples beneath a crunchy, buttery oat topping. This is the ultimate fall baking dessert.
- Prep Time: 20 min
- Cook Time: 45 min
- Total Time: 65 min
- Yield: 6 servings 1x
- Category: Dessert
- Method: Baking
- Cuisine: American
- Diet: Vegetarian
Ingredients
- 6 large Granny Smith apples, peeled, cored, and sliced
- 1/4 cup granulated sugar
- 1 tablespoon lemon juice
- 1 teaspoon ground cinnamon
- 1/4 teaspoon ground nutmeg
- 1/4 cup all-purpose flour (for filling)
- 1 cup old-fashioned rolled oats
- 3/4 cup packed light brown sugar
- 1/2 cup all-purpose flour (for topping)
- 1/2 teaspoon ground cinnamon (for topping)
- 1/4 teaspoon salt
- 1/2 cup (1 stick) cold unsalted butter, cut into small pieces
Instructions
- Preheat your oven to 375°F (190°C). Lightly grease an 8×8 inch baking dish.
- In a large bowl, combine the sliced apples, 1/4 cup granulated sugar, lemon juice, 1 teaspoon cinnamon, nutmeg, and 1/4 cup flour. Toss gently until the apples are evenly coated.
- Spread the apple mixture evenly into the prepared baking dish.
- In a separate medium bowl, prepare the topping. Combine the rolled oats, brown sugar, 1/2 cup flour, 1/2 teaspoon cinnamon, and salt. Mix these dry ingredients together.
- Cut in the cold butter pieces using a pastry blender or your fingertips until the mixture resembles coarse crumbs with some pea-sized pieces of butter remaining.
- Sprinkle the oat topping evenly over the apple filling in the baking dish. Press lightly.
- Bake for 40 to 45 minutes, or until the topping is golden brown and the apple filling is bubbly and tender when pierced with a fork.
- Remove from the oven and let the apple crisp cool for at least 15 minutes before serving warm.
Notes
- Serve this warm apple crisp recipe with a scoop of vanilla ice cream for the best experience.
- For a richer flavor, use a mix of apples like Honeycrisp and Granny Smith.
- If the topping browns too quickly, loosely cover the dish with aluminum foil for the last 10 minutes of baking.
Nutrition
- Serving Size: 1 serving
- Calories: 380
- Sugar: 35
- Sodium: 150
- Fat: 20
- Saturated Fat: 12
- Unsaturated Fat: 8
- Trans Fat: 0
- Carbohydrates: 50
- Fiber: 5
- Protein: 4
- Cholesterol: 45