
Oh my gosh, are you ready to stop fighting with your cookie decorating? I know the struggle—you spend hours cutting out perfect shapes, bake them beautifully, and then the icing just turns into a sticky, sad puddle on the counter. That is officially over, trust me! Here at Cookery Command, we bring classic American home cooking techniques right to your kitchen, and that means providing recipes that just *work*. This isn’t some fussy glaze; this is the ultimate **sugar cookie icing** that dries rock hard, looks perfectly smooth and glossy, and honestly, tastes amazing. If you’re looking for the very best way to decorate for the holidays or just feel confident piping details, you need this formula. Looking for more reliable decorating secrets? Check out my deep dive on the best royal icing recipe for next-level results.
- Why This Is the Best Sugar Cookie Icing Recipe for Decorating
- Ingredients for Smooth Shiny Cookie Icing
- Step-by-Step Royal Icing Recipe for Sugar Cookies
- Tips for Making Hard Dry Icing Look Professional
- Coloring Your Sugar Cookie Icing
- Storage and Reviving Your Homemade Sugar Cookie Frosting
- Frequently Asked Questions About This Sugar Cookie Icing
- Estimated Nutritional Data for Your Sugar Cookie Icing
- Share Your Beautifully Decorated Cookies
Why This Is the Best Sugar Cookie Icing Recipe for Decorating
When you’re decorating sugar cookies, the messier the icing, the more stressed you get, right? I cannot tell you how many times I’ve ruined a whole batch because the glaze wouldn’t set. This recipe solves that problem instantly. It addresses literally everything you need: it’s quick to put together, it tastes fantastic, and it dries completely hard. That means you can stack those beautiful holiday cookies without them sticking together! Welcome to the world of reliable dessert recipes here at the Command Center.

Achieving That Perfect Hard, Shiny Finish
The true secret weapon here is the meringue powder. I know, it sounds fancy, but trust me, it’s what makes this an **icing that hardens for cookies** instead of just staying gooey. It acts just like egg whites would, creating that strong structure, but it’s so much easier to manage. Once it sets, you get that fantastic, almost porcelain-like finish. That is what creates that lovely, **smooth shiny cookie icing** look everybody wants!
Easy Sugar Cookie Icing Recipe for Beginners
If you are just starting out, this is your absolute go-to. Seriously, you can whip this up faster than you can chop your nuts for a cake! Because the prep time is only about 15 minutes, it’s perfect for a last-minute cookie decorating session. This is such a dependable **homemade sugar cookie frosting** that any beginner can master it right away. You get professional results with beginner effort, which is the best deal in baking, if you ask me!
Ingredients for Smooth Shiny Cookie Icing
Gathering your supplies is crucial, especially with icing because the proportions have to be spot on for that hard dry finish. We aren’t messing around with substitutes here; precision equals perfection for that beautiful, **smooth shiny cookie icing**!
You only need four things for this recipe, which is fantastic, but you have to treat them right:
- 4 cups confectioners’ sugar, and this is important: it absolutely has to be sifted. Sifting gets rid of the lumps that fight you later on.
- 3 tablespoons meringue powder. This is the magic dust that makes it dry hard. Don’t skip it for this hard-drying effect!
- 6 tablespoons warm water. Make sure it’s warm, not hot, to help everything dissolve nicely.
- 1 teaspoon vanilla extract. You can use clear vanilla if you really want that blinding white color, but the flavor of regular is great too!
That’s it! Four simple items standing between you and perfectly decorated holiday cookies. See? I told you this was easy.
Step-by-Step Royal Icing Recipe for Sugar Cookies
Okay, now that we have our perfectly sifted ingredients, it’s time to turn them into the **best sugar cookie glaze** you’ve ever made. Remember how I mentioned the meringue powder? That’s our science secret—it mimics the structure of egg whites, but without the worry, giving us that reliable, beautiful finish we’re always after.
Here is the process. Follow these steps carefully, especially regarding mixing time, and you’ll have flawless icing every time!
Making the Piping Consistency Sugar Cookie Icing
First, get your dry ingredients—the sifted sugar and meringue powder—mixed together really well in your bowl. Then add the warm water and vanilla extract. Don’t even think about grabbing a wrist-breaking whisk! You need power for this. Start your electric mixer on low to just incorporate everything. Then, crank that baby up to medium-high speed and let it run for a full 5 to 7 minutes! I know it feels long, but that beating time is what builds the structure you need for clean outlines. When you stop, you should see stiff peaks. That’s your piping consistency ready to go!
Adjusting for Easy Flood Icing Consistency
Once you have your thick piping icing, it’s time to thin out the batches you will use for flooding the middle of the cookies. This is where technique really matters to get that **easy flood icing consistency**.
Only add water one teaspoon at a time into the portion you want to thin. You want it ribbon-like. How do you know it’s perfect? You perform the ribbon test! Lift your spoon and let the icing drizzle back into the bowl. If that ribbon slowly sinks back into the surface—and I mean slowly, taking about 10 seconds to disappear—you nailed it. If it vanishes instantly, it’s too thin! You can grab more tips on getting perfect icing textures over at this great guide. Don’t forget that if you have any questions about setting up your ratios, I’ve got a whole post on testing consistency in general!
Tips for Making Hard Dry Icing Look Professional
Getting that super hard finish should never mean sacrificing smoothness or shine. You’ve whipped it perfectly; now let’s make sure it looks like it came from a bakery case! One of my best little secrets for maximizing shine? Use clear vanilla extract instead of the regular brown stuff, if you can find it. It keeps your white icing bright while still giving you that lovely flavor we expect from great vanilla flavor.
After flooding your cookies—that’s when you fill in the outlined space—you need to get rid of any annoying air bubbles that rose to the top during mixing. Just take your cookie sheet and gently tap it down on the counter a few times. Those bubbles will pop right out, leaving you with that flawless, smooth surface!

And remember, patience is key for hardness! Always let the cookies dry fully, uncovered, at room temperature. Don’t try to rush it in the fridge! If you want more insight on how to get icing that sets flawlessly, take a look at what they recommend over at Emma’s Cake Studio.
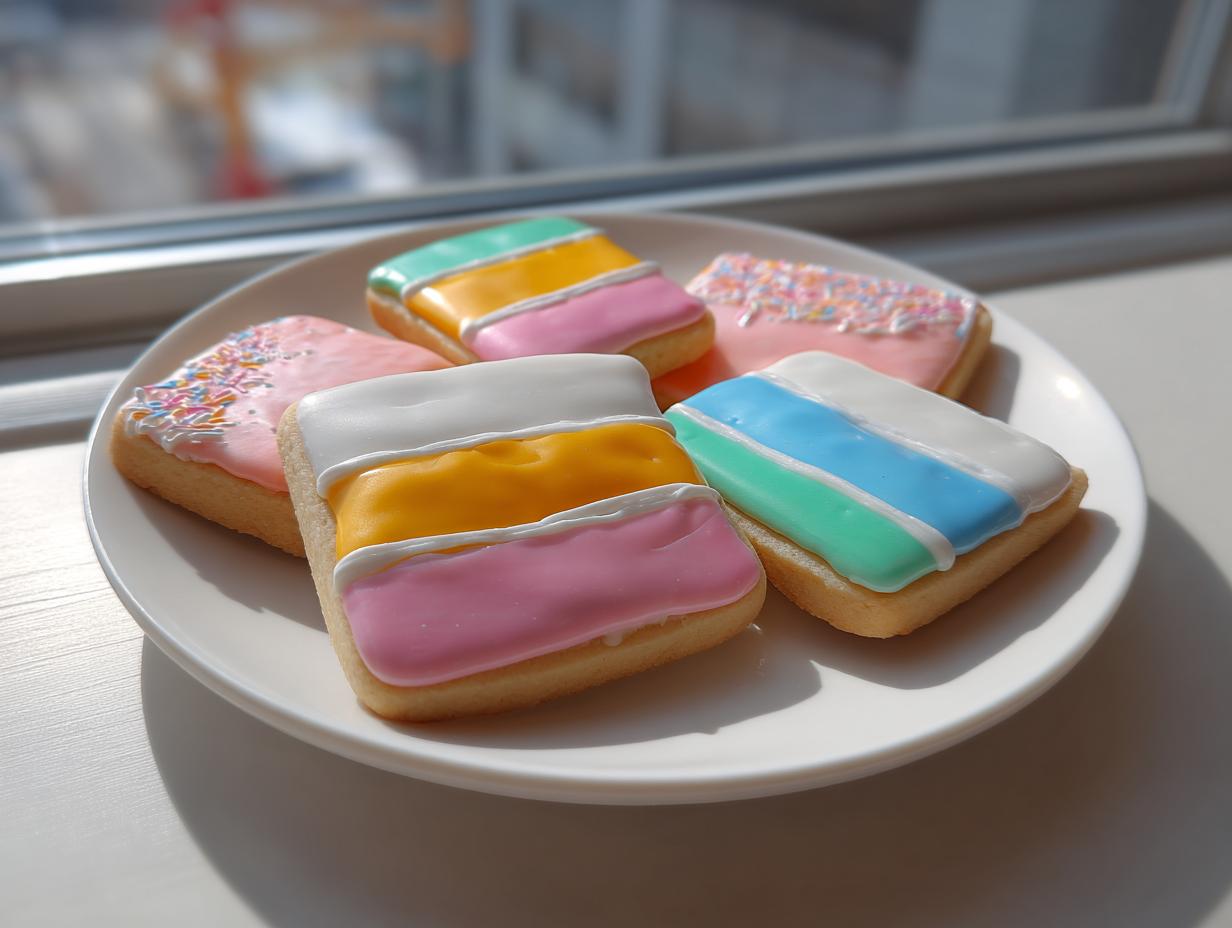
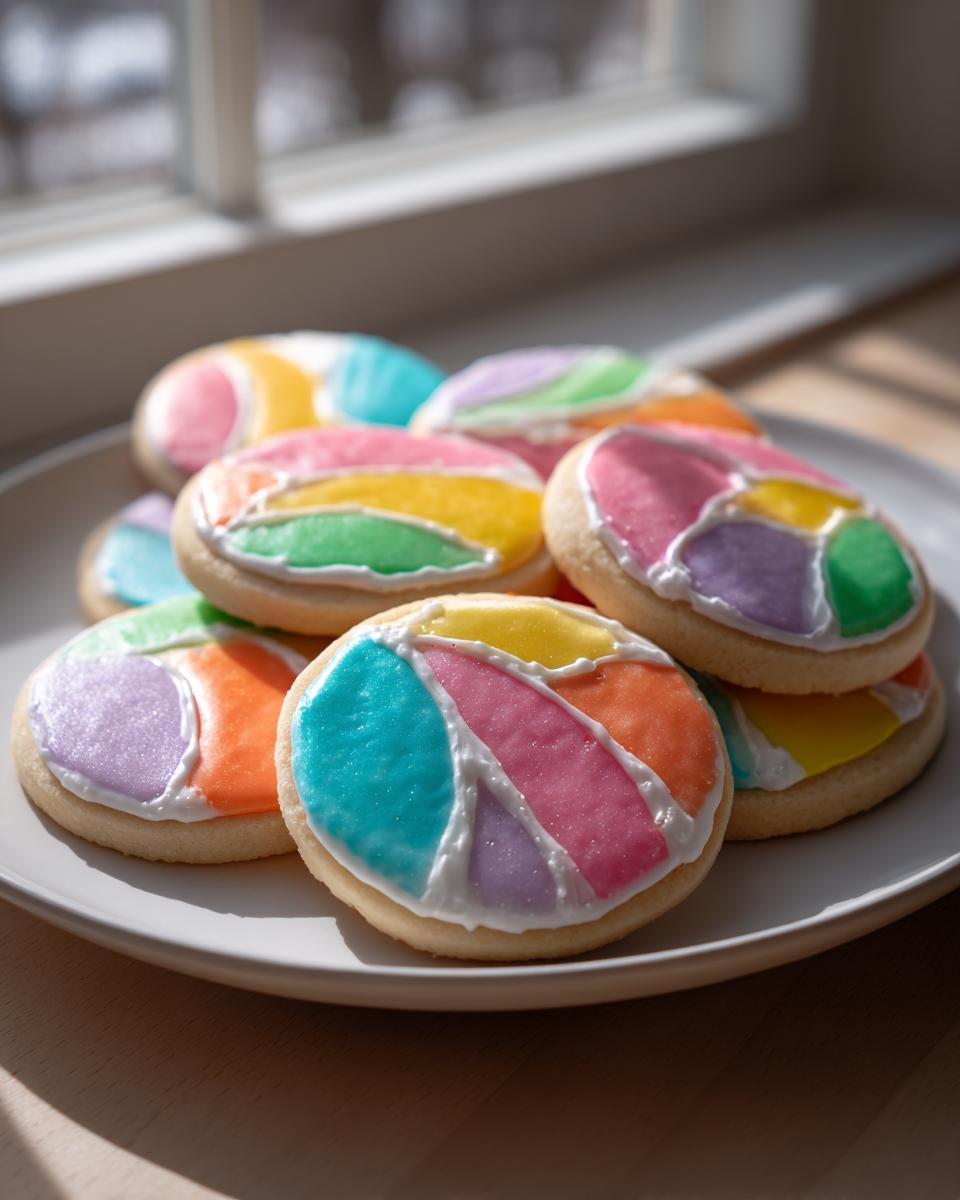
Coloring Your Sugar Cookie Icing
So, you want rainbow cookies or perfectly matching holiday designs? That’s the fun part! Once your piping icing is stiff and your flood icing is flowing just right, you need to tackle coloring. I have to give you a firm warning here: skip the liquid food coloring that comes in the grocery store bottles. I mean it—toss it! Those add way too much water, and adding extra liquid to this recipe means you complicate the beautiful drying process we just worked so hard for.
For the best results when using this **cookie decorating icing recipe**, you absolutely must use gel food coloring. Gel colors are super concentrated pigments, which means a teeny tiny little drop gives you vibrant color without changing the structure of your icing one bit. Divide your batch of icing into whatever bowls you need for the colors you want, and start by dipping the very tip of a clean toothpick into your gel pot.
Gently mix that little bit of color into your icing until it’s uniform. If you need it darker, repeat the toothpick dip. The key is adding color slowly and sparingly. And hey, if you’re making a huge batch for Christmas, this recipe is robust enough to handle a full spectrum of colors without falling apart on you!
Storage and Reviving Your Homemade Sugar Cookie Frosting
Don’t stress about leftovers! Because this is a meringue-based **sugar cookie icing**, it stores beautifully, which is one of the major perks of skipping raw eggs. Just pop whatever unused icing you have into a super airtight container—a small Ziploc bag sealed tight works wonders, or just a container with plastic wrap pressed right against the surface.
Keep it stored at room temperature, never the fridge, for up to three days. When you pull it out again, it will look a little stiffer, maybe even crumbly. No big deal! Just add water just a few drops at a time, mixing gently with a fork until it flows like the day you made it. This lets you keep using your reliable favorite frosting well into the week!

Frequently Asked Questions About This Sugar Cookie Icing
I get so many questions about this icing because once people try it, they realize it’s the blueprint for all future cookie decorating! It’s so satisfying knowing exactly what you’re dealing with before you start your holiday marathon. Let’s clear up the last few things you might be wondering before you dive into making your own beautiful, hard-drying batch.
How long does this sugar cookie icing take to dry completely?
This is the number one question, and the answer is always: humidity matters! Because this is an **icing that hardens for cookies**, it needs time to cure properly. My instructions say several hours, or even overnight is best, especially if you live somewhere damp. If you’re decorating huge batches for a party, I always tell people to pipe the outlines one day, let them set while you sleep, and then flood them the next morning so they have plenty of time to fully harden before stacking!
Can I substitute the meringue powder in this easy sugar cookie icing recipe?
You definitely can substitute it, but you’ll be moving away from the super reliable method that Cookery Command stands behind. Meringue powder gives us that perfect, food-safe structure so this **easy sugar cookie icing recipe** works every time. If you absolutely can’t find it, you can use pasteurized egg whites. Just know that using raw egg whites, even pasteurized ones, brings a slightly higher risk factor, and you lose some of that guaranteed structure we trust. I always prefer the powder for dependable, consistent results!
Is this the best tasting sugar cookie icing?
I sure think so! We designed this to be a fantastic **vanilla icing for cut out cookies** that complements the buttery cookie underneath, not overpowers it. Since there’s no corn syrup here, the sweetness is pure and clean, enhanced beautifully by the vanilla extract. It’s not that cloyingly sweet, almost sharp taste you sometimes get from simple powdered sugar glazes. It’s just a great, balanced flavor that lets the cookie shine through, making it easily the **best tasting sugar cookie icing** around for true vanilla lovers!
If you’ve got your cookie cutters out and ready for more fun, don’t forget to check out my recipe for no-bake sugar cookie truffles—it uses up all those delicious scraps!
Estimated Nutritional Data for Your Sugar Cookie Icing
Now, I know what you’re thinking: when you use this much sugar, how bad can the nutrition info *really* be? I pulled up the estimates for you, because knowledge is power, my friends! But before you stress, remember that icing is for decorating and enjoying, not eating by the bowl! We calculated this based on the yield of coating two dozen medium cookies, meaning the serving size is roughly 1/4 cup of the finished icing.
Since this is a pure sugar and meringue powder mix, the fat is zero, which is great, but the carbs and sugar are definitely up there—as expected for the **best sugar cookie glaze**!
- Serving Size: 1/4 cup
- Calories: 180
- Sugar: 45g
- Carbohydrates: 45g
- Protein: 1g
- Fat: 0g
- Sodium: 15mg
Please keep in mind these are estimates, you know how it is with different brands of confectioners’ sugar and how precisely we all measure things! If you want to see how this icing recipe compares to others, you can always check out some science on texture over at Adem Recipes.
If you’re looking for pairing ideas for your beautifully iced cookies—maybe a perfect slice of apple cobbler for dessert while the icing dries—you can whip up my easy apple cobbler recipe!
Share Your Beautifully Decorated Cookies
Alright, now that your cookies are iced and drying hard—maybe you stepped away for a minute to clean up the mess, which is my favorite clean-up hack, by the way!—I absolutely need to see what you’ve made! This reliable **sugar cookie icing** formula is designed to make your decorating shine.
Once your beautiful creations are totally dry, snap a picture! I love seeing your successes, whether they’re simple dots or intricate royal patterns. Tag us on social media so I can cheer you on. Showing off your hard work lets me know that the mission of Cookery Command—to put you firmly in command of your kitchen with reliable American techniques—is working perfectly!
If this icing recipe saved your holiday baking, please do me a huge favor and leave a star rating right here on the recipe card. It helps other home cooks find dependable recipes instead of getting stuck with runny glazes. Have a question or a technique suggestion? You can always reach out to me directly through the Contact page. Happy decorating, y’all! I can’t wait to see what you whip up!
PrintEasy Sugar Cookie Icing That Dries Hard and Glossy

Make smooth, glossy sugar cookie icing that hardens completely, perfect for detailed decorating and gifting. This easy recipe is beginner-friendly and tastes excellent.
- Prep Time: 15 min
- Cook Time: 0 min
- Total Time: 15 min
- Yield: Coats approximately 2 dozen medium cookies 1x
- Category: Baking
- Method: Mixing
- Cuisine: American
- Diet: Vegetarian
Ingredients
- 4 cups confectioners’ sugar, sifted
- 3 tablespoons meringue powder
- 6 tablespoons warm water
- 1 teaspoon vanilla extract
Instructions
- In a medium bowl, whisk together the sifted confectioners’ sugar and meringue powder until fully combined.
- Add the warm water and vanilla extract to the dry ingredients.
- Beat the mixture with an electric mixer on low speed until the sugar is incorporated, then increase the speed to medium-high.
- Beat for 5 to 7 minutes until the icing is very smooth, thick, and holds stiff peaks. This is your piping consistency.
- To achieve a thinner flood consistency, add water one teaspoon at a time until the icing slowly flows off a spoon in a ribbon that disappears into the surface after about 10 seconds.
- Divide the icing into separate bowls if you plan to color it. Add gel food coloring sparingly and mix until the color is uniform.
- Use the thick icing for outlining cookies, then let the outline set for 15 minutes.
- Use the thinner icing to flood the outlined areas. Gently tap the cookie sheet on the counter to release air bubbles and smooth the surface.
- Allow the cookies to dry uncovered at room temperature for several hours, or overnight, until the icing is completely hard to the touch.
Notes
- For the best glossy finish, use clear vanilla extract instead of standard vanilla extract.
- If the icing becomes too thick while decorating, mix in a few drops of water to restore the desired consistency.
- This icing dries hard because of the meringue powder, which acts like egg whites without the food safety concerns.
- Store unused icing in an airtight container at room temperature for up to three days; add a few drops of water when ready to use again.
Nutrition
- Serving Size: 1/4 cup
- Calories: 180
- Sugar: 45g
- Sodium: 15mg
- Fat: 0g
- Saturated Fat: 0g
- Unsaturated Fat: 0g
- Trans Fat: 0g
- Carbohydrates: 45g
- Fiber: 0g
- Protein: 1g
- Cholesterol: 0mg