
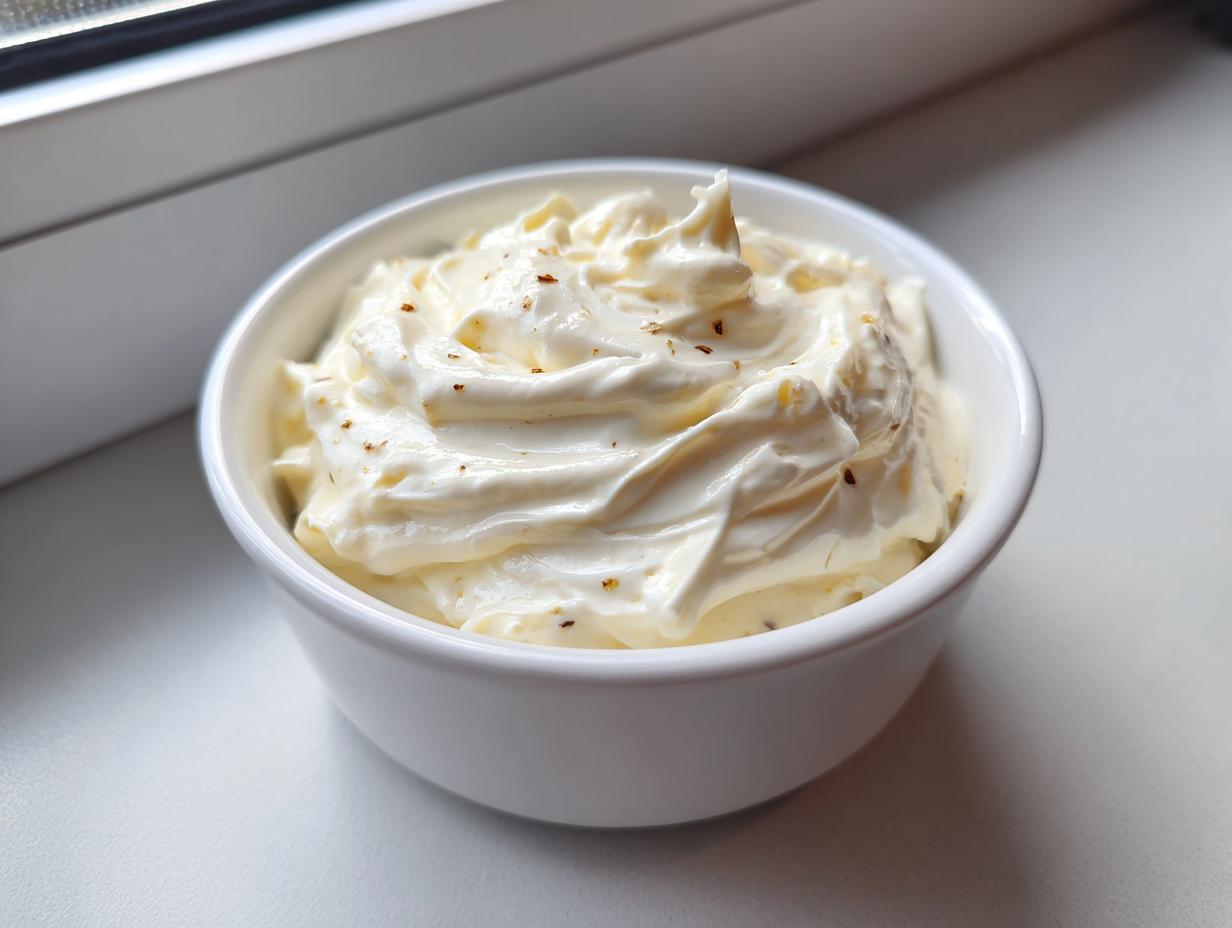
You know those nights when you have plain grilled chicken or just some sad-looking frozen fries begging for life? That’s when I reach for my secret weapon, the stuff that instantly makes weeknight meals feel like we’re eating at that fancy little bistro downtown. Forget spending ages emulsifying eggs; we’re going straight for bold flavor with my **5-Minute Creamy Garlic Aioli**.
This isn’t some watery imitation, either. We use a reliable little technique—kind of a clever **garlic mayonnaise trick**—to deliver that rich, silky texture and intense flavor. Here at Command Central, even our fastest recipes rely on solid technique to make sure you get that genuine, restaurant-style aioli taste every single time. Trust me, once you make this quick dipping sauce, you’ll wonder how you ever lived without it.
- Why This 5-Minute Garlic Aioli is Your New Go-To Condiment
- Gathering Your Ingredients for the Perfect Garlic Aioli
- Step-by-Step Instructions for Your Easy Aioli Dip
- Tips for the Ultimate Garlic Aioli Success
- Serving Suggestions for Your Flavorful Homemade Condiment
- Storage and Making Ahead Tips for Garlic Aioli
- Frequently Asked Questions About Making Garlic Aioli
- Nutritional Estimate for Your Creamy Garlic Sauce
- Share Your Thoughts on This Ultimate Dipping Sauce
Why This 5-Minute Garlic Aioli is Your New Go-To Condiment
Look, I love classic cooking, I really do! But sometimes you need greatness *now*, not forty minutes from now. This **garlic aioli** recipe cuts out all the fuss but keeps all the flavor payoff. It’s an absolute game-changer when you need a last-minute showstopper.
Here’s why you’re going to dump all your old jars and switch to this **flavorful homemade condiment**:
- It’s fast enough to make while the water boils for your pasta, seriously.
- It creates a sauce that tastes like you spent hours fussing over egg yolks and oil emulsions.
- It’s the ultimate **quick dipping sauce** for everything, from sweet potato fries to crunchy raw veggies.
Speed and Simplicity: The 5-Minute Promise
We ditch the slow process of emulsifying oil drop by drop, which is what makes traditional aioli take forever and often end up splitting. Because we start with a ready-made, stable base—I’m talking good quality, full-fat mayo—we skip the whisking anxiety entirely. This lets us focus purely on layering that amazing, bright garlic and lemon punch right on top. It’s baking efficiency applied to condiments!
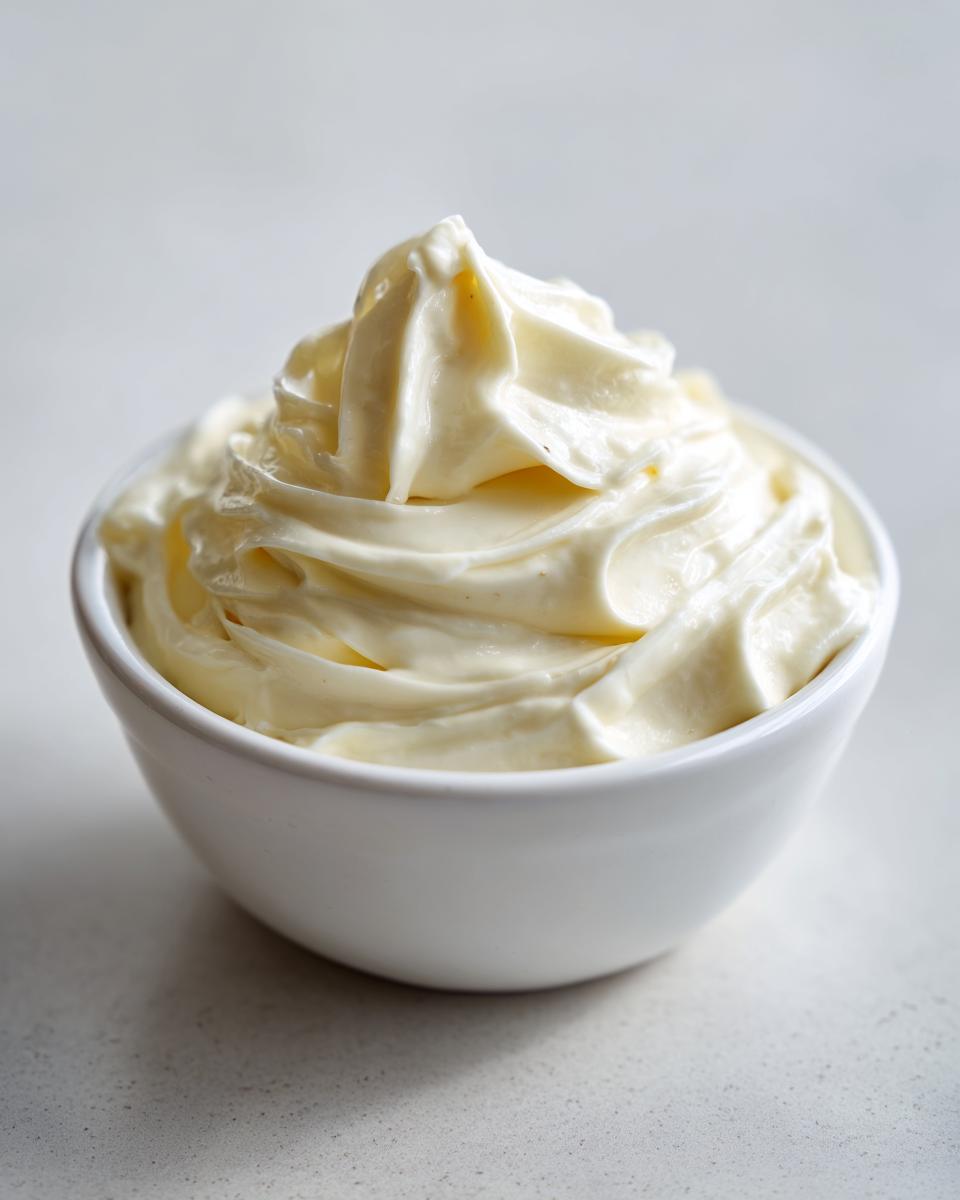
Achieving That Rich, Restaurant Style Aioli Texture
Don’t worry, just because it’s fast doesn’t mean it sacrifices that luxurious feel. The secret here is using full-fat mayonnaise; skip the low-fat versions! That extra richness carries the sharp garlic perfectly and ensures you get that beautiful, **silky finish** you only usually get at your favorite spots. It clings perfectly to a soggy french fry, which is honestly the best test for any great sauce.
Gathering Your Ingredients for the Perfect Garlic Aioli
Because this **homemade aioli recipe** is so simple, every single ingredient really yells for attention. We aren’t hiding behind a ton of seasonings here, so quality matters! It feels good knowing we are putting together a quality, **fresh garlic dip** in just minutes. If you want that true, bright flavor, you absolutely have to use fresh garlic—the jarred stuff just doesn’t cut it for a big punch like this.
We are keeping this short and sweet, but I want you to know that we’ve tested this formula relentlessly. It’s reliable, just like everything we put out here at Cookery Command because we stand by our technique.
Ingredient Notes and Substitutions for Your Homemade Aioli Recipe
You only need five main things, which is wonderful!
First up: mayonnaise. Listen, I know people love to cut fat, but for the best, richest texture, please use a full-fat version. It makes such a difference in creating that velvety feel.
Next is the wonderful fresh garlic. Crush it, mince it finely—we talk more about that later—but don’t substitute the freshness. The lemon juice is vital too; it’s not just for tanginess! That little bit of acid brightens up the mayonnaise and keeps the whole **creamy garlic sauce** from feeling too heavy on the palate, almost like a little kick of excitement.
If you were feeling ambitious and wanted to go the *true* traditional route someday, you’d be making an emulsion of oil and raw egg yolks. But hey, that’s a whole afternoon project! For now, this mayo base saves the day and gives us nearly the same phenomenal result!
Step-by-Step Instructions for Your Easy Aioli Dip
Alright, this is the fun part where we turn humble ingredients into a powerhouse dipping experience! Because this is a mix-and-stir recipe, the real magic comes from how we treat the garlic first. Don’t just toss everything in the bowl at once—we honor the steps to get that balanced, savory punch we’re looking for.
Remember, we aren’t making a sauce that bites back too hard. We want flavor, but we want it smooth and integrated. Follow these steps exactly, and you’ll have a brilliant bowl of **garlic aioli** ready before you can even get the oven fries in the basket!
The Garlic Infusion: Softening the Flavor
First things first, grab your garlic. You need to mince those cloves super fine, or better yet, press them. Nobody wants a big, sharp chunk of raw garlic poking them in the mouth, right? Put that finely treated garlic right into your small mixing bowl.
Now, here’s the little move that separates an okay sauce from a great one: pour that tablespoon of fresh lemon juice right over the garlic. Let that sit there for just two minutes. Seriously, time it! This resting period is important because the acid starts to gently soften the raw edge of the garlic. It means when it hits the mayo, the final flavor of your **garlic aioli** is bright and fragrant, not harsh and overwhelming.
Mixing for a Silky Creamy Garlic Sauce
Once those two minutes are up, it’s time for action! Add the cup of mayonnaise to the bowl along with the salt and pepper. Grab a whisk, and get to work. You need to whisk this mixture until it is completely homogenous and smooth. I mean it—no streaks of mayo left! You are beating this until it looks completely uniform.
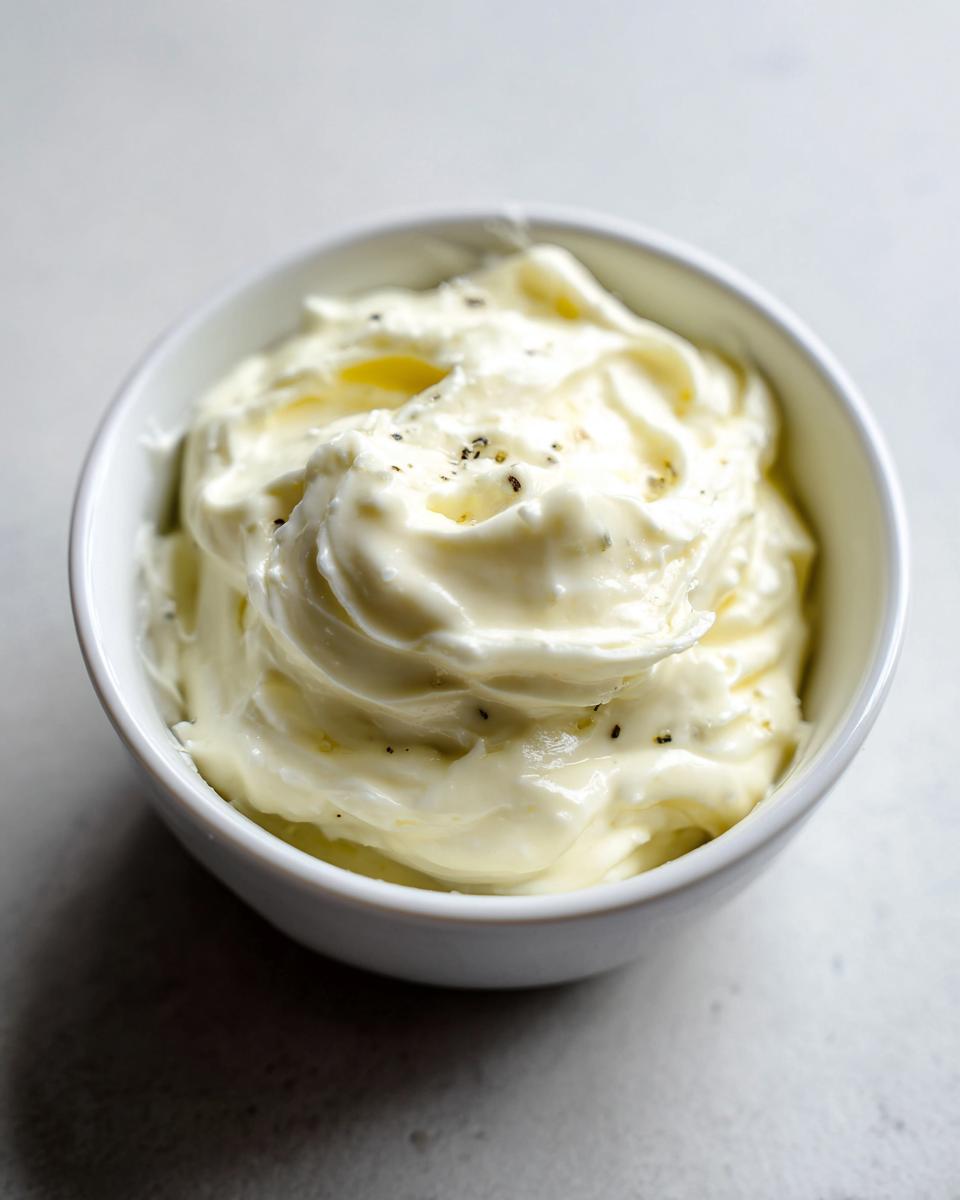
Once it looks like a beautiful, **creamy garlic sauce**, you have to taste it! This is your chance to make it yours. Does it need another tiny pinch of salt? Is your lemon a little dull today, maybe needing an extra quarter-teaspoon of acid? Taste it now, adjust it exactly how you love it. If you made it ahead, cover it up and pop it in the fridge for at least fifteen minutes. Trust me, chilling lets all those fantastic flavors marry perfectly.
Tips for the Ultimate Garlic Aioli Success
You know, most of the time, people look up a quick recipe because they assume they have to compromise on flavor. Not here! Since we’re leaning into that brilliant **garlic mayonnaise trick**, we can focus all our energy on making sure the garlic component is absolutely perfect. That’s what transforms this simple sauce into what feels like something you’d wait in line for.
If you’re making this for your Sunday snack—because honestly, everything tastes better dipped in this—I have one final word of advice that I learned the hard way. Don’t try to rush the garlic prep!
Mastering the Fresh Garlic: The Garlic Mayonnaise Trick
When I first tried this super-fast **homemade aioli recipe**, maybe three batches in, I got lazy. I coarsely chopped the garlic instead of mincing it finely enough. Well, you can guess what happened! The texture of the **garlic aioli** was bumpy and uneven, and those big pieces of raw garlic tasted like a fire alarm went off in my mouth instead of blending nicely.
So, here is the solid technique point: don’t risk it. Use a garlic press if you have one—it pulverizes the clove perfectly so it dissolves right into the mayo and lemon juice. Or, if you’re chopping, chop until you think it’s small enough, and then chop it three more times! This fine incorporation is the real secret to making this the absolute **best sauce for fries**; it ensures every single dollop has that smooth, consistent, garlicky goodness you want.
If you want to check out a super helpful perspective on this whole process (including the totally different, egg-based way of making it, just for fun comparison!), check out these thoughts on making aioli. But for speed, keep that press handy!
Serving Suggestions for Your Flavorful Homemade Condiment
The best thing about making a big batch of this **flavorful homemade condiment** is how many different ways you can use it up during the week! Honestly, once you have this bright, punchy **lemon garlic sauce** ready, it feels like cheating because everything tastes automatically better. It’s so versatile; you’ll be spooning it onto things you never expected!
Since this is the **best sauce for fries** on the planet, you have to start there, naturally. But don’t stop there! This stuff elevates the humble weeknight meal instantly.
Pairing Your Lemon Garlic Sauce
I always try to make a fresh batch on Sunday so I have excellent options ready to go for lunch meetings during the week. Here are a few quick ideas to get you going:
- Fries and Potatoes: Yes, obviously. Dip your regular fries, sweet potato fries, or even just use it as a dollop over roasted potatoes.
- Sandwiches and Wraps: Start using this as your main component for **sandwich spread recipes**! It’s fantastic replacing mayonnaise on turkey clubs or spreading it inside a grilled chicken wrap.
- Seafood Simplicity: A little drizzle over baked or pan-seared white fish or shrimp brings instant Mediterranean vibes.
- Vegetable Power: This is easily my favorite **versatile sauce for veggies**. Toss some broccoli or asparagus with a bit of olive oil, roast them, and then drizzle this **garlic aioli** over the top right before serving. Wow!
See? It earns its keep just by making leftovers exciting!
Storage and Making Ahead Tips for Garlic Aioli
This is the beauty of using mayonnaise as the base for our **garlic aioli**: storage is a breeze! Because we aren’t working with raw eggs that need immediate curing, this sauce is forgiving. That said, I always recommend making it ahead of time, even if it’s just by that small amount of time suggested in the steps.
Remember step six? That chilling time is crucial! Letting it sit lets the lemon juice and garlic really get to know the mayo—the flavor profile deepens wonderfully, making the whole **creamy garlic sauce** taste more complex and seasoned. For freshness and safety, cover it tightly and keep it tucked away in the fridge. It stays vibrant and delicious for about a week, maybe even five more days if you’re lucky and your fridge is cold!
Frequently Asked Questions About Making Garlic Aioli
I know when you’re trying out a new **condiment recipe**, you always have a few little questions buzzing around. I’ve gathered the ones I get asked the most about this super quick **garlic aioli** so you can jump right into making the best sauce you’ve ever tasted!
Can I make this homemade aioli recipe without mayonnaise?
That’s a great question! You totally can make traditional aioli completely from scratch, which skips the mayo and involves slowly whisking olive oil into egg yolks until you get that thick, beautiful emulsion. That’s definitely the classic Mediterranean way to go! However, the whole magic trick of this specific **homemade aioli recipe** is its speed—that’s why we use the mayo base. The traditional method takes much more time and a little bit more concentration to prevent it from breaking. For now, stick with the mayo for your lightning-fast **easy aioli dip**, and save the from-scratch method for a lazy Sunday!
How long does this easy aioli dip last in the refrigerator?
Since we are relying on commercially prepared mayonnaise, this **easy aioli dip** is actually quite stable! When covered tightly and kept cold, it stays fresh and flavorful for about 5 to 7 days. The fresh lemon juice helps keep things bright, but remember, the raw garlic flavor can sometimes intensify a bit the longer it sits. I always try to use it within the week, but honestly, if it tastes good and smells good, you’re probably fine!
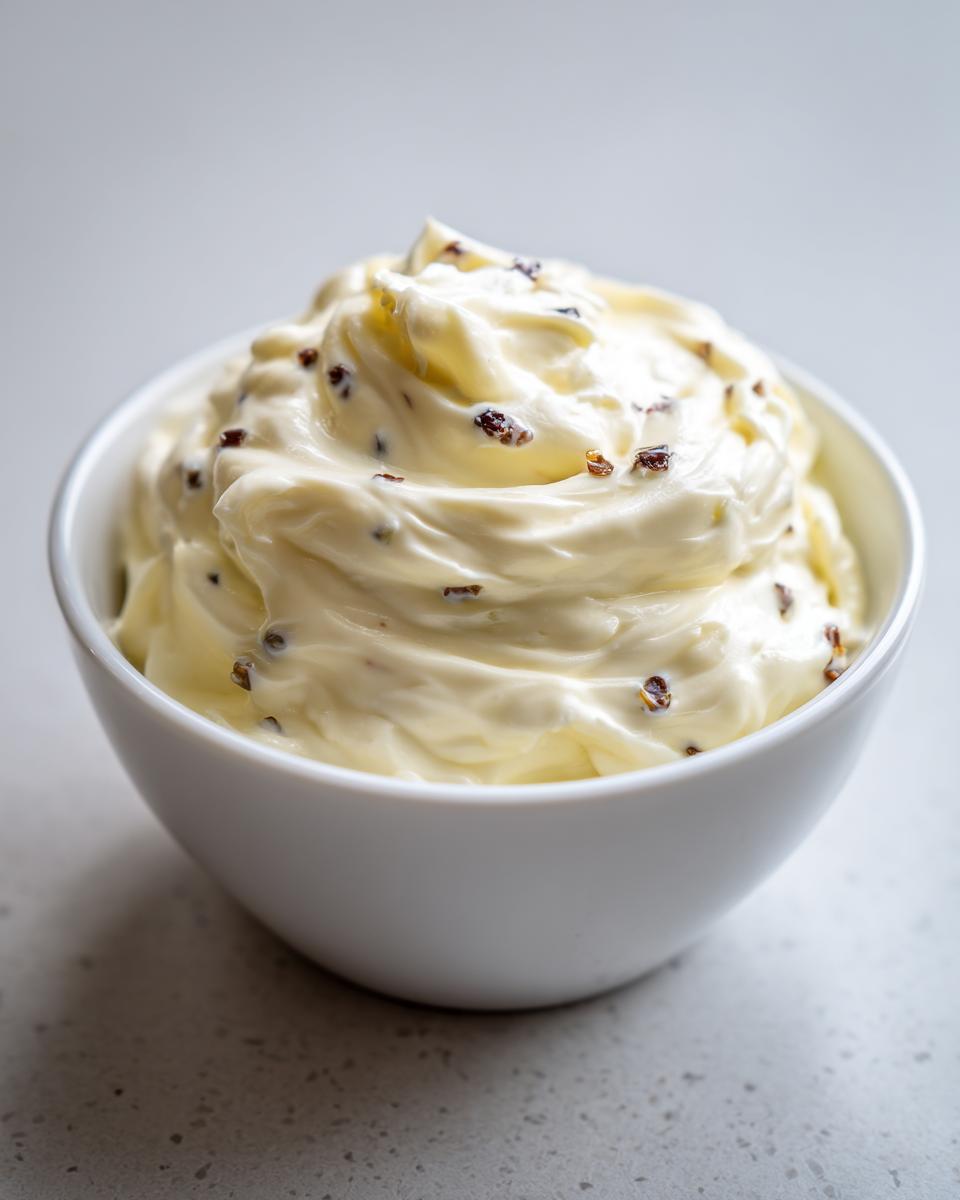
How do I get a stronger garlic flavor in my garlic aioli?
Oh, I totally get wanting that extra punch! If you feel like the flavor just isn’t hitting hard enough for you, the easiest way is to simply increase the number of cloves you use. Maybe try four instead of three, or press them really, really well! Another wonderful trick for a deep, mellow but powerful garlic note is to use roasted garlic instead of raw. You just take a whole head of garlic, roast it until it’s completely soft and golden, and squeeze the sweet, cooked cloves right into the mayonnaise. That gives you a sweet, intense flavor profile, but be careful—too much roasted garlic can turn your sauce slightly bitter!
Nutritional Estimate for Your Creamy Garlic Sauce
Now, I’ve got to be honest with you. When you’re whipping up something this decadent—this gorgeous, **creamy garlic sauce**—you probably aren’t thinking about labels, and frankly, you shouldn’t be stressing too much! But since we pride ourselves on bringing you reliable information here at Command Central, I wanted to include a quick estimate of what’s in a standard serving. This information helps you track things if you need to.
Keep in mind, these numbers are just ballpark figures based on using standard full-fat mayonnaise and the ingredients listed in the **garlic aioli** recipe. Different brands, especially the mayo brand, will give you slightly different results, so think of this as a helpful guide rather than gospel truth!
- Serving Size: 2 tablespoons
- Calories: 190
- Fat: 21g (3.5g is saturated)
- Carbohydrates: 0.5g
- Protein: 0.5g
See? It’s rich because mayonnaise is rich, but there’s virtually no sugar, which I love! It’s pure, flavorful fat carrying that beautiful garlic and lemon.
We like to be totally transparent about everything we share, right down to the fine print. For more on how we handle testing and data here on the site, you can always check out our policy details over on the privacy page. Enjoy every flavorful, calorie-dense spoonful!
Share Your Thoughts on This Ultimate Dipping Sauce
Okay, now that you are equipped with the fastest way to make the most decadent, tangy, and flavorful **garlic aioli** known to humankind, I absolutely need to hear all about it!
This community is built on sharing what works, and honestly, hearing how you’ve used this recipe makes all the recipe testing worth it. Did you use it on crispy shrimp tacos? Or maybe you finally got around to roasting those asparagus stalks? Don’t keep the joy to yourself!
We take notes here, and your feedback helps us confirm we’ve delivered on our promise of a reliable recipe. So please, take a second right now:
- Rate It! If you loved how easy and delicious this **ultimate dipping sauce** was, please hit those five stars above the comments section!
- Tell Me Everything: Jump down into the comments below and tell me what you served it with. I look for ideas all the time! Did you think the **lemon garlic sauce** was strong enough?
- Show Us! Snap a picture once you’ve smeared it on a sandwich or dipped a perfect batch of fries, and tag us on social media! We love seeing our Commandos in action.
If you ever have any questions that weren’t answered in the FAQ, or if you just want to send a note about how much you love using your new **sandwich spread recipes** hack, you can always reach out directly through the contact page. Happy dipping!
Print5-Minute Creamy Garlic Aioli (Mayo-Based)

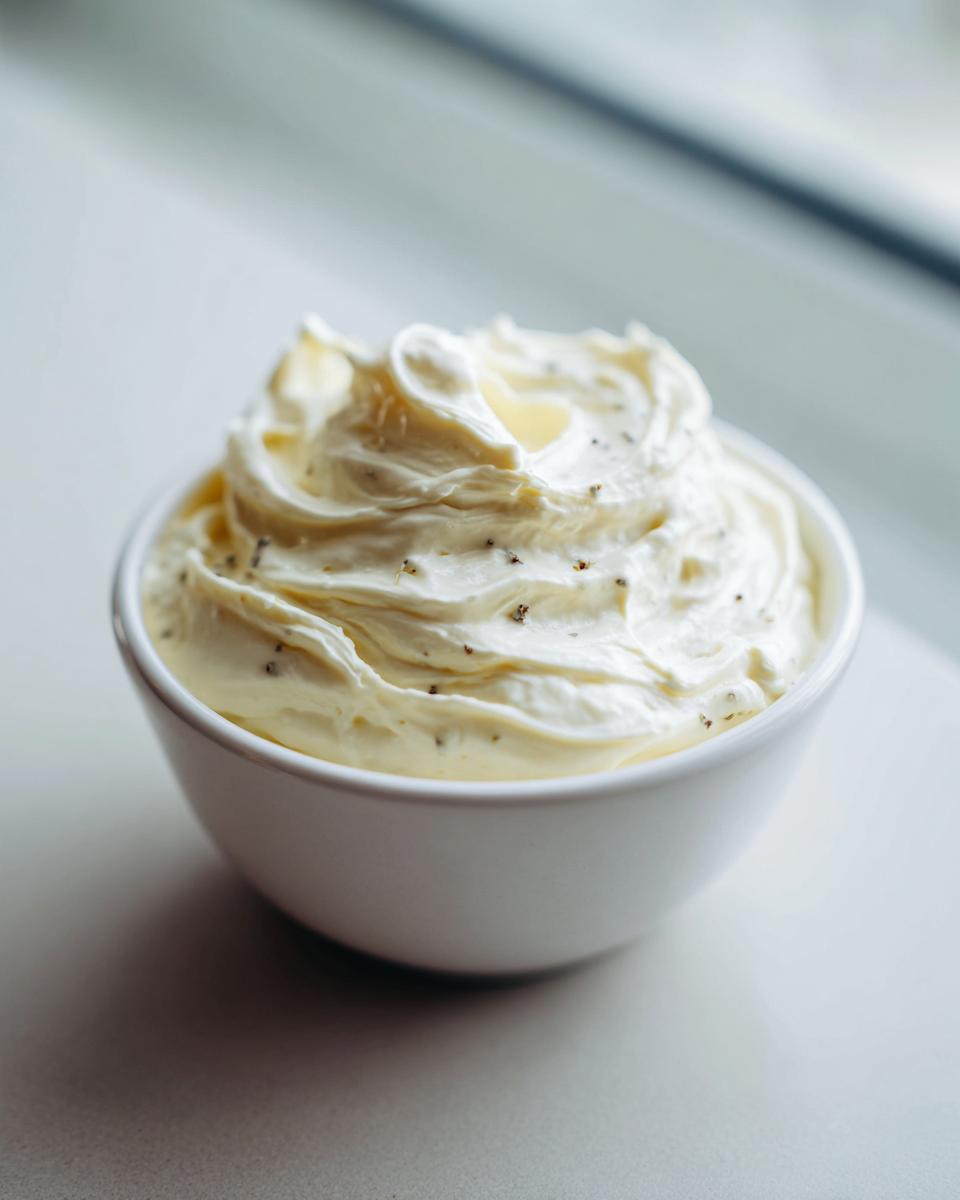
Make this quick, creamy garlic aioli using mayonnaise as a base. It delivers bold garlic flavor and a silky texture perfect for dipping fries or spreading on sandwiches.
- Prep Time: 5 min
- Cook Time: 0 min
- Total Time: 5 min
- Yield: About 1 cup 1x
- Category: Condiment
- Method: Mixing
- Cuisine: American
- Diet: Vegetarian
Ingredients
- 1 cup mayonnaise (full-fat recommended)
- 3 cloves fresh garlic, minced very fine or pressed
- 1 tablespoon fresh lemon juice
- 1/2 teaspoon salt
- 1/4 teaspoon black pepper
Instructions
- Place the minced or pressed garlic into a small bowl.
- Add the lemon juice to the garlic and let it sit for 2 minutes. This softens the garlic flavor slightly.
- Add the mayonnaise, salt, and pepper to the bowl.
- Whisk all ingredients together until the mixture is completely smooth and creamy.
- Taste the aioli and adjust salt or lemon juice as needed for your preference.
- Serve immediately or cover and chill for at least 15 minutes to allow flavors to meld.
Notes
- For a restaurant-style flavor, use a garlic press to ensure the garlic is finely incorporated.
- If you prefer a thinner sauce, add 1 teaspoon of water at a time until you reach your desired consistency.
- This sauce is the best sauce for fries and makes a great sandwich spread recipes base.
Nutrition
- Serving Size: 2 tablespoons
- Calories: 190
- Sugar: 0.2g
- Sodium: 220mg
- Fat: 21g
- Saturated Fat: 3.5g
- Unsaturated Fat: 17.5g
- Trans Fat: 0g
- Carbohydrates: 0.5g
- Fiber: 0g
- Protein: 0.5g
- Cholesterol: 15mg