

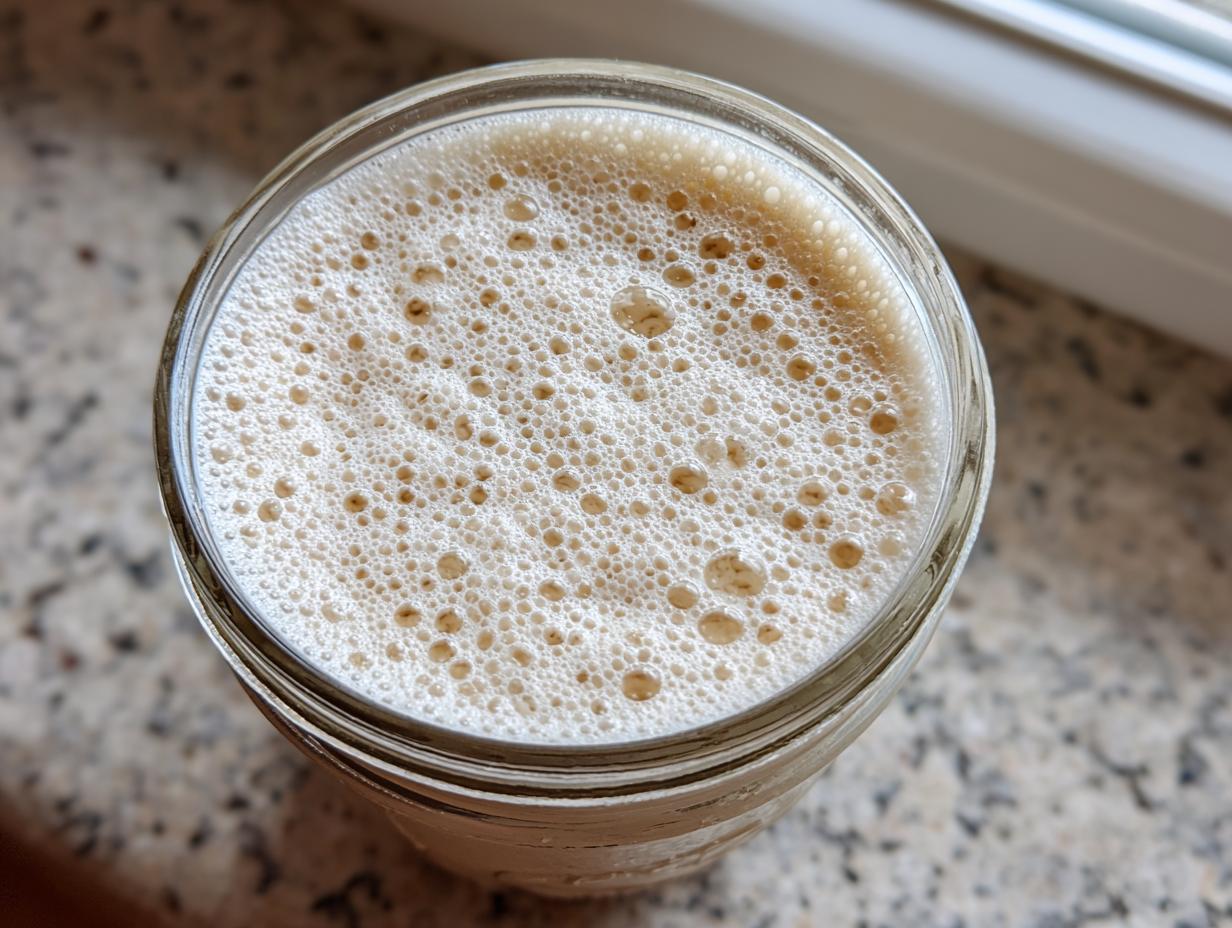
There’s nothing quite like the aroma of freshly baked bread filling your kitchen—it’s honest, it’s pure, and it tastes like home. If you’ve been dreaming of making that perfect loaf, the secret starts long before the oven gets hot. It starts with cultivating your very own sourdough starter. I know, I know, it sounds intimidating and wild, but trust me, making one from scratch is easier—and more reliable—than you think.
This isn’t just another vague tutorial. This is the most dependable, day-by-day guide, designed specifically for sourdough for beginners, acting like a true Sourdough For Dummies manual. Having spent years blending my grandmother’s kitchen intuition with professional test kitchen technique, I’ve stripped away all the guesswork for you. We are going to create a flourishing, active culture together, guaranteed!
- Why You Will Succeed Creating Your Sourdough Starter
- Essential Sourdough Starter Equipment List
- Ingredients for Your Sourdough Starter Recipe
- How to Make Sourdough Starter From Scratch: The 7-Day Guide
- Sourdough Care Guide: Daily Sourdough Feeding and Maintenance
- Sourdough Starter Tips for Creating a Strong Homemade Yeast Starter
- Troubleshooting Common Sourdough Starter Issues
- Estimated Nutritional Information for Your Sourdough Starter
- Continue Your Sourdough Journey
Why You Will Succeed Creating Your Sourdough Starter
Look, the difference between giving up on this process and baking beautiful loaves is feeling completely supported. That’s why I developed this method for you. You can absolutely conquer this—this is the secret to getting an easy sourdough starter that actually performs!
- Reliable Day-by-Day Schedule
This timeline removes all the confusing guesswork that makes sourdough feel so difficult for sourdough for beginners. We follow a strict, simple rhythm for the first week, so all you have to do is show up and feed it!
- Simple Flour and Water Starter
Seriously, that’s it. We aren’t making anything complicated. You only need two things to begin nurturing this living culture. It’s the purest form of a flour and water starter, and it’s how all the magic begins!
Essential Sourdough Starter Equipment List
Before we mix that first scoop of flour, let’s get you set up. Trust me on this—preparing your stations prevents those middle-of-the-week messes that make you want to give up. You don’t need much, but you do need the right containers. You absolutely must have a digital kitchen scale. Measuring by volume (cups) is wildly inconsistent for this project, and accuracy is everything when you’re developing a healthy culture. Grab a clean glass jar, too, so you can watch the action happen!
In my kitchen, I always have my scale ready, along with a small spatula for mixing. If you need a place to check out some simple setup ideas, I found a great little resource showing off some easy sourdough starter setups that I think you’ll like.
Ingredients for Your Sourdough Starter Recipe
Keeping ingredients simple is the best approach for this sourdough starter recipe. You only need three things, but one ingredient requires special attention. We start with 100 grams of Whole Wheat or Rye Flour for the first few days—this really wakes up the wild yeasts! Then, we switch to 100 grams of Unbleached All-Purpose Flour. The most crucial part? You must use 100 grams of unchlorinated, room temperature water. Chlorine kills everything good we’re trying to grow, so filter your water first, okay?
How to Make Sourdough Starter From Scratch: The 7-Day Guide
This is the moment! We’re putting theory into action and starting your sourdough starter on its seven-day journey to becoming the powerful, homemade yeast starter you need for amazing bread. Remember, we are taking it slow and focusing on consistency. Don’t panic if things look quiet for a few days—that’s absolutely normal when creating a strong culture.
I highly recommend keeping this page bookmarked or even printing out the schedule! Knowing exactly what to do each day is the heart of a successful beginner sourdough guide, and I’ve laid out the steps just as I do them in my kitchen. Let’s get mixing!
For more great timing resources while you wait around for the bubbling, check out this fantastic guide on step-by-step sourdough starter recipe creation.
Days 1 & 2: Initial Mix and First Feeding of Your Sourdough Starter
For Day 1, grab a clean glass jar. Mix 50 grams of your hearty whole wheat or rye flour with 50 grams of room temperature water. Stir it until it looks like thick pancake batter. Cover it loosely—we need air! Set it somewhere warm, room temperature, between 68 and 75°F, and walk away for 24 hours. On Day 2, you just do it again: discard half the mixture, and feed the rest with another 50g of rye/wheat flour and 50g of water. See you tomorrow!
Days 3 to 6: Switching Flours and Building Activity
On Day 3, you might finally see a few tiny bubbles—yay! Now we make a big shift: switch over to using your unbleached all-purpose flour. Discard half and feed the remainder with 50g AP flour and 50g water. Days 4, 5, and 6 follow this exact same routine: discard half, feed 50g flour / 50g water. Pay close attention to the jar during this phase! You’re looking for signs of life, like a few extra bubbles or maybe just a little bit of growth. That’s the sign that your bubbly sourdough starter is starting to form!
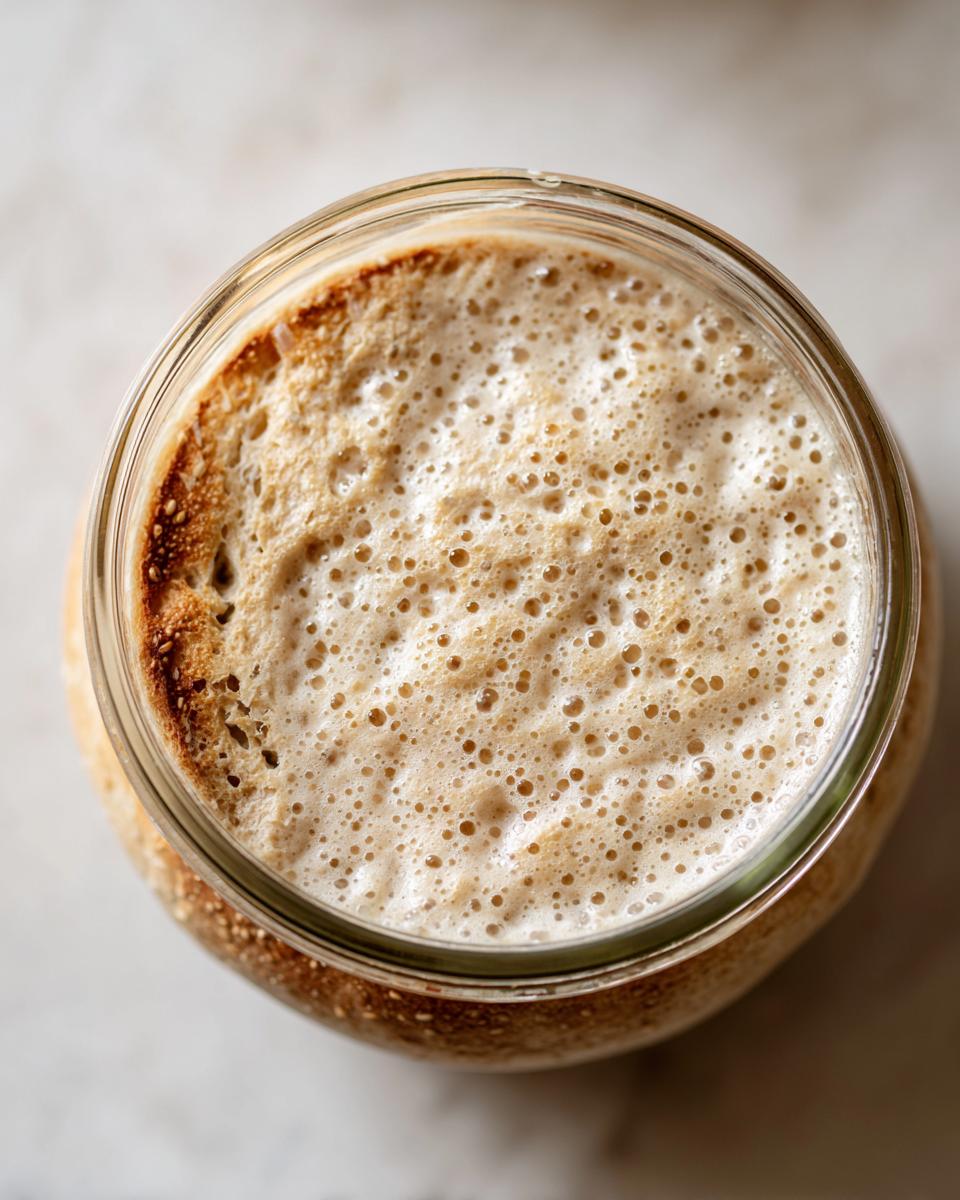
If sourdough starter creation feels slow, just stick to the schedule.
Day 7: Confirming Your Active Sourdough Starter
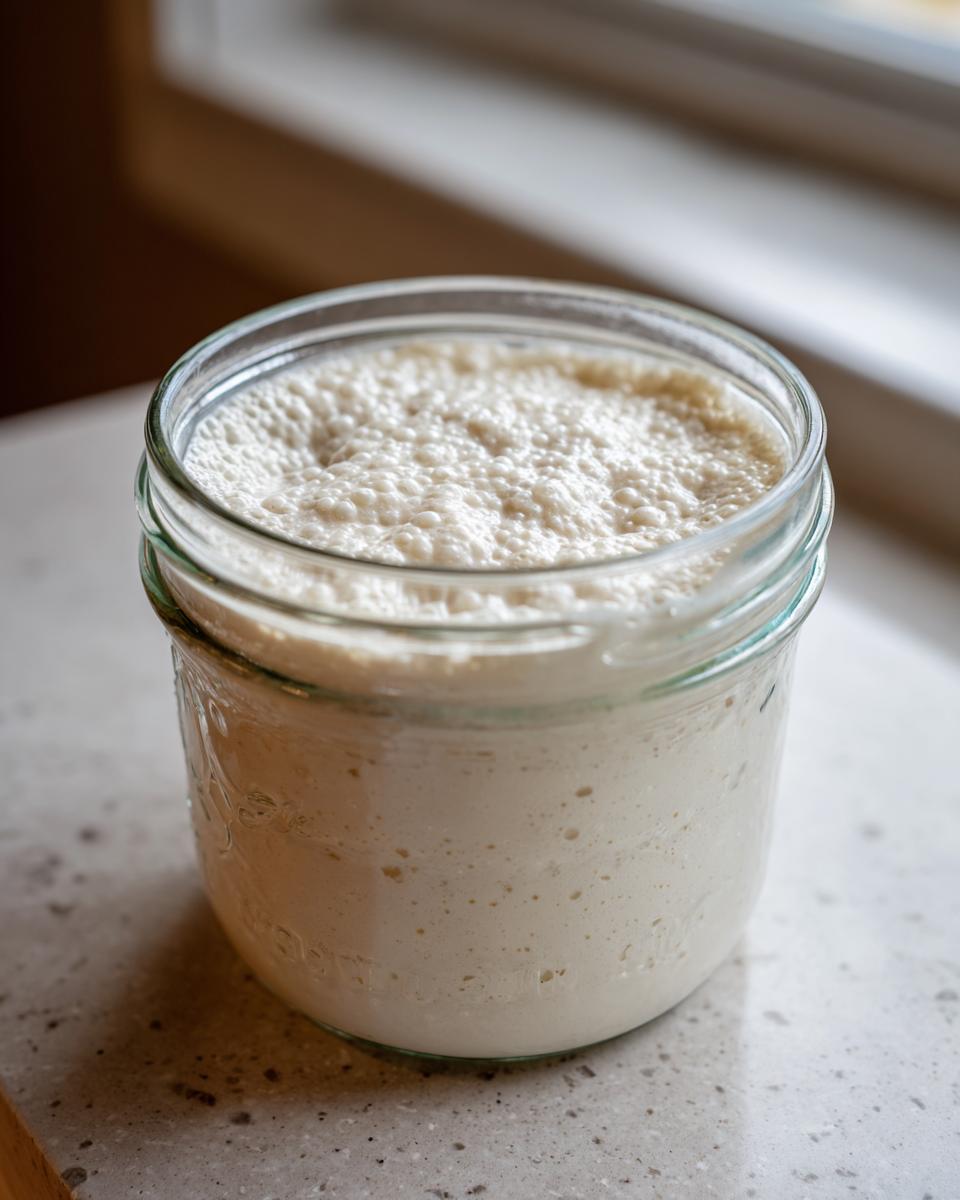
If everything went perfectly, by Day 7, you should see some serious action! The test for a true active sourdough starter is simple but crucial. Once you feed it today, you need to watch it carefully. If that starter consistently grows and doubles in volume within 4 to 8 hours, you’ve officially succeeded! Congratulations, you have captured wild yeast!
Sourdough Care Guide: Daily Sourdough Feeding and Maintenance
So now you have this amazing, bubbly culture living on your counter—I’m so excited for you! But what now? The management style totally depends on how often you plan to bake. If you’re diving into baking every day or so, we need to maintain that lovely, high-activity level through a consistent daily sourdough feeding schedule. What I always do when my kitchen counter is warm is stick to what we call the 1:1:1 ratio by weight.
When feeding, it means you take one part of your existing starter, feed it one part flour, and one part water. If you discard down to 50 grams of starter, you feed it 50 grams of flour and 50g of water. This keeps the culture happy, strong, and ready to go when you need it for your bread. This consistent routine is what locks in good sourdough maintenance!
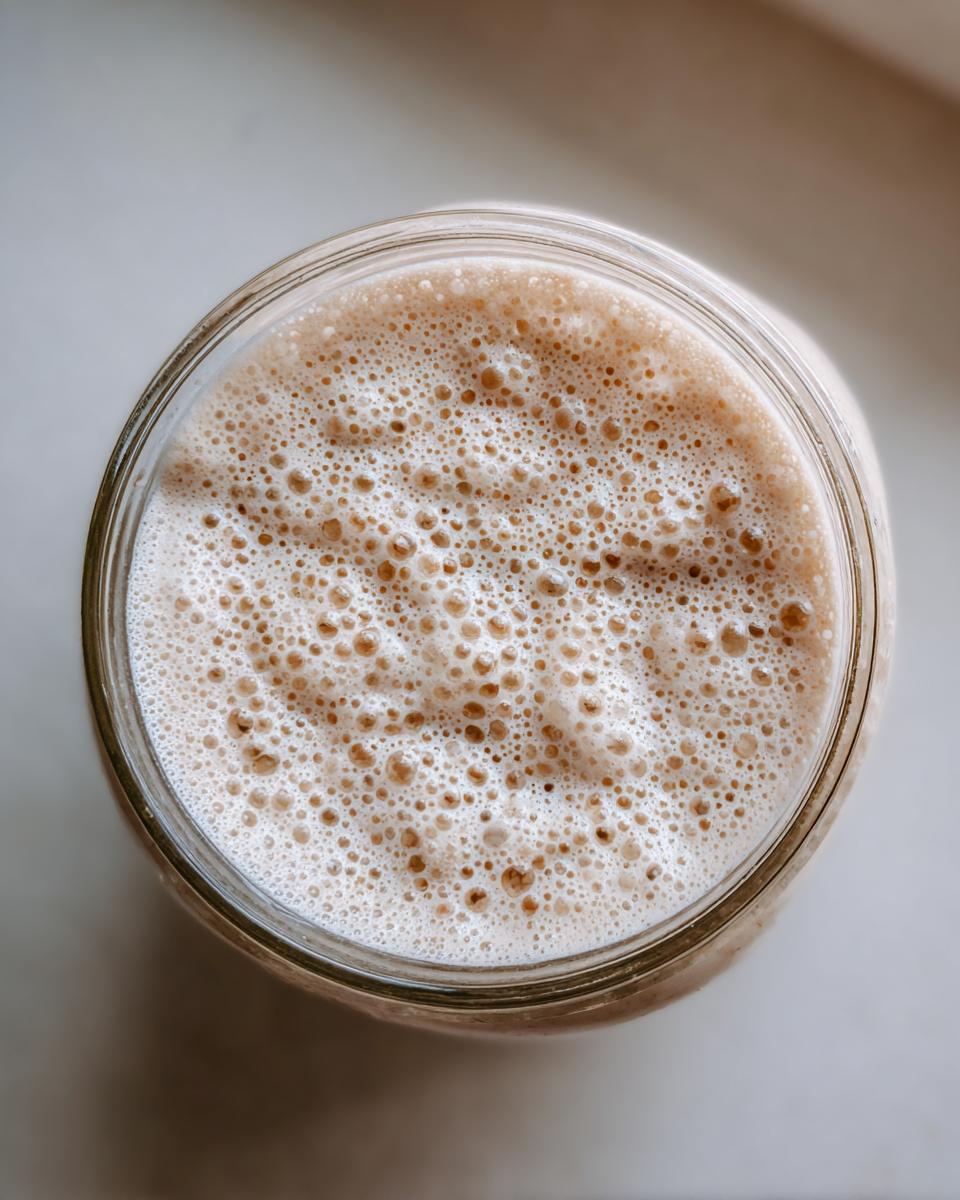
If you find those ratios confusing when you’re tired, I once found a fantastic breakdown talking about sourdough starter ratios you can look at when you’re ready to dig deeper into managing the peak time.
Refrigeration for Sourdough Starter
If you aren’t baking super frequently, you can put your jar right in the fridge! This slows everything way down. When cold, you only need to feed your starter once a week, tops. This is the easiest part of the entire sourdough care guide, making it perfect for busy weeks!
Sourdough Starter Tips for Creating a Strong Homemade Yeast Starter
Okay, now that you’ve officially created a living culture, let me give you a few hard-won tips from my kitchen. These little details are what separated my early, sluggish attempts from the vigorous, potent homemade yeast starter I use today. Don’t skip these bits of advice; they matter!
First, jar choice! While you can use any jar, I strongly recommend seeing the activity clearly. That’s why a tall, straight-sided jar is best—it lets you see exactly how high the rise is when it peaks. Second, temperature isn’t just a suggestion; it’s crucial. If your house is drafty or cold, your culture will crawl along. Try keeping your jar near the back of your stovetop after you’ve recently used the oven, but not *on* the burner, of course! Finally, go back and double-check that water. If you normally use tap water, let it sit out on the counter overnight so the chlorine can evaporate before you use it for feeding. These steps ensure your sourdough starter thrives, not just survives.
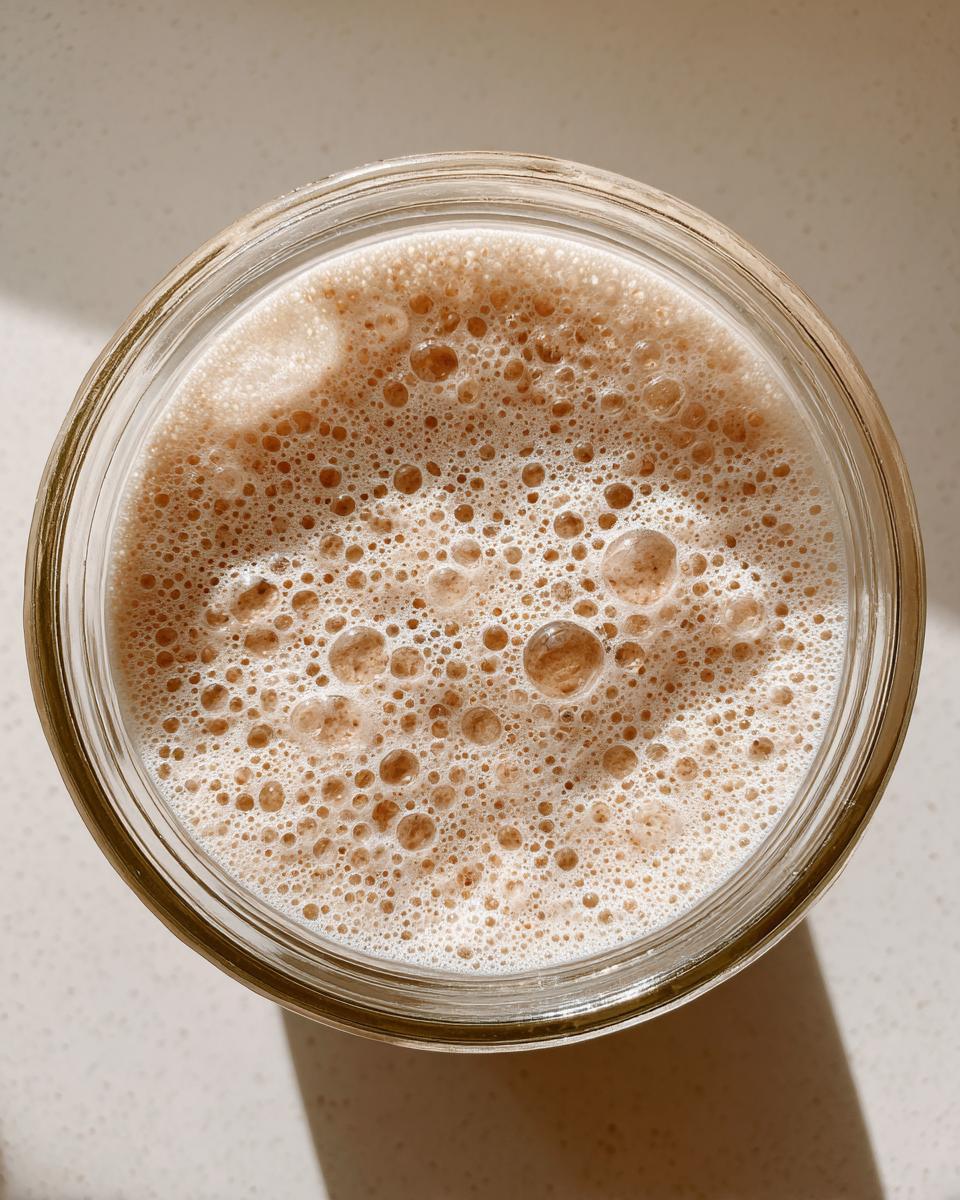
When I was learning, I missed the water quality step repeatedly, and it slowed down my process by days! If you want to compare notes on timing and other small tricks, I really like some of the observations shared over at how to make sourdough starter. It’s all about finding what works best for your specific environment.
Troubleshooting Common Sourdough Starter Issues
So, what happens when things don’t look postcard-perfect by Day 5? Don’t panic! This is where that test kitchen experience really pays off. The biggest fear people have is that their sourdough starter is dead, but I promise you, it’s usually just sleeping or hungry. The number one complaint I hear? Zero activity after Day 3.
If you see nothing going on, the answer is usually patience and warmth. Keep feeding it right on schedule; that little colony of yeast and bacteria just needs more time to wake up in your environment. Keep it warm, between 70 and 75°F if possible, and just repeat the last feeding cycle. Don’t switch flours or change ratios yet.
The other common sight that throws everyone off is when you see a layer of liquid sitting right on top of the starter—it’s usually greyish or brownish. That liquid is often called ‘hooch,’ and it simply means your starter is hungry! It’s producing alcohol as a byproduct of eating all the good flour you gave it yesterday. Just stir it back in, discard your usual portion, and give it a fresh, generous feeding. It’s a sign of strength, not failure!
Estimated Nutritional Information for Your Sourdough Starter
I know some of you super data-driven bakers out there want to know the numbers, even though this is just flour and water! Here’s a quick look at the estimates for a 100g serving of the finished starter mixture, based on our flour and water ratios.
- Calories: 180
- Carbohydrates: 37g
- Protein: 5g
- Fat: 0.5g
Now, please remember this is just a guide! Since your feeding schedule and flour types change constantly during these first seven days, these nutritional estimates are highly variable. Don’t stress the details too much right now; focus on that beautiful, bubbly texture instead!
Continue Your Sourdough Journey
Well, you officially have a thriving culture—how amazing is that? I’m already excited to see what beautiful bread you bake first! Now that you’ve conquered the creation phase, I’d love to hear about your experience. Head down to the comments below and let me know how quickly your first sourdough starter peaked!
If you want more tips on keeping your new friend happy, you can always check out this guide on easy sourdough starter maintenance. And if you’re craving some inspiration for using up the excess (hello, discard recipes!), I found a really lovely resource for homemade starters over at Crafting Your Sourdough Starter At Home. Happy baking, command the kitchen!
PrintHow to Make a Sourdough Starter From Scratch: A Beginner’s Day-by-Day Guide

Follow this simple, step-by-step guide to create your own active sourdough starter using only flour and water. This method is reliable for beginners starting their sourdough journey.
- Prep Time: 5 min
- Cook Time: 0 min
- Total Time: 7 days (active creation period)
- Yield: Approx. 100g active starter
- Category: Baking Essentials
- Method: Fermentation
- Cuisine: American
- Diet: Vegetarian
Ingredients
- 100g Whole Wheat or Rye Flour (for initial days)
- 100g Unbleached All-Purpose Flour (for later days)
- 100g Unchlorinated Water (room temperature)
Instructions
- Day 1: Mix 50g of whole wheat or rye flour with 50g of room temperature water in a clean glass jar. Stir until fully combined. Cover loosely and let it sit at room temperature (68-75°F) for 24 hours.
- Day 2: Discard half of the mixture. Add 50g of whole wheat or rye flour and 50g of water to the remaining starter. Mix well, cover loosely, and wait 24 hours.
- Day 3: You might see a few bubbles. Discard half. Switch to using unbleached all-purpose flour. Mix 50g of all-purpose flour and 50g of water into the remaining starter. Wait 24 hours.
- Day 4: Discard half. Feed with 50g all-purpose flour and 50g water. You should see more activity. Wait 24 hours.
- Day 5: Discard half. Feed with 50g all-purpose flour and 50g water. Wait 24 hours.
- Day 6: Discard half. Feed with 50g all-purpose flour and 50g water. Wait 24 hours. The starter should show significant bubbling and growth.
- Day 7: Discard half. Feed with 50g all-purpose flour and 50g water. If your starter consistently doubles in size within 4-8 hours after feeding, it is active and ready for baking.
- Maintenance: Once active, switch to a 1:1:1 ratio (starter:flour:water by weight) for daily feeding if kept at room temperature, or feed once a week if stored in the refrigerator.
Notes
- Use a clear jar so you can track the rise and see the bubbly sourdough starter developing.
- Maintain a consistent room temperature between 68 and 75 degrees Fahrenheit for best results during the initial creation phase.
- If your starter does not show activity by Day 4, keep feeding it daily; patience is key to creating a strong homemade yeast starter.
- When feeding, always use filtered or unchlorinated water, as chlorine can inhibit yeast growth.
Nutrition
- Serving Size: 100g
- Calories: 180
- Sugar: 0.5g
- Sodium: 1mg
- Fat: 0.5g
- Saturated Fat: 0.1g
- Unsaturated Fat: 0.4g
- Trans Fat: 0g
- Carbohydrates: 37g
- Fiber: 2g
- Protein: 5g
- Cholesterol: 0mg