
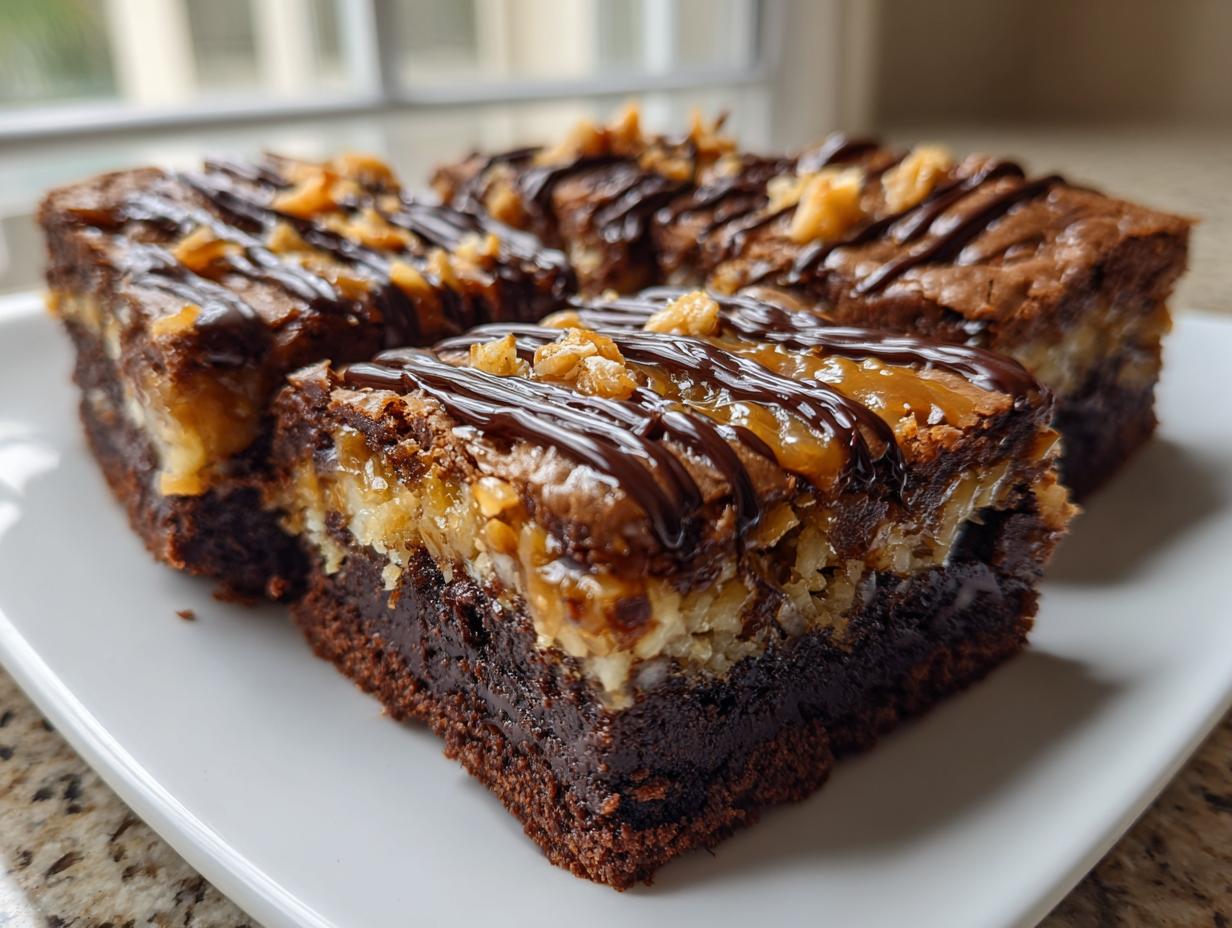
Oh, that time of year rolls around, and suddenly all I can think about are those chewy, caramel-swirled, coconut-covered Girl Scout cookies! They are just addictive, aren’t they? Well, guess what? We don’t have to wait for the cookie season anymore, and we definitely don’t need to master incredibly complicated recipes to get that flavor. I’ve taken my passion for making classic American treats accessible—something Emily Harrison believes deeply in—and applied it to hacking a simple brownie mix. Trust me, these samoa box mix brownies are going to blow your mind. It’s faster than you think! If you love coconut and caramel layered treats, you should definitely check out my German Chocolate Cake frosting while you’re here, because we are leaning hard into that decadence today.
- Why This Samoa Box Mix Brownies Hack Works (E-E-A-T Focus)
- Ingredients for Decadent Caramel Coconut Brownies
- Step-by-Step Instructions for Samoa Box Mix Brownies
- Tips for Perfect Caramel Coconut Brownies
- Making Gourmet Brownies from Mix: Ingredient Substitutions
- Storage and Reheating for Your Samoa Box Mix Brownies
- Serving Suggestions for Layered Brownie Bars
- Frequently Asked Questions about Samoa Box Mix Brownies
- Share Your Samoa Box Mix Brownies Creations
Why This Samoa Box Mix Brownies Hack Works (E-E-A-T Focus)
I get it; sometimes you want gourmet flavor without spending all day in the kitchen. That’s why this recipe is genius! We are taking the convenience of a standard box mix, which provides a reliable chocolate base, and transforming it into an Elevated Box Mix Dessert. We’re not trying to reinvent the wheel; we just want a great starting point.
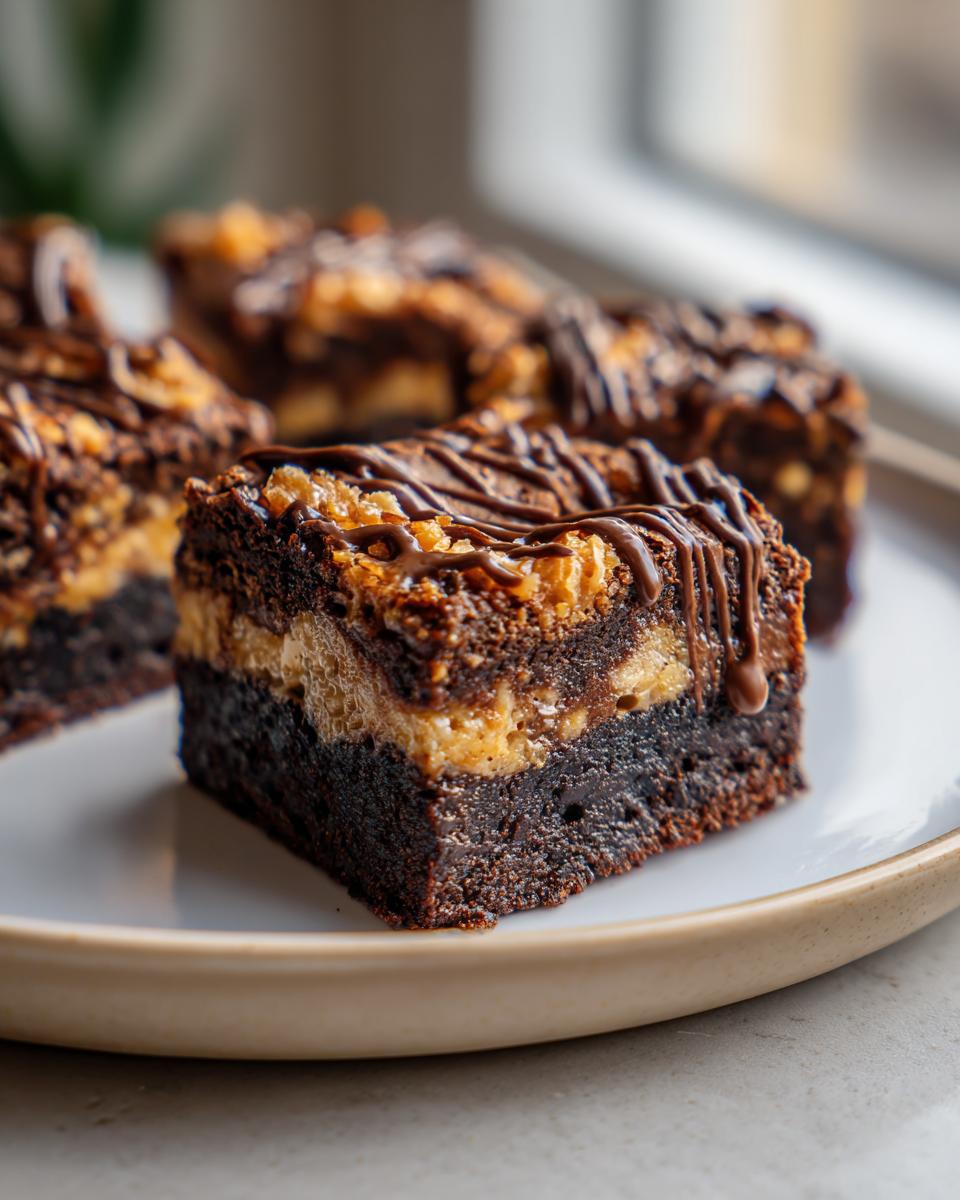
The secret to success here is the layering. By pouring half the batter down first, laying that gooey caramel and coconut down, and then covering it up, we trap that flavor right in the center. This allows us to achieve that incredible Homemade Samoa Flavor Brownies texture. I always recommend using a quality mix because it handles the extra weight of the toppings better. You can see some of my favorite ways to punch up a basic mix over here at my guide on Best Box Brownie Enhancements!
Ingredients for Decadent Caramel Coconut Brownies
Alright, let’s get our supplies lined up! Since we are hacking a box mix, most of the heavy lifting is already done, which is the beauty of this dessert. You’ll need the mix itself, plus whatever the box tells you to add—usually a couple of eggs, some oil, and water. Don’t forget those essentials!
For the fun parts, which turn this into a *Samoa Box Mix Brownies* dream, gather these treasures:
- 1 box standard brownie mix (plus ingredients listed on box, usually eggs, oil, water)
- 1/2 cup sweetened condensed milk
- 1 cup soft caramels, unwrapped
- 2 tablespoons milk or cream
- 1 cup sweetened shredded coconut
- 1 tablespoon butter, melted
- 1/2 cup semi-sweet chocolate chips
- 1 teaspoon coconut oil or vegetable oil
Seriously, having these simple items on hand means you can whip up something truly special in no time. If you’re already thinking about making homemade candies, you might want to look up my incredibly light homemade marshmallows recipe for another project, but today, we’re keeping it simple!
Step-by-Step Instructions for Samoa Box Mix Brownies
This is where the magic happens! We’re building these layers carefully so you get that perfect textural contrast—fudgy cake, gooey caramel, and crunchy coconut in every bite. Don’t rush the cooling time at the end, that’s my biggest piece of advice for clean slicing!
First things first: Preheat your oven exactly as the box tells you to. Then, grab your 9×13 pan and line it with parchment paper, but make sure you leave a nice little overhang on two sides. Those overhangs are your handles later when we lift these babies out. So helpful! If you need other easy hacking ideas, I put together a fantastic cheesy dip recipe here, but today we focus on chocolate!
Preparing the Brownie Base and Caramel Swirl
Whip up your standard brownie batter according to the package. Remember to stick to what they say for the added eggs and oil! Pour about half of that beautiful, thick batter right into your prepared pan. Don’t try to make the first layer perfect—it’s getting covered anyway.
Now for the caramel swirl base! You have to do this over low heat, seriously. Throw your unwrapped caramels, the sweetened condensed milk, and those two tablespoons of milk or cream into a saucepan. Stir constantly until it’s completely smooth, like silk. Pull it off the heat right away so it doesn’t get tough.
While that’s heating, toast your coconut! Spread one cup of shredded coconut right onto a dry skillet over medium heat. Stir it like crazy for about three to five minutes until it smells amazing and turns golden. Toss that toasted coconut instantly with that melted tablespoon of butter. Now, pour half of that smooth caramel mix over your first brownie layer, and sprinkle half of your buttered coconut over that caramel. Yes, this is going well!
Baking and Applying Toasted Coconut Brownie Topper
Gently spoon the rest of your raw brownie batter over the coconut layer. Be gentle so you don’t dig down into the caramel! Dollop the rest of that gorgeous caramel randomly over the top batter layer. Grab a knife or a skewer and do some slow figure-eights just to swirl it a bit—don’t mix it completely, we want defined caramel ribbons.
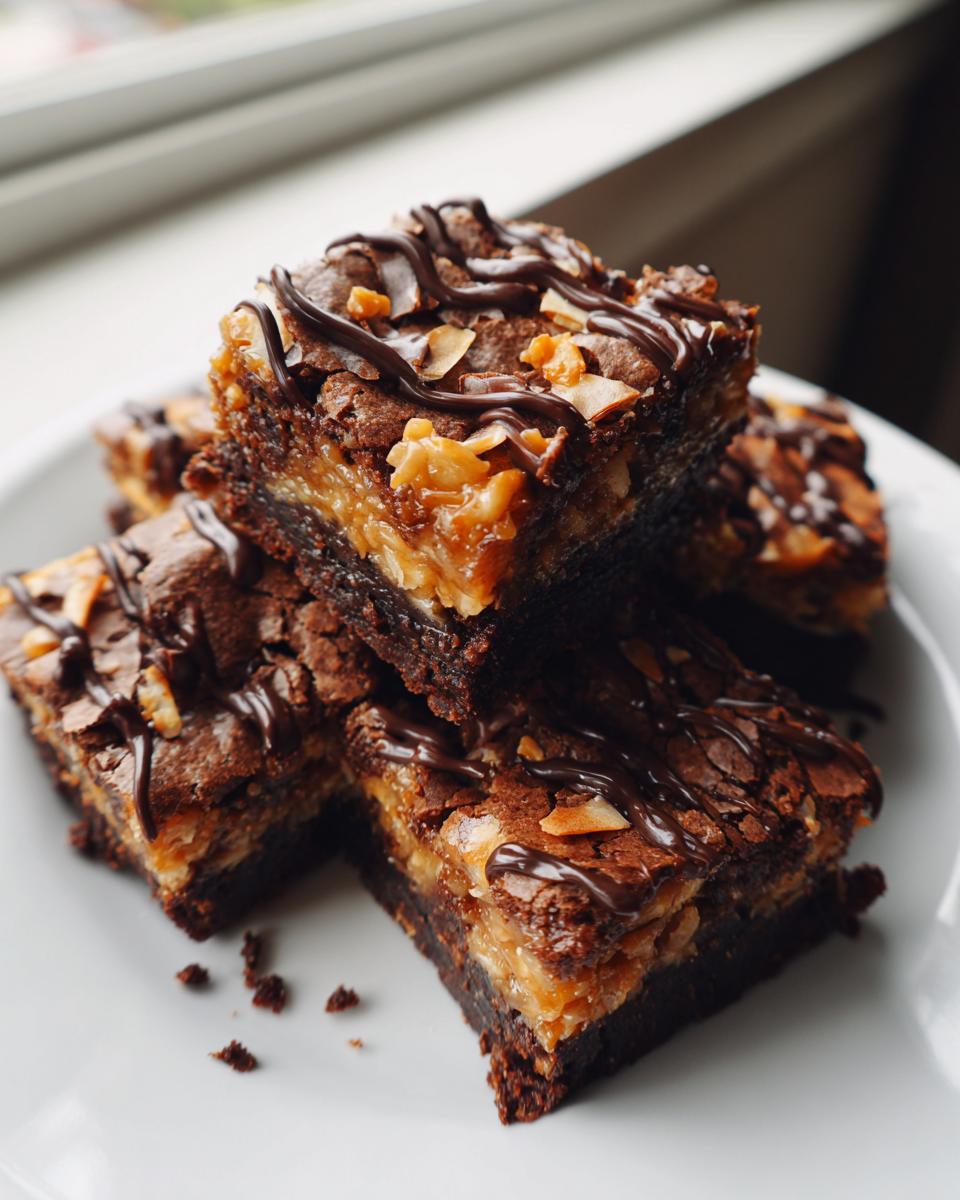
Time to bake! Pop it into the preheated oven and bake following the box directions for a 9×13 pan. You are looking for moist crumbs on a toothpick, not clean, dry ones—moist means fudgy! Let these cool completely, and I mean *completely*, before attempting any toppings. This is crucial for getting those clean cuts reminiscent of beautiful toffee pretzels! If you overbake them looking for a dry toothpick, you’ll lose that amazing Fudgy Brownie Caramel Layer.
For the drizzle, melt your chocolate chips and coconut oil in the microwave in 30-second bursts until super smooth. Drizzle that over the top, and then immediately scatter the remaining toasted coconut right on top of the wet chocolate. Let it sit until the chocolate sets up, then use those parchment handles to lift them out!
Tips for Perfect Caramel Coconut Brownies
Achieving that perfect texture on these Caramel Coconut Brownies is all about timing, especially when dealing with the caramel. My biggest mistake early on was letting the caramel mixture sit too long after taking it off the heat, and boy, did it seize up on me! It turned into a hard little disk, and swirling it became impossible.
If your caramel starts getting stiff before you can spread it, just put it back on the stove over the absolute lowest heat for about 20 seconds, stirring like crazy. A tiny splash of cream helps bring it right back to life. Remember, we are aiming for that beautiful, gooey Fudgy Brownie Caramel Layer, not a candy bar in the middle!
To lock in that fudgy center, pull these out of the oven the second the toothpick shows moist crumbs. If you wait until it’s clean, you’ll end up with a dry brick instead of a decadent bar. If you want to try taking the caramel up a notch next time, you simply have to check out my recipe for salted caramel—it’s heavenly!
Making Gourmet Brownies from Mix: Ingredient Substitutions
One of the best parts about mastering these Easy Box Brownie Hacks is learning where you can swap things out without ruining the structural integrity of the bar. Since we are improvising a Girl Scout favorite, flexibility is key! The goal is always to keep that effort level low while bumping up the flavor profile.
If you’re out of the standard brand of box mix you usually use, don’t panic. Most dark chocolate mixes are pretty interchangeable when it comes to liquids and eggs. Just stick with the ratios suggested on the new box, keeping in mind that a richer mix (like a triple-fudge type) will naturally taste closer to homemade anyway!
Let’s talk coconut. I used sweetened shredded coconut because it toasts up lovely and blends nicely with the caramel. If you only have the larger flakes, go ahead and use those! You might want to rough chop them slightly first, though, so you don’t have giant dry chunks in your gooey layers. If you ever need ideas for vibrant, fresh additions that aren’t dessert-related, my guide on easy homemade salad dressing recipes is full of fresh inspiration.

Now, the big question: what if you don’t have those soft caramels on hand? You *can* make a quick homemade caramel sauce instead of relying on the condensed milk mixture. Just melt down 1 cup of granulated sugar with 1/4 cup of water over medium heat until it turns deep amber. Pull it off the heat and then carefully whisk in 1/2 cup of heavy cream and a tablespoon of butter. It’s more work, but nothing beats true homemade flavor when you want Gourmet Brownies from Mix!
Storage and Reheating for Your Samoa Box Mix Brownies
Okay, once these beauties are completely set—and trust me, you’ll want to wait until that chocolate drizzle is firm—the last thing you want to do is ruin that perfect texture while storing them! Because we have layers of gooey caramel here, where you keep them makes a difference.
My rule of thumb is to keep these Layered Brownie Bars stored at room temperature for immediate eating. Pop them into a good, airtight container. They usually stay perfectly soft and chewy for about three or four days. If you’re stacking them in the container, put down small squares of parchment paper between the layers. This stops the caramel from sticking to the chocolate topping of the layer underneath. Seriously, it’s a lifesaver and prevents a terrible, sticky mess!
Now, here’s the tricky part: the fridge. You *can* refrigerate them if your house is super warm, but I advise against it if you can manage it. The cold temperature makes that rich, homemade-tasting caramel layer get really hard and chewy—you want gooey, not cement! If you must chill them, take them out about an hour before serving so they can come back up to room temperature. That gives the caramel time to soften back up nicely.
If you happen to have leftovers after a few days, you can definitely wake them up a bit! Pop a bar onto a microwave-safe plate and hit it for just 10 to 15 seconds. That short blast warms up the chocolate layer and makes the caramel just slightly melty again. It’s the perfect way to resurrect yesterday’s dessert, kind of like my guide on the amazing Brownie Refrigerator Cake!
Serving Suggestions for Layered Brownie Bars
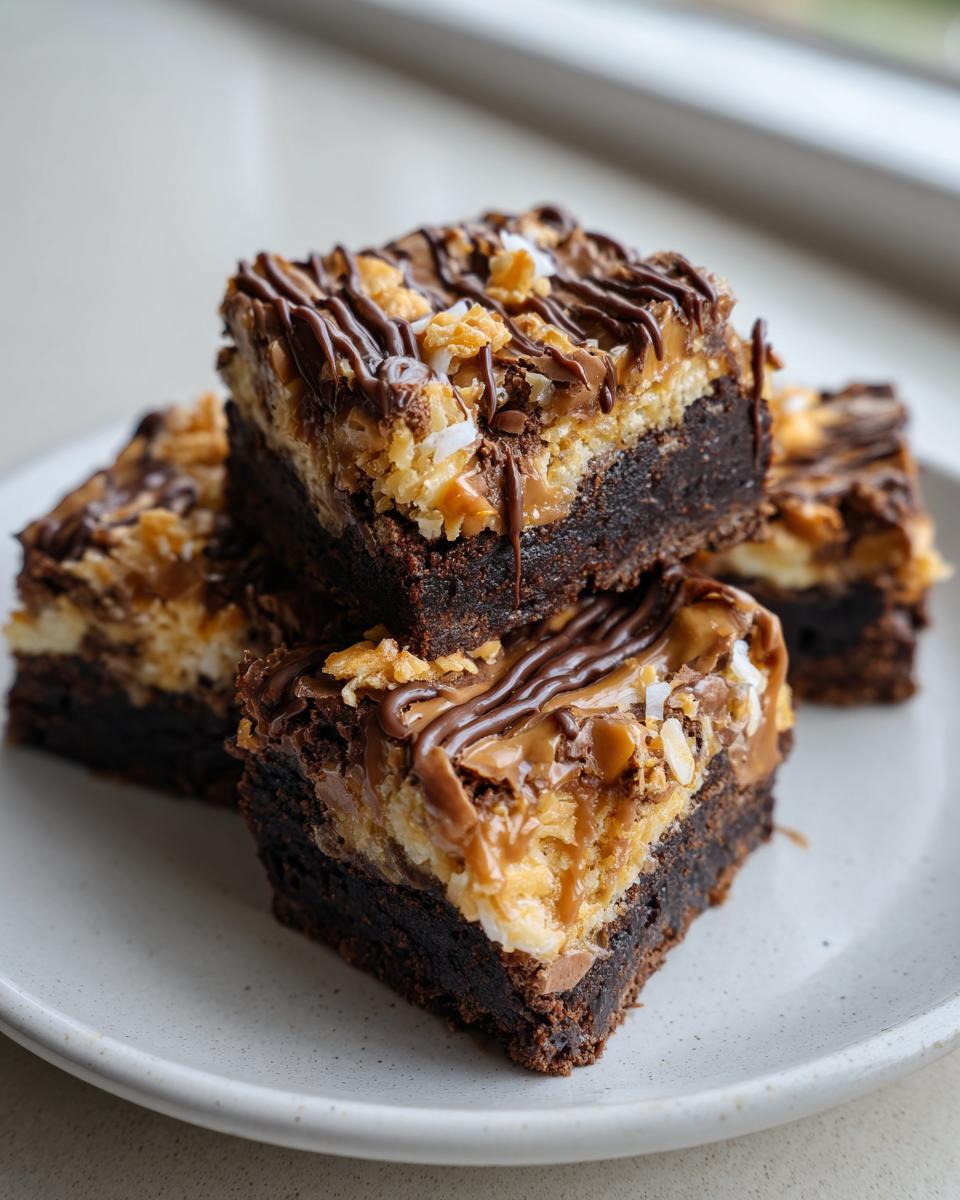
Now that you’ve successfully turned a humble box mix into these magnificent Layered Brownie Bars, you absolutely have to serve them right! These are so rich and decadent with that caramel-coconut topping that they really demand the perfect companion. I always think about what flavor will cut through that incredible sweetness perfectly, or what will complement the toasted nutty notes.
The absolute classic pairing, which I’m sure you already thought of, is a scoop of good vanilla bean ice cream. The coldness is amazing against the room-temperature brownie, and the vanilla base lets the chocolate, caramel, and coconut really shine. You want to serve this immediately after cutting the bars so the brownie is still slightly soft.
If you’re serving these later in the evening, a hot beverage is fantastic. You know I love anything espresso-based, and these bars are amazing with a robust cup of black coffee. If you’re leaning toward something a little more fun for a weekend get-together, a tiny sip of something bright works wonders. Have you tried my Peppermint Espresso Martini recipe? The slight mint and coffee edge just cuts right through the richness of the caramel flawlessly.
Honestly, these brownies are so loaded that they don’t even need anything else, but if you wanted to get fancy, a sprinkle of flaky sea salt right before serving always makes the chocolate taste deeper. Enjoy them!
Frequently Asked Questions about Samoa Box Mix Brownies
I knew you’d have questions once you saw how loaded these treats are! Dealing with layers, especially when you’re hacking a mix, can sometimes bring up confusion. Let’s clear up the most common things folks ask me about turning out perfect Chocolate Caramel Coconut Bars.
How do I make sure my brownies are fudgy instead of cakey?
This is the main reason we hack the mix, right? To get fudgy! The secret here is twofold. First, don’t overbake! Pull them out the second a toothpick shows moist crumbs clinging to it—if the toothpick is clean, you’ve gone too far. Second, when you mix the batter, resist the urge to overmix after you add the dry ingredients. Too much mixing develops gluten, which gives you cakeiness. Stick with the directions, and you’ll have perfect texture!
Can I make these gluten-free by changing the mix?
That’s a great question, especially since we are using an off-the-shelf product! You absolutely can make these gluten-free, provided you start with a gluten-free Box Brownie Mix. The caramel and coconut topping layers are naturally gluten-free, so the hack remains the same. I always tell people to look for a dedicated GF mix for the best results, as other brands have different liquid ratios, which can throw off the necessary batter division for the layers. If you like making layered baked goods, you might want to check out my amazing recipe for tiramisu cookies!
What is the key to preventing the caramel from hardening?
The caramel staying soft is critical for these as Layered Brownie Bars! The reason we use sweetened condensed milk along with the soft caramels is that the milk keeps the mixture pliable even after it cools. If you only used melted caramels, they’d turn into brittle candy once the brownies cool down. Also, remember the tip from earlier: don’t refrigerate them if you plan on eating them soon!
How important is toasting the coconut for the final flavor?
Trust me on this one—don’t skip toasting the coconut! Raw coconut just tastes bland compared to the caramelized, nutty flavor of toasted coconut. Toasting deepens that flavor profile so it stands up against the rich chocolate and caramel. I toast mine in a dry skillet over medium heat, watching constantly, until it’s perfectly golden brown. That little bit of extra effort really elevates these into Gourmet Brownies from Mix!
Share Your Samoa Box Mix Brownies Creations
Well, that’s it! You’ve taken a humble box mix and turned it into something truly show-stopping—these incredible layered bars!
Now that you’ve had a chance to bake them, I would absolutely *love* to hear what you thought. Your feedback is what helps us keep these recipes dependable and delicious for everyone else coming to the kitchen. If you followed along, please take a moment to leave a star rating! It tells me that our focus on clear technique for these decadent brownie toppings really works.
And seriously, when you slice into those beautiful layers of chocolate, caramel, and coconut, you *have* to take a picture! Snap a photo and share it with us over on social media. Tag us so I can see your amazing results! I can always find you guys on our contact page if you’re having trouble uploading, too, just head over to our contact form.
I’m endlessly curious about everyone’s cookie preferences. So tell me—besides the Samoa, what is your absolute favorite Girl Scout cookie flavor? Are you a Thin Mint purist, or are you all about that Trefoil butteriness? Drop your answer in the comments below!
PrintSamoa Box Mix Brownies: Caramel Swirl, Toasted Coconut Topping, and Chocolate Drizzle
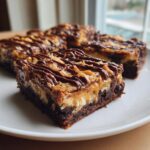
Hack a standard brownie box mix to create decadent, layered bars that taste like homemade Samoa Girl Scout cookies, complete with caramel, toasted coconut, and a chocolate finish.
- Prep Time: 15 min
- Cook Time: 35 min
- Total Time: 50 min
- Yield: 16 bars 1x
- Category: Dessert
- Method: Baking
- Cuisine: American
- Diet: Vegetarian
Ingredients
- 1 box standard brownie mix (plus ingredients listed on box, usually eggs, oil, water)
- 1/2 cup sweetened condensed milk
- 1 cup soft caramels, unwrapped
- 2 tablespoons milk or cream
- 1 cup sweetened shredded coconut
- 1 tablespoon butter, melted
- 1/2 cup semi-sweet chocolate chips
- 1 teaspoon coconut oil or vegetable oil
Instructions
- Preheat your oven to the temperature specified on the brownie box. Grease and line a 9×13 inch baking pan with parchment paper, leaving an overhang for easy removal.
- Prepare the brownie batter according to the box directions. Pour half of the batter into the prepared pan.
- Prepare the caramel swirl base: In a small saucepan over low heat, combine the caramels, sweetened condensed milk, and 2 tablespoons of milk or cream. Stir constantly until the mixture is smooth and fully melted. Remove from heat.
- Toast the coconut: Spread the shredded coconut on a dry skillet over medium heat. Stir frequently until the coconut is golden brown, about 3 to 5 minutes. Watch closely to prevent burning. Toss the toasted coconut with the melted butter.
- Pour half of the melted caramel mixture over the brownie layer in the pan. Sprinkle half of the toasted coconut mixture evenly over the caramel.
- Gently spoon the remaining brownie batter over the coconut layer. Dollop the remaining caramel mixture randomly over the top layer of batter and use a knife to gently swirl the caramel into the batter.
- Bake according to the box instructions for a 9×13 pan, or until a toothpick inserted near the center comes out with moist crumbs attached. Let the brownies cool completely in the pan on a wire rack.
- Prepare the chocolate drizzle: In a microwave-safe bowl, combine the chocolate chips and coconut oil. Microwave in 30-second intervals, stirring between each, until smooth.
- Once the brownies are cool, drizzle the melted chocolate over the top. Sprinkle the remaining toasted coconut over the chocolate drizzle.
- Allow the chocolate to set before lifting the brownies out of the pan using the parchment overhang. Cut into bars.
Notes
- For a richer brownie flavor, substitute the water called for on the box with an equal amount of strong brewed coffee.
- If you prefer a thicker caramel layer, use 1 cup of soft caramels and 1/4 cup of sweetened condensed milk instead of the amounts listed above.
- Toasted coconut can be made ahead of time and stored in an airtight container for up to one week.
Nutrition
- Serving Size: 1 bar
- Calories: 350
- Sugar: 35
- Sodium: 250
- Fat: 18
- Saturated Fat: 8
- Unsaturated Fat: 10
- Trans Fat: 0.5
- Carbohydrates: 45
- Fiber: 2
- Protein: 4
- Cholesterol: 30