
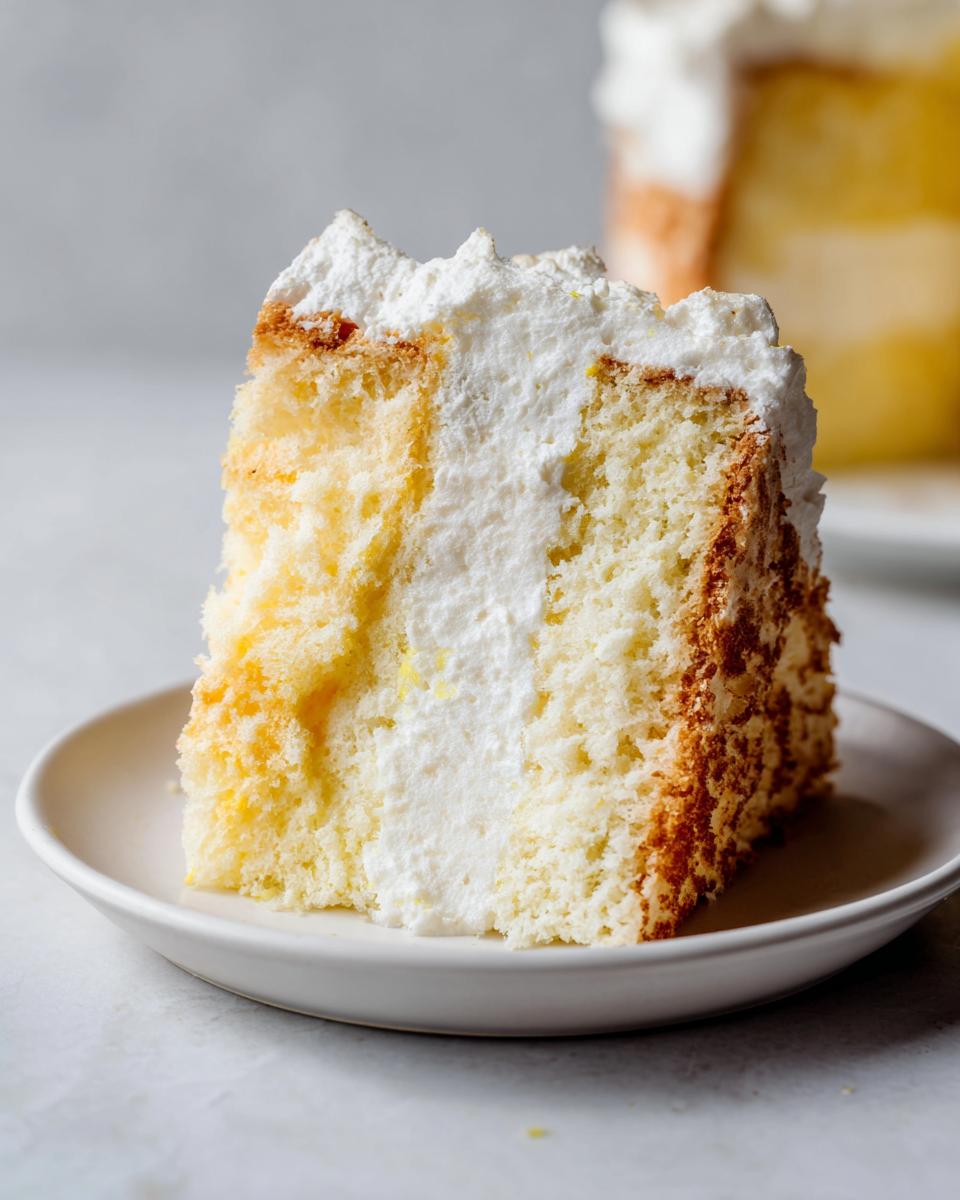
Oh my gosh, it is World Baking Day, and you know what that means—it’s time to pull out those classic showstoppers! Forget complicated modern trends; today, we are celebrating the gorgeous, time-honored recipes that just scream ‘home.’ I am so thrilled to share my version of the stunning Daffodil cake with you. This vintage dream delivers those beautiful, distinct yellow and white layers that instantly make it the centerpiece for any spring tea or celebration.
Growing up in a kitchen where tradition met technical skill—that’s my story! I love taking those old, slightly fussy heritage recipes and making them work perfectly, every single time, using precise know-how. This angel food hybrid is proof that you can achieve amazing visual drama with simple ingredients!
- Why This Vintage Daffodil Cake Recipe Works (The Secret to Layered Perfection)
- Essential Ingredients for Your Daffodil Cake
- Step-by-Step Instructions for the Daffodil Cake
- Tips for a Flawless Daffodil Cake Every Time
- Serving Suggestions for This Spring Dessert Idea
- Storing and Keeping Your Light Yellow Cake Fresh
- Frequently Asked Questions About the Daffodil Cake
- Nutritional Estimates for the Daffodil Cake
- Share Your Vintage Baking Creations
Why This Vintage Daffodil Cake Recipe Works (The Secret to Layered Perfection)
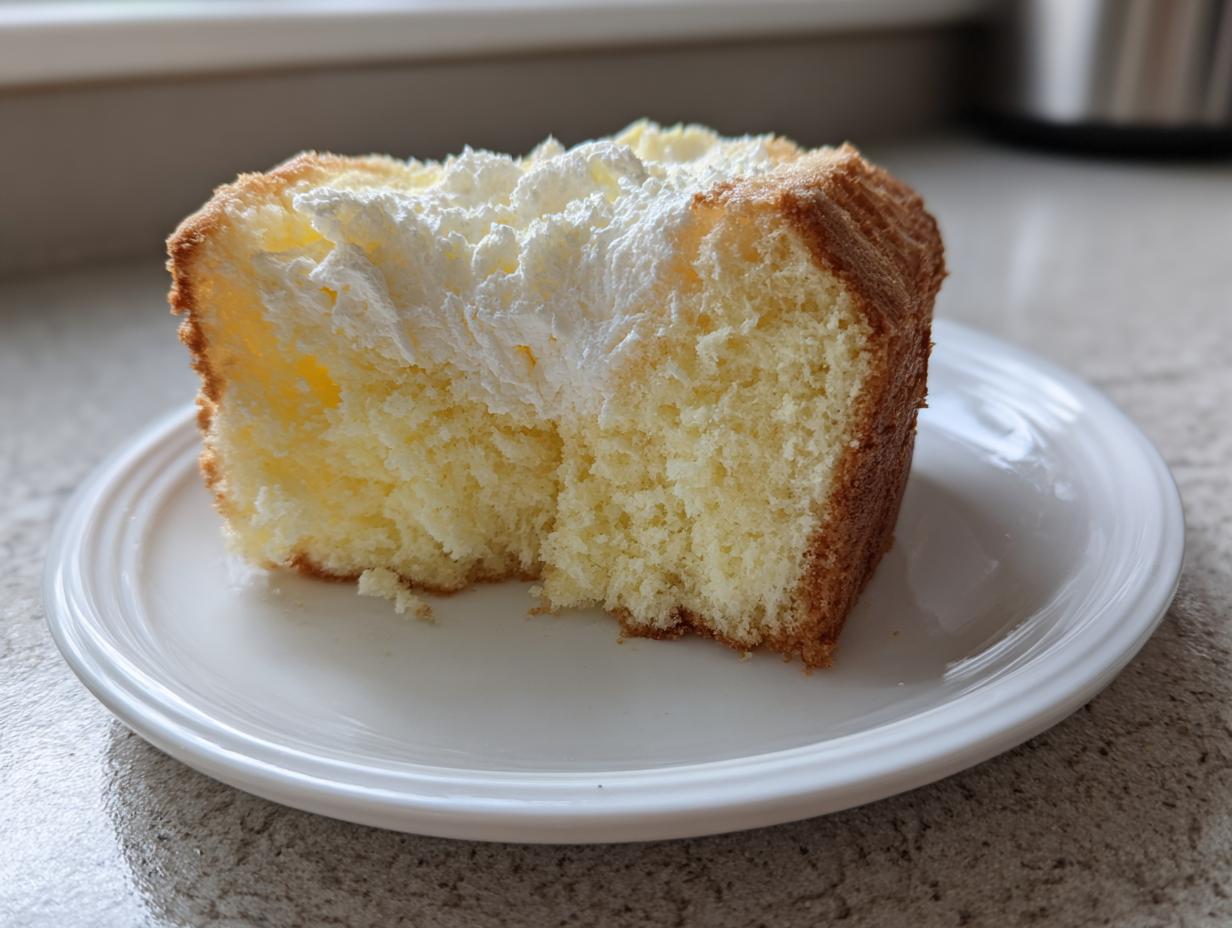
If you’ve ever tried to bake a stunning layered cake only to have them smoosh together into one muddy shade, you know the struggle is real! The absolute genius of the vintage daffodil cake lies in how we use *all* the eggs but keep the whites and yolks totally separate until the very last moment. We are dividing the flour and sugar—some goes into the dense yellow base, and the rest goes into the airy white topping.
This method creates two chemically distinct batters sitting right next to each other in the pan. They bake up beautifully separated, giving you that iconic, cheerful look that’s just perfect for Easter or any celebration.
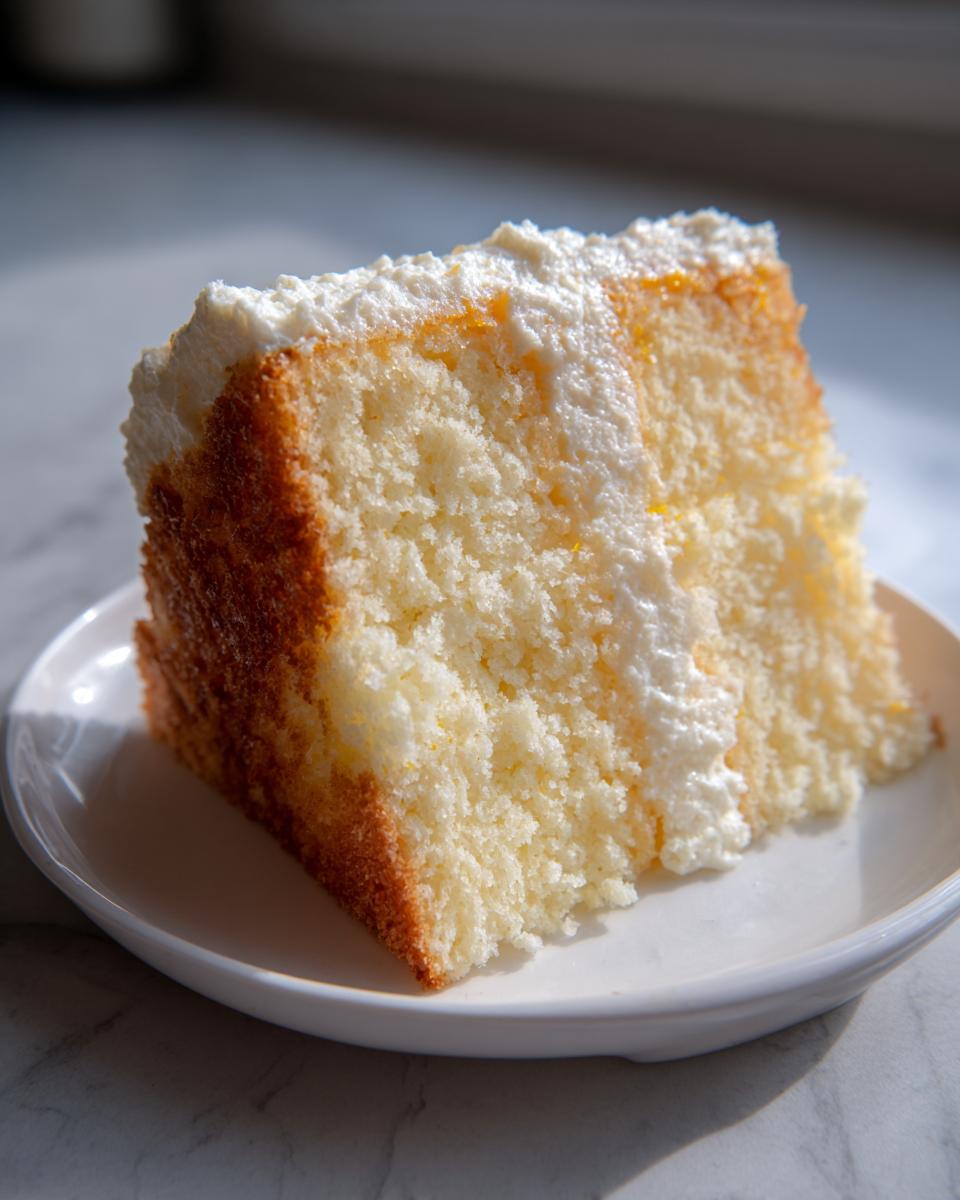
Achieving the Light and Airy Texture of This Daffodil Cake
Wow, is this cake light! That airy quality comes entirely from folding that massive amount of stiffly beaten egg whites into the top layer. The bottom yolk batter is richer, thanks to the oil and yolks, making it heavier. But when that angel food meringue sits on top, it lifts everything up while it bakes!
Because we aren’t relying on chemical leaveners alone—we’re using pure whipped air—the light yellow cake portion becomes tender, and the white part is practically cloud-like. It’s a technical marvel that tastes like Sunday afternoon!
Essential Ingredients for Your Daffodil Cake
Okay, get your mise en place ready, because precision matters here! We need very specific things to make sure those layers stay proud and separate. First up, don’t skip sifting that cake flour; it keeps the texture super fine. We are dividing the sugar, which is key for both batters to achieve their distinct textures.
The secret sauce is really the eggs—you need 1 cup of egg whites, remember they must be at room temperature so they whip up like mountains! And please, make sure you grab the whole milk here; skim milk just won’t give you the right richness for that yellow base. Get those lemons ready for that little touch of zest!
Step-by-Step Instructions for the Daffodil Cake
This is where we put the science to work, friends! Don’t let the separate bowls scare you; if you follow these steps carefully, you’ll have the most amazing angel food cake recipe hybrid ever. Remember to preheat your oven to 325°F and make absolutely sure that 10-inch tube pan is sitting there completely ungreased! That grip is vital for climbing! Once it’s cooled, you can top it with a swirl of glorious vanilla buttercream if you want, but honestly, it shines on its own.
Preparing the Yellow Cake Batter Component
First, we tackle the yellow base. Whisk your sifted cake flour, half the sugar (that’s 3/4 cup!), baking powder, and salt together. Keep that separate for a second. Now, in another little bowl, you’ll whisk the milk, oil, egg yolks, and both extracts. Don’t overthink this part; just combine them well. Then, pour the wet mixture into the dry and mix it until it’s *just* blended. Seriously, stop mixing the second you lose major streaks of flour. We don’t want tough cake!
Creating the Angel Food Batter for the Daffodil Cake
Time for the magic fluff! Grab your biggest, cleanest bowl—any trace of grease will ruin the egg whites, so wipe it down if you need to. Beat your room temperature egg whites and cream of tartar until they get soft peaks. Now, drizzle in the remaining 3/4 cup of sugar, super slowly, a spoonful at a time. Keep mixing until you have those stiff, glossy peaks that stand up perfectly when you pull the whisk out. Gently fold in that little bit of lemon zest right at the end.
Assembling and Baking Your Layered Daffodil Cake
Here’s the architectural moment! Spoon half of that richer yellow batter into the very bottom of the ungreased tube pan. Next comes the main event: gently spoon *all* of your fluffy angel food batter right on top of the yellow layer. Do not mix them! They are meant to be distinct layers. Finally, gently spoon the rest of the yellow batter on top of the angel food. Pop it into the oven for 40 to 45 minutes. When it’s done, immediately flip that pan upside down and let it cool completely, which takes about an hour and a half. If you skip the upside-down cooling, your beautiful cake will collapse!
Tips for a Flawless Daffodil Cake Every Time
This cake demands respect for its specific needs, but once you know the rules, it’s a breeze! My biggest tip for you, my friend, is that oven temperature. You need that lower heat (325°F) so the delicate angel food layer has time to set before the heavier yellow layer sinks too much. It’s all about balance!
Rule number two: the pan integrity is non-negotiable. Do NOT grease your tube pan! I know it feels wrong when every other cake pan begs for butter or spray, but the batter needs those ungreased sides to grip onto as it climbs up high. And seriously, use room-temperature egg whites. Cold whites just won’t incorporate enough air, and that means your cake won’t get that signature lift. Trust me on these small technical details!
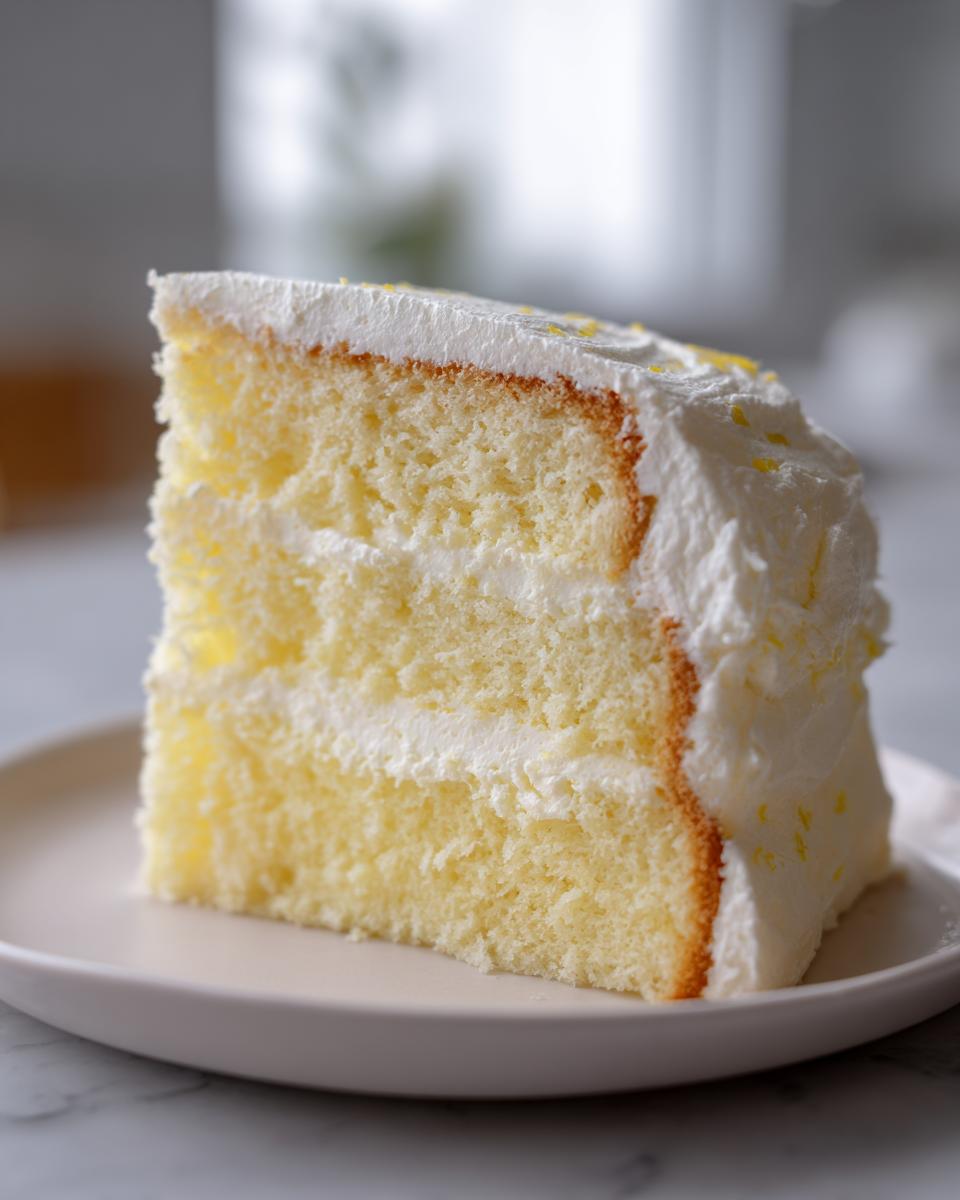
Serving Suggestions for This Spring Dessert Idea
Honestly, the best part of the Daffodil cake is that it’s so naturally pretty, it practically serves itself! For a true vintage feel, just dust it lightly with a little powdered sugar once it’s cooled and released. That lets those yellow and white layers really shine through.
But if you’re looking for something a bit extra for your spring dessert ideas, keep it light. A simple bowl of fresh, slightly macerated berries—strawberries or raspberries—on the side is all you need. If you want a little dollop of something creamy, a homemade cheesecake dip served alongside is divine, but avoid heavy frostings. We want elegance, not weight, for this airy beauty!
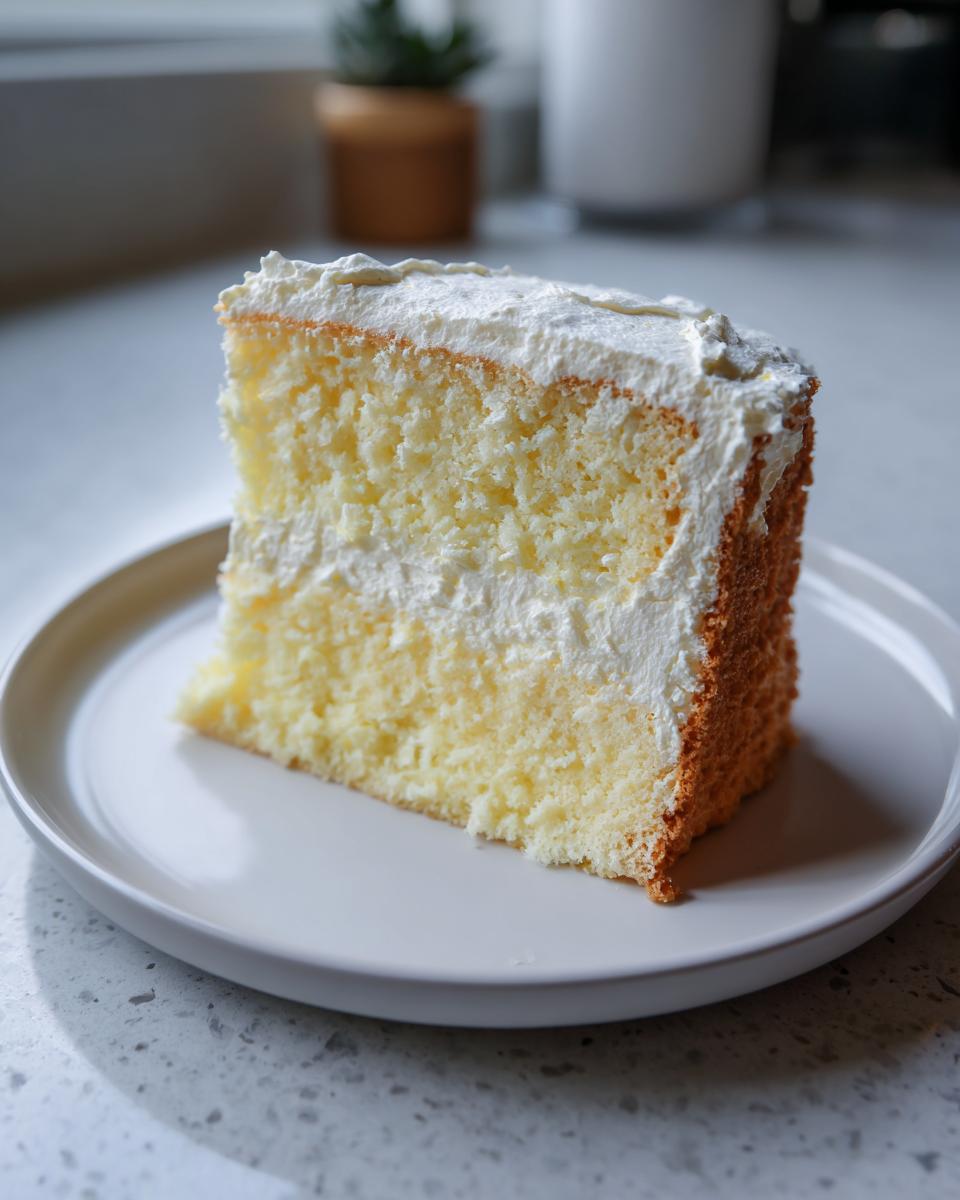
Storing and Keeping Your Light Yellow Cake Fresh
Because this light yellow cake gets its incredible structure from so much whipped air, it really prefers to be eaten right away—like, the same day is best for that peak fluffiness! It can start to deflate slightly the next day, which is totally normal for an angel food hybrid.
If you have leftovers, wrap the slices tightly in plastic wrap and keep them at room temperature for up to two days. Don’t even think about the fridge; cold air hardens the delicate crumb. If you must store it longer, freezing is an option, but honestly, just bake another one. This cake begs to be enjoyed the day it comes out of the beautiful, upside-down cooling position!
Frequently Asked Questions About the Daffodil Cake
I know this layered cake sounds a little fussy because it’s a vintage beauty, but most questions I get are about simple technical checks! Don’t worry if you’re new to the tube pan game; we’ve all been there. I think once you see those layers separate, you’ll be hooked on this technique forever. If you loved learning about this, check out my recipe for the apple dapple cake next!
Can I use a standard round cake pan for this Daffodil cake?
Oh, please don’t try it! The angel food side needs the tall, ungreased sides of the tube pan to climb upwards as it bakes. If you use a standard round pan, the heavy yellow batter will likely overwhelm the light batter, and you’ll end up with one dense, slightly pale cake instead of our beautiful layers. Stick to the tube pan!
What is the best way to tell if my Daffodil cake is done baking?
Since we have two very different batters sitting together, visual cues can trick you slightly. The most reliable test is the skewer in the very center—it should come out clean. Since this is a hybrid, we don’t want moist crumbs like a standard pound cake; we want clean. That lets you know both the yolk and the meringue have set properly before you rush to invert it.
Why is this recipe suitable for World Baking Day recipes?
Because it brings back that wonderful, nostalgic feeling of home baking! World Baking Day recipes should celebrate tradition, impressive visual results without tons of fuss, and reliable technique. This Daffodil cake hits all those notes. It’s a showstopper that proves you don’t need thirty steps to make something truly spectacular and worthy of celebration.
Nutritional Estimates for the Daffodil Cake
Now, I know most of us aren’t baking this stunning cake for its low-calorie count—we are baking it for the joy and the beauty! But since I love precision in the kitchen, I always run the numbers through my calculator just so we know what we’re dealing with. This light yellow cake is surprisingly low in fat because the angel food component uses almost no fat at all, which is one of the blessings of working with egg whites!
For a standard slice (based on 10 servings), you are looking at about 210 calories. Not bad for a centerpiece dessert, right? The bulk of the macros are coming from the carbohydrates, mostly from the sugar we need for that perfect meringue structure.
Here’s the breakdown for one serving, though remember, these are estimates once you account for moisture loss and ingredient variance; they aren’t gospel! The fat content is only about 4 grams per slice because we use oil instead of heavy butter in the yellow portion:
- Calories: 210
- Fat: 4g (1g Saturated)
- Carbohydrates: 40g
- Protein: 5g
- Sugar: 28g
- Cholesterol: 45mg
It’s the perfect light finish to a big spring lunch! If you start adding heavy glazes or whipped cream, those numbers certainly go up, but served plain, it’s wonderfully delicate.
Share Your Vintage Baking Creations
I have poured my heart into translating this magnificent, structured Daffodil cake recipe so you can bring that wow-factor to your very own table. Now that you’ve tried achieving those perfect layers—I really, truly want to hear about it!
Did your layers stay perfectly distinct? Did you use fresh lemon zest, or did you skip it? Don’t be shy! Please take a moment down below to leave a star rating right on the recipe card. Seriously, those ratings help other home cooks feel confident tackling this beautiful angel food cake recipe.
And if you managed to capture the sheer beauty of that yellow and white contrast, I would absolutely love to see it! Tag me on social media when you share photos of your creation—it makes my day to see my kitchen converted into yours. If you want to learn more about the precision behind all these family favorites, you can read all about our mission over on the About Us page. Happy baking, and thank you for trusting me with your kitchen command!
PrintVintage Daffodil Cake: A Light and Airy Layered Angel Food Cake
Create a stunning centerpiece for your Sunday tea with this vintage-inspired angel food cake. It uses both egg whites and yolks to achieve distinct yellow and white layers, resulting in a light and airy texture perfect for spring.
- Prep Time: 20 min
- Cook Time: 45 min
- Total Time: 65 min
- Yield: 10 servings 1x
- Category: Dessert
- Method: Baking
- Cuisine: American
- Diet: Low Fat
Ingredients
- 1 cup cake flour, sifted
- 1 1/2 cups granulated sugar, divided
- 1 1/2 teaspoons baking powder
- 1/2 teaspoon salt
- 1/2 cup whole milk
- 1/4 cup vegetable oil
- 2 large egg yolks
- 1 teaspoon vanilla extract
- 1/2 teaspoon lemon extract
- 1 cup egg whites (about 8 large eggs), room temperature
- 1/2 teaspoon cream of tartar
- 1/4 teaspoon lemon zest
Instructions
- Preheat your oven to 325 degrees F. Do not grease your 10-inch tube pan.
- In a medium bowl, whisk together the sifted cake flour, 3/4 cup of the granulated sugar, baking powder, and salt. Set aside.
- In a small bowl, whisk together the milk, vegetable oil, egg yolks, vanilla extract, and lemon extract until combined.
- Pour the wet ingredients into the dry ingredients and mix until just blended. This is your yellow cake batter.
- In a separate, clean, large bowl, beat the room temperature egg whites and cream of tartar with an electric mixer on medium speed until soft peaks form.
- Gradually add the remaining 3/4 cup of granulated sugar, one tablespoon at a time, beating until stiff, glossy peaks form. Gently fold in the lemon zest. This is your angel food batter.
- Prepare the layers: Gently spoon half of the yellow cake batter into the bottom of the ungreased tube pan.
- Carefully spoon all of the angel food batter over the yellow batter. Do not stir or mix the layers.
- Gently spoon the remaining half of the yellow cake batter over the angel food layer.
- Bake for 40 to 45 minutes, or until a wooden skewer inserted into the center comes out clean.
- Immediately invert the pan onto its cooling feet or over a bottle neck. Let the cake cool completely upside down, about 1.5 hours.
- Once cool, run a thin knife around the edges and center tube to release the cake. Serve plain or with fresh berries.
Notes
- For the best results in achieving distinct layers, ensure your egg whites are at room temperature before whipping.
- Use a tube pan designed for angel food cake; the ungreased sides help the cake climb during baking.
- This cake is best served the day it is made for the lightest texture.
Nutrition
- Serving Size: 1 slice
- Calories: 210
- Sugar: 28g
- Sodium: 150mg
- Fat: 4g
- Saturated Fat: 1g
- Unsaturated Fat: 3g
- Trans Fat: 0g
- Carbohydrates: 40g
- Fiber: 0.5g
- Protein: 5g
- Cholesterol: 45mg