
The holidays just hit different when you bring out a dessert that tastes like pure, delicious memory, don’t you think? This year, there’s one showstopper everyone is buzzing about, and I totally get why—who wouldn’t want a massive slice of nostalgia? We’re diving into the ultimate festive bake: the Creamy Little Debbie Christmas Tree Cheesecake. Here at Cookery Command, we always honor those timeless American treats, and believe me, I took this trending christmas tree cheesecake recipe and tested it until it was absolutely perfect. This version delivers that comforting, traditional flavor you crave, but with a wonderfully creamy, modern cheesecake texture that makes it party ready. You can read more about our kitchen philosophy over on our About Us page, but for now, let’s make some magic.
- Why This Little Debbie Christmas Tree Cheesecake Recipe Works for Your Holiday Table
- Gathering Ingredients for Your Christmas Tree Cheesecake Recipe
- Step-by-Step Instructions for the Best Christmas Cheesecake
- Ingredient Notes and Substitutions for Your Seasonal Cheesecake
- Tips for Success When Making a Christmas Tree Cheesecake
- Serving Suggestions for This Festive Dessert Recipe
- Storage and Reheating for Your Indulgent Christmas Sweets
- Frequently Asked Questions About This Nostalgic Holiday Treat
- Share Your Festive Dessert Recipes Experience
- Share Your Festive Dessert Recipes Experience
Why This Little Debbie Christmas Tree Cheesecake Recipe Works for Your Holiday Table
Honestly, this isn’t just another dessert; it’s a holiday superstar in the making. The combination of creamy, homemade decadence with a recognizable childhood favorite is exactly what makes this christmas tree cheesecake so special. It checks all the boxes for an easy yet amazing centerpiece!
- It hits that sweet spot of nostalgia. Who doesn’t light up when they see a Little Debbie cake? Baking them right into the filling makes it totally unique and comforting.
- It looks incredibly fancy once it sets up, but you skip so much work thanks to the pre-made cakes we tuck inside. It’s a major win for presentation!
Nostalgic Flavor Meets Creamy Texture
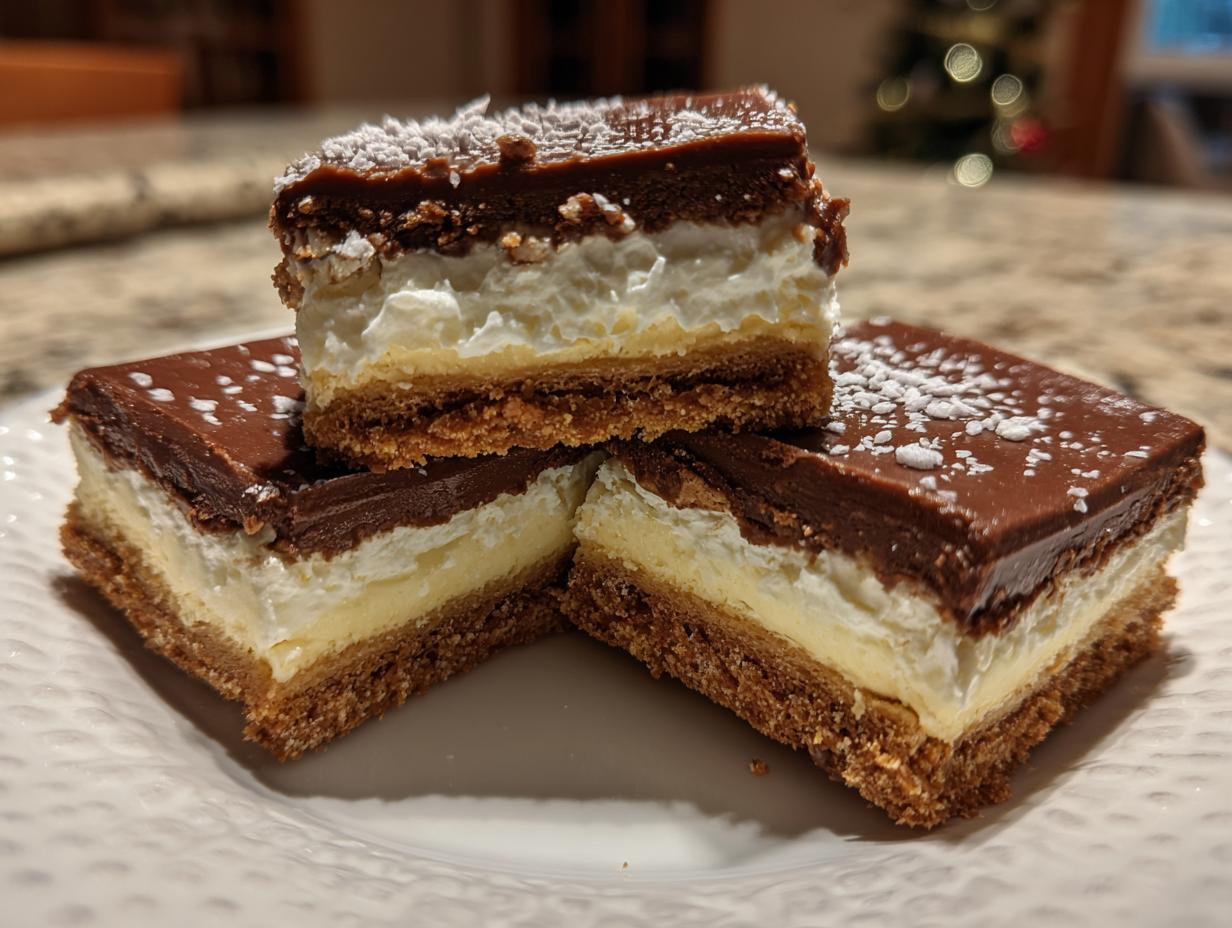
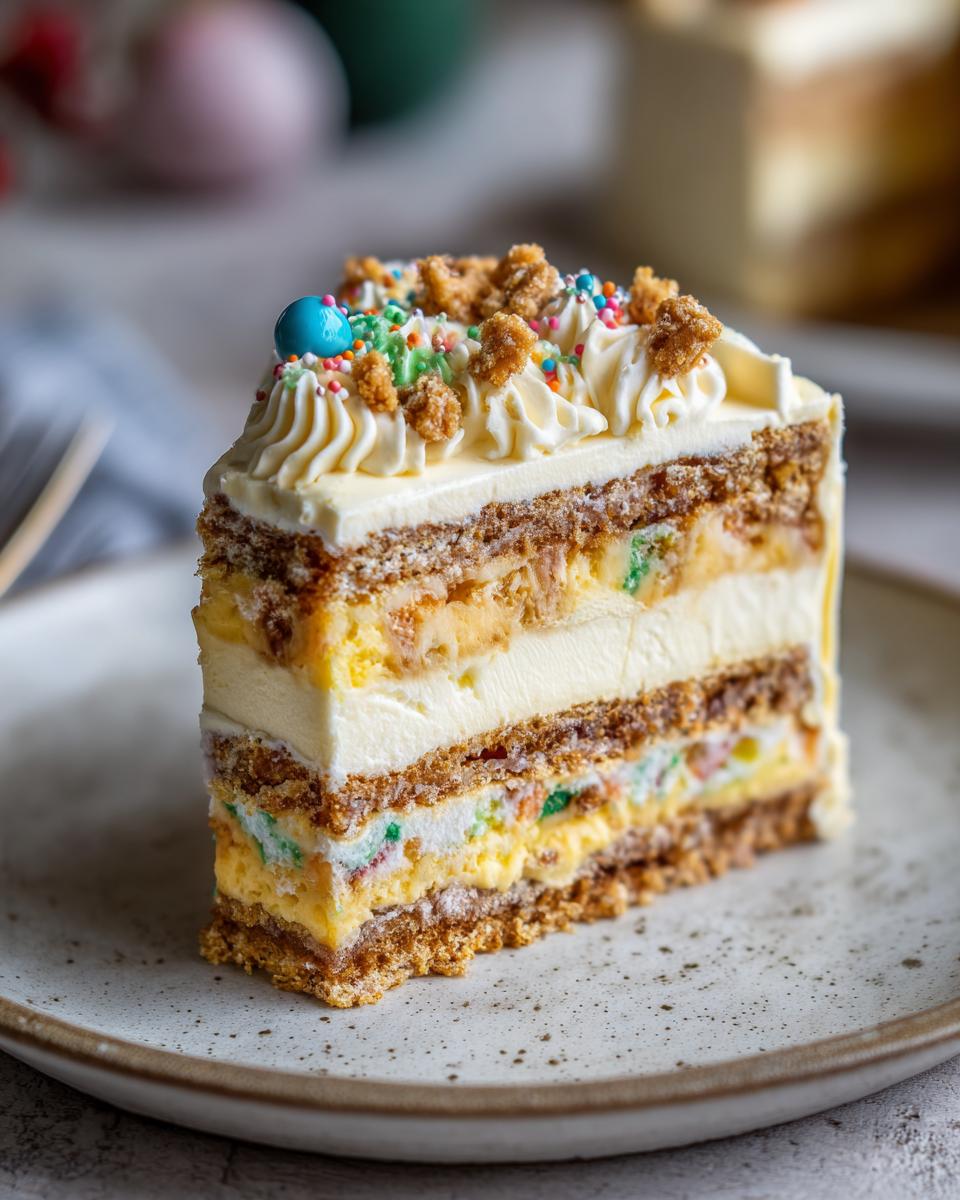
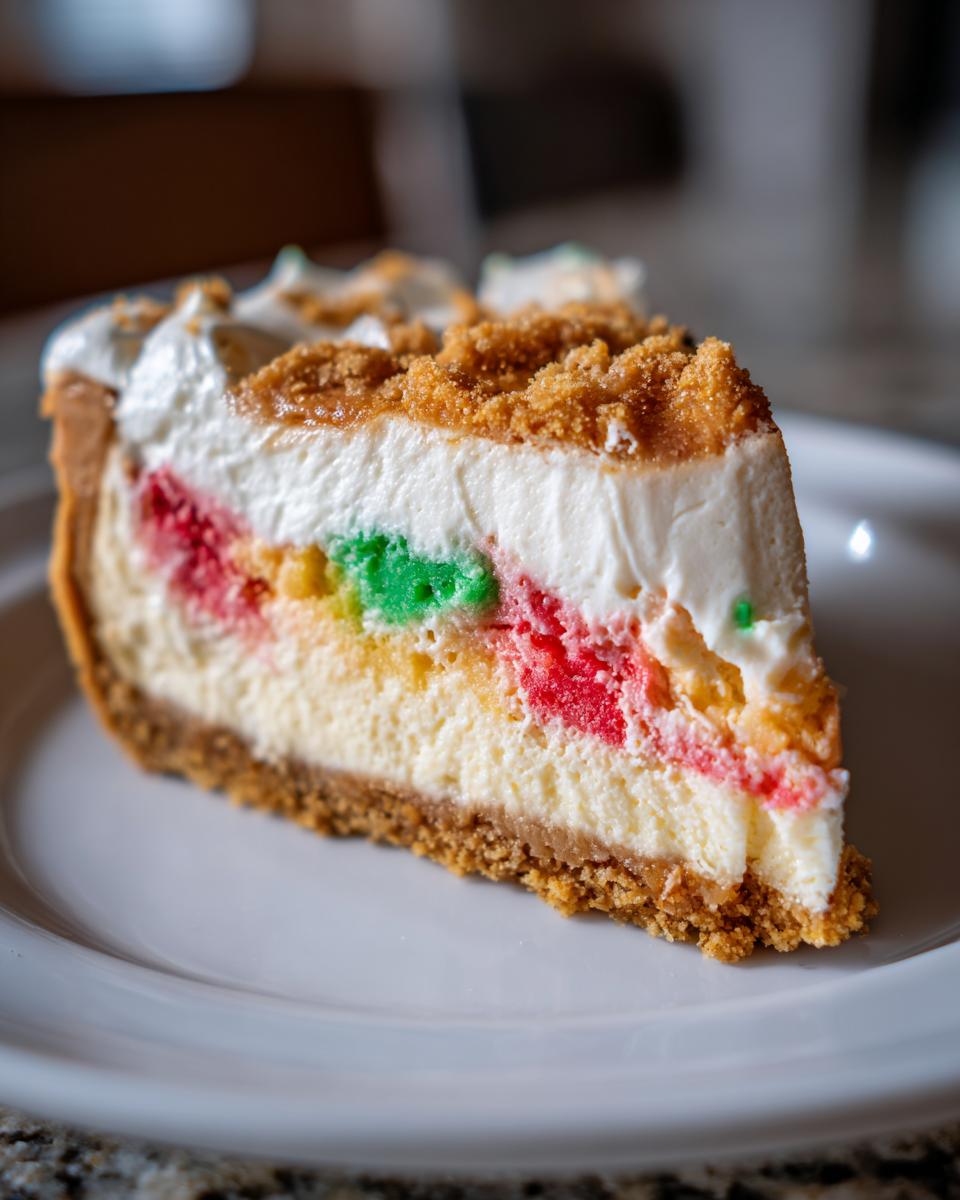
The best part, seriously, is cutting into it. You get that incredibly smooth, rich vanilla cheesecake base, and then BAM!—you find layers of those iconic, spongy little trees. The frosting and the cake inside soften just enough during baking to become part of the filling. It’s a surprisingly elegant blend, even though it uses such a fun, quirky ingredient. Trust me, this flavor profile is addicting.
Simple Steps for a Showstopping Christmas Tree Cheesecake
Don’t let the ‘cheesecake’ part scare you off; this is surprisingly approachable, truly one of the easiest Christmas desserts you can make. While you do have that 50-minute bake time, the real work is patient chilling! You definitely put in less hands-on time than you would for a fully decorated cake, but the payoff is huge. It’s party ready with minimal fuss!
Gathering Ingredients for Your Christmas Tree Cheesecake Recipe
Okay, let’s talk supplies. Having everything ready, especially when it comes to a creamy holiday dessert, is half the battle won! Cheesecake mixtures are famously fussy if you try to beat cold ingredients together. So, here’s my biggest E-E-A-T tip right up front: make sure that cream cheese and those eggs have been sitting out on the counter for at least an hour. Room temperature ingredients blend into that silky smooth texture we are aiming for, and you avoid those annoying little lumps! Once your ingredients are ready, gathering them is straightforward for this fantastic sugar cookie icing technique-level dessert.
Crust Components for the Graham Cracker Crust Dessert
For the base layer that holds everything together, you’ll need: 1 1/2 cups graham cracker crumbs, 1/2 cup granulated sugar, and 1/2 cup (1 stick) unsalted butter, melted.
The Creamy Holiday Dessert Filling Ingredients
For the main, luscious part of your Christmas Tree Cheesecake Recipe, grab: Two packages (8 oz each) cream cheese, softened, 1 1/2 cups granulated sugar, 1 teaspoon vanilla extract, 1/4 teaspoon salt, and 4 large eggs, room temperature.
Specialty Items for the Christmas Tree Cheesecake
This is where the fun comes in for this nostalgic holiday treat! You must have one package (about 10 to 12 cakes) of Little Debbie Christmas Tree Cakes. And just in case you want a little extra bling on top of your finished slice, have 1/2 cup of white chocolate chips ready for melting.
Step-by-Step Instructions for the Best Christmas Cheesecake
Alright, you’ve got your room-temperature ingredients, so now we go into action! Making this Christmas Tree Cheesecake Recipe look impressive is actually much simpler than the result suggests. My goal here, adhering to our commitment to reliable technique, is to keep mixing simple so we don’t whip in too much air, which causes cracking later. We’re following the process precisely to get that perfect, creamy texture. Keep your mixer on low speed once the eggs come into play—patience here really pays off when you’re making a classic baked cheesecake!
Preparing and Baking the Crust
First things first, preheat that oven to 325 degrees Fahrenheit and get your 9-inch springform pan greased up. For the crust, just mix those graham cracker crumbs, the 1/2 cup of sugar, and your melted butter until it all looks like wet sand. Press that mixture firmly and evenly into the bottom of the pan—press it down hard, we want a solid foundation! Pop that in the oven to bake for 10 minutes. Once it’s done its short stint, pull it out and let it cool down just a little bit while you whip up the filling.
Mixing the Smooth Vanilla Cheesecake Filling
Grab that softened cream cheese and treat it right! Beat it by itself until it’s completely smooth—no lumps allowed! Then, slowly add your 1 1/2 cups of sugar, the vanilla extract, and the salt, mixing until everything is just incorporated. Now, the eggs go in one by one. This is important: mix on low speed *just* until each egg disappears into the batter. If you overmix once the eggs are in, you’re adding air, and we’re flirting with disaster later, so stop mixing as soon as they’re combined!
Assembling and Baking Your Christmas Tree Cheesecake
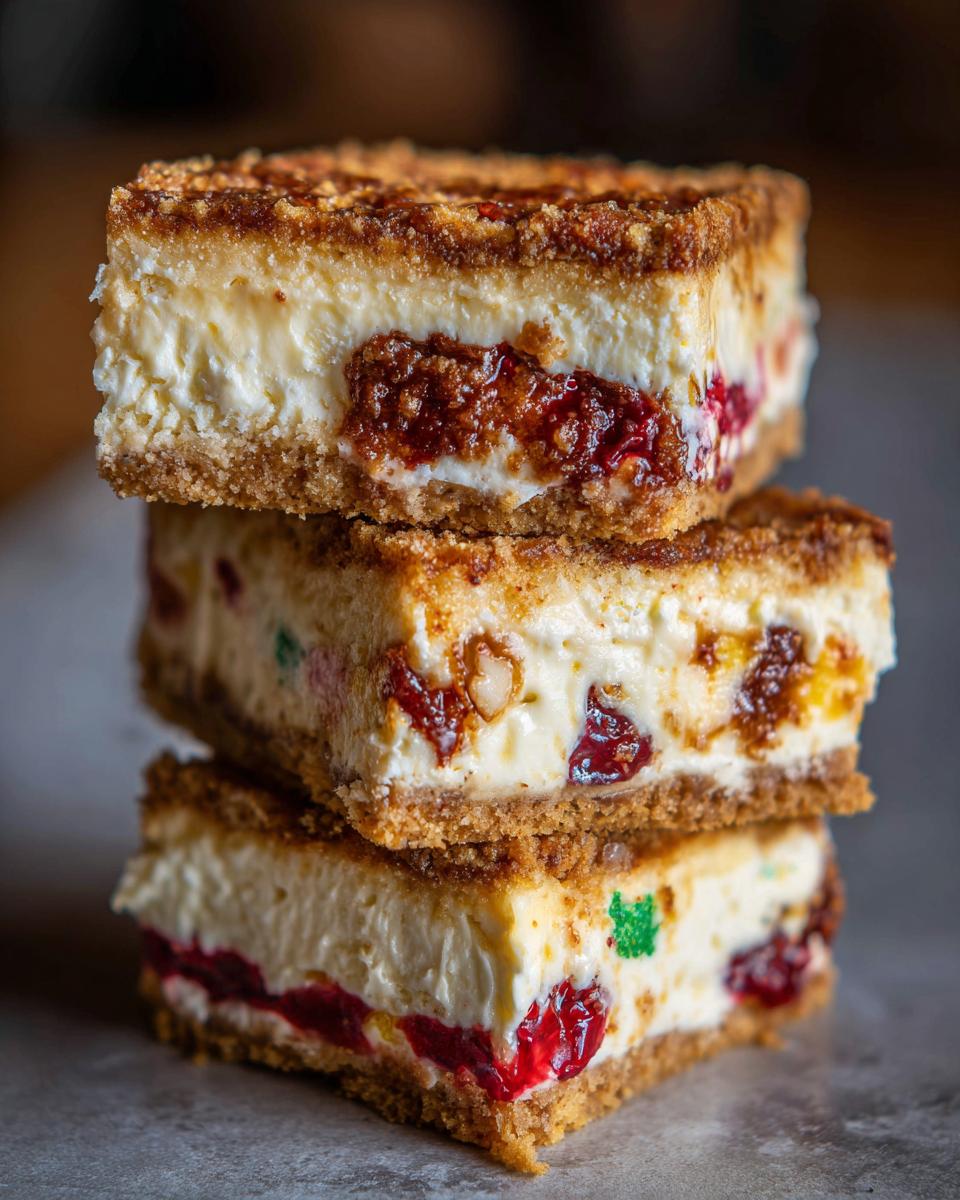
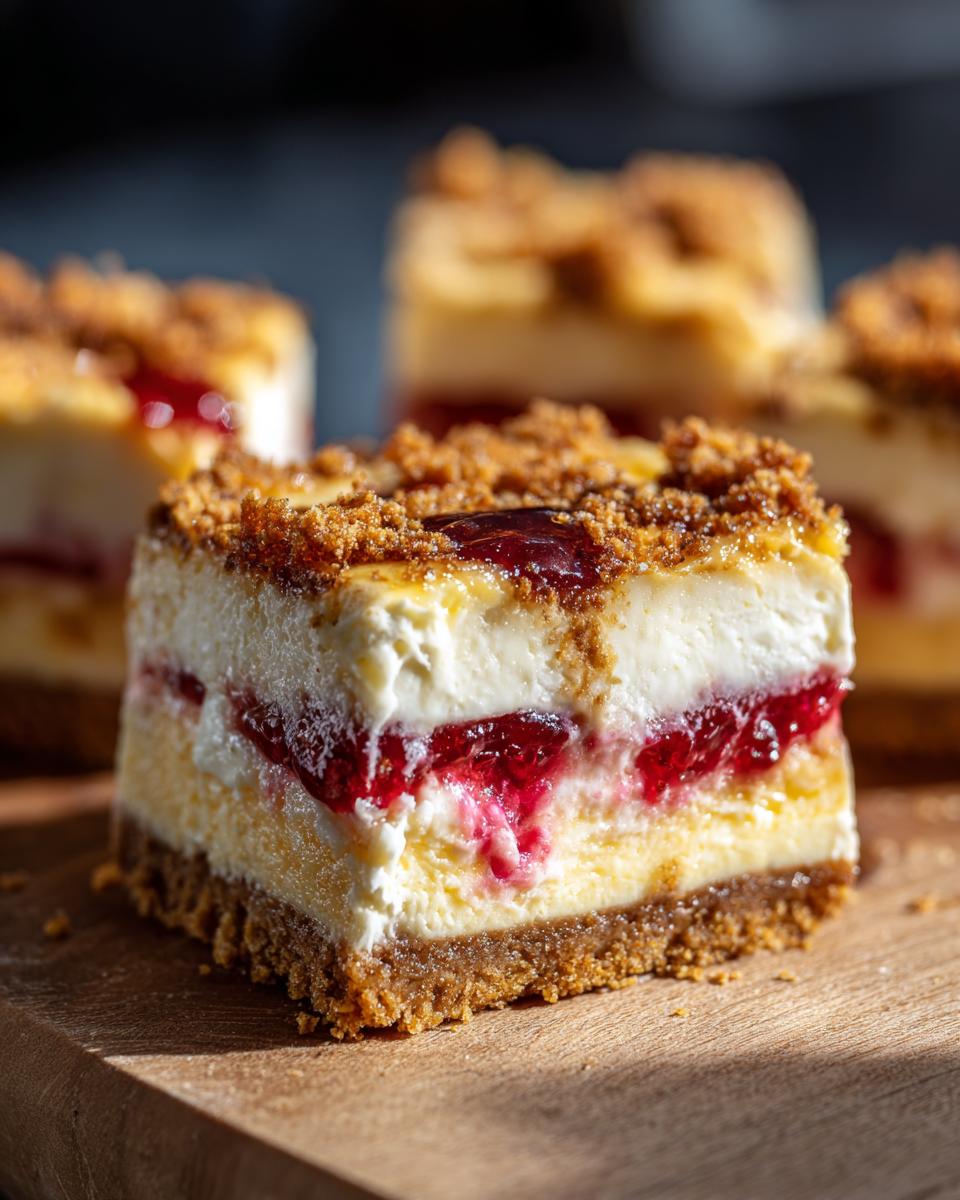
Time to layer this beauty! Pour half of that gorgeous vanilla filling right over your slightly cooled crust. Now, take those Little Debbie Christmas Tree Cakes and arrange them in a single layer over that first layer of filling. Gently press them down so they’re submerged, then pour the remaining filling evenly over the top to completely cover those festive treats. Bake this stunner for 50 to 60 minutes. You’re looking for the edges of the cheesecake to look set, but the very center should still have a little gentle wiggle—that slight jiggle means it’s perfect.
Crucial Cooling and Chilling for a Creamy Holiday Dessert
This is the secret weapon for a crack-free top, which keeps your Christmas Tree Cheesecake looking like it belongs on a magazine cover! Once the baking time is up, turn the oven off completely. Wedge a wooden spoon in the door so it props open just a tiny bit. Let the cheesecake hang out in that warm, gradually cooling oven for a full hour. After that hour, take it out and let it finish cooling completely on the counter. Then, cover it up and get it into the fridge for a minimum of 6 hours, but honestly, overnight is best for slicing this rich, decadent dessert to perfection.
Ingredient Notes and Substitutions for Your Seasonal Cheesecake
You know how much I hate wasting ingredients or having a recipe fail because one thing wasn’t available? I’ve looked closely at the original notes for this recipe, and I want to share the ways you can adjust things while keeping that high standard of quality we expect from a great Christmas Tree Cheesecake Recipe.
The goal of these little tweaks is just to make sure you can still deliver an amazing, no bake cheesecake holiday treat, even if you have to make a last-minute swap. Don’t worry, these tested alternatives keep the spirit of this nostalgic bake alive!
Creating a No Bake Holiday Cheesecake Option
If you’ve had an oven jam or just really prefer a no-bake option for your holiday cheesecake ideas, there’s a simple fix! You swap out those four eggs entirely. Instead, you’ll use 1 cup of heavy whipping cream. You need to whip that cream until it forms stiff peaks—just like you’re making whipped topping—and then gently fold it into your finished cream cheese mixture. Skip the oven entirely, cover the pan, and make sure it chills for a minimum of 8 hours. That extended chill time is vital so it sets up firmly!
Alternative Crusts and Cake Fillings
Part of mastering any good festive dessert recipe is knowing your substitutions. If you decide you don’t want the traditional graham cracker crust, try this: swap those crumbs for Golden Oreo crumbs. They provide an even richer, buttery flavor that pairs wonderfully with the vanilla filling. And if, gosh forbid, you can’t find the beloved Little Debbie Christmas Tree Cakes, don’t panic! You can substitute those with vanilla wafers or even small vanilla sandwich cookies. It won’t be *exactly* the same, but it keeps the structure and the sweet vanilla profile intact for your ultimate party ready cheesecake.
Tips for Success When Making a Christmas Tree Cheesecake
Listen, cheesecake can sometimes feel like it has a mind of its own, can’t it? But I’ve learned a few tricks over the years that make preparing a baked dessert like this Christmas Tree Cheesecake completely foolproof. Follow these short rules, and you’ll get that professional, smooth finish every single time!
First, let’s talk about the texture of those Little Debbie Cakes inside. When you place them in the filling, make absolutely certain they are completely covered by the batter. If any part of the cake sits above the cheesecake mix, that exposed section can dry out or even burn slightly during the baking process, leaving you with a weird texture contrast. We want seamless, creamy merging!
Next up: the oven door. I know it’s tough to wait when the timer dings, but that *slow* cool-down we talked about is non-negotiable. Sudden temperature drops make cheesecake contract too fast, which causes those unsightly cracks on the surface. Keep that door propped open for that full hour; it mimics the gentle environment of a professional setting and keeps your top smooth. For more reliable results when baking cookies—another favorite of mine—check out my tips for making the best chewy chocolate chip cookies, as many of those temperature principles carry over!
Finally, and this is a big one for any indulgent Christmas sweets: only mix the eggs on low speed until they are just combined. If you whip them too vigorously, you introduce air bubbles that expand rapidly in the heat of the oven. No matter how much you slow-cool it afterward, those bubbles are trapped and will eventually collapse, leading to cracks or a lighter, fluffier texture than the rich density this recipe promises. Keep it low, keep it slow, and you’ll have the best slice of holiday heaven!
Serving Suggestions for This Festive Dessert Recipe
Once your Christmas Tree Cheesecake has chilled overnight, it’s time to shine! The presentation is the grand finale for this showstopper. Before slicing, melt those optional white chocolate chips and drizzle them artistically across the top. Don’t just stop there, though! A light sprinkle of festive red and green sanding sugar over the white chocolate mimics little ornaments on a tree. It looks so elegant, nobody will guess the secret ingredient hidden inside!
For pairing, this rich seasonal cheesecake is wonderful with a strong, black coffee to cut through the sweetness, or perhaps a sparkling cranberry drink if you’re serving it after dinner. If you’re looking for a side dish that balances the richness, you might love the savory touch of my honey butter skillet corn—though maybe save that for another day!
Storage and Reheating for Your Indulgent Christmas Sweets
Now, this is the good part—having leftovers! Seriously, I think this Christmas Tree Cheesecake tastes even better the second day once all those flavors have really settled down together. Since this is a true cream cheese baby, storage is super straightforward, but you have to respect the cool requirement!
Once it’s completely chilled and you’ve cut only a few slices, cover the springform pan tightly with plastic wrap or aluminum foil. You want to prevent it from drying out or absorbing any funky fridge smells. Keep it tucked away in the main part of the refrigerator. It holds up beautifully for a good 4 to 5 days. That means you can absolutely make this ahead of time, which is a lifesaver during the busy weeks before Christmas!
When it comes to reheating, forget about it! Cheesecake does not like heat once it’s set. If you try to warm up a slice, you risk melting the filling into a soupy mess rather than getting a creamy texture back. If you happen to have cheesecake leftovers that you know you won’t finish within five days, you can freeze it! Wrap each individual slice very tightly in plastic wrap first, and then wrap that again in foil. You can keep it frozen for about a month, maybe a little longer, wrapped up tight like that. When you’re ready to serve a frozen slice, just let it thaw slowly overnight in the refrigerator. It thaws beautifully and tastes just as amazing as when you first made it!
Frequently Asked Questions About This Nostalgic Holiday Treat
I know you’ve got questions! When you have an amazing Christmas baking project that’s meant to impress, you want to be totally prepared. Dealing with a baked cheesecake can feel a little intimidating, but don’t worry, we’ve covered all the bases so this turns out to be one of your absolute favorite holiday cheesecake ideas!
Can I make the Little Debbie Christmas Tree Cheesecake ahead of time?
Oh, please do! If you want this to be a stress-free party ready cheesecake, making it ahead is the way to go. Since it needs that full 6 to 8 hours (or overnight) in the fridge to get that perfect texture, baking it the day before serving is ideal. It means you can focus on everything else on Christmas Day, and you’ll find that the vanilla flavor deepens beautifully overnight, making it taste even richer when you pull it out to serve!
How do I prevent my christmas tree cheesecake from cracking during baking?
This is the million-dollar question, isn’t it? The two most crucial things we talked about are what keep the surface looking flawless. First, ensure all your dairy ingredients—the cream cheese specifically—are perfectly room temperature. Cold chunks lead to aggressive mixing, which brings in air bubbles. Second, and this is vital, follow the cooling process exactly: turn the oven off, prop the door open slightly, and let it sit in there for one full hour before you ever bring it out to the counter. That gentle transition is the secret to keeping your top smooth and crack-free!
What is the best way to slice a chilled cheesecake cleanly?
You’ve put in all that effort, you don’t want messy slices ruining the aesthetic! The trick for getting those beautiful, clean wedge slices is heat. Fill a tall glass with very hot water—the hotter the better. Dip a very sharp, thin knife into the hot water, wipe the blade completely dry with a clean towel, and then make one clean, steady cut. Dip, wipe, cut. Repeat this for every single slice. The hot blade melts the edges of the filling just enough to slice through without dragging or tearing the creamy layers. It works like magic every time!
Share Your Festive Dessert Recipes Experience
I truly hope this recipe brings some extra joy and that wonderful feeling of sweet childhood nostalgia to your kitchen this holiday season. Seeing you make these recipes is the absolute best part of being here at Cookery Command! Once you’ve enjoyed a slice of this amazing Christmas Tree Cheesecake, please come back, drop a rating below, and let me know how your guests reacted to this unique festive dessert recipe! If you snap a photo of your creamy creation, tag us—I live for seeing your successes!
PrintCreamy Little Debbie Christmas Tree Cheesecake

Make this nostalgic holiday dessert featuring a buttery crust, creamy vanilla filling, and iconic Little Debbie Christmas Tree Cakes baked inside. This recipe delivers an indulgent, festive treat perfect for your Christmas party.
- Prep Time: 20 min
- Cook Time: 60 min
- Total Time: 7 hours 20 min
- Yield: 12 servings 1x
- Category: Dessert
- Method: Baking
- Cuisine: American
- Diet: Vegetarian
Ingredients
- 1 1/2 cups graham cracker crumbs
- 1/2 cup granulated sugar
- 1/2 cup (1 stick) unsalted butter, melted
- 2 packages (8 oz each) cream cheese, softened
- 1 1/2 cups granulated sugar
- 1 teaspoon vanilla extract
- 1/4 teaspoon salt
- 4 large eggs, room temperature
- 1 package (5.1 oz) Little Debbie Christmas Tree Cakes (about 10–12 cakes)
- 1/2 cup white chocolate chips (optional, for topping)
Instructions
- Preheat your oven to 325 degrees Fahrenheit. Lightly grease a 9-inch springform pan.
- Prepare the crust: Combine the graham cracker crumbs, 1/2 cup sugar, and melted butter in a bowl. Press the mixture firmly and evenly into the bottom of the prepared springform pan. Bake the crust for 10 minutes. Remove from the oven and let it cool slightly.
- Prepare the filling: In a large bowl, use an electric mixer to beat the softened cream cheese until smooth. Gradually add the 1 1/2 cups sugar, vanilla extract, and salt. Beat until fully combined and creamy.
- Add the eggs one at a time, mixing on low speed after each addition until just incorporated. Do not overmix the batter once the eggs are added.
- Assemble the cheesecake: Pour half of the cream cheese filling over the cooled crust. Arrange the Little Debbie Christmas Tree Cakes in a single layer over the filling. Gently press them down slightly.
- Pour the remaining cream cheese filling evenly over the cakes, making sure the cakes are covered.
- Bake the cheesecake for 50 to 60 minutes, or until the edges are set and the center has a slight jiggle.
- Turn off the oven, prop the door open slightly, and let the cheesecake cool inside the oven for 1 hour. This prevents cracking.
- Remove the cheesecake from the oven and let it cool completely on a wire rack.
- Once cool, cover the pan and refrigerate the cheesecake for at least 6 hours, or preferably overnight, before serving.
- Optional topping: Melt the white chocolate chips and drizzle over the chilled cheesecake before slicing and serving.
Notes
- For a no-bake version, substitute the eggs with 1 cup of heavy whipping cream whipped to stiff peaks and fold it into the cream cheese mixture. Chill for 8 hours.
- Use Golden Oreo crumbs instead of graham cracker crumbs for a different crust flavor.
- If you cannot find Little Debbie Christmas Tree Cakes, use vanilla wafers or vanilla sandwich cookies as a substitute.
Nutrition
- Serving Size: 1 slice
- Calories: 450
- Sugar: 45
- Sodium: 300
- Fat: 28
- Saturated Fat: 17
- Unsaturated Fat: 5
- Trans Fat: 0.5
- Carbohydrates: 48
- Fiber: 1
- Protein: 6
- Cholesterol: 110