
Has that sudden, urgent sweet craving hit you, and you need a fix right this second? I totally get it. That’s why I’m bringing you the ultimate 5-minute, no-churn creamy banana ice cream recipe. Wait—no machine? Yep, you heard me right! This frozen banana dessert transforms right before your eyes from frozen chunks to pure magic. Here at Cookery Command, we know how important it is to feel confident in the kitchen, and I, Emily Harrison, have seen firsthand in professional test kitchens how simple ingredients can create perfection. This simple delight is the definition of quick and delicious, kind of like our no-bake Oreo pie, but chilled instead of baked. It truly is the best summer treat.

- Why This 5-Minute Banana Ice Cream Recipe Commands Your Kitchen
- Ingredients for Your Easy Banana Ice Cream
- How to Make Homemade Banana Ice Cream Step-by-Step
- Expert Tips for Perfect Creamy Banana Ice Cream Variations
- Storage and Enjoying Your Banana Ice Cream
- Frequently Asked Questions About Banana Nice Cream
- Nutritional Estimates for Guilt Free Banana Ice Cream
- Share Your Homemade Banana Ice Cream Creations
Why This 5-Minute Banana Ice Cream Recipe Commands Your Kitchen
This isn’t just another dessert; it’s a total game-changer for those times you need something delightful immediately. We’re talking about a no ice cream machine dessert that delivers on texture every single time. Forget waiting hours for churns or dealing with complicated steps; this recipe saves dessert time! We’ve taken my years of experience developing recipes and distilled it down to pure, simple satisfaction for you. It’s a fantastic example that a quick fix doesn’t mean sacrificing flavor, much like our protein balls for a healthier snack boost.
- It’s incredibly fast—truly ready in about five minutes of active blending.
- It’s naturally sweet, so it falls into the quick dessert recipes category without any guilt.
- It’s versatile! It’s inherently vegan and dairy-free, but you can easily dress it up.
The secret to making this amazing frozen treat so dependable is understanding just how the bananas break down.
Achieving Truly Creamy Banana Ice Cream Texture
Listen, the number one complaint about homemade healthy ice cream is that it ends up icy or grainy. Not here! That creamy banana ice cream texture comes entirely from using bananas that are perfectly ripe—seriously spotty brown ones work best—because they have the highest sugar content and softest flesh. When they freeze, those high sugars prevent large ice crystals from forming. When blended in a powerful machine, the structure breaks down into microscopic particles that mimic the mouthfeel of actual dairy ice cream. It’s science, but it tastes like happiness!
Ingredients for Your Easy Banana Ice Cream
You won’t believe how few things you need for this! I always keep a bag of frozen banana coins waiting for an emergency sweet craving. Make sure those bananas are totally spotty before you slice and freeze them—that extra ripeness is our little secret for the best flavor, just like we rely on ripe fruit for those ultimate fluffy pancakes.
Here’s the exact lineup:
- 4 large bananas, you need them peeled and sliced first.
- 1/4 cup milk—I use plain almond milk if I’m keeping it vegan, but whatever you have works!
- 1 teaspoon of good vanilla extract.
- If your bananas weren’t super sweet, feel free to add 1 tablespoon of maple syrup or honey; it’s totally optional!
How to Make Homemade Banana Ice Cream Step-by-Step
Okay, let’s get down to business! Making this homemade banana ice cream is incredibly simple, but the magic relies on following the steps in the right sequence. Trust me, you want to be patient during the blending part because that’s where the texture surprises you. It goes through some awkward stages before it becomes perfect, so hang in there! The process is so dependent on good equipment, which is why I always recommend a solid working setup, similar to what you’d need when whipping up creamy garlic aioli.
Freezing Bananas: The Key First Step
You cannot skip the freezing! The bananas need to be solid, not chilly. That means slicing your ripe bananas into coins—about half an inch thick—and spreading them out on a baking sheet lined with parchment paper. We do this so they don’t stick together in one giant frozen clump. They need a minimum of four hours tucked away in the freezer, but honestly, leaving them overnight is better for guaranteed rock-solid results.
Achieving Soft Serve Consistency with Your Banana Ice Cream
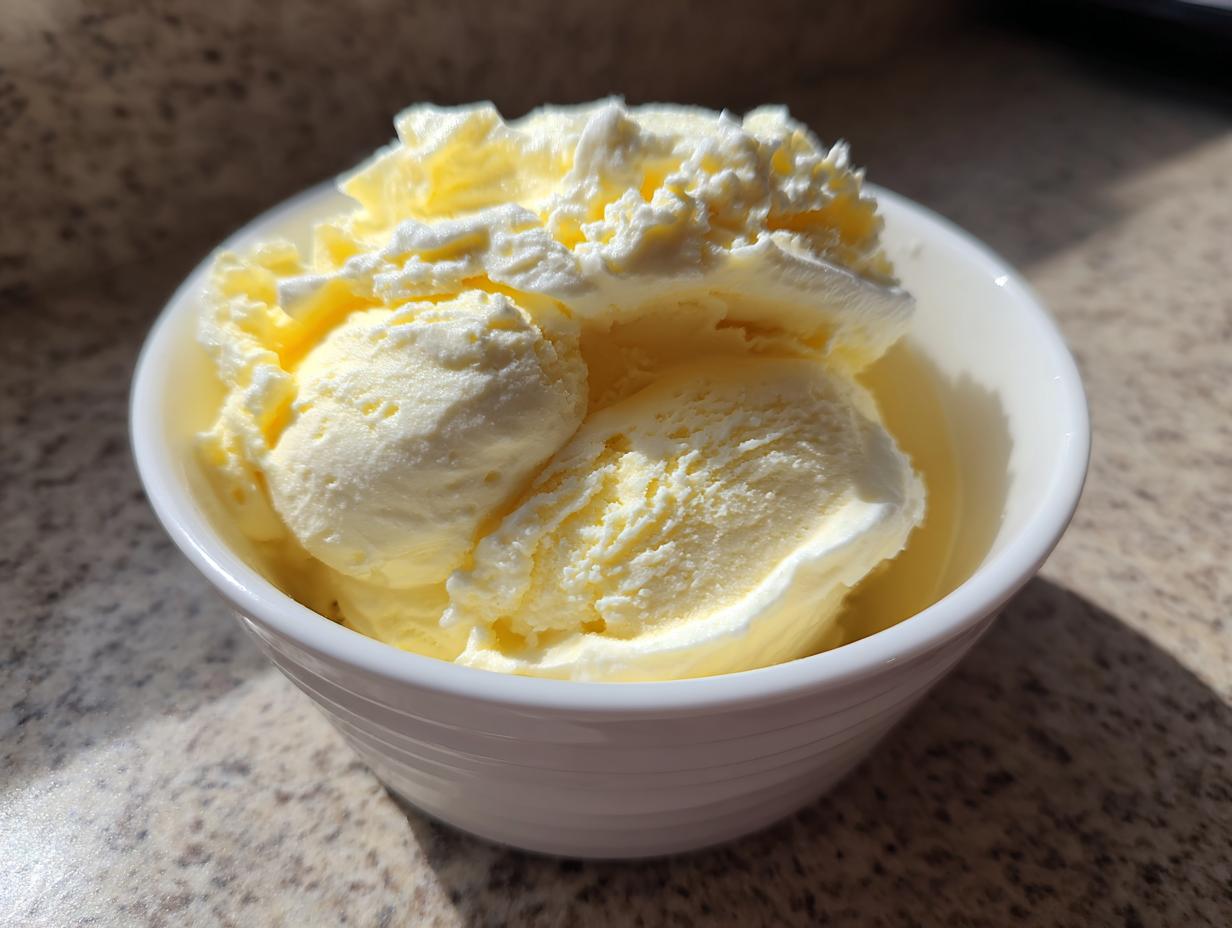
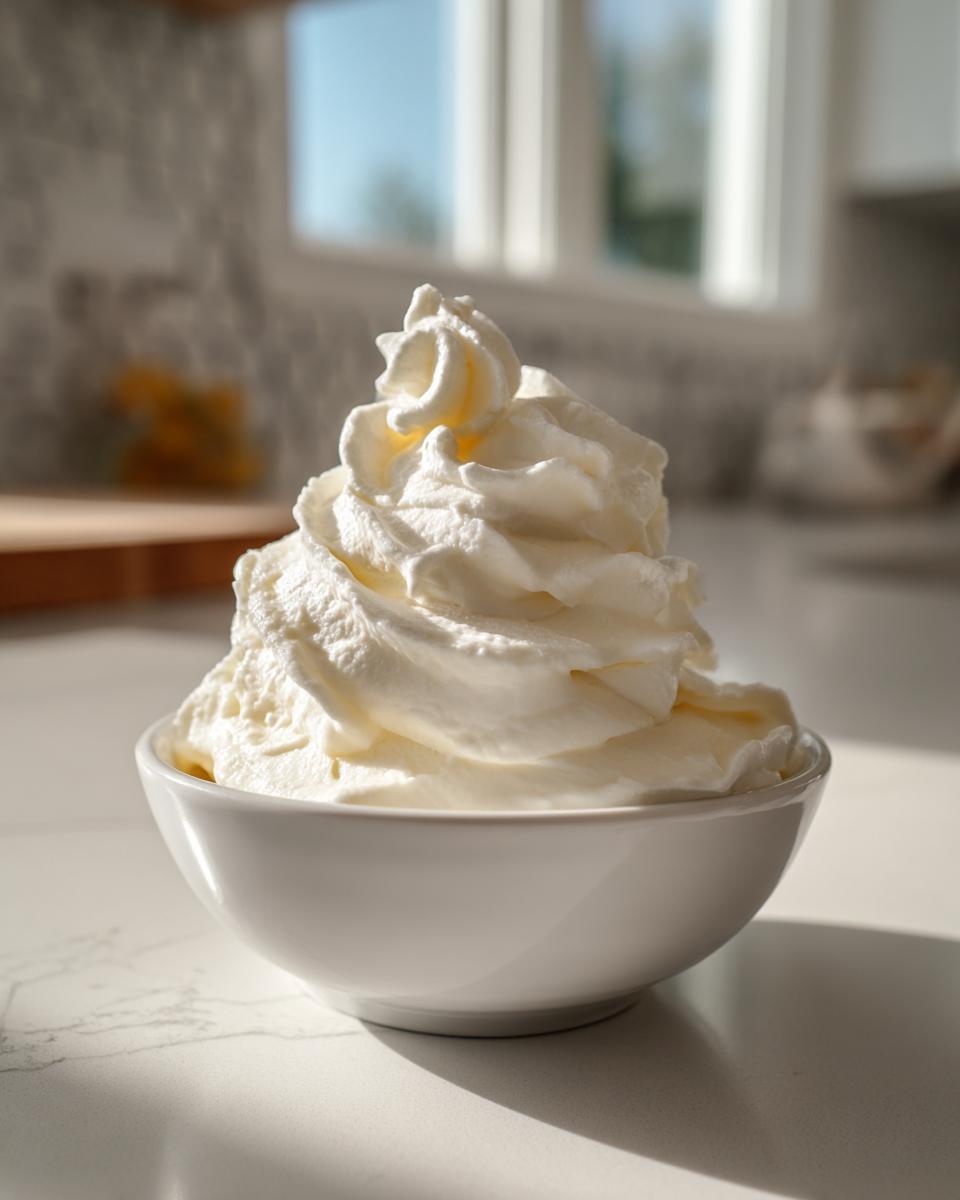
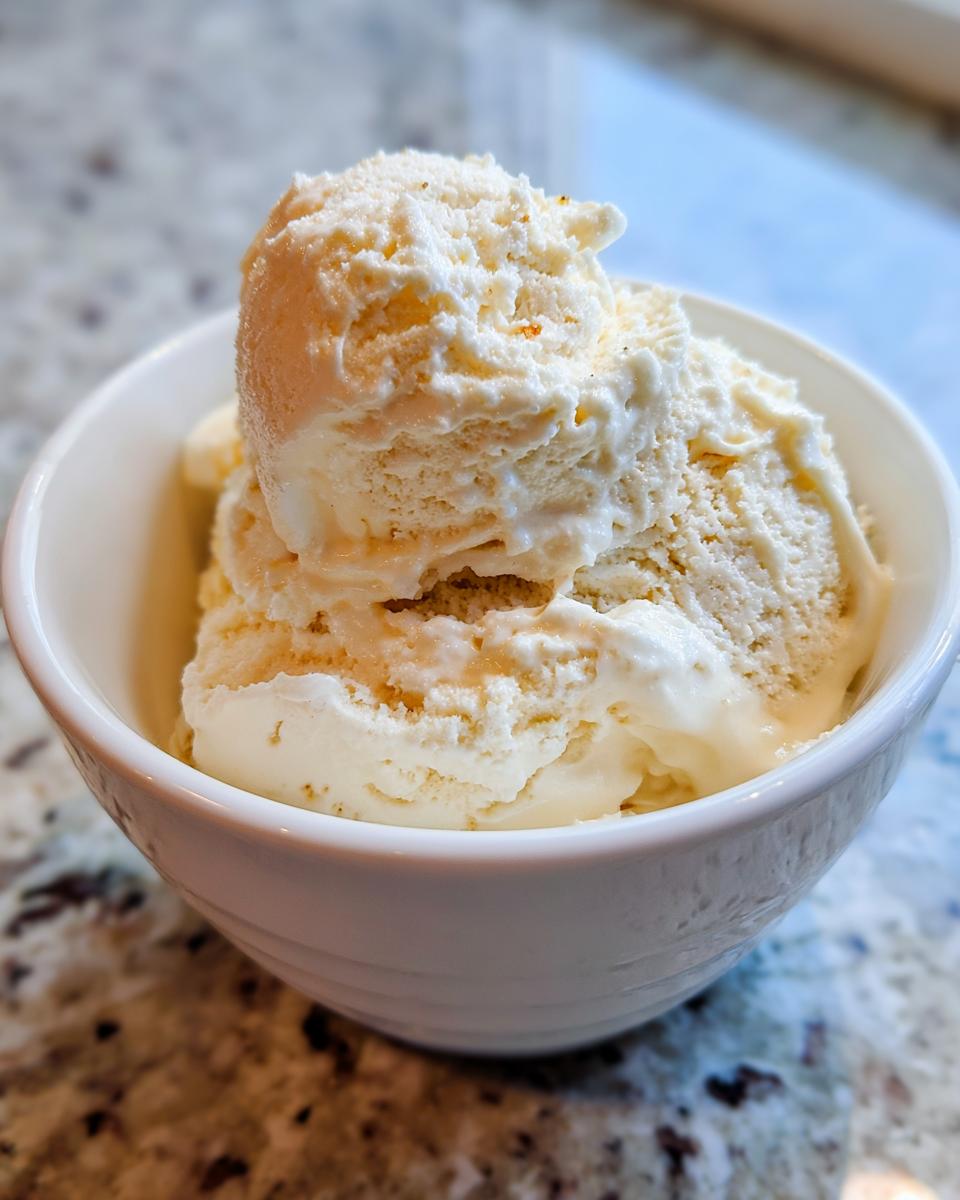
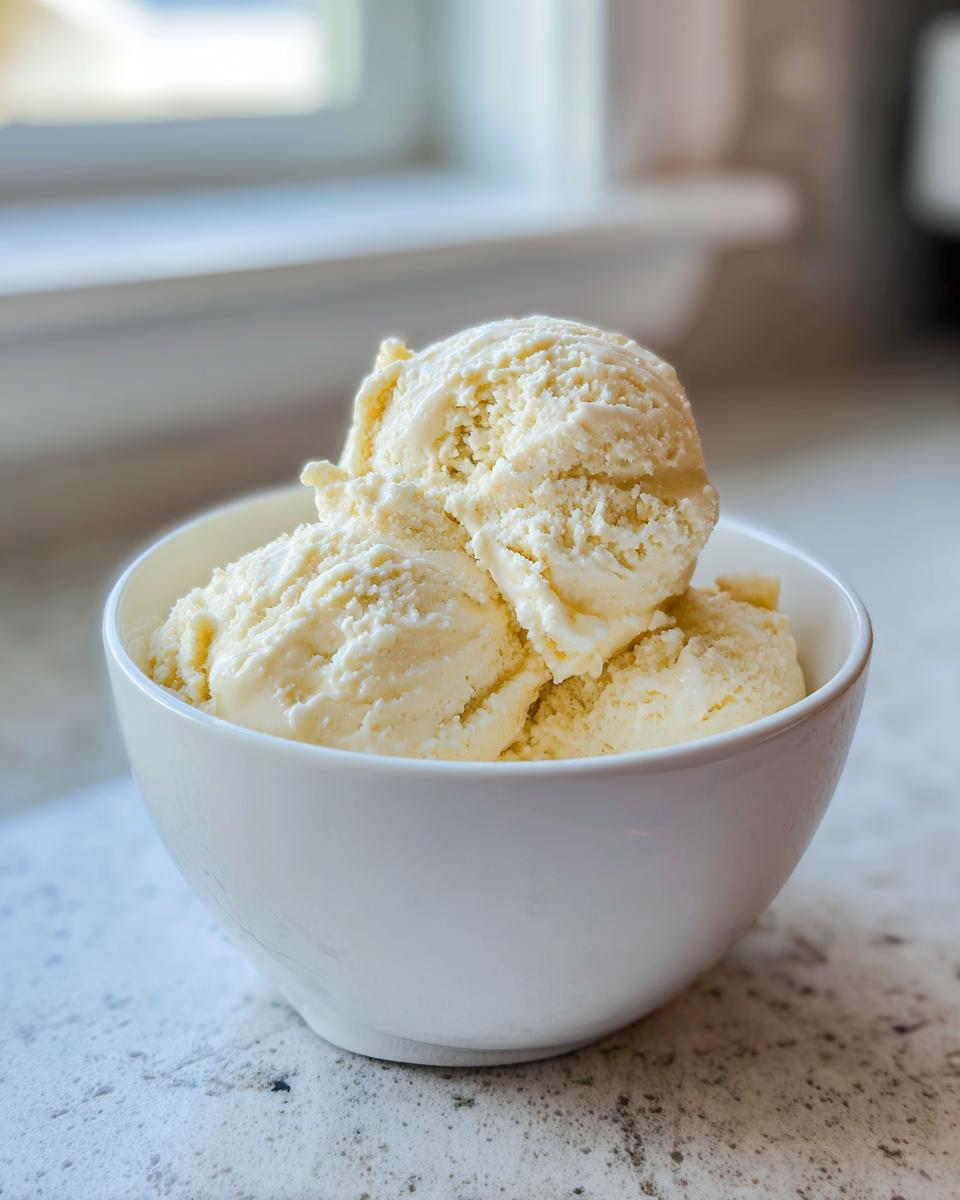
Now for the fun part! Grab your high-powered food processor or blender—you’ll need the muscle for this job. Toss in those frozen banana pieces, your milk, and the vanilla. Start by pulsing the mixture. Every ten seconds or so, stop, scrape down the sides—this is critical! You’ll see it turn crumbly first, then it hits this thick, pasty stage. Keep going! Finally, around the three-to-five-minute mark, it suddenly snaps and turns into that beautiful, smooth banana nice cream that looks just like soft serve. If you want it firm, transfer it and freeze it for another hour.
Expert Tips for Perfect Creamy Banana Ice Cream Variations
I love showing you how to take this base recipe and really elevate it. While the one-ingredient version gets me through any afternoon, sometimes you deserve something extra rich and decadent. If you are looking for that truly luxurious mouthfeel, we need to talk substitutions to get you the best creamy banana ice cream possible. Nobody wants icy desserts when they are craving comfort!
I’ve seen some excellent traditional recipes out there, like the one from Adventures of Mel, that use dairy, but we’re sticking to our easy, no-churn model while boosting the richness factor. We don’t have to use a machine to get amazing results!
Making Vegan Banana Nice Cream Richer
If you are committed to keeping it dairy-free but want that thick, satisfying texture you get from heavy cream, I have a trick: use full-fat canned coconut cream instead of regular milk. Make sure you chill that can overnight! When you scoop out only that super-thick cream layer from the top and blend that in, it totally changes the game for your vegan banana nice cream. It gives it a velvety finish that artificial stabilizers just can’t match.
Using the Ninja Creami for Banana Ice Cream
I know so many of you have jumped on the Ninja Creami train, and this dessert works beautifully with it! But here’s the catch: you can’t just blend it and stick the output in the machine. You need to blend the bananas, milk, and flavorings *first* until it’s totally smooth—think smoothie bowl thickness. Then, you transfer that blended mixture into the Creami pint and freeze it solid overnight. Process it using the machine’s base setting, and you’ll get the fluffiest result imaginable. It really perfects that creamy texture we all crave!
Storage and Enjoying Your Banana Ice Cream
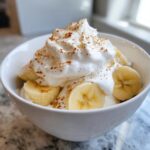
This is where you decide if you want soft-serve or scoopable! Serving it right out of the food processor gives you that amazing, dreamy, just-made soft-serve texture—perfect for immediate gratification. If you want to save some of this frozen banana dessert for later, you need to be careful about freezing it too long. Pop the mixture into a freezer-safe, airtight container. I usually give it about an hour or maybe two in the regular freezer to firm up into proper scoops. If you forget it overnight and your banana ice cream turns rock solid, don’t panic!
Just let it sit on the counter for about ten minutes before you plan to scoop. Unlike traditional ice cream, this one softens up beautifully and doesn’t get icy. It’s always foolproof! We just can’t have any waste; every bit of this sweetness needs to be enjoyed. If you’re into pasta after dessert, check out my marry me chicken pasta recipe for later!
Frequently Asked Questions About Banana Nice Cream
I always get questions about this recipe because people can’t believe how good it is without any dairy or fancy equipment. It’s such a reliable healthy banana ice cream option for our family. If you’ve got a batch spinning right now, you might have some of these same thoughts popping up in your head. Don’t worry, I’ve got the answers ready for you so you can command your kitchen perfectly! When you’re done with all this sweet stuff, maybe check out my recipes for easy appetizer snacks for something savory.
Can I make this banana ice cream recipe without added sugar?
Absolutely, yes! That’s what makes this one of the best one ingredient ice cream hacks out there. If you leave out the optional maple syrup or honey, you are relying entirely on the natural fructose in the very ripe bananas. Trust me, if you use bananas that are covered in brown spots, you won’t miss the added sweetener at all. It’s perfectly sweet and wonderfully guilt-free!
What is the best way to make banana nice cream truly smooth?
The smoothness factor comes down to two things: banana ripeness (which we already covered) and the blending stage. You must have a high-powered machine, whether it’s a sturdy blender or better yet, a food processor. The key is patience during the process: pulse short bursts, scrape down the sides repeatedly, and don’t stop when it looks pasty—that’s the stage right before it smooths out into final banana nice cream perfection. Just keep blending until that paste turns creamy!
Nutritional Estimates for Guilt Free Banana Ice Cream
Now, I know many of you are looking for a dessert that feels decadent but still fits into a healthy eating plan, and that’s exactly why this recipe is so beloved—it’s my go-to guilt free ice cream solution! Because we are using only fruit for sweetness (and maybe a touch of maple syrup), the profile is dramatically different from anything you buy in a tub.
I ran the base recipe—that’s four bananas, milk, and vanilla, no optional sweetener or additions—through our nutrition calculator just to give you a baseline. Remember, these figures are estimates, because the exact size of your bananas really changes things. If you decide to add peanut butter or chocolate chips, those numbers jump up fast, so keep that in mind!
Here are the estimates for one half-serving of the base recipe:
- Calories: 250
- Total Fat: 1 gram
- Saturated Fat: 0 grams
- Carbohydrates: 65 grams
- Fiber: 7 grams
- Sugar: 35 grams (all natural fruit sugar!)
- Protein: 3 grams
- Cholesterol: 0 mg
See? Pretty fantastic for something this delicious! It’s proof that you don’t need heavy cream or tons of added sugar to get that satisfying, cold treat. If you’re looking for other ways to keep your midday meals light and powerful after treating yourself to this dessert, you might want to check out my list of quick, healthy lunch recipes for later in the day!
Share Your Homemade Banana Ice Cream Creations
That’s all there is to it! You’ve now mastered the quickest, creamiest frozen dessert you can make without ever touching an ice cream maker. I truly hope this recipe becomes a staple for you, just like it is for me when a summer craving hits hard.
Now, I absolutely love seeing what you all come up with! Did you swirl in peanut butter, maybe sprinkle on some chocolate chips, or try the coconut cream trick for extra richness? Head over to the rating section below and let me know what you thought—seriously, every star rating helps other cooks feel confident trying this banana ice cream recipe!
If you post a picture of your gorgeous soft-serve or those perfect scoops on social media, tag us! We always try to feature our readers’ success stories. And if you have any wild flavor ideas, or if you need to get in touch with any questions about technique, don’t hesitate to reach out through the Contact page. Happy blending, everyone!
PrintThe Ultimate 5-Minute, No-Churn Creamy Banana Ice Cream
Make lusciously smooth, homemade banana ice cream in minutes without an ice cream machine. This recipe delivers a naturally sweet, guilt-free frozen dessert.
- Prep Time: 10 min
- Cook Time: 0 min
- Total Time: 10 min
- Yield: 2 servings 1x
- Category: Dessert
- Method: Blending/No Churn
- Cuisine: American
- Diet: Vegan
Ingredients
- 4 large ripe bananas, peeled and sliced
- 1/4 cup milk (dairy or almond milk for vegan option)
- 1 teaspoon vanilla extract
- 1 tablespoon maple syrup or honey (optional, for extra sweetness)
Instructions
- Slice the ripe bananas into coins and freeze them solid on a baking sheet for at least 4 hours, or until completely frozen.
- Place the frozen banana slices, milk, and vanilla extract into a high-powered food processor or blender.
- Pulse the mixture repeatedly. You will need to stop frequently to scrape down the sides.
- Continue processing. The mixture will first look crumbly, then pasty, and finally, it will transform into a smooth, soft-serve consistency. This usually takes 3 to 5 minutes.
- If you prefer a firmer texture, transfer the mixture to an airtight container and freeze for 1 to 2 hours before serving.
- Serve immediately for a soft-serve texture, or after freezing for a scoopable texture.
Notes
- For a richer, dairy-free version, substitute the milk with full-fat canned coconut cream.
- Add 2 tablespoons of cocoa powder during the blending stage for chocolate banana ice cream.
- For a peanut butter swirl, add 2 tablespoons of peanut butter with the other ingredients.
- If you are using a Ninja Creami, freeze the blended mixture in the Creami pint overnight, then process according to the machine’s instructions for the creamiest result.
Nutrition
- Serving Size: 1/2 of recipe
- Calories: 250
- Sugar: 35
- Sodium: 10
- Fat: 1
- Saturated Fat: 0
- Unsaturated Fat: 1
- Trans Fat: 0
- Carbohydrates: 65
- Fiber: 7
- Protein: 3
- Cholesterol: 0