
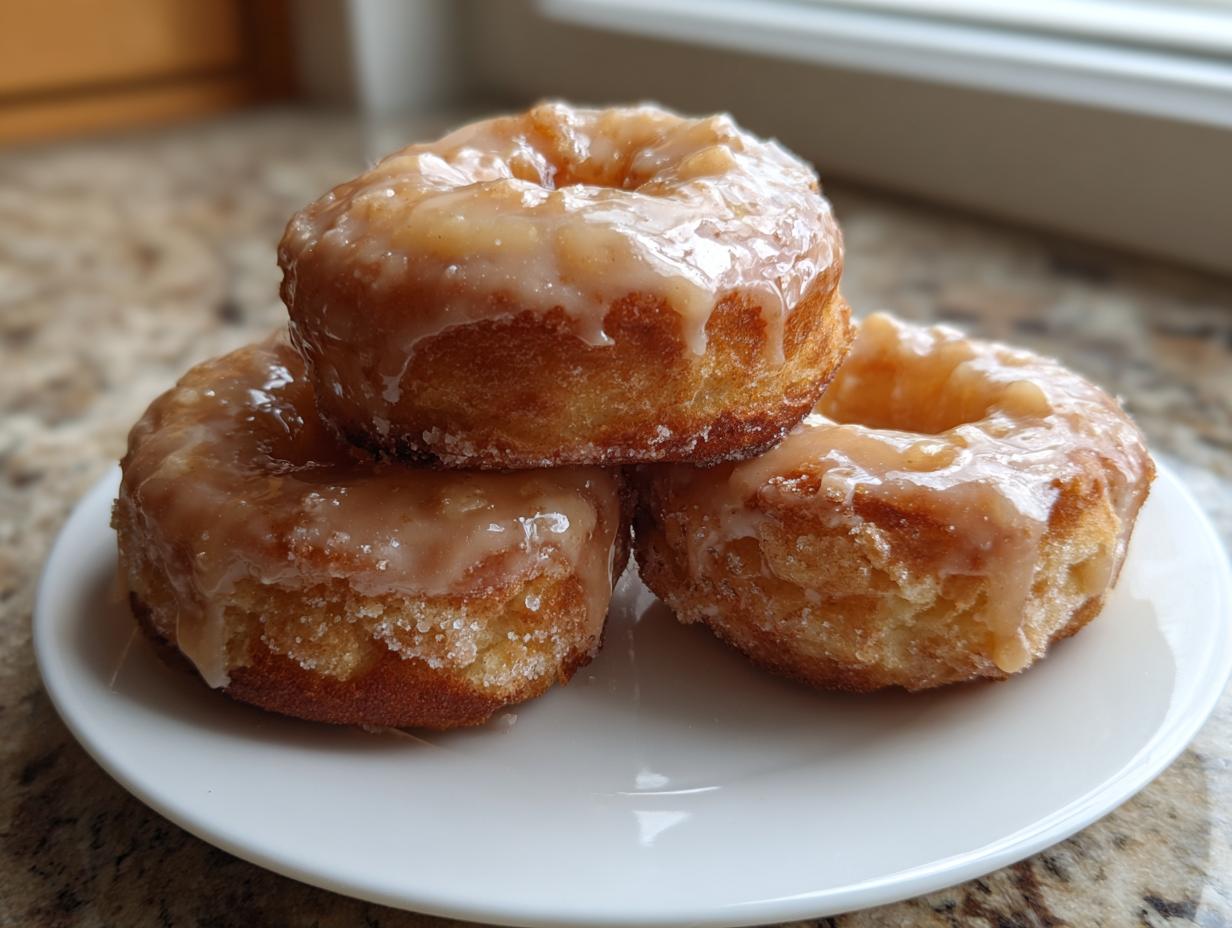
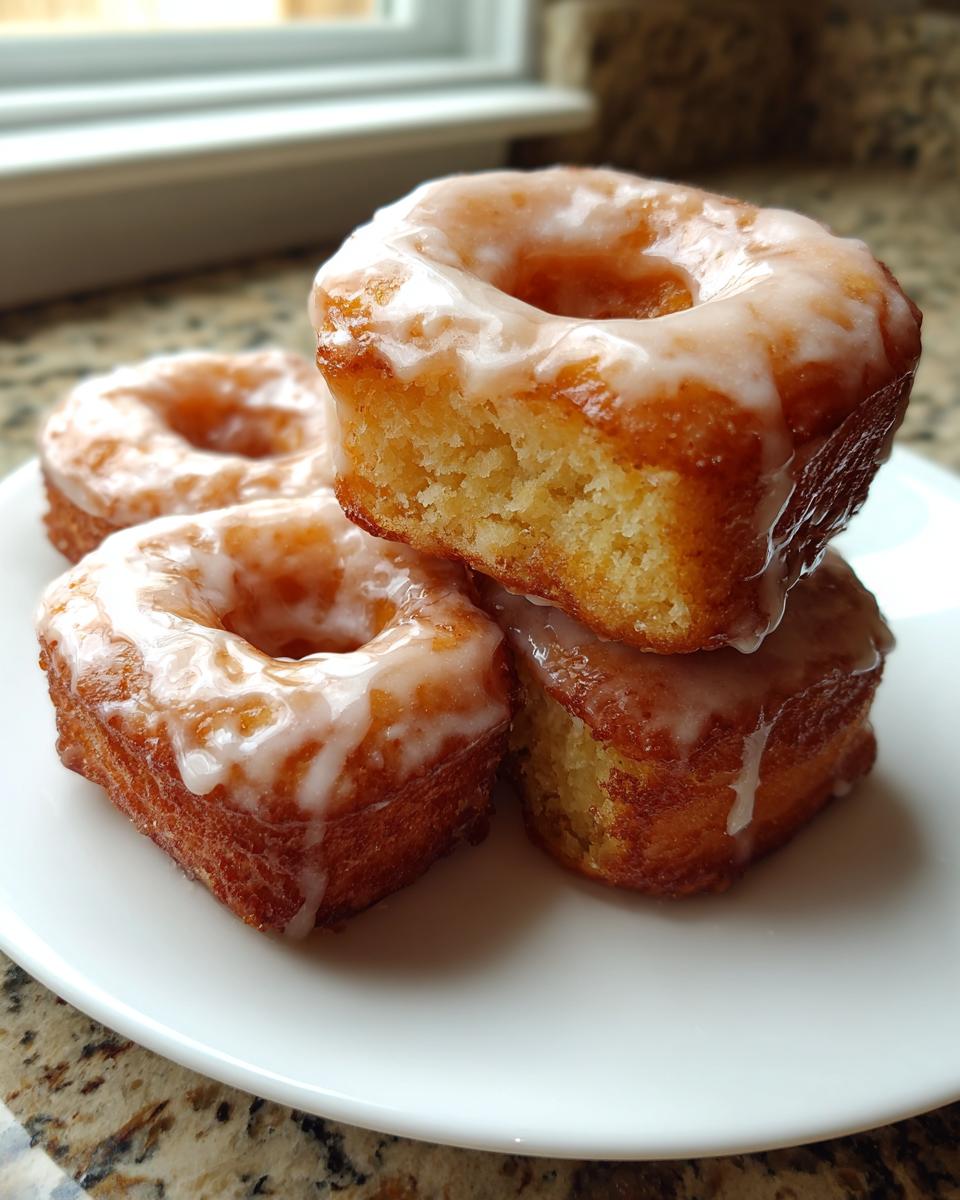
There are some baked goods that just scream comfort, right? They take you right back to the counter of that little, beloved bakery you visited as a kid. Well, forget standing in that line, because now you can capture that exact feeling right in your own kitchen! We’re making the ultimate nostalgic treat: Old-Fashioned Buttermilk Donut Bars, elevated with a spectacular Brown Butter Maple Vanilla Bean Glaze. When I first started Cookery Command, I knew I had to perfect this recipe. It’s a genuine piece of American home cooking heritage, just like the recipes my grandmother taught me. We’ve rigorously tested every single step so these buttermilk donut bars aren’t just good—they are bakery-perfect, every single time.
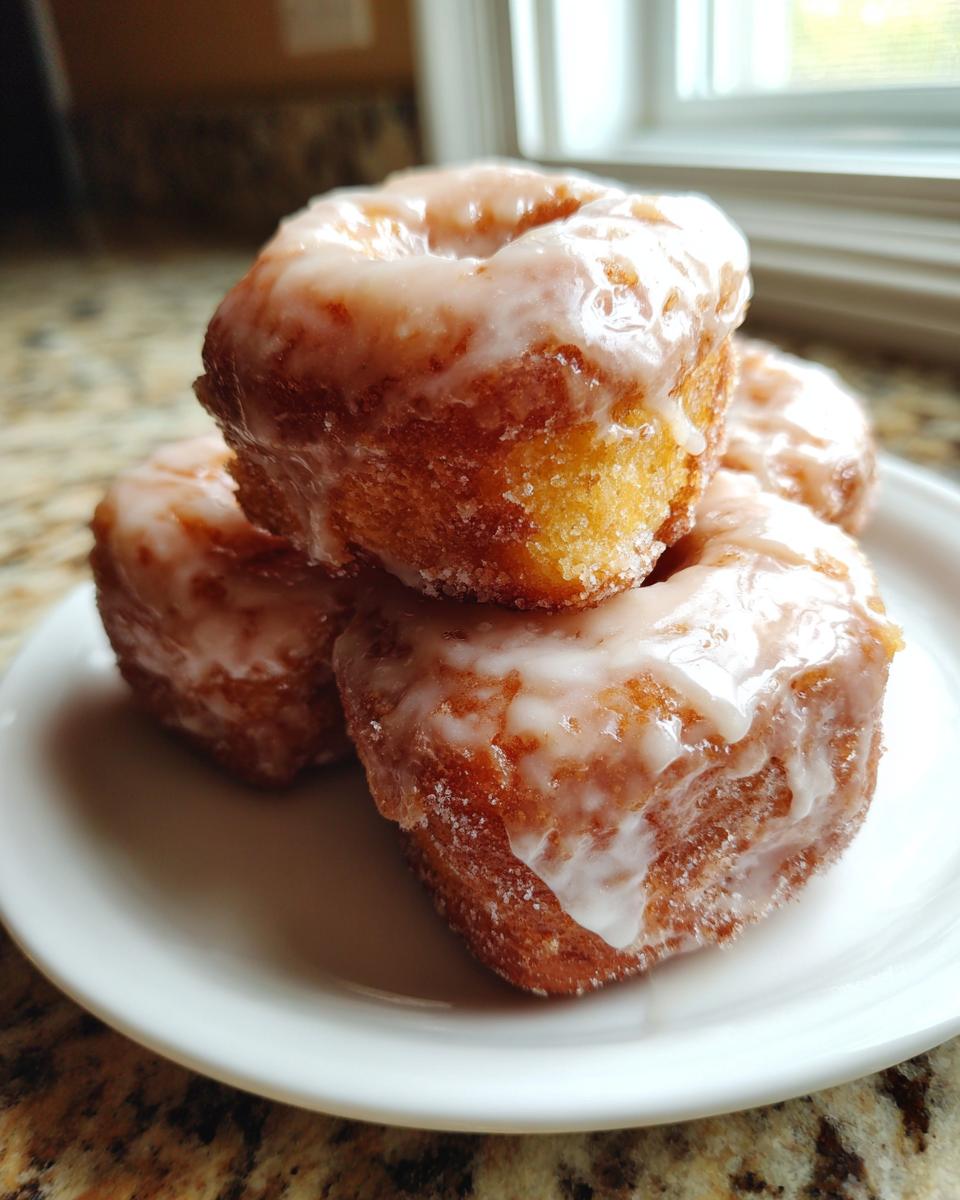
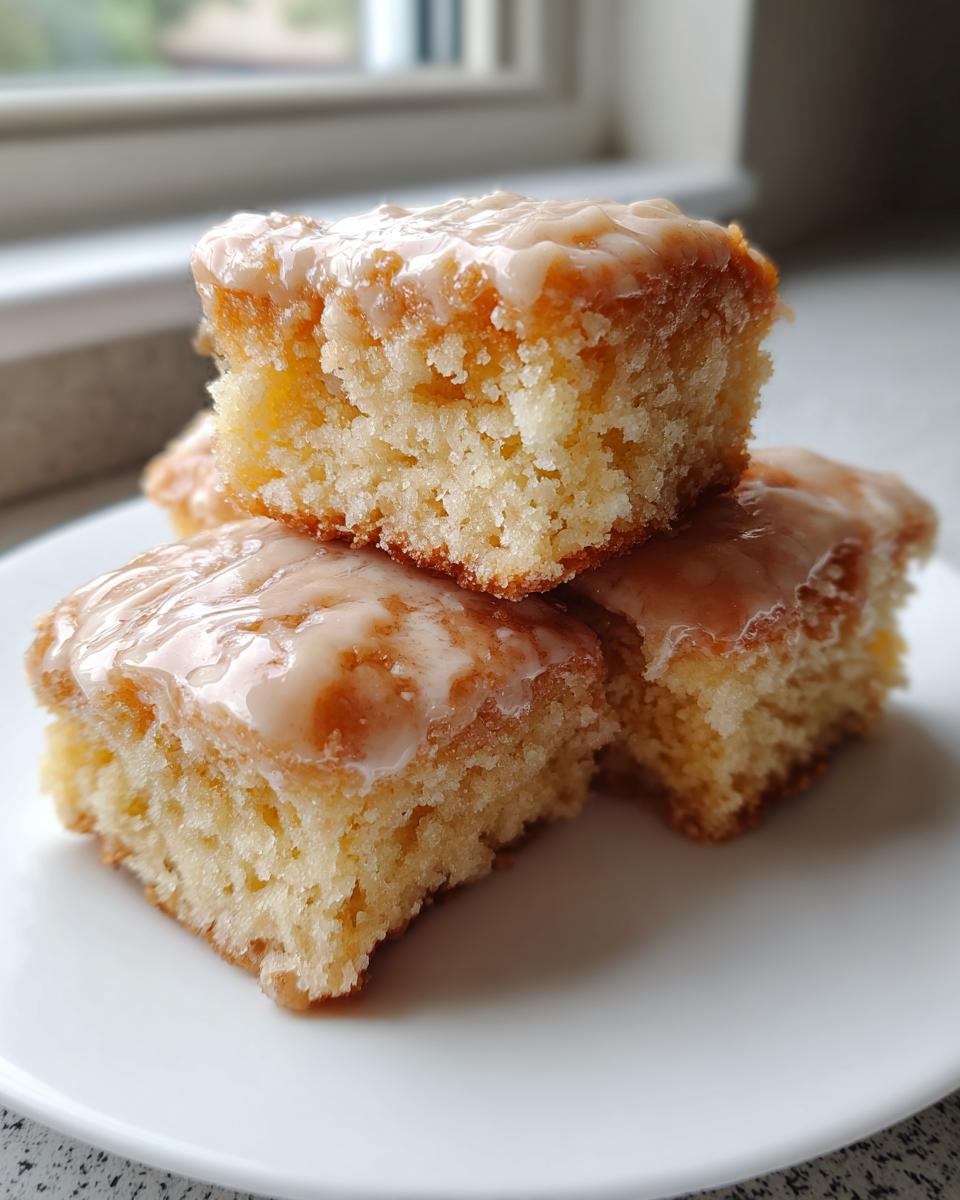
This recipe focuses on that perfect tension: a gloriously crisp exterior giving way to the most tender, cakey interior. Trust me, once you smell that maple and brown butter glaze hitting the air, you’ll understand why this recipe is a favorite around here. If you love the idea of fluffy, buttermilk-based nostalgia, you’ll also adore our recipe for fluffy old-fashioned buttermilk pancakes! We aren’t messing around with shortcuts here!
- Why You Will Love These Old-Fashioned Buttermilk Donut Bars
- Essential Ingredients for Bakery-Style Buttermilk Donut Bars
- Step-by-Step Instructions for Old Fashioned Donut Bars
- Mastering the Brown Butter Maple Glaze for Your Buttermilk Donut Bars
- Tips for Success with Easy Buttermilk Baking
- Serving Suggestions for Your Buttermilk Dessert Bars
- Storage and Reheating Instructions for Glazed Bar Doughnuts
- Frequently Asked Questions About Buttermilk Donut Bars Recipe
- Share Your Homemade Buttermilk Donut Bars Creations
Why You Will Love These Old-Fashioned Buttermilk Donut Bars
Honestly, I think these are the best brunch bar recipes out there because they check every single box. We’re bringing you that deep, comforting nostalgia you crave, but elevated with some serious flavor depth. You simply can’t go wrong!
- They nail that perfect textural experience: crispy when you bite in, unbelievably tender once you hit the center.
- We ditch the plain sugar crust for the most incredible, nutty Brown Butter Maple Glaze Recipe.
- They look like they took all day, but the prep and cook time are surprisingly fast!
Achieving Perfect Fluffy Donut Bars Texture
It all comes down to two things: the buttermilk and the chill time. The acidity in the buttermilk reacts beautifully with the baking soda and powder, locking in that fluffy donut bars texture we’re after. Chilling the dough, which we do for an hour, keeps those fats cold so they puff up wonderfully when they hit the hot oil.
The Rich Brown Butter Maple Glaze Recipe
This is what sets our recipe apart from the usual sheet pan treats. Browning the butter adds this deep, roasted nuttiness that complements the maple perfectly. It’s gourmet flavor without the gourmet effort, and you’ll want to drizzle the Brown Butter Maple Glaze Recipe over everything after you try it!
Essential Ingredients for Bakery-Style Buttermilk Donut Bars
When you’re aiming for that quintessential bakery feel, you just can’t skimp on the essentials. I laid out every single item you need below, and I want you to pay close attention to the temperature notes for the eggs and buttermilk. That little bit of extra care makes a huge difference in our easy buttermilk baking success! Getting the ingredients right is the first step to making these fantastic homemade donut bars.
Dough Ingredients for Buttermilk Donut Bars
For the dough itself, we’re mixing dry elements first to make sure that baking powder and nutmeg are evenly distributed. Also, a quick note on flour: we specify cake flour because it gives that amazing tenderness. If you don’t have it sitting around, you can easily make your own substitute by taking 2 tablespoons of all-purpose flour out of a cup and replacing it with 2 tablespoons of cornstarch. Whisk that mixture really well before using it!
- 3 1/2 cups cake flour (plus substitute noted above)
- 2 1/2 teaspoons baking powder
- 1 teaspoon salt
- 3/4 teaspoon nutmeg
- 1/4 teaspoon baking soda
- 1/2 cup brown sugar, packed
- 1/2 cup granulated sugar
- 1/4 cup salted butter, melted
- 2 large eggs plus 1 egg yolk, room temperature
- 1 tablespoon vanilla extract
- 3/4 cup buttermilk, room temperature
- 4-6 cups high heat oil (like canola or avocado) for frying
For the Brown Butter Maple Vanilla Bean Glaze Recipe
This glaze is intense! To get that deep, nutty, caramelized flavor, you absolutely need real maple syrup—none of that pancake syrup substitute business. The quality of your maple syrup directly impacts how great this Brown Butter Maple Glaze Recipe turns out. We’re also using vanilla bean paste here because I love seeing those tiny specks, but good vanilla extract works fine too!
- 1 1/2 cups powdered sugar
- 6 tablespoons salted butter (for browning)
- 1/3 cup maple syrup (use the good stuff!)
- 2 tablespoons milk
- 1 teaspoon vanilla bean paste or extract
- Pinch of salt
Step-by-Step Instructions for Old Fashioned Donut Bars
Now for the fun part—when the science turns into delicious reality! Since these are cake-based donuts, the mixing is quick, but we have a couple of crucial steps for handling that make all the difference. If you follow these instructions for our Old Fashioned Donut Bars, you’ll get that ideal texture and shape without any frustrating mess.
Mixing and Chilling the Buttermilk Donut Bars Dough
When you combine the wet and dry ingredients, you must stop mixing as soon as those streaks of flour disappear. Seriously, stop! Overmixing develops gluten, and that turns our fluffy donut bars into tough little bricks. We want soft and tender! Once it’s just combined, wrap that dough up tight and into the fridge it goes for at least one full hour. Don’t skip the chill time; it firms up the dough just enough so you can roll it out and cut those perfect rectangles without it sticking everywhere.
Frying Your Homemade Donut Bars to Golden Perfection
This is where you need to channel your most precise cook! Heat up your oil in a heavy-bottomed pot—I swear by a Dutch oven for even heat—to exactly 350°F (175°C). You absolutely need a thermometer here; don’t try to guess! Once the oil is ready, gently slip in your cut dough bars. Fry them in small batches, turning them once they are that gorgeous golden brown, usually just a minute or two per side. Working in small batches is key because if you crowd the pot, the temperature drops fast, and you end up with greasy bars instead of beautifully puffy homemade donut bars. Pop the cooked bars onto paper towels set over a cooling rack to drain the excess oil.
Mastering the Brown Butter Maple Glaze for Your Buttermilk Donut Bars
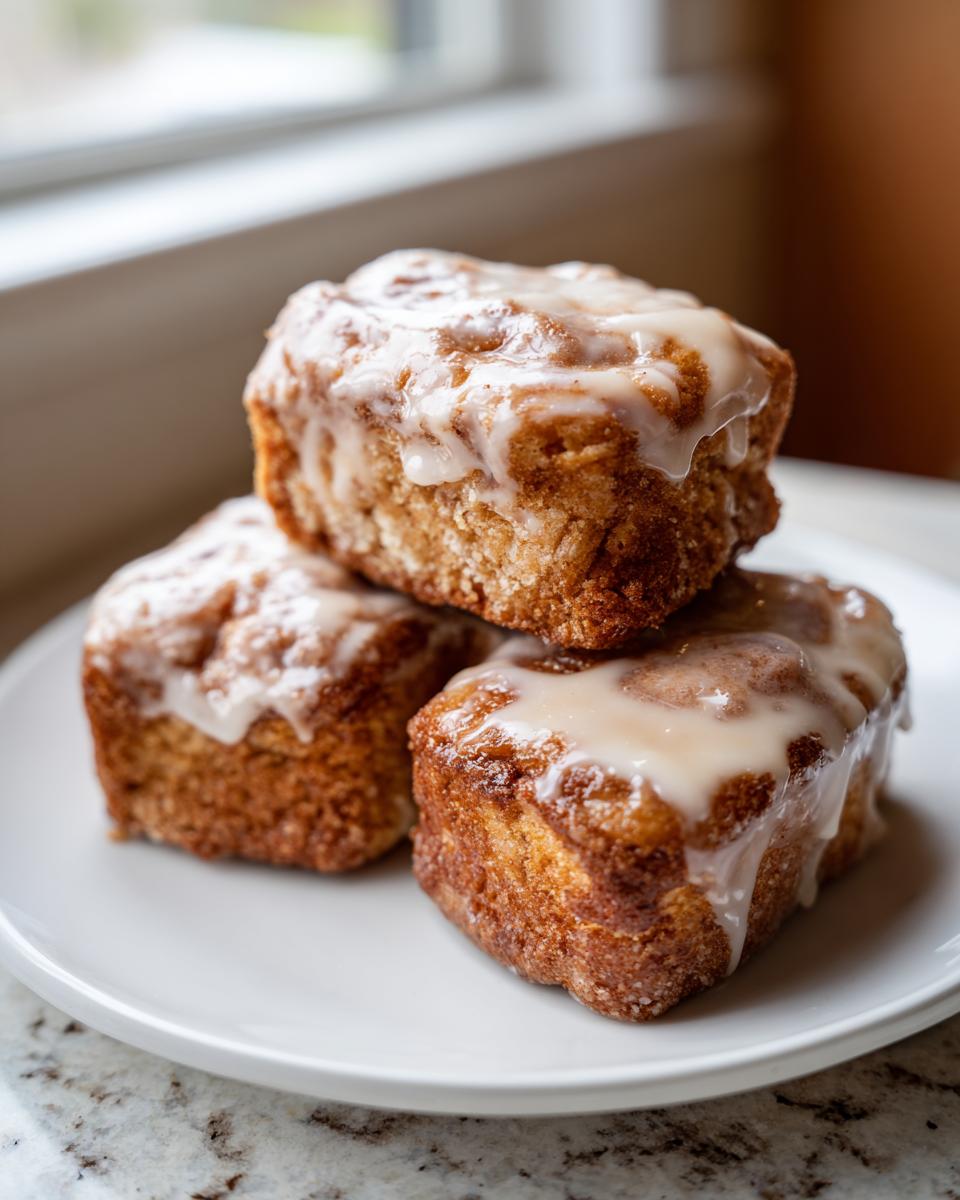
Okay, let’s talk about the star of the show, the reason these aren’t just regular donuts but truly *gourmet* buttermilk donut bars: that Brown Butter Maple Vanilla Bean Glaze! Browning the butter is slightly unnerving at first because you feel like you’re about to burn it, but stick with it! You cook that salted butter over medium heat until those little milk solids sink to the bottom and turn a rich, nutty brown color, and it smells amazing—like toasted hazelnuts. As soon as you see that color, yank it off the heat and pour it immediately into a clean, heatproof bowl. That stops the cooking process instantly!
Once the brown butter cools just a tiny bit—you don’t want it piping hot—whisk in your powdered sugar, real maple syrup, milk, and vanilla bean paste. This is where we turn a simple glaze into liquid gold for our bars.
Tips for Perfect Brown Butter Maple Glaze Consistency
We want this glaze to look shiny and coat the surface beautifully, not just run right off. If, after whisking everything together, it looks a little too thick—maybe it’s refusing to flow off your whisk—just add milk, one tiny teaspoon at a time until you hit that perfect drizzle consistency. Conversely, if you accidentally added too much milk and it’s too thin for your brown butter chocolate chip cookies inspiration, whisk in a little more powdered sugar. My favorite time to dip is when the bars are slightly warm—not hot, but just warm enough that the glaze melts ever so slightly into that craggy, old-fashioned texture! It sets up beautifully as it cools.
Tips for Success with Easy Buttermilk Baking
Even though these buttermilk donut bars are fairly straightforward, frying can always introduce a little anxiety! That’s where having a few expert tricks up your sleeve comes in handy. I’ve learned a few things over the years about getting that perfect, non-greasy, old-fashioned texture, especially when dealing with batter that has high fat content like this one. These tips are all about ensuring your Easy Buttermilk Baking session goes off without a hitch!
First things first: temperature stability during frying is everything. If you’re frying in batches, give the oil a minute or two to recover its temperature between additions. If you drop too many bars in at once, the oil temperature plummets, and they soak up way too much oil, ending up heavy instead of fluffy. You want that quick, hot fry!
Now, I know some of you out there are team “No Fry Zone,” and that’s totally fine! While frying gives you that classic craggy, crispy exterior unique to old-fashioned donuts, you can absolutely bake these bars. If you decide to bake, preheat your oven to 375°F (190°C). Line a baking sheet with parchment paper—don’t just grease the pan! Bake those cut bars for about 10 to 12 minutes. They won’t puff quite as much as the fried ones, but they are still delicious and much easier if you’re short on time for a big batch of easy homemade salad dressing recipes later that week!
Also, remember that chilling step? Don’t rush it! If you try to roll out warm dough, it fights you, it sticks to everything, and you end up adding too much flour, which instantly makes your donuts tough. A stiff, chilled dough is the secret weapon for neat cutting and perfect frying.
Serving Suggestions for Your Buttermilk Dessert Bars
These Buttermilk Dessert Bars are so rich, they feel like a celebration! They fit perfectly into two categories in my book: decadent weekend brunch or that sweet afternoon treat that beats any regular coffee break.
Since they are heavy on that nostalgic breakfast treats vibe, they pair absolutely perfectly with a strong, dark roast coffee. If you’re serving these for brunch, try setting them out alongside some fresh fruit to cut through the richness of the maple glaze. They also go amazingly well with a warm spiced cider if the weather is getting cooler. If you love that cinnamon flavor, check out my recipe for cinnamon sugar french toast muffins—they hit a similar spot!
Storage and Reheating Instructions for Glazed Bar Doughnuts
Look, these Glazed Bar Doughnuts are truly best eaten the day you make them, covered in that glorious brown butter maple glaze. If you have leftovers, try to keep them sitting out at room temperature, loosely tented with foil or under a cake dome for about two days. Please, please try to avoid the fridge!
Cold air just makes that beautiful cake texture seize up and get a little tough, which is a travesty after all this work. If you do need to reheat them slightly—maybe they cooled down overnight—a quick 10 seconds in the microwave should soften them right back up. For storing longer, say three or four days, you can wrap individual bars tightly in plastic wrap before storing them in an airtight container at room temperature. If you’re saving them for next weekend, though, I strongly suggest freezing them *without* the glaze, and then whipping up a fresh batch of that easy fudge recipe no thermometer glaze when you’re ready to eat them!
Frequently Asked Questions About Buttermilk Donut Bars Recipe
I know you might run into questions when you’re trying to achieve that perfect bakery quality at home, especially with frying involved! That’s totally normal. We want your journey making these buttermilk donut bars recipe favorites to be smooth sailing. Here are a few things folks ask all the time when they are deep in the process of making these easy moist old-fashioned fruit cake recipes as well!
Can I make these buttermilk donut bars ahead of time?
This is tricky because these are definitely best when they are fresh! The texture of the bar itself holds up well, but the glaze is the weak spot. If you want to prep, you can absolutely mix the dough, cut the shapes, and keep them covered in the fridge for up to a day before frying. When you’re ready, let them sit on the counter for about 30 minutes, then fry. My strong recommendation is to *never* glaze them ahead of time. The glaze gets sticky and weepy when stored. Make the Brown Butter Maple Glaze Recipe fresh right before you plan to serve them so they look shiny and perfect.
What is the best way to cut the dough for uniform buttermilk donut bars?
Uniformity matters here so they all cook at the same rate! After that crucial chilling time—don’t try to cut it warm, or you’ll just mash the dough—lightly flour your work surface. I find a pizza cutter gives you the cleanest lines, almost like scoring shortbread, without dragging the edges up. If you use a knife, make sure it’s very sharp. Use straight up-and-down motions rather than a sawing one. This keeps the edges clean so they fry up crisp! Cut them roughly 3×2 inches—nobody is bringing out a ruler for homemade donut bars, just keep them roughly the same size!
Can I substitute the buttermilk for another dairy product in these homemade donut bars?
Oh, that buttermilk is doing heavy lifting! It’s not just for flavor; the acid tenderizes the dough and reacts with the leavening agents to give you those lovely bubbles. If you are truly out, don’t panic! You can make a substitute that mimics buttermilk. Take 3/4 cup of regular milk (whole milk is best!) and stir in one tablespoon of white vinegar or fresh lemon juice. Let that mixture sit on the counter for about 5 to 10 minutes until it looks slightly curdled. It’s not exactly the same, but it gives you the necessary acidity for these homemade donut bars to rise beautifully.
Share Your Homemade Buttermilk Donut Bars Creations
Now that you’ve mixed, chilled, fried, and drenched your beautiful buttermilk donut bars in that incredible brown butter maple glaze, I just have one small request: tell me about it!
Baking is so much more fun when we can share the results, isn’t it? I absolutely live for seeing your photos of these nostalgic treats popping up in your kitchens. Did you manage to get that perfect craggy edge? How did your family react when they smelled that glaze?
Please hop down below and leave a rating for this Old Fashioned Donut Bars recipe. Even a quick star rating helps other bakers gain the confidence to try them! And if you post a picture on social media, tag me! I love celebrating your kitchen wins. Next time you’re looking for something sweet—maybe for a holiday brunch—remember these velvety buttermilk dessert bars. If you want another showstopper cake to try next, check out my recipe for apple dapple cake with moist brown sugar glaze!
PrintOld-Fashioned Buttermilk Donut Bars with Brown Butter Maple Vanilla Bean Glaze
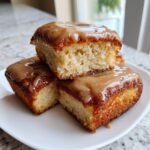
Create bakery-style Old-Fashioned Buttermilk Donut Bars at home. These bars are tender and cakey, topped with a rich brown butter maple vanilla bean glaze for a nostalgic, indulgent treat perfect for brunch or dessert.
- Prep Time: 30 min
- Cook Time: 15 min
- Total Time: 1 hour 45 min
- Yield: 16 servings 1x
- Category: Dessert
- Method: Frying
- Cuisine: American
- Diet: Vegetarian
Ingredients
- 3 1/2 cups cake flour
- 2 1/2 teaspoons baking powder
- 1 teaspoon salt
- 3/4 teaspoon nutmeg
- 1/4 teaspoon baking soda
- 1/2 cup brown sugar, packed
- 1/2 cup granulated sugar
- 1/4 cup salted butter, melted
- 2 large eggs plus 1 egg yolk, room temperature
- 1 tablespoon vanilla extract
- 3/4 cup buttermilk, room temperature
- 4–6 cups high heat oil for frying (like canola or avocado oil)
- For the Brown Butter Maple Vanilla Bean Glaze:
- 1 1/2 cups powdered sugar
- 6 tablespoons salted butter
- 1/3 cup maple syrup
- 2 tablespoons milk
- 1 teaspoon vanilla bean paste or extract
- Pinch of salt
Instructions
- Prepare the dough: In a large bowl, whisk together the cake flour, baking powder, salt, nutmeg, and baking soda.
- In a separate bowl, whisk the brown sugar and granulated sugar into the melted butter until combined. Add the eggs and egg yolk, mixing well. Stir in the vanilla extract.
- Alternate adding the dry ingredients and the buttermilk to the wet ingredients, beginning and ending with the dry ingredients. Mix only until just combined; do not overmix the dough.
- Chill the dough for at least 1 hour. This step helps the dough handle better for cutting.
- Roll out the dough on a lightly floured surface to about 1/2-inch thickness. Use a sharp knife or pizza cutter to cut the dough into rectangular bar shapes (about 3×2 inches).
- Heat the oil in a deep, heavy-bottomed pot or Dutch oven to 350°F (175°C). Use a thermometer to monitor the temperature closely.
- Carefully fry the donut bars in batches, turning once, until they are golden brown on both sides, about 1-2 minutes per side. Do not overcrowd the pot.
- Remove the bars with a slotted spoon and place them on a wire rack lined with paper towels to drain excess oil. Let them cool slightly.
- Prepare the glaze: Brown the butter in a small saucepan over medium heat, swirling until the milk solids turn nutty brown and fragrant. Immediately pour the brown butter into a heatproof bowl, leaving any dark sediment behind. Let it cool for 5 minutes.
- Whisk the powdered sugar, maple syrup, milk, vanilla bean paste, and salt into the slightly cooled brown butter until the glaze is smooth. If the glaze is too thick, add milk, 1 teaspoon at a time.
- Dip the tops of the warm donut bars into the glaze, or drizzle generously over the bars. Allow the glaze to set before serving.
Notes
- For cake flour substitute, measure 1 cup of all-purpose flour, remove 2 tablespoons of flour, and replace with 2 tablespoons of cornstarch. Whisk well.
- If you prefer not to fry, you can bake these bars at 375°F (190°C) for 10-12 minutes, or until lightly golden. Glaze after cooling slightly.
- Use real maple syrup for the best flavor in the brown butter maple vanilla bean glaze.
Nutrition
- Serving Size: 1 bar
- Calories: 350
- Sugar: 30g
- Sodium: 250mg
- Fat: 18g
- Saturated Fat: 8g
- Unsaturated Fat: 10g
- Trans Fat: 0g
- Carbohydrates: 45g
- Fiber: 1g
- Protein: 4g
- Cholesterol: 65mg