
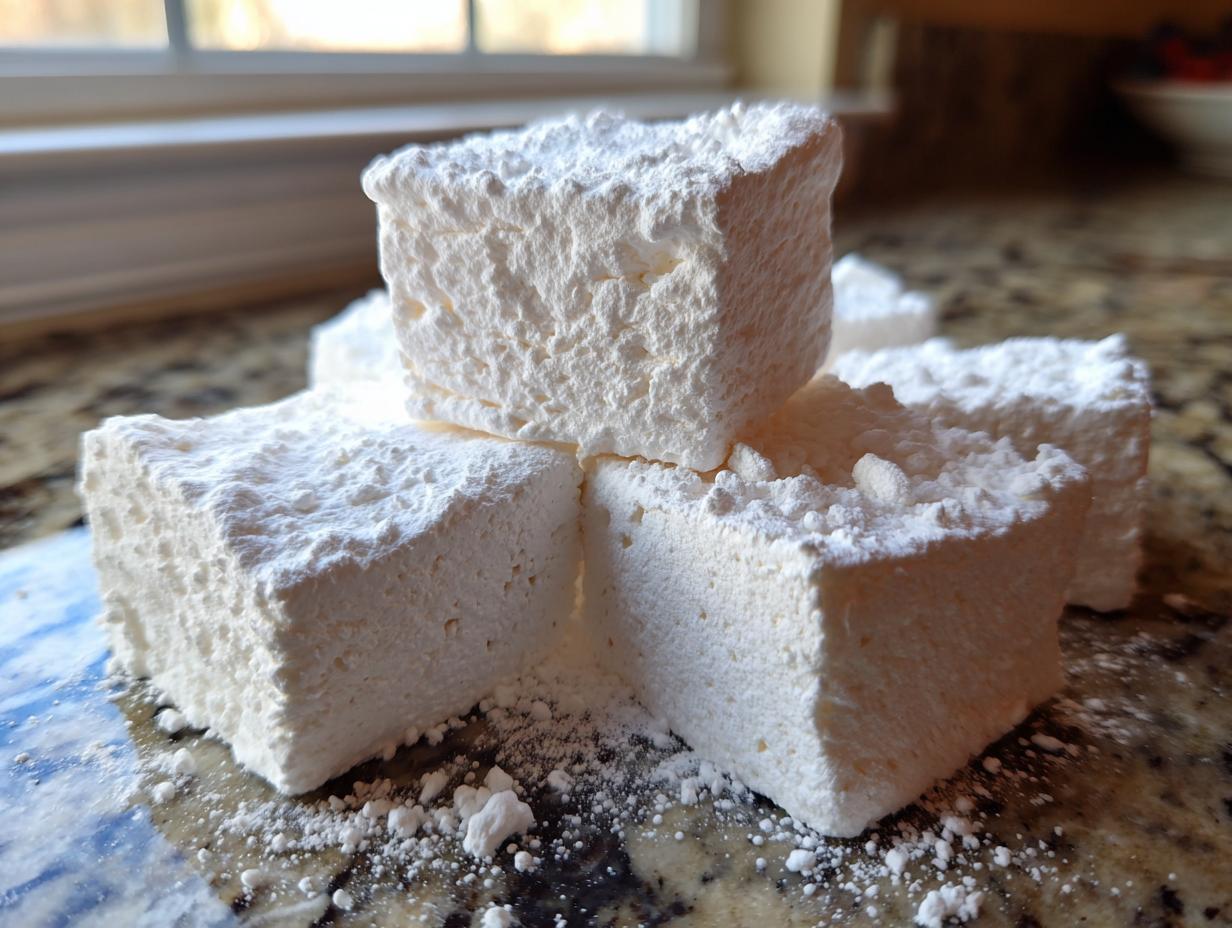
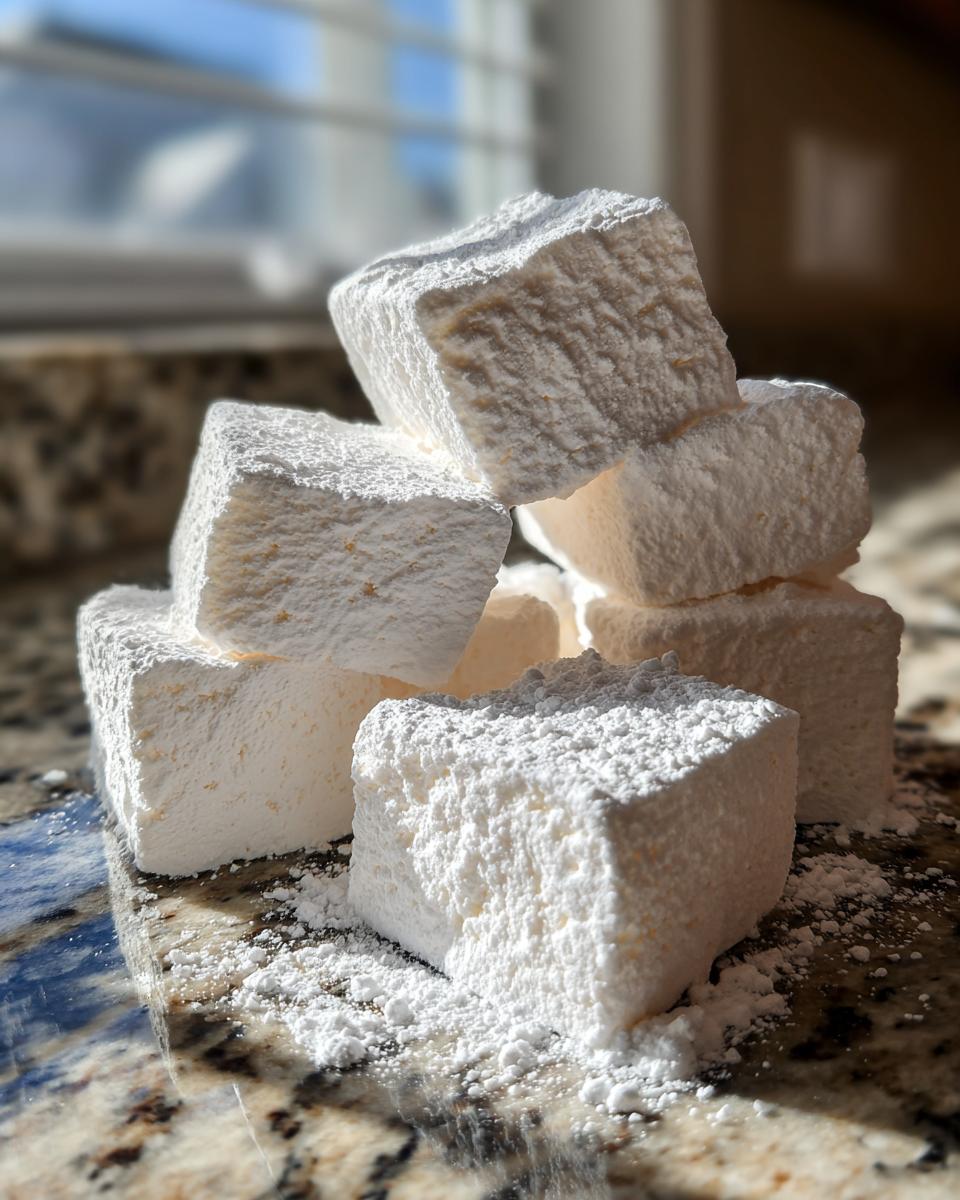
When I talk about mastering sweets, I mean truly magnificent ones—the kind that make people stop mid-sentence. Forget those airy, flavorless squares from the grocery store aisle. We are going fully from scratch today to create the homemade marshmallows you didn’t know you needed in your life. Trust me when I say that whipping up a batch of these pillowy treats is far easier than you think, yet the result is a cloud-like texture absolutely unmatched by anything pre-packaged. This easy marshmallow recipe is about taking charge of your candy making, just like we do with every foundational recipe here at Cookery Command. If you feel confident whipping up this sweet cloud, you might be ready to tackle something like easy fudge next!
- Why You Will Command Your Kitchen with This Easy Marshmallow Recipe
- Essential Equipment for Perfect Homemade Marshmallows
- Ingredients for Fluffy Homemade Marshmallows From Scratch
- Step-by-Step Guide to Making Homemade Marshmallows
- Ingredient Notes and Swapping for Your Homemade Marshmallows
- Expert Tips for Perfect Homemade Marshmallow Texture
- Serving Suggestions for Your Homemade Sweets
- Storage and Reheating Instructions for Homemade Marshmallows
- Frequently Asked Questions About Making Marshmallows
- Share Your Homemade Marshmallow Creations
Why You Will Command Your Kitchen with This Easy Marshmallow Recipe
Look, I know candy making seems intimidating. It’s all precision and high temperatures, right? But this homemade marshmallow recipe is different. I developed this process specifically to give you fluffy, superior results without the fuss. Once you try these, you won’t ever look back—I promise! Here’s what you gain when you decide to master this recipe:
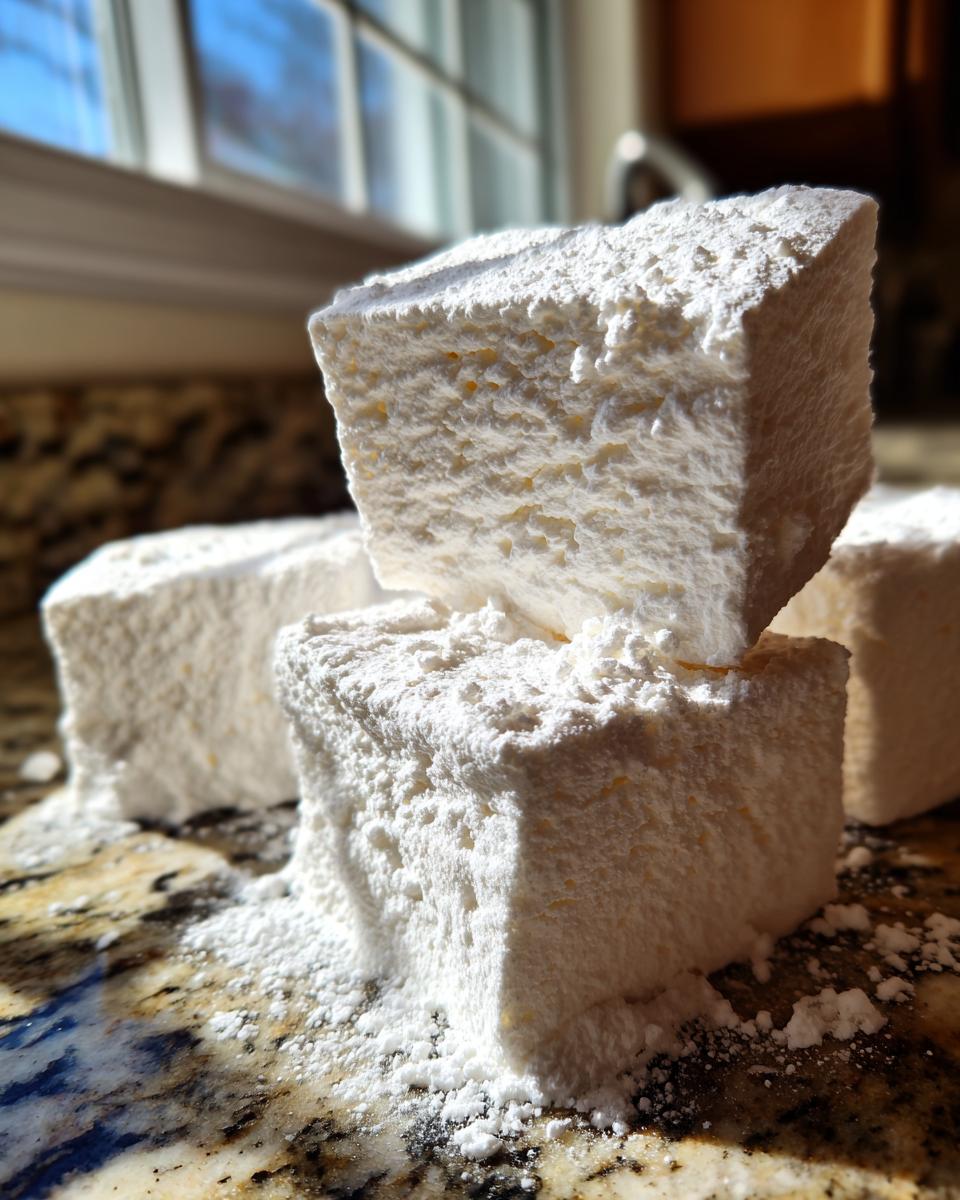
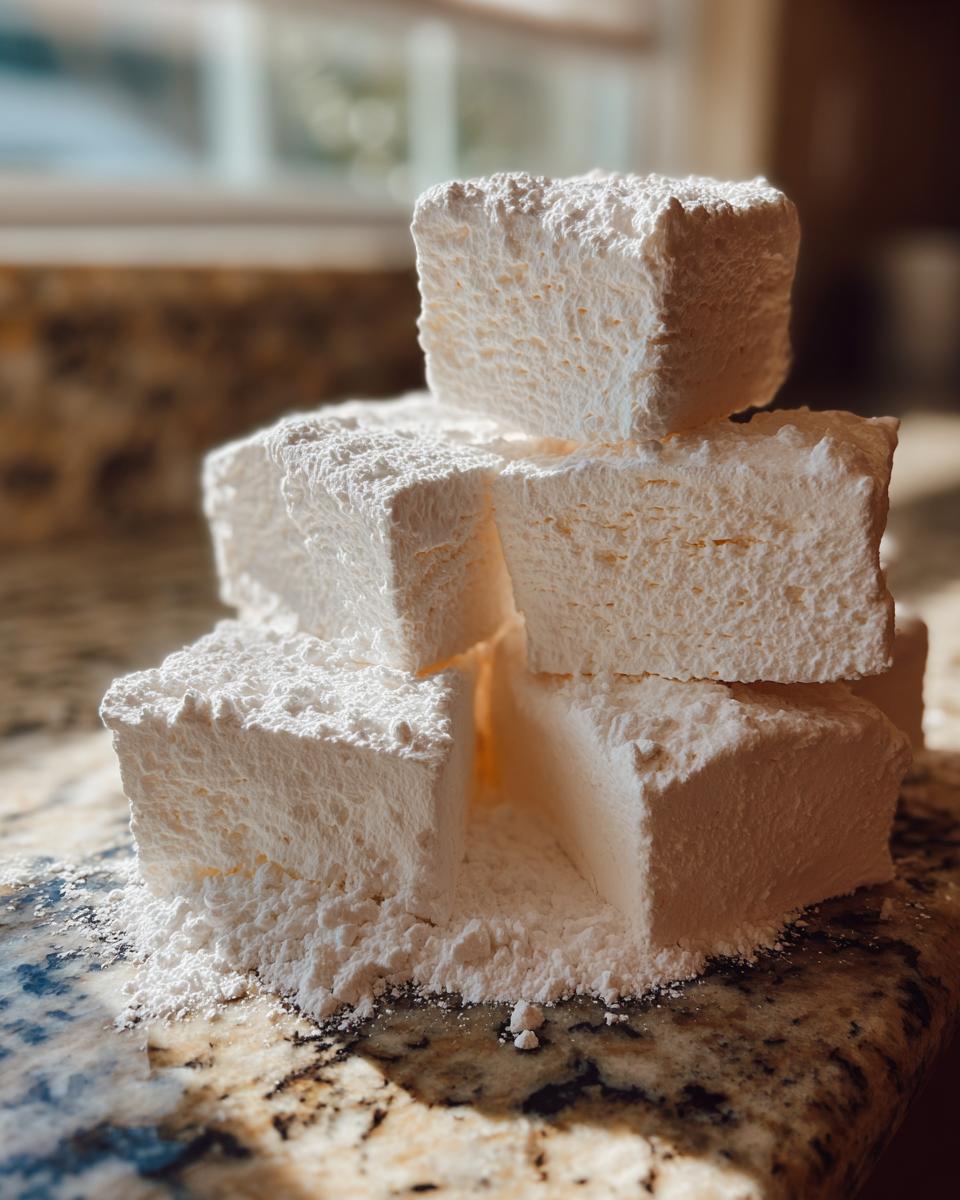
- That Cloud-Like Texture: We aren’t making rubber; we are making actual clouds. The texture is genuinely pillowy and soft, far superior to anything you buy in a bag.
- Superior Vanilla Flavor: Since these are fresh, the pure vanilla extract really sings. It’s a subtle but noticeable difference when you make fluffy marshmallows from scratch.
- Hot Cocoa Topping Perfection: Imagine watching these melt slowly into your favorite mug of cocoa—this is truly the ultimate marshmallow for hot cocoa experience.
- S’mores Elevated: If you’re having a bonfire, these melt perfectly when roasted. They are the ultimate s’mores recipe ingredient; they caramelize beautifully.
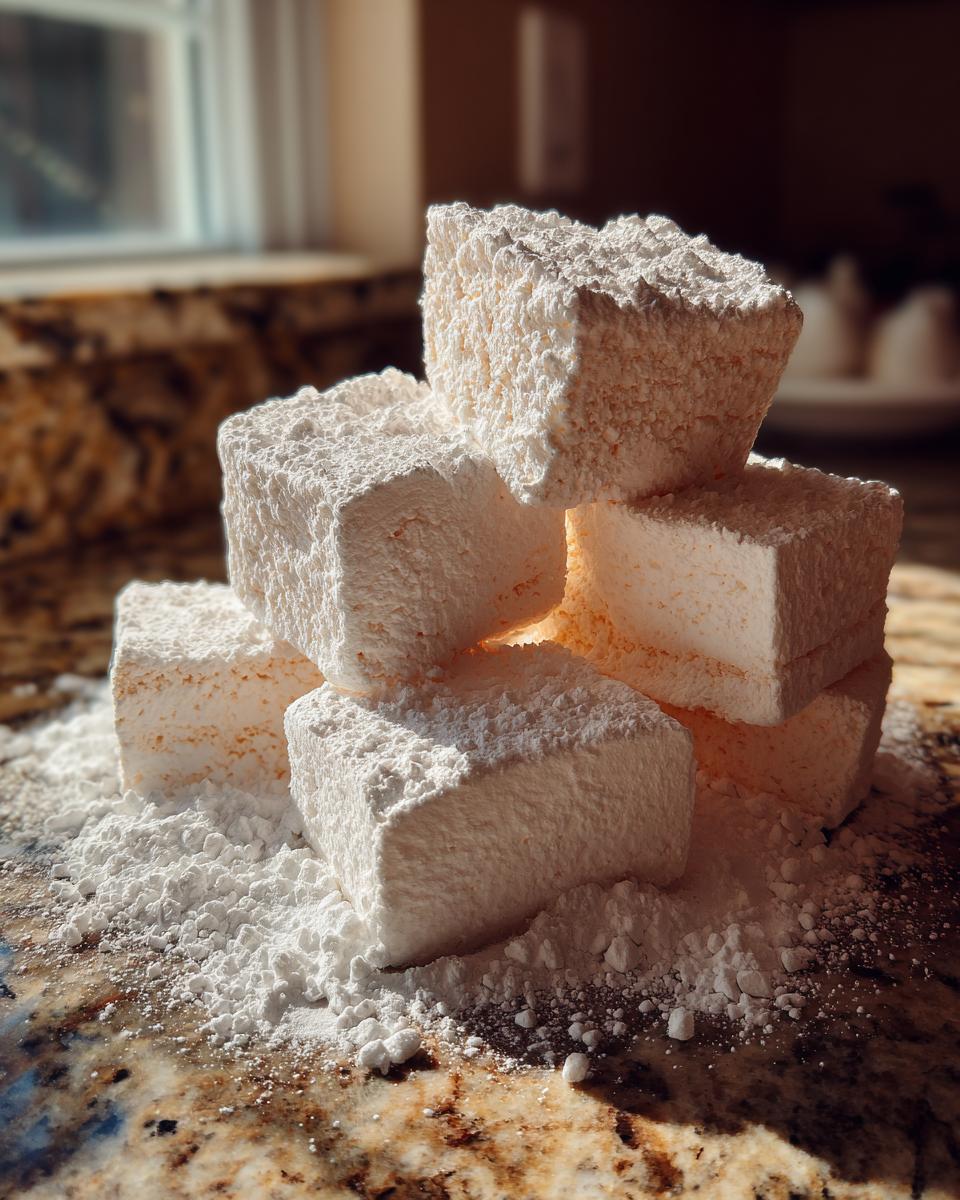
- Gifting Gold: Dusted nicely, these make incredible homemade edible gifts. People genuinely gasp when they realize you made these yourself!
- Confidence Builder: You’ll master the soft-ball stage (don’t worry, we guide you!), giving you a massive boost in your from scratch candy making skills. You can do this!
- Simple Ingredient Swap: We deliberately included an option so you can skip the corn syrup if you prefer, proving this is flexible enough for any home kitchen setup. If you are looking for more simple wins, check out my recipe for the best onion dip—another simple classic made with confidence!
Essential Equipment for Perfect Homemade Marshmallows
Okay, let’s talk tools. Whenever you step into the world of from scratch candy making, you need the right gear. I’m not going to ask you to buy ten specialized gadgets, but for these homemade marshmallows, a couple of things are non-negotiable if you want that perfect, light texture.
If you try to wing the temperature, you’re going to end up with sticky goo or hard candy, and we want pillowy treats only! Here’s what you absolutely need on your counter before you start:
- A Sturdy Stand Mixer: This is my big one. You need the whisk attachment, and you need it running on high for a full 12 to 15 minutes. A hand mixer will overheat, and you’ll get tired long before the mixture reaches the right volume.
- Candy Thermometer: Seriously, don’t skip this! We are targeting 240 degrees Fahrenheit for the soft-ball stage. This little device is what separates a good, fluffy batch from a failed one.
- 9×13 Inch Baking Pan: This provides the perfect shallower depth for cutting nice, thick squares. Get it ready before you even touch the gelatin.
- Medium Saucepan: For cooking down the syrup. Nothing too wide, as we need a consistent, easy-to-read temperature reading.
- Sharp, Oiled Knife or Pizza Cutter: You’ll need this for cutting the set slab. Oil it lightly so that sticky marshmallow doesn’t cling to the blade.
- Heat-Safe Spatula: You’ll use this to scrape the mixture into the pan. Silicone is great here!
Having these five main items ready means you’ve already conquered half the battle in achieving your easy marshmallow recipe success. Let’s get organized!
Ingredients for Fluffy Homemade Marshmallows From Scratch
Getting the ingredients right is my first step in building confidence in from scratch candy making. We keep this list short, but every item counts for those fluffy marshmallows from scratch. Don’t worry; the prep is minimal, though the dusting mixture requires a quick whisk beforehand. If you want to go ahead and prep other simple sweets while waiting for these to set, I highly recommend whipping up my famous cinnamon sugar French toast muffins!
Here is the simple list you’ll need for about three dozen perfect squares:
- Three tablespoons of unflavored gelatin powder: This is the backbone holding up all that fluff!
- One-half cup of cold water: Used only to bloom the gelatin—don’t substitute this!
- One and a half cups of granulated sugar: For sweetness in the main body.
- One cup of light corn syrup: This is key for that perfect, non-grainy texture. (But stick around, because I’ll explain the swap in a minute!)
- One-half cup of water: This goes into the saucepan with the sugar to create the syrup.
- One-quarter teaspoon of salt: Just a pinch to balance all that sugar.
- One teaspoon of pure vanilla extract: Vanilla should always be pure here; the flavor is too dominant to fake it.
- One-half cup of powdered sugar: For dusting the pan.
- One-half cup of cornstarch: Combined with the powdered sugar to create our non-stick shield.
Step-by-Step Guide to Making Homemade Marshmallows
Alright, put on your command hat! This is where the science meets the sweet, and following these steps exactly is what guarantees those spectacular, cloud like texture dessert results. Handling hot sugar syrup can be nerve-wracking, but you watch the thermometer, you move carefully, and I promise you this process works flawlessly every single time. If you’ve made a cake like my apple dapple cake, you already know about paying attention to temperature; this is just candy style! Let’s get these DIY marshmallows whipping.
Preparing the Pan and Blooming the Gelatin for Homemade Marshmallows
First things first: we set up our sticky shield! You need to generously grease your 9×13 pan, then whisk together the powdered sugar and cornstarch, dusting every single surface. Seriously, use more than you think you need—trust me on this one to prevent sticking later.
While that pan rests, we hydrate the gelatin. Put your unflavored gelatin powder into the stand mixer bowl and pour the half-cup of cold water over it. You’ll notice it looks a little wrinkly shortly after. This is called blooming, and it’s soaking up all that water so it can get nice and bouncy when we whip it later. Give it about 5 to 10 minutes to do its job.
Cooking the Sugar Syrup to Soft-Ball Stage
Now for the hot part! In your saucepan, combine the sugar, corn syrup (or your substitute mix), salt, and the other half-cup of water. Stir it gently *just* until the sugar dissolves—stop stirring once it starts boiling. We need that candy thermometer attached, and we are aiming for exactly 240 degrees Fahrenheit. That temperature is the soft-ball stage, the magic number that tells us the sugar has the perfect concentration to create that signature bouncy structure in your homemade marshmallows.
The second that thermometer hits 240°F, pull that pan right off the heat. No waiting! We want that heat transferred quickly into the gelatin.
Whipping and Flavoring Your Fluffy Marshmallows From Scratch
This is where the volume happens. Turn your mixer to low speed—and I mean slow and steady—then carefully and slowly pour that hot syrup down the side of the bowl into the bloomed gelatin. Try your absolute best not to pour it directly onto the whisk! Once it’s all in, crank that mixer up to high. You need to let this whip for a full 12 to 15 minutes. Seriously, don’t stop early! You’re looking for the mixture to become thick, glossy white, and hold stiff peaks when you lift the whisk. It should feel warm to the touch, not hot anymore. When that clock hits 12 minutes, beat in your vanilla extract.
Setting and Cutting the Final Pillowy Treats
Work fast now! Scrape that voluminous, sticky mixture into your prepared, dusted pan. Use an oiled spatula to gently spread it across the bottom evenly—don’t press down too hard, or you’ll deflate the air we just whipped in!
Dust the top heavily with the leftover dusting mixture. Let the whole thing sit uncovered at room temperature for a minimum of four hours, but overnight is really best for consistency. Once it’s totally firm, turn that slab out onto a generously dusted surface. Use a sharp, oiled knife to cut them into your desired squares, maybe even tossing the cut sides in any extra dust if they stick. Congratulations, you just mastered soft candy recipes!
Ingredient Notes and Swapping for Your Homemade Marshmallows
So many of you ask right away: “Emily, do I *have* to use corn syrup?” I totally get it; sometimes people want to stick to simpler sweeteners, and I want you to have confidence in this recipe no matter what you keep stocked! For these homemade marshmallows, corn syrup does stabilize the sugar beautifully and prevents crystallization, giving us that smooth texture. But here is the exciting news: you absolutely can make No Corn Syrup Marshmallows!
To successfully make that swap, you need to replace the volume of that one cup of corn syrup exactly. Instead of corn syrup, use one cup of granulated sugar mixed with one-half cup of water. You cook this slightly different syrup blend right alongside the main sugar/water portion until it hits that magic 240 degrees F. The structure will be slightly different—maybe a tiny bit less glossy—but it will still be wonderfully soft and delicious. If you’re swapping ingredients, you might also enjoy my straightforward easy homemade tomato sauce recipe, which relies on pantry staples!
Now, if you aren’t worried about the syrup and want to jump straight into making these amazing DIY marshmallows even more special, let’s talk flavor additions to create a true gourmet marshmallow. This is where you can really shine! Instead of just vanilla, try adding some bright citrus zest—like lemon or orange—right when you add the vanilla. Make sure the zest is very fine, grated right off the fruit. The acidity and oils boost the general flavor profile massively, turning simple vanilla marshmallows into something really bright and sophisticated!
Expert Tips for Perfect Homemade Marshmallow Texture
I want you to feel like you’ve commanded your kitchen when you pull these out, not like you fought them! As you practice this beginner marshmallow tutorial, you’ll notice a few things that make a big difference between good and truly incredible results. Candy making is precise, but once you know the cheat codes, it’s smooth sailing to those pillowy treats.
Here are the three main things I always watch out for:
- Humidity is Your Enemy: If it’s pouring rain outside, maybe wait to tackle this specific from scratch candy making project. Marshmallows are hygroscopic—they absorb moisture from the air, meaning that perfect dusting mixture might dissolve too quickly, leaving you with a sticky mess when you try to cut them the next day.
- Do Not Refrigerate: I know the impulse is strong, especially if you’re worried about the humidity, but resist! Refrigerating marshmallows causes condensation when they warm up, which makes them weep and turn sticky again. They are perfectly happy setting up on the counter, uncovered, while they firm up.
- Use the Mixer to the Fullest: Remember that 12 to 15 minutes whipping time? That’s not a suggestion for when the mixture *looks* fluffy; that’s a hard requirement to incorporate enough air. That long mixing time stabilizes the sugar structure. If you stop at ten minutes, you get heavy goo instead of light cloud like texture dessert. Keep that mixer running!
If you follow these three simple tenets, you’ll consistently produce the best homemade marshmallow. For more tips on building kitchen confidence with simple ingredients, you must try dipping some crusty bread into my olive oil bread dip recipe—it’s pure comfort!
Serving Suggestions for Your Homemade Sweets
Now that you’ve made the best homemade marshmallow, the fun part is deciding how to devour them! These homemade sweets are incredibly versatile, but I have my absolute favorites for using them up right away. Of course, you need to experience them as the ultimate marshmallow for hot cocoa. Just drop one (or three!) in the mug and watch it dissolve into creamy goodness.
They are also the mandatory centerpiece for any good campfire activity—nobody wants a stale, thin s’more when they require a truly glorious s’mores recipe ingredient! And if you can manage to hold onto them that long, these make fantastic holiday candy recipes when placed in pretty tins for gifting. If you want the beverage to match the luxury, make sure you have my recipe for the best hot cocoa mix ready to go. My favorite creative way to use them? Toasting them lightly and pressing them onto simple chocolate chip cookies for a gourmet twist!
Storage and Reheating Instructions for Homemade Marshmallows
You’ve made these beautiful, pillowy clouds—now we need to keep them looking and tasting perfect! The good news is that these homemade marshmallows are quite stable, provided you follow one major rule: keep them at room temperature. Storing them in an airtight container is key; I usually use a large, clean cookie tin or a heavy-duty zip-top bag after they finish setting.
This way, they should stay perfectly soft and airy for at least two to three weeks. If you store them properly, you preserve that incredible cloud like texture dessert we worked so hard to whip up!
So, why am I so adamant about keeping them out of the fridge? Well, I mentioned humidity earlier, and the refrigerator is essentially a giant humidity trap in candy terms. Putting these soft candy recipes into the cold air makes them sweat when they warm back up, which causes the powdered sugar and cornstarch coating to dissolve into a sticky mess. You end up with sweet glue instead of a perfect cube!
If you absolutely must store them longer than three weeks, yes, you can freeze them. Pop the squares into a freezer-safe bag, making sure there is very little air inside. When you want to use them, just pull them out and let them thaw slowly at room temperature for a few hours. They usually bounce right back beautifully, ready to top your next cup of cocoa!
Frequently Asked Questions About Making Marshmallows
It’s totally normal to have questions when you start venturing into from scratch candy making. This process is a little different than baking cookies! I answered the most common queries I get about whipping up these clouds so you can feel totally confident moving forward with your DIY marshmallows. If you breeze through this, you might want to try my easy sweet potato muffins recipe next!
Can I make homemade marshmallows without a stand mixer?
You can attempt it, and I respect the hustle, but honestly, it’s tough! To get that structure and the true cloud like texture dessert, the mixture needs 12 to 15 minutes of sustained, high-speed whipping. If you don’t have a stand mixer, you would need a very powerful hand mixer, and you’ll still need to switch beaters out constantly to prevent overheating. My best advice is to recruit a family member to help you whip by hand for the first few minutes while you pour the syrup, then take over with the hand mixer, but be prepared to take breaks.
How do I make gourmet marshmallow flavors?
This is so fun! You introduce your flavor additions—whether it’s a pure extract (like almond, coconut, or peppermint) or some finely grated zest—during the very last minute of whipping. Once the mixture is thick, glossy, and holding stiff peaks, turn the mixer down to low, add your teaspoon of flavorant, pulse a few times to combine, and stop. Adding flavors too early means they might break down or compromise the volume we worked so hard to build for our perfect homemade marshmallows.
Why are my homemade marshmallows sticky after cutting?
Ninety-nine percent of the time, this comes down to one of two things: either you didn’t let them set long enough (they need that full 4 hours minimum, overnight is better) or you didn’t dust the pan *generously* enough in the beginning. Before you cut, make sure your base is firm! If they are sticking to the knife, wipe the knife down with unscented oil and toss the sticky sides generously in your powdered sugar/cornstarch mix. That dusting mixture is your best friend for keeping these fluffy marshmallows from scratch from sticking to everything in sight!
Share Your Homemade Marshmallow Creations
Look at you! You’ve conquered the candy thermometer, tamed the sugar syrup, and now you have these gorgeous, cloud-like homemade marshmallows sitting on your counter. That is serious kitchen command right there! I genuinely want to hear all about your adventure. Did the 15 minutes of whipping feel like an eternity? Did you successfully pull off the no corn syrup version? Tell me everything in the comments below!
Sharing your successes, especially with something that feels like a true technical challenge like this easy marshmallow recipe, is how we grow together here at Cookery Command. Leave a rating if these became your new favorite simple dessert recipe, and please, if you made these for hot cocoa or roasted them for s’mores, tag me in photos! Knowing I helped you bring these incredible homemade sweets into your kitchen with confidence is the best reward a food lover like me can ask for. If you have questions or just want to say hello, you can always reach out via the contact page!
PrintThe Easiest, Fluffiest Homemade Marshmallow Recipe
Make soft, fluffy, and pillowy homemade marshmallows from scratch. This simple recipe delivers a cloud-like texture superior to store-bought versions and is perfect for hot cocoa or s’mores.
- Prep Time: 20 min
- Cook Time: 10 min
- Total Time: 4 hr 30 min
- Yield: About 3 dozen 1x
- Category: Dessert
- Method: Candy Making
- Cuisine: American
- Diet: Vegetarian
Ingredients
- 3 tablespoons unflavored gelatin powder
- 1/2 cup cold water (for blooming gelatin)
- 1 1/2 cups granulated sugar
- 1 cup light corn syrup (or substitute with 1 cup granulated sugar + 1/2 cup water for no corn syrup option)
- 1/2 cup water (for syrup)
- 1/4 teaspoon salt
- 1 teaspoon pure vanilla extract
- 1/2 cup powdered sugar (for dusting)
- 1/2 cup cornstarch (for dusting)
Instructions
- Lightly grease a 9×13 inch baking pan. Mix the powdered sugar and cornstarch together in a small bowl. Dust the entire inside of the prepared pan generously with this mixture. Set aside.
- In the bowl of a stand mixer fitted with the whisk attachment, combine the gelatin powder and 1/2 cup cold water. Let this mixture sit for 5 to 10 minutes to bloom.
- While the gelatin blooms, prepare the sugar syrup. In a medium saucepan, combine the granulated sugar, corn syrup (or sugar/water substitute), 1/2 cup water, and salt. Stir gently over medium heat until the sugar dissolves.
- Attach a candy thermometer to the side of the saucepan. Bring the mixture to a boil without stirring. Cook until the syrup reaches 240 degrees Fahrenheit (soft-ball stage).
- Once the syrup reaches 240 degrees Fahrenheit, immediately remove the pan from the heat.
- Turn the stand mixer on low speed. Carefully and slowly pour the hot sugar syrup down the side of the mixing bowl into the bloomed gelatin. Avoid pouring directly onto the whisk.
- Once all the syrup is added, increase the mixer speed to high. Beat for 12 to 15 minutes until the mixture is very thick, glossy, white, and holds stiff peaks. The outside of the bowl should feel warm, not hot.
- Beat in the vanilla extract during the last minute of mixing.
- Working quickly, scrape the marshmallow mixture into the prepared baking pan. Use a lightly oiled spatula to spread it evenly into the pan.
- Dust the top surface generously with the remaining powdered sugar and cornstarch mixture.
- Let the marshmallows set uncovered at room temperature for at least 4 hours, or preferably overnight. Do not refrigerate.
- Once fully set, turn the marshmallow slab out onto a surface dusted with the powdered sugar mixture. Use a sharp, oiled knife or pizza cutter to cut the slab into squares. Toss the cut edges in the remaining dusting mixture to prevent sticking.
Notes
- If you skip the corn syrup, you must use 1 cup granulated sugar plus 1/2 cup water in the saucepan to replace the corn syrup volume.
- Use a stand mixer for the best results; hand mixers may struggle with the long whipping time required for proper texture.
- To make gourmet marshmallow flavors, add extracts (like peppermint or almond) or finely grated zest along with the vanilla in Step 12.
Nutrition
- Serving Size: 4 squares
- Calories: 150
- Sugar: 30
- Sodium: 5
- Fat: 0
- Saturated Fat: 0
- Unsaturated Fat: 0
- Trans Fat: 0
- Carbohydrates: 38
- Fiber: 0
- Protein: 2
- Cholesterol: 0