

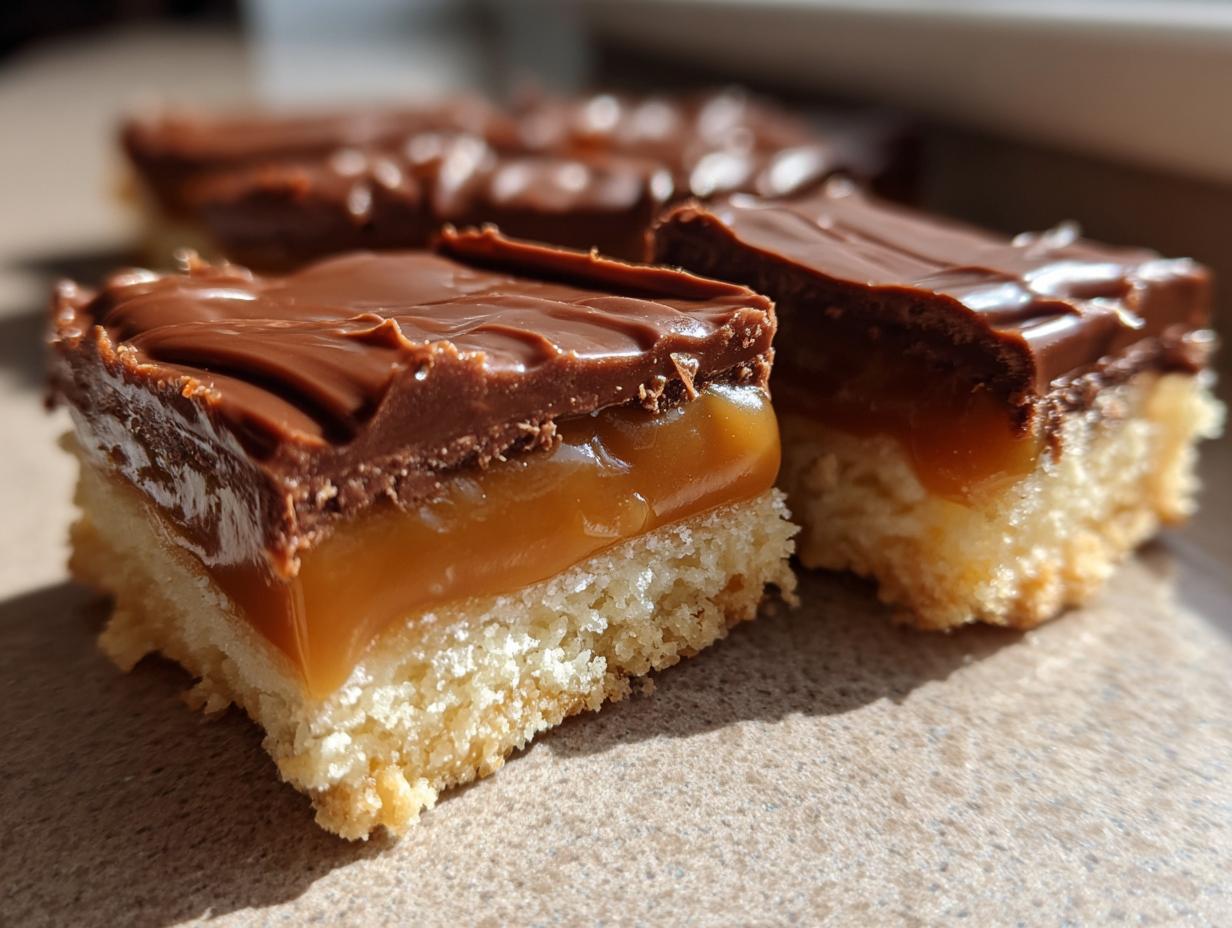
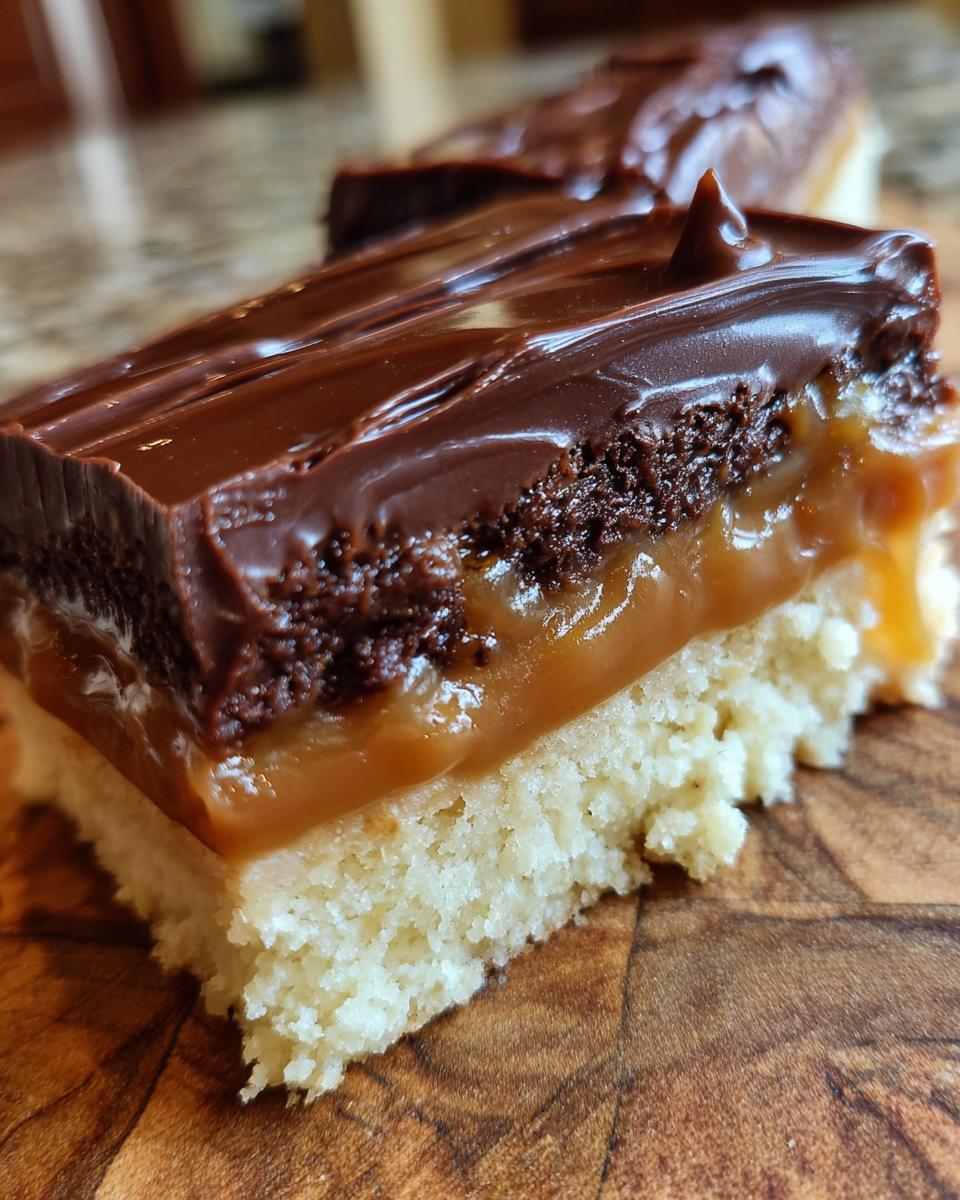
You know those moments when only a specific, layered candy bar will hit the spot? That’s exactly why I developed this ultimate Homemade Twix Bars Recipe. We’re not talking about a rushed, sad approximation here; this is the real deal, complete with a tender, buttery shortbread base, that wonderfully gooey caramel, and a thick blanket of rich chocolate. Growing up in Ohio, my grandmother taught me that if you’re going to make something from scratch, it has to be better than what you can buy. Trust me, these twix bars beat the wrapper every single time. We’ve tested every layer rigorously so you can feel confident bringing this decadent treat to your table. For more desserts developed with this same level of care, check out all our reliable dessert recipes.
- Why This Homemade Twix Recipe is Your New Favorite
- Gathering Ingredients for Perfect Twix Bars
- Step-by-Step Instructions for Homemade Twix Cookie Bars
- Tips for Perfect Homemade twix Cookie Bars
- Storage and Make-Ahead Options for Your twix Treats
- Variations on the Classic twix Bar Flavor Profile
- Frequently Asked Questions About Making twix Copycat Recipes
- Estimated Nutritional Breakdown for twix Cookie Bars
- Share Your Homemade twix Creations
Why This Homemade Twix Recipe is Your New Favorite
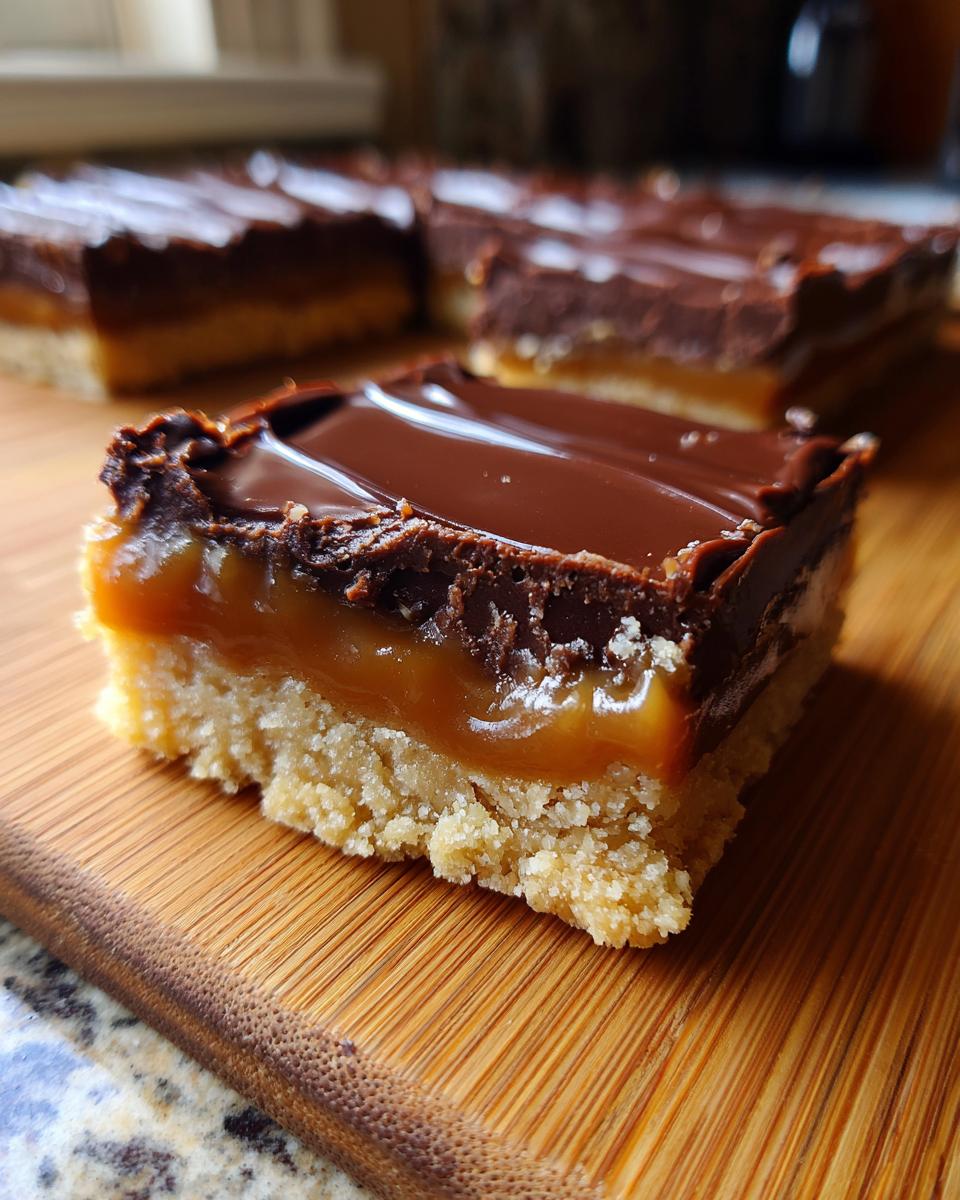
Honestly, why settle for the foil-wrapped version when you can have this perfectly messy, wonderfully rich treat right at home? This Copycat Twix Recipe is engineered to taste fresher and more luxurious than anything you grab at the checkout line. We nail that beloved texture—that buttery shortbread melts right into the gooey caramel sandwiched between that perfect shortbread. You just can’t beat handmade when it comes to layered dessert bars.
Key Benefits of Our Twix Cookie Bars
- Unbeatable texture: That buttery shortbread base melts right into the gooey caramel layer.
- Superior flavor profile because we use real butter and quality chocolate.
- Reliable results: This recipe is tested, meaning your Homemade Twix Bars Recipe works every time.
- They look amazing for parties; these are truly Rich Dessert Bars for Parties!
Gathering Ingredients for Perfect Twix Bars
Okay, now we get down to brass tacks. You can’t make the best twix copycat at home without grabbing the right building blocks. Remember, homemade means better ingredients! I’ve detailed exactly what you need below, separating them out so you don’t mix up the shortbread butter with the caramel butter. That’s a rookie mistake, and we don’t make those here at Command Central. Having everything ready before you start mixing is half the battle won, especially when dealing with layers that need to cool perfectly. For more inspiration on making things from scratch, check out my tips for candied orange slices.
Ingredients for the Shortbread Base
- 1 cup unsalted butter, softened
- 1/2 cup granulated sugar
- 2 cups all-purpose flour
- 1/4 teaspoon salt
Ingredients for the Gooey Caramel Layer
This is where the magic happens for your Simple Caramel Layer Dessert. Make sure your brown sugar is nicely packed into the measuring cup!
- 1 (14 ounce) can sweetened condensed milk
- 1 cup packed light brown sugar
- 1/2 cup unsalted butter
- 1 teaspoon vanilla extract
Ingredients for the Chocolate Coating
The coconut oil here is key—don’t skip it! It keeps the chocolate layer glossy and pourable, making it easier to get that smooth top on your chocolate caramel cookie recipe.
- 1 1/2 cups semi-sweet chocolate chips
- 1 tablespoon coconut oil
Step-by-Step Instructions for Homemade Twix Cookie Bars
Alright, let’s put this beautiful lineup of ingredients to work! This recipe flows naturally in three main stages, and staying on top of your timing is what separates a good bar from a truly professional-tasting twix copycat. I rely on my kitchen timer heavily here, especially for the caramel. We’re baking today, so make sure your oven is ready to go.
Preparing and Baking the Shortbread Base for your twix
First things first, get your oven humming at 350°F (175°C). You absolutely must line that 9×13 inch pan with parchment paper—make sure you leave an overhang on the sides! That overhang is our handle for lifting the whole slab out later, trust me, it’s a lifesaver. Cream that softened butter and granulated sugar until it’s light and fluffy, then mix in the flour and salt until it looks crumbly. Press that dough firmly and evenly into your prepared pan. We bake this base for about 15 to 18 minutes, just until you notice the edges turning a whisper of golden brown. Don’t let it get dark! Once it’s out, just let it cool down a little while we focus on that gooey center.
Making the Gooey Caramel Layer for these twix
This is the fun part, but stay close! In a saucepan over medium heat, combine your milk, brown sugar, and butter. You stir this constantly until it melts and just starts to boil gently. Then, drop the heat down low and keep stirring for 5 to 7 minutes. I’m looking for it to thicken just enough that it coats the back of my spoon nicely—don’t let it get too stiff, or you’ll have rock-hard caramel! Stir in that vanilla, pour it evenly over the still-warm shortbread base, and pop the whole thing back into the oven for 10 more minutes. The caramel should be bubbly across the top. Now, patience! Let the pan cool completely—we need at least an hour at room temperature, or you can pop it in the fridge for 30 minutes to firm up before you add the final layer. If you’re looking for other great layering treats, my easy maple fudge recipe is another winner.
Finishing the Chocolate Coating and Cutting the twix
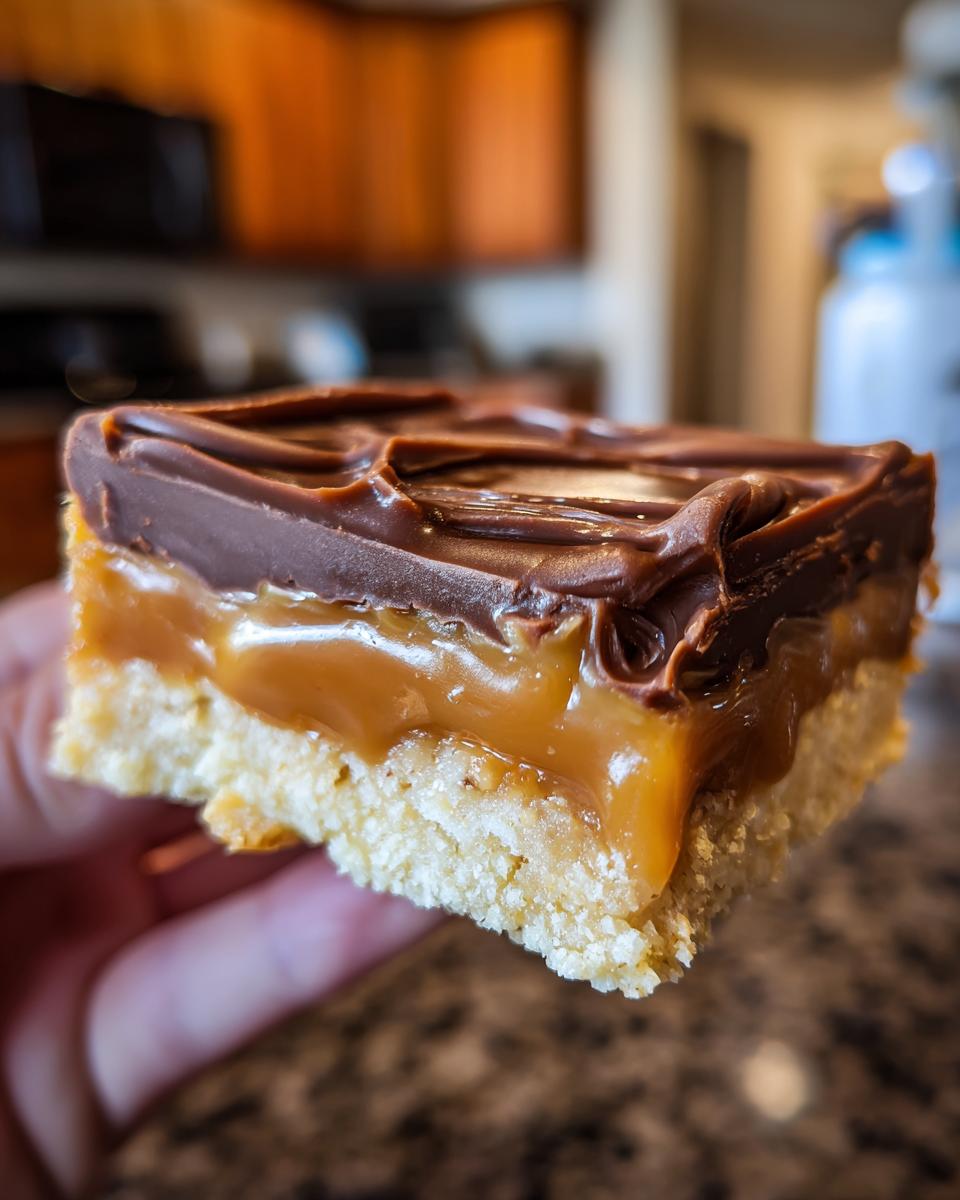
Time for the glorious chocolate coating! Gently melt your chocolate chips and coconut oil together. I use the microwave because it’s fast, heating in 30-second bursts and stirring hard in between until it’s perfectly smooth. Pour that melted chocolate right over your fully cooled caramel layer. Spread it out carefully with an offset spatula until it’s a nice, even surface for your Homemade Chocolate Coated Bars. Now, back into the fridge it goes! It needs at least an hour until that top chocolate layer is totally firm. Once it’s set, use those parchment overhangs to lift the giant slab out. Use a large, very sharp knife to slice it neatly into your perfect portions. For absolute crispness, you can grab some inspiration from this recipe breakdown: Homemade Twix Bars Recipe.
Tips for Perfect Homemade twix Cookie Bars
You’ve got your luscious twix bars made, but now comes the moment of truth: slicing! Getting those clean edges is the difference between a casual snack and show-stopping dessert bars. That perfect texture we worked so hard for depends on a few simple tricks that I always rely on. Remember that the shortbread base is delicate, so we need to treat it gently until it’s fully set.
Achieving Clean Cuts on Your twix
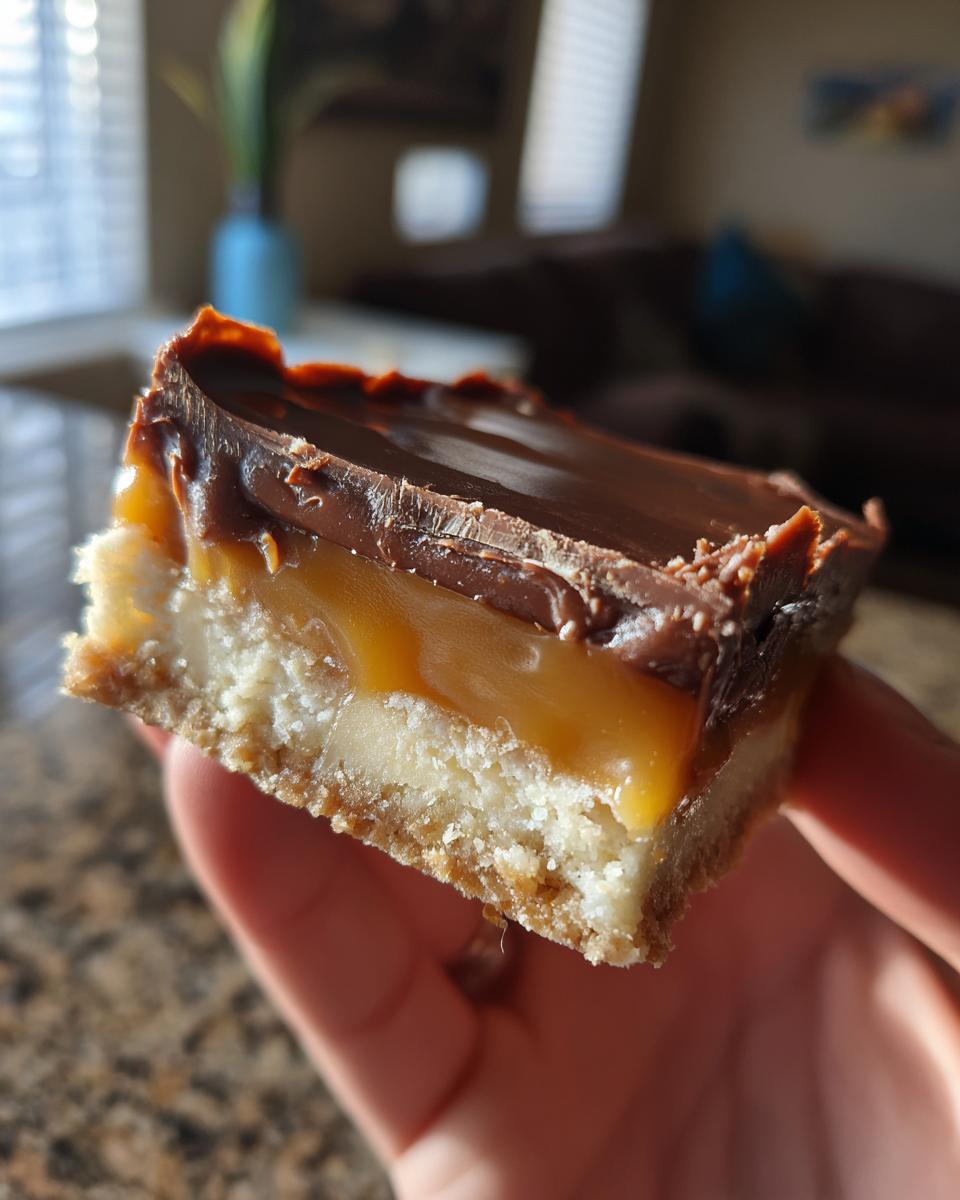
My biggest piece of advice, the thing that keeps these from turning into a caramel-chocolate disaster when slicing, is chilling. You must chill the finished bars completely! I mean an hour minimum in the fridge, closer to two if your kitchen is warm. Once they are rock solid, grab your sharpest, biggest knife—wipe the blade clean between cuts, too. This prevents dragging the chocolate layer. Also, if you decide to use an 8×8 inch pan instead of the 9×13 inch pan we used, just know the shortbread layer will be thicker, and you’ll need to add about 5 or 7 extra minutes to that initial bake time. You can find more tips for perfect shaping over on my guide to classic butter cookies.
Caramel Consistency Guidance for Your twix
That caramel boil time—5 to 7 minutes—is everything. If you cook it too long, even just an extra minute or two, that gorgeous gooey layer begins to crystalize and seize up while cooling, turning it into the hard, chewy caramel you find in cheap caramel candies. Not what we want for our homemade twix! But if you pull it off the heat too early when it’s still thin, it will just run everywhere once you spread it, soaking into the shortbread base instead of sitting nicely on top. You want that slight thickening, where it pulls away from the bottom of the pan just a little when you stir, but can still pour easily.
Storage and Make-Ahead Options for Your twix Treats
Planning ahead for a party or just want to make a huge batch of these incredible twix bars? Good news! They are fantastic for making ahead of time. Because of that sturdy chocolate coating, these layered dessert bars hold up really well, even better than soft cookies sometimes!
Once you have cut the chilled bars, store them in an airtight container—I suggest layering them between pieces of parchment paper so the chocolate doesn’t stick. They are perfectly happy sitting on the counter at room temperature for about three days, but honestly, they taste even better after they’ve chilled overnight. If you need them to last longer, pop them in the fridge for up to a week. They freeze beautifully too! You can line a freezer-safe container with parchment and freeze them for up to two months. They aren’t quite as easy for freezing as something like my Christmas sprinkle sugar cookies, but they still do great.
Variations on the Classic twix Bar Flavor Profile
While the standard twix configuration is perfect, sometimes a cook just needs to experiment! If you’re looking to get creative with your layered dessert bars, switching up one component can totally change the experience. Want a hint of citrus? Add some lemon zest right into that shortbread dough, much like I do in my lemon brownies! Or, if you’re looking for a healthier spin that still hits those flavor notes, you might want to check out how Rachael works her magic for healthy Twix bars.
Making Bite Sized Twix Treats
If you are bringing these to a cookie exchange or just want to manage portion control (which I find nearly impossible with these!), making them smaller is the way to go. You can certainly just cut the finished slab into tiny squares to make true Bite Sized Twix Treats. But for a real fun presentation, try pressing the shortbread dough into mini muffin tins instead of a 9×13 pan.
When you do that, you’ll need to bake the base for less time—maybe 10 to 12 minutes tops. Then fill each pressed cup with caramel before the final short bake. After cooling, skip pouring the whole sheet of chocolate over the top; instead, just dip the tops quickly in the melted chocolate. This gives you the cutest little Quick Twix Bites Recipe!
Frequently Asked Questions About Making twix Copycat Recipes
I get so many questions after people try this recipe! It’s funny how a simple candy bar inspires so many baking questions. It really goes to show how much we all love that combination of crunch, chew, and chocolate! I like to think of these as the new standard for Homemade Candy Bar Replication. Here are the things folks ask me most often about making their own twix delights from scratch. For all the details on simple layering, you can always check out our main guide to easy homemade candy bar replication.
Can I make a No Bake Twix Bites alternative?
This specific recipe relies on baking that shortbread base and then baking the caramel briefly to get it settled just right—it’s a baked foundation for the best flavor! If you really need a No Bake Twix Bites alternative, the quickest way is to skip the initial shortbread bake. You could try using pre-made shortbread cookies or vanilla wafers as your base layer, pressing them into the pan firmly, but you’ll miss some of that fresh, buttery flavor we love so much.
What kind of chocolate works best for the twix coating?
For the coating, it really comes down to how sweet you like your version! I used semi-sweet in the main recipe because I feel the sweetness of the caramel layer balances that out nicely, resulting in a rich, decadent layer. However, if you prefer something sweeter—maybe you grew up loving the milk chocolate bars—you can absolutely swap in milk chocolate chips for the semi-sweet. Just make sure you still use that tablespoon of coconut oil to keep it wonderfully smooth!
How do I get the caramel soft, not hard, in my twix?
This is the number one caramel worry! The secret to the perfect chewy texture in your Gooey Caramel Shortbread Bars is controlling that stovetop time. Remember that 5 to 7 minute boil time once the butter melts? That’s it! As soon as you see it thicken slightly while stirring, pull it straight off the heat. If you let it go even a minute too long, it keeps cooking even after you take it off the burner and it will set up too hard when it cools. Immediate removal after thickening ensures that soft, pull-apart caramel layer.
Estimated Nutritional Breakdown for twix Cookie Bars
Now, I know sometimes we want to peek at the numbers, but I want to be super clear up front: these are estimates! Since we’re making these decadent twix bars from scratch with all that butter and caramel, they are definitely a treat. The recipe notes provide a general idea of what you’re getting in each serving.
- Serving Size: 1 bar
- Calories: 280
- Sugar: 25g
- Fat: 16g
- Protein: 3g
Keep in mind that baking results can slightly change the final count, but this is a good benchmark for our wonderful Chocolate Caramel Cookie Recipe.
Share Your Homemade twix Creations
My favorite part of testing and sharing recipes like these incredible twix bars is hearing from you! Once you’ve pulled that beautiful slab out of the fridge, chilled, and managed to cut those perfectly even layers, I really want to see what you made. Did you manage to get the chocolate coating perfectly smooth? Did you sneak a taste test before everyone else got one?
Please take a moment to rate this Easy Twix Cookie Bars recipe down below! Your feedback helps other home cooks feel confident trying this Copycat Twix Recipe in their own kitchens. And if you snapped a photo of your finished layered dessert bars, tag us on social media! Seeing your masterpieces—whether they are full-sized or cute little Bite Sized Twix Treats—is what keeps me inspired to keep testing in my own kitchen. If you have any specific questions that still linger after making them, don’t hesitate to reach out on the contact page!
PrintHomemade Twix Cookie Bars
Make your own decadent Twix bars at home with this easy step-by-step recipe featuring a buttery shortbread base, smooth caramel, and rich chocolate coating.
- Prep Time: 25 min
- Cook Time: 35 min
- Total Time: 60 min
- Yield: 24 servings 1x
- Category: Dessert
- Method: Baking
- Cuisine: American
- Diet: Vegetarian
Ingredients
- 1 cup unsalted butter, softened
- 1/2 cup granulated sugar
- 2 cups all-purpose flour
- 1/4 teaspoon salt
- 1 (14 ounce) can sweetened condensed milk
- 1 cup packed light brown sugar
- 1/2 cup unsalted butter
- 1 teaspoon vanilla extract
- 1 1/2 cups semi-sweet chocolate chips
- 1 tablespoon coconut oil
Instructions
- Preheat your oven to 350°F (175°C). Line a 9×13 inch baking pan with parchment paper, leaving an overhang on the sides for easy removal.
- Prepare the shortbread base: In a large bowl, cream together the softened butter and granulated sugar until light and fluffy.
- Mix in the flour and salt until just combined, forming a crumbly dough. Press this dough evenly into the bottom of the prepared pan.
- Bake the shortbread base for 15 to 18 minutes, or until the edges are lightly golden. Remove from the oven and let it cool slightly while you prepare the caramel.
- Prepare the gooey caramel layer: In a medium saucepan over medium heat, combine the sweetened condensed milk, brown sugar, and butter.
- Stir constantly until the butter melts and the mixture comes to a gentle boil. Reduce the heat to low and continue stirring for about 5 to 7 minutes until the caramel thickens slightly. Do not overcook.
- Remove the caramel from the heat and stir in the vanilla extract. Pour the warm caramel evenly over the warm shortbread base.
- Return the pan to the oven and bake for an additional 10 minutes. The caramel should be bubbly.
- Remove the pan from the oven and allow it to cool completely to room temperature, about 1 to 2 hours. Chilling in the refrigerator for 30 minutes can speed this up.
- Prepare the chocolate coating: In a microwave-safe bowl, combine the chocolate chips and coconut oil. Microwave in 30-second intervals, stirring well after each, until the chocolate is smooth and fully melted.
- Pour the melted chocolate over the cooled caramel layer. Spread it into an even layer using an offset spatula.
- Refrigerate the bars for at least 1 hour, or until the chocolate is firm.
- Use the parchment paper overhang to lift the entire slab out of the pan. Cut into bars or bite-sized pieces.
Notes
- For cleaner cuts, chill the finished bars thoroughly before slicing. Use a large, sharp knife.
- If you prefer a thicker shortbread layer, use an 8×8 inch pan instead of 9×13 inches. Adjust baking time slightly.
- You can substitute milk chocolate chips for semi-sweet if you prefer a sweeter coating for your Twix treats.
Nutrition
- Serving Size: 1 bar
- Calories: 280
- Sugar: 25
- Sodium: 110
- Fat: 16
- Saturated Fat: 9
- Unsaturated Fat: 7
- Trans Fat: 0
- Carbohydrates: 32
- Fiber: 1
- Protein: 3
- Cholesterol: 35