
Some of life’s most profound memories are born right here, in the warmth of a bustling kitchen. That’s the Cookery Command philosophy—taking the comfort of tradition and polishing it with solid technique so you can succeed every time. If you’ve ever tried to replicate those perfect, incredibly tender treats from your childhood, you know the search for the Best Butter Cookie can feel endless. But trust me, you can stop searching now. This recipe for a classic butter cookie is specifically engineered to give you that legendary, melt-in-your-mouth texture without fuss. We’ve tested the ratios so you don’t have to; all you need are simple pantry staples to create something truly special. To learn more about how we bring tradition and modern technique together, check out our story here at Cookery Command.

- Why This Classic butter cookie Recipe Delivers Melt In Your Mouth Cookies
- Gathering Ingredients for Your Best Butter Cookie
- Step-by-Step Instructions for Perfect butter cookie Dough
- Baking Your Melt In Your Mouth Cookies Perfectly
- Making butter cookie Dough for Holiday Cookie Baking and Gifting
- Variations on the Classic butter cookie
- Storage & Reheating Instructions for Soft Texture Cookies
- Frequently Asked Questions About Your butter cookie Recipe
- Estimated Nutritional Data for This Rich Dessert Recipe
- Share Your Homemade butter cookie Creations
Why This Classic butter cookie Recipe Delivers Melt In Your Mouth Cookies
It’s one thing to have a recipe; it’s another to understand the science behind why it works! My goal here is to make sure these are the most reliable, unforgettable Easy Homemade Cookies you’ve ever baked. We focus on technique to ensure you get that buttery softness everyone craves.
- Guaranteed rich butter flavor that honors tradition.
- Results in incredibly consistent, tender cookies every time.
- Perfect structure that holds its shape beautifully during baking.
Achieving That Signature Soft Texture Cookies
Getting those Soft Texture Cookies hinges on two main technical steps. First, you absolutely must cream that butter and sugar until it’s genuinely light and fluffy—that’s where the air pockets come from! Second, chilling the dough for an hour (Step 5) means the butter stays firm enough to prevent excessive spreading. These two things keep your finished butter cookie delightfully soft, not flat and crisp.
Simple Baking Ideas Using Pantry Staple Desserts
This recipe truly shines because you rarely need to run to the store. It’s proof that you don’t need fancy ingredients for award-winning flavor. This is a fantastic, straightforward option when you need a quick and satisfying Pantry Staple Dessert for unexpected guests or just a Tuesday afternoon treat. The magic is in the method, not complicated additions!
Gathering Ingredients for Your Best Butter Cookie
Before we dive into the mixing marathon, let’s get our supplies ready. Following the recipe exactly is key when aiming for that authentic, rich flavor profile. I’ve detailed everything you need below. Remember, clear measurements mean predictable, perfect results, which is essential for any great home baker.
- 1 cup unsalted butter, softened
- 1/2 cup granulated sugar
- 1/4 cup packed light brown sugar
- 1 large egg
- 1 teaspoon vanilla extract
- 3 cups all-purpose flour
- 1/2 teaspoon salt
Ingredient Notes and Substitutions for butter cookie Success
Listen closely—the butter is everything here. You must use soft, room-temperature butter; if it’s melted, the dough won’t cream correctly, and you’re heading straight for a flat cookie. We use both granulated and brown sugar because that light brown sugar adds just enough molasses to deepen the overall flavor of your butter cookie. Don’t skimp on quality here; since butter is such a primary flavor component, a higher-quality butter will really make these cookies shine.
Step-by-Step Instructions for Perfect butter cookie Dough
Alright, let’s get that mixer humming! Building great butter cookie dough is all about patience during the mixing stage, especially the initial creaming. You want that butter, white sugar, and brown sugar beaten together until light, pale, and fluffy—that’s Step 1. Don’t rush it! This actually whips air into the fat, which is crucial for that light texture we want, even though these are rich cookies. Next, when you bring in the egg and vanilla, mix only until they disappear. Immediately after that, add your dry ingredients slowly.
This is where many people mess up their Classic Cookie Recipes. Once the flour goes in, you need to be gentle! Mix on low speed and stop the second you see the last streak of flour disappear. If you keep going searching for perfection, that gluten develops, and suddenly you have a tough cookie instead of something melt-in-your-mouth. Trust me on this—a few tiny flour specks left over are fine; they vanish during baking. After the low incorporation, we must stop and chill the dough completely.
The Crucial Chilling Time for butter cookie Dough
You might think you can skip chilling (Step 5), but please don’t! This is non-negotiable if you want that perfect cookie shape. When the dough is cold, the fats are firm, which means the cookies spread much less in the oven. If you try to bake warm dough, you’ll end up with thin, flat disks instead of nicely mounded butter cookies. Wrap that dough tightly and let it rest in the fridge for at least an hour. It gives the flour time to hydrate, too, setting you up perfectly for baking day. We also have a recipe for a great side dish if you need something savory to balance out all this baking, like this Honey Butter Skillet Corn.
Baking Your Melt In Your Mouth Cookies Perfectly
Now that we have perfectly chilled dough, the magic happens in the oven! Remember, the entire point of this recipe is that soft, Melt In Your Mouth Cookies interior, so we have to watch them like a hawk. First thing’s first: get your oven preheated to 350 degrees Fahrenheit, and line those baking sheets properly. I always use parchment paper; it saves cleanup time and guarantees a better release for these delicate treats.
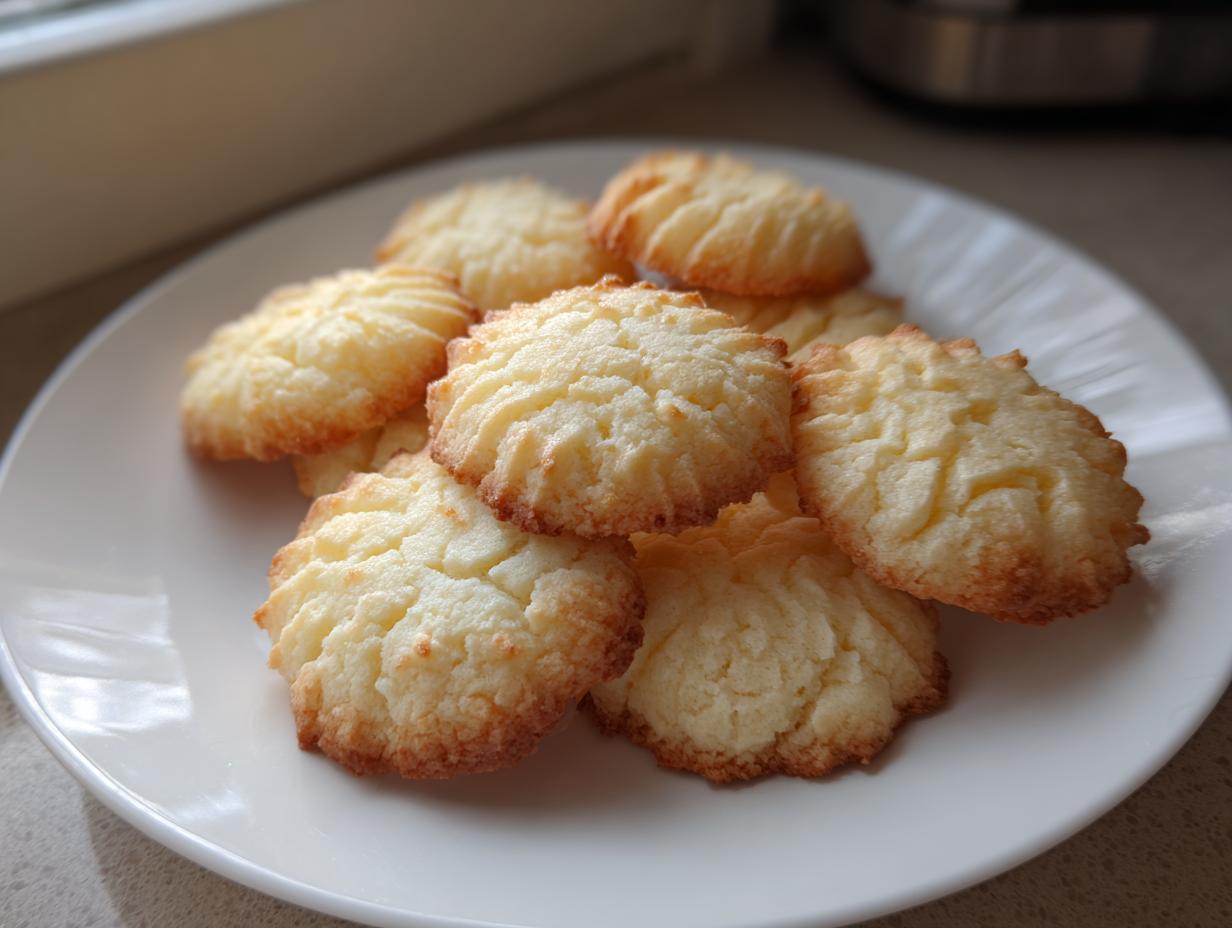
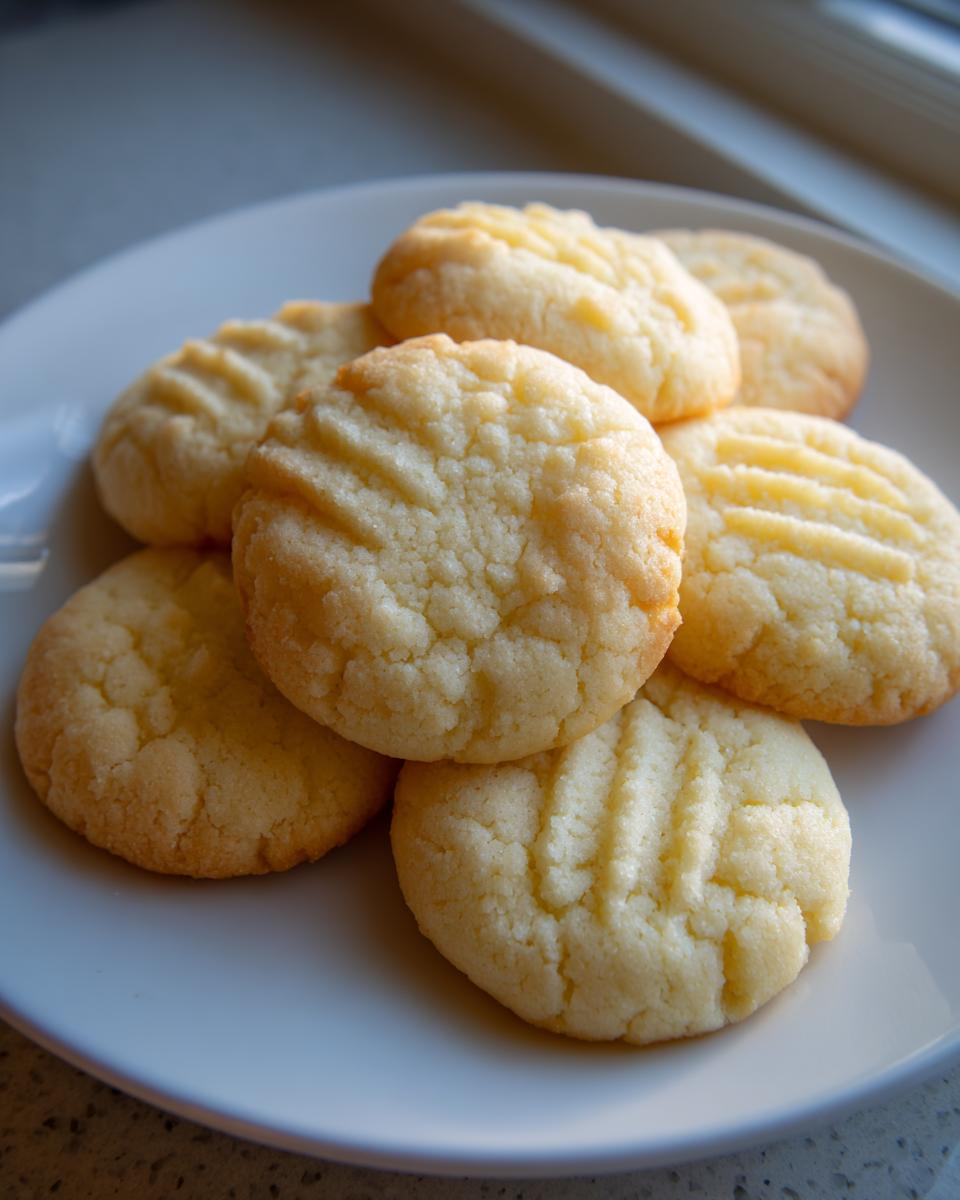
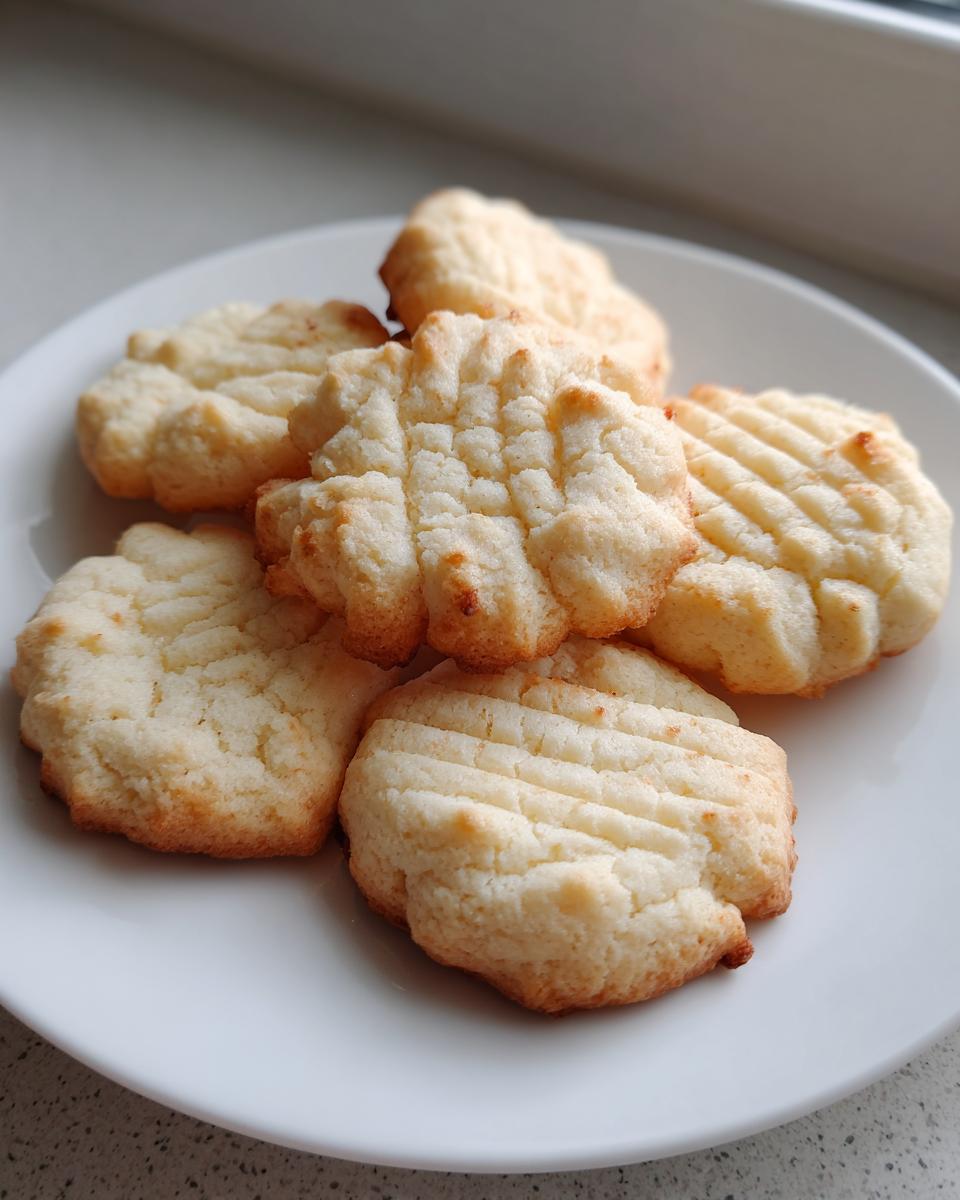
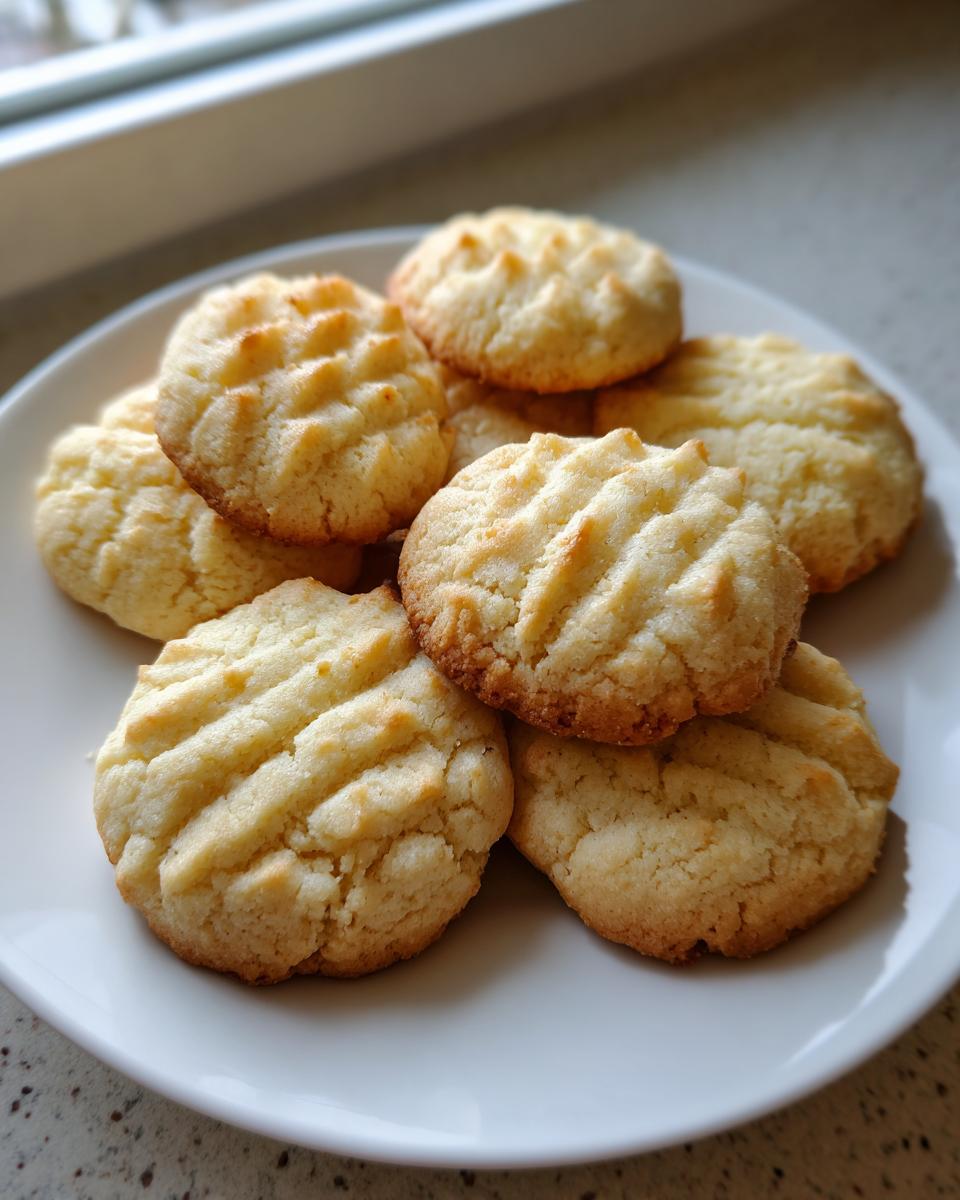
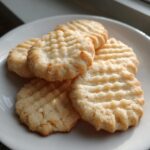
When you roll your dough balls—about one inch is perfect—give yourself two inches of space between them on the pan. If you want that classic look, gently press them once with a fork to make a cute little crosshatch pattern, but don’t press too hard, or you’ll deflate the air we worked so hard to create! Now for the crucial part: baking time. You’re looking for 10 to 12 minutes. The moment you see the edges turning just lightly golden brown, pull them out. Seriously, the centers should still look slightly pale. They continue to cook on the hot pan, and pulling them before they look totally done is the secret to keeping them tender. These certainly qualify as Rich Dessert Recipes, and we want them soft, not crisp!
Don’t touch these cookies for a full five minutes once they leave the oven. They are fragile right out of the high heat. After those five minutes of bravery, gently transfer them over to a plain wire rack to cool completely. If you want more amazing dessert ideas after you finish these, you can browse all our sweet treats right here!
Making butter cookie Dough for Holiday Cookie Baking and Gifting
One of the best things about this recipe is how perfectly it transitions from an everyday treat to something special for the holidays! If you’re planning your Holiday Cookie Baking schedule, you’ll be thrilled to know this dough holds up wonderfully. Since these butter cookies are sturdy yet tender, they make amazing Cookie Gift Ideas for neighbors or friends.
The key to making them for gifts is keeping that texture—and the notes section of the original recipe gave me a great tip! Once these cookies are completely cooled, store them layered between sheets of wax paper in a truly airtight container. They’ll stay wonderfully soft and buttery for nearly a week, which is fantastic for making ahead. If you’re looking for other holiday baking favorites, you might enjoy experimenting with our Chocolate Peppermint Cookies too!
For those of you who adore the crispier, tin-style cookies, you might want to check out how others handle the Danish styles, though we are dedicated here to keeping ours soft and melt-in-your-mouth!
Variations on the Classic butter cookie
While this recipe is perfect just the way she wrote it, I love experimenting a little bit once I’ve mastered the base technique. You can tweak the extract easily—swapping the vanilla for almond extract in the wet ingredients makes these butter cookies taste wonderfully complex, almost like marzipan! Another really bright idea is grating a little fresh lemon or orange zest right in with the sugar and butter during the creaming stage. That zest really cuts through the richness and makes them lighter for springtime baking.
A Note on Danish Butter Cookies Recipe Style
If you’ve seen tins of those famous cookies, you might be wondering about the difference. Generally, the authentic Danish Butter Cookies Recipe style uses a slightly different fat content or sometimes relies on pressing the dough through a star-tipped cookie press. This usually results in a crisper edge and a more aggressive ridged pattern. My recipe is designed for that beautiful, soft, easy-to-handle outcome, not the super crispiness you get from using a press.
Storage & Reheating Instructions for Soft Texture Cookies
The best part? These Soft Texture Cookies actually keep well, provided you treat them right! To maintain that glorious melt-in-your-mouth quality, you need very little air exposure. Store them in a truly airtight container at room temperature. I find that layering them with wax paper between batches prevents any sticking issues.
Now, please, skip the fridge if you can! Cold air is the enemy of soft cookies because it speeds up moisture loss, and we want to preserve that buttery goodness. If you must freeze them, that’s okay, but wrap them super tight first. You don’t need to reheat them, but if you want them slightly softer after a day or two, just give them a few seconds on a microwave-safe plate. If you’re dealing with runny icing, check out my guide on getting icing to dry hard so you can stack those cookies perfectly!
Frequently Asked Questions About Your butter cookie Recipe
I know that even with the best instructions, questions pop up when you’re busy baking away! That’s perfectly normal when you are mastering a new Classic Cookie Recipe. Don’t worry if you’re unsure about a step; we’ve covered the most common queries for achieving perfect results every single time. These tips should help you turn out dozens of foolproof, buttery sweets!
Can I use melted butter in this butter cookie recipe?
Oh, sweetie, please don’t melt the butter! If you use melted butter, you skip the absolute most important step for texture: creaming. Softened butter, when beaten with sugar, creates tiny air pockets. These pockets are what give your final butter cookie that wonderfully light, melt-in-your-mouth quality. Melted butter will just make the cookies spread out into thin, greasy crisps, and we want soft centers!
How do I ensure my cookies are ‘Melt In Your Mouth Cookies’ and not crisp?
It comes down to two key points, which we talked about in the technique sections. First, do not overbake them! Pull them when the edges are just barely golden—the centers should still look a little pale. Second, using that small amount of brown sugar helps tremendously because it holds onto moisture better than white sugar alone. Keep the baking time short, and you’ll nail those Melt In Your Mouth Cookies every time.
Can I skip chilling the dough?
You *can* try, I suppose, but I strongly advise against it if you want to make these the Best Butter Cookie version out there. Chilling (Step 5) solidifies the fat, which is crucial for keeping the cookie thick rather than spreading into a giant puddle on your baking sheet. For best practice, I always recommend at least an hour in the fridge. If you want to study up beforehand, you can see more fantastic easy baking ideas on our site. If you decide these cookies are perfect for your next bake sale, you can see what others think of similar recipes like those from Savory Moms Kitchen here.
Estimated Nutritional Data for This Rich Dessert Recipe
It’s only responsible cooking to know what’s in what we make, right? While I approach baking from a comfort and flavor perspective, I know getting the facts is important too. Below, you’ll find the estimated nutritional breakdown for one of these beautiful, rich butter cookies, based on the ingredients used in this recipe.
- Serving Size: 1 cookie
- Calories: 135
- Sugar: 8g
- Sodium: 65mg
- Fat: 8g
- Saturated Fat: 5g
- Unsaturated Fat: 3g
- Trans Fat: 0g
- Carbohydrates: 15g
- Fiber: 0g
- Protein: 2g
- Cholesterol: 30mg
Please keep in mind that these numbers are just estimates, which is what baking always is when we are working from scratch! The final count will vary a little bit depending on the specific brands of butter or sugar you choose to use for your butter cookie batch.
Share Your Homemade butter cookie Creations
Now it’s your turn! I truly hope this classic butter cookie recipe adds a bit of simple joy to your home, just like it does mine. If you made a batch, please come back and let me know how they turned out—did you get that perfect melt-in-your-mouth texture? Rate the recipe with 5 stars below and share any memories the aroma stirred up in your own kitchen. If you need to reach out with questions or just want to share a photo of your beautiful cookie art, find the form over here!
PrintClassic Melt-in-Your-Mouth Butter Cookies
Make rich, buttery cookies with a soft, melt-in-your-mouth texture using simple pantry staples. This recipe honors tradition and guarantees success for your home baking.
- Prep Time: 20 min
- Cook Time: 12 min
- Total Time: 80 min
- Yield: 3 dozen cookies 1x
- Category: Dessert
- Method: Baking
- Cuisine: American
- Diet: Vegetarian
Ingredients
- 1 cup unsalted butter, softened
- 1/2 cup granulated sugar
- 1/4 cup packed light brown sugar
- 1 large egg
- 1 teaspoon vanilla extract
- 3 cups all-purpose flour
- 1/2 teaspoon salt
Instructions
- Beat the softened butter, granulated sugar, and brown sugar together in a large bowl until the mixture is light and fluffy. This takes about 3 minutes.
- Add the egg and vanilla extract to the butter mixture. Beat until just combined. Do not overmix at this stage.
- In a separate bowl, whisk together the flour and salt.
- Gradually add the dry ingredients to the wet ingredients, mixing on low speed until just incorporated. Stop mixing as soon as no dry streaks of flour remain.
- Wrap the cookie dough in plastic wrap and chill in the refrigerator for at least 1 hour. Chilling helps prevent spreading.
- Preheat your oven to 350 degrees Fahrenheit. Line baking sheets with parchment paper.
- Roll the chilled dough into small balls, about 1 inch in diameter, or press the dough through a cookie press fitted with your desired shape.
- Place the shaped cookies about 2 inches apart on the prepared baking sheets. You can gently press the tops with the tines of a fork to create a crosshatch pattern if desired.
- Bake for 10 to 12 minutes, or until the edges are lightly golden brown. The centers should still look pale.
- Let the cookies cool on the baking sheet for 5 minutes before transferring them to a wire rack to cool completely.
Notes
- For the best melt-in-your-mouth texture, make sure your butter is truly softened, not melted.
- You can substitute some of the granulated sugar with powdered sugar for an even softer cookie.
- These cookies are excellent for holiday cookie baking and gifting when stored in an airtight container.
Nutrition
- Serving Size: 1 cookie
- Calories: 135
- Sugar: 8
- Sodium: 65
- Fat: 8
- Saturated Fat: 5
- Unsaturated Fat: 3
- Trans Fat: 0
- Carbohydrates: 15
- Fiber: 0
- Protein: 2
- Cholesterol: 30