
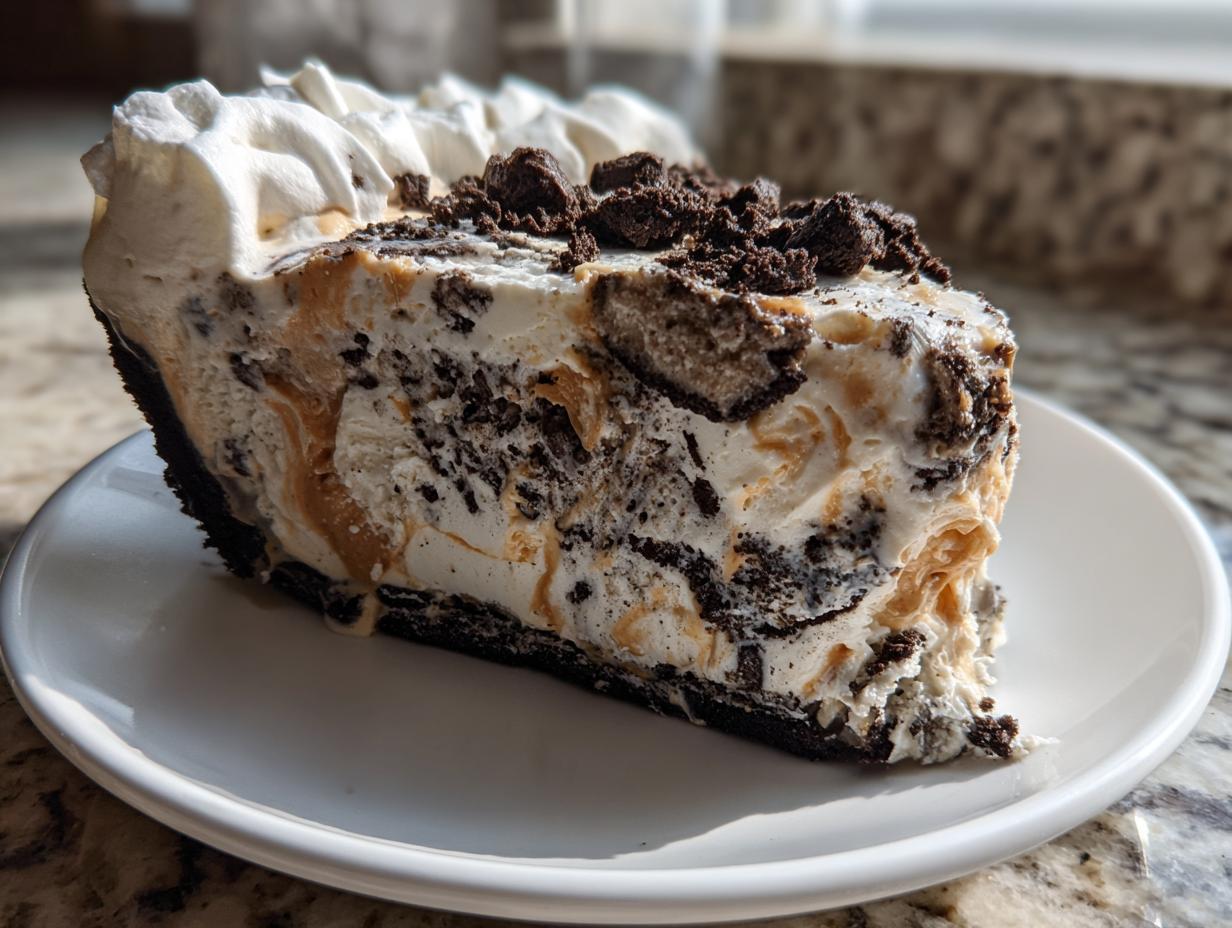
When the sun is blazing hot and you desperately need a showstopper dessert that requires zero oven time, I always, always reach for this Ultimate No-Bake Oreo Ice Cream Pie. Seriously, forget complicated tiered cakes! This is the kind of American classic that just screams happy gatherings, whether it’s the Fourth of July or just a Tuesday night when you deserve something amazing. My absolute favorite part about this ice cream pie is how incredibly simple it is to assemble; you are leaning heavily on the magic of store-bought ice cream and this deeply satisfying, crunchy oreo crust pie base. Trust me, whipping this up is pure joy, and watching people devour it? That’s the real reward. If you love treats like this, you absolutely have to check out my easy no-bake creamy peanut butter pie too! I promise this easy frozen dessert will become your new summer go-to that you can whip up any time!
- Why This No Bake Ice Cream Pie is Your New Favorite Easy Frozen Dessert
- Gathering Ingredients for Your Ultimate Ice Cream Pie
- Crafting the Perfect Oreo Crust Pie Base
- Layering the Creamy Layered Pie Filling for Your Ice Cream Pie
- Freezing and Finishing Your No Bake Ice Cream Pie
- Serving Suggestions for Your Perfect Ice Cream Pie
- Storage and Make Ahead Frozen Desserts Tips for Your Ice Cream Pie
- Frequently Asked Questions About Making Ice Cream Pie
- Estimated Nutrition for This Ice Cream Pie
Why This No Bake Ice Cream Pie is Your New Favorite Easy Frozen Dessert
This pie is the absolute definition of fuss-free fabulousness. Since we aren’t turning the oven on—hello, best summer perk!—the assembly process flies by. You get all the payoff of an incredible homemade ice cream pie with practically zero baking stress. It truly is an easy frozen dessert that everyone loves. It’s one of those brilliant quick ice cream recipes where you do your work upfront, and the freezer handles the rest.
Simple Assembly for the Ultimate Ice Cream Pie
Honestly, putting this together is almost quicker than waiting for the ice cream to soften! We just mix crumbs and butter, press it in, and then it’s all about spreading layers of soft ice cream and delicious sauces. No fussing with batter or worrying about sinkholes. It’s designed to hold together perfectly when frozen.
Gathering Ingredients for Your Ultimate Ice Cream Pie
Okay, let’s look at what we need to make this amazing frozen dessert. Since this is a no-bake recipe, precision with textures is everything! First up, you need about two cups of crushed Oreos—make sure you scrape out most of the filling, or your crust might get a little too soft. Then we only need six tablespoons of good quality, melted butter to hold that glorious oreo crust pie together.
For the filling, grab about a quart and a half of vanilla ice cream, but promise me you’ll let it sit on the counter for just about ten minutes until it’s nice and spreadable. We’re layering that with a cup of your favorite sauce—I used peanut butter sauce this time, but hot fudge is divine too! Don’t forget that fluffy cup of whipped topping waiting for the grand finale, plus maybe some chopped nuts if you’re feeling fancy.
If you’re looking for other great make ahead frozen desserts, you simply must check out my thoughts on easy no-bake creamy peanut butter pie for more no-fuss treats!
Ingredient Notes and Flavor Swaps for Your Ice Cream Pie
When you buy your ice cream, go for the full-fat stuff, okay? It freezes creamier and doesn’t get icy the way low-fat stuff does, which is crucial for a good homemade ice cream pie. You can absolutely have fun here! The recipe notes say you can swap that vanilla for mint chocolate ice cream—wow, yes please! Or, if you want something really fun, try cake batter flavored ice cream instead. Both are showstoppers! Just make sure whatever you use is softened nicely before you try to spread it over that crust!
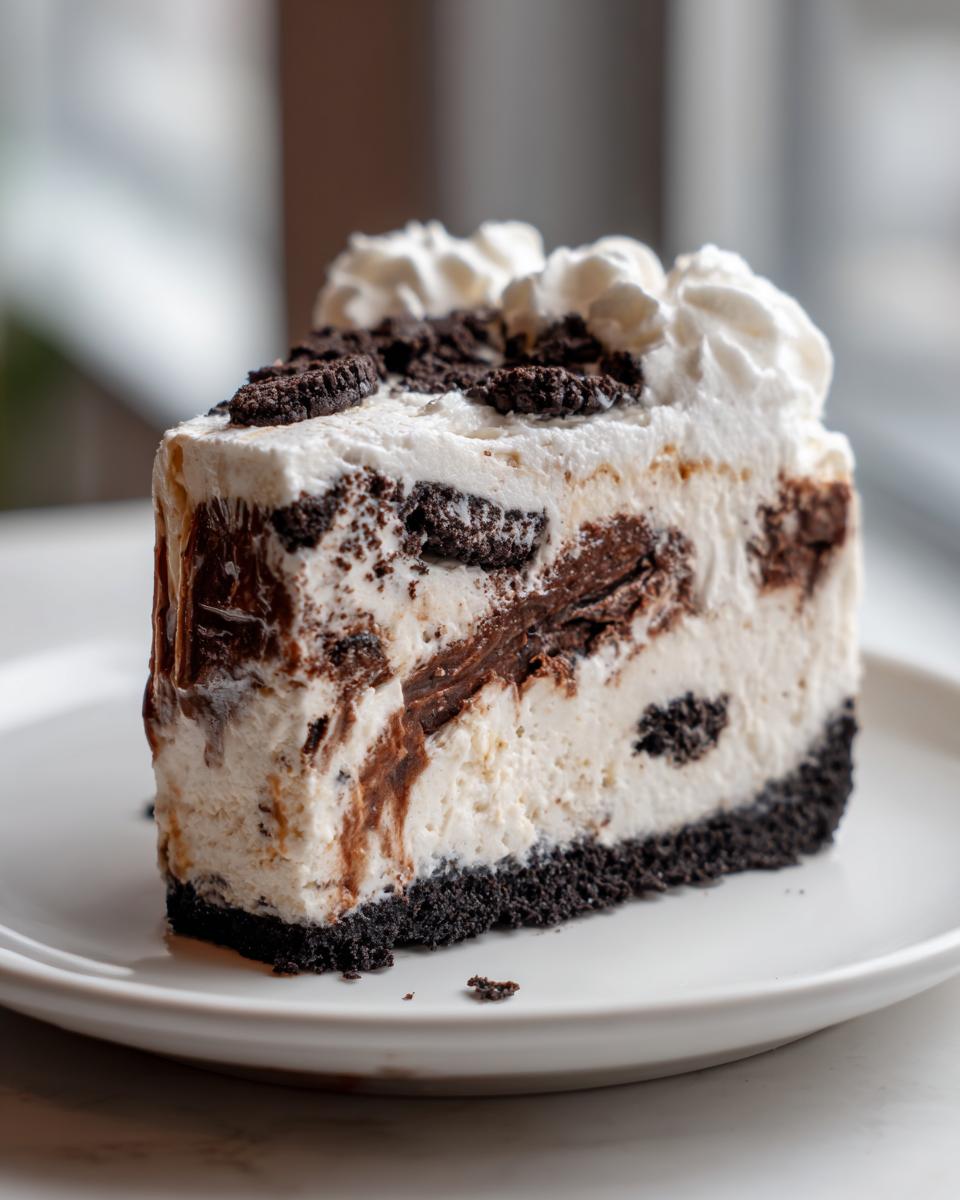
Crafting the Perfect Oreo Crust Pie Base
This is where the structure of your ice cream pie is made or broken, my friends! We’ve mixed those crunchy Oreo crumbs with the melted butter, and now we need to turn that wet sand into pavement. I always, always use the bottom of a dry measuring cup—a flat-bottomed cup works perfectly—to press the crumbs into the pie plate. Push down hard!
You want this crust to be really dense so it can hold all those glorious frozen layers later without crumbling when you slice it. Work slowly around the edges, making sure you bring the crumbs right up the sides about an inch or so. Once that base is firm and looks perfect, pop that plate straight into the freezer. It needs a good chill while you deal with the ice cream, giving you a solid foundation for your oreo crust pie.
Layering the Creamy Layered Pie Filling for Your Ice Cream Pie
Now for the fun part—building up those beautiful textures! Remember how I mentioned softening the ice cream? That ten minutes on the counter is critical. You don’t want soup, just something you can easily spread like thick frosting. Get that chilled crust out of the freezer and gently spread half of that softened ice cream evenly across the base. Don’t press too hard, we need to keep those air pockets we worked for earlier! If you love layering treats, you should peek at my recipe for sugar cookie truffles no bake recipe!
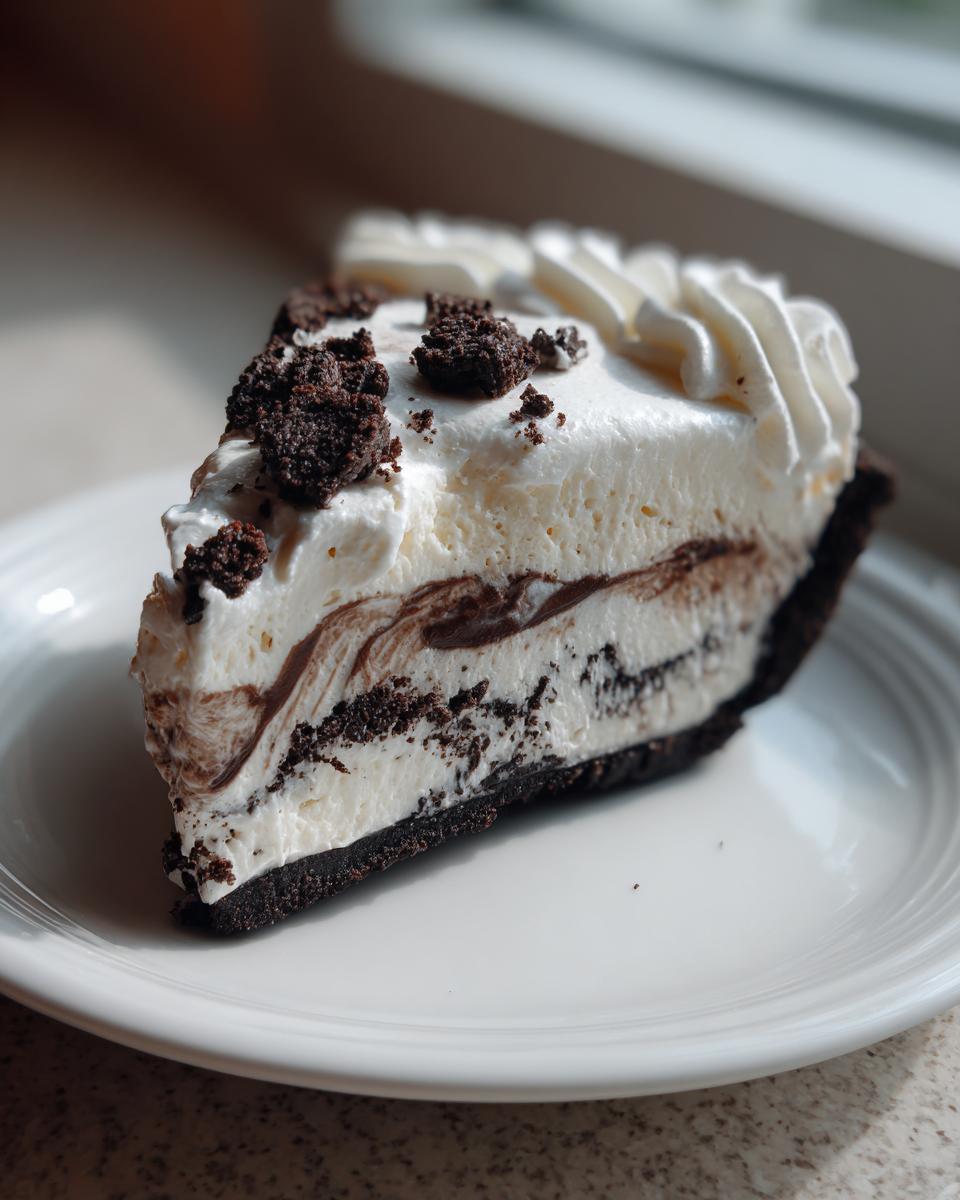
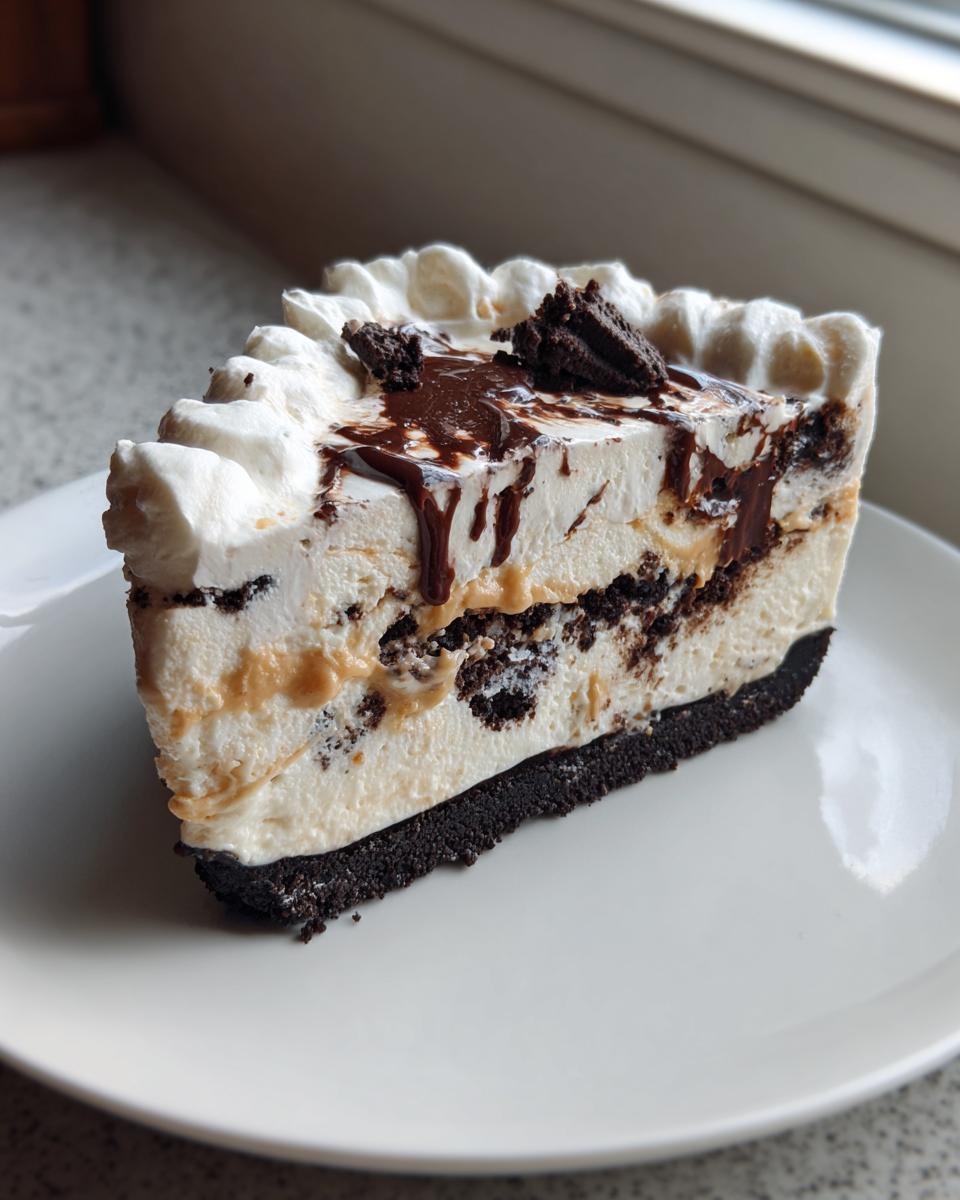
Next, we introduce the flavor bomb! Drizzle half of your hot fudge or peanut butter sauce right over that first ice cream layer. If you decided to toss in some chopped peanuts or chocolate chips, sprinkle half of those over the sauce now. Then, we repeat! Top it with the remaining ice cream, making sure it covers everything, and finish with the rest of the sauce and any remaining mix-ins. This methodical approach ensures you get a perfect bite every time in this creamy layered pie.
Expert Tips for Spreading Ice Cream in Your Homemade Ice Cream Pie
Once that ice cream starts softening, you have to move with purpose! Work quickly since melted ice cream messes up the whole structure of your homemade ice cream pie. If you find it getting too melty, just pop the whole pie back in the freezer for five minutes to firm up before continuing. When you add that final layer of ice cream, use an offset spatula to smooth the top gently. You want a nice, flat surface for when we add that final whipped topping layer later!
Freezing and Finishing Your No Bake Ice Cream Pie
Okay, the building is done! Now comes the hardest part for us impatient bakers: waiting! This wonderful structure needs serious time to set up properly. You absolutely must get this no bake ice cream pie into the freezer for at least six full hours. I know, I know, that feels like forever when you’re staring at chocolate and peanut butter goodness, but if you cut it early, it will just collapse into a soupy mess.
The real secret to making it look polished, even though it’s so easy, is waiting to add the whipped topping until the last possible minute. Once the pie is completely rock solid—like a delicious frozen brick—you can pull it out, loosely cover it, and stick it back in the freezer. Then, right before you bring it to the table, thaw your whipped topping quickly (a few minutes on the counter) and spread it over the top. That fresh topping makes the whole ice cream pie look bakery-perfect, even though all you did was mix crumbs!
If you’re looking for another fantastic make-ahead treat that chills out instead of baking, you should really check out my brownie batter dip easy no bake recipe—it uses the same waiting game principle!
Serving Suggestions for Your Perfect Ice Cream Pie
Finally, the moment of truth! Cutting this frozen beauty takes one little trick: grab a long, sharp knife and dip it into a tall glass of very hot water. Wipe it dry quickly, and that’s your slicer! A hot blade glides right through the frozen layers and that stubborn oreo crust for a super clean slice. It’s essential for getting those pretty wedges!
Since we went heavy on the chocolate and peanut butter flavors here, this ice cream pie pairs brilliantly with something acidic or robust to cut through the richness. Fresh strawberries or raspberries are amazing with this for a little summer pop. Or, if you’re serving after dinner, a strong cup of black coffee or a simple espresso cuts that sweetness perfectly. If you want another easy, rich dessert recipe to compare, take a look at my guide for easy chocolate cupcakes!
Storage and Make Ahead Frozen Desserts Tips for Your Ice Cream Pie
Can we talk about how handy this recipe is for planning ahead? Because it’s totally necessary that this sets up, that means it’s one of the best make ahead frozen desserts you can find! You can mix this whole thing up, stick it in the freezer, and totally forget about it until company comes over. Seriously, you can even make this thing a whole week out.
Now, the best way to protect your masterpiece from getting freezer burn—you know, where the pie starts tasting like the inside of your freezer?—is to wrap it tightly. First, use plastic wrap directly over the surface of the whipped topping. Then, wrap the whole thing in heavy-duty aluminum foil. This double layer acts like armor! When you are ready to serve later that week, just unwrap, let it sit on the counter for maybe 10 minutes, and serve up those perfect slices.
Frequently Asked Questions About Making Ice Cream Pie
I always get questions about this recipe, mostly because people can’t believe how easy it is! Here are a few things I’ve learned from making this the “wrong” way so you can make it perfectly the first time. If you’re planning a party, don’t forget to check out my ideas for easy appetizers snacks too!
Can I use a different crust besides Oreo for my ice cream pie recipe?
Oh, absolutely! While the Oreo crust is my tried-and-true favorite for this particular ice cream pie recipe because it’s just so chocolatey, you can certainly use anything sturdy. Vanilla wafers, crushed graham crackers, or even shortbread cookies work beautifully. Just make sure to use the recommended amount of melted butter so it holds its shape when you slice into it!
How do I prevent my ice cream pie from melting too fast when serving?
The best defense against the melt is keeping everything cold! Make sure your pie is totally rock-solid when you pull it out of the freezer. My secret little trick for serving is to pop your pie plates or serving plates in the freezer for about fifteen minutes beforehand. That little bit of chill buys you precious extra seconds when you’re slicing and serving.
Is this considered a ‘quick ice cream recipe’?
That’s a great question! I’d say yes, it totally is! While the actual hands-on prep time is super fast—we’re talking maybe twenty minutes of actual work—you do have that mandatory, non-negotiable freezing time. So, it’s a quick assembly dessert, but it does need several hours of chilling to set that perfect structure. It’s perfect for making the day before!
Estimated Nutrition for This Ice Cream Pie
Now, I always tell people not to stare too long at the nutrition panel when you’re dealing with triple layers of sugar, fat, and pure joy, but here are the rough estimates for one slice of this dynamite dessert. Please remember, because we are using various store-bought ice creams and sauces, these numbers are definitely approximations!
- Serving Size: 1 slice
- Calories: Honestly a treat, around 450
- Fat: About 28g
- Carbohydrates: Around 48g
- Protein: Roughly 6g
- Sugar: You bet—about 45g
This ice cream pie is meant for special occasions, so enjoy it! If you want to know more about what makes our recipes trustworthy, you can always peek at our About page. It’s all about making delicious food you can feel good about serving!
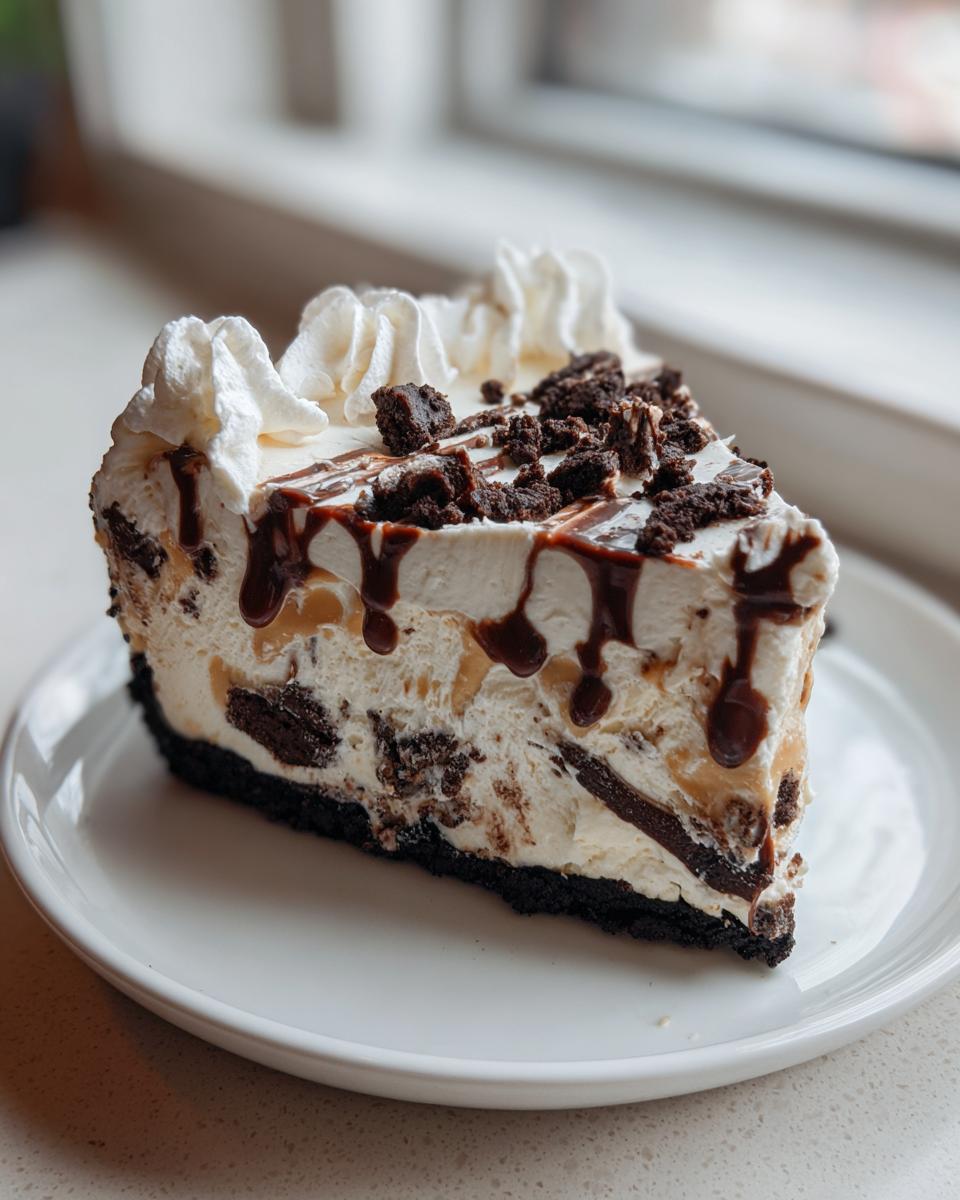
PrintUltimate No-Bake Oreo Ice Cream Pie

Make this easy, crowd-pleasing ice cream pie using a simple Oreo crust and your favorite store-bought ice cream. It requires no baking and is perfect for summer gatherings or family desserts.
- Prep Time: 20 min
- Cook Time: 0 min
- Total Time: 6 hr 20 min
- Yield: 8 servings 1x
- Category: Dessert
- Method: No-Bake
- Cuisine: American
- Diet: Vegetarian
Ingredients
- 2 cups crushed Oreo cookies (about 25 cookies)
- 6 tablespoons unsalted butter, melted
- 1.5 quarts softened vanilla ice cream
- 1 cup peanut butter sauce or hot fudge topping
- 1 cup whipped topping (thawed)
- 1/2 cup chopped peanuts or chocolate chips (optional mix-in/topping)
Instructions
- Combine the crushed Oreo cookies and melted butter in a bowl. Mix until the crumbs are evenly moistened.
- Press the crumb mixture firmly and evenly into the bottom and up the sides of a 9-inch pie plate. Place the crust in the freezer while you prepare the filling.
- Let the ice cream soften slightly at room temperature for about 10 minutes so it is spreadable.
- Remove the crust from the freezer. Spread half of the softened ice cream evenly over the crust.
- Drizzle half of the peanut butter sauce or hot fudge over the first ice cream layer. If using optional mix-ins, sprinkle half of them over this layer now.
- Top with the remaining ice cream and spread it gently to cover the previous layer.
- Drizzle the remaining sauce over the top layer and sprinkle with the remaining optional mix-ins.
- Cover the pie loosely with plastic wrap and freeze for at least 6 hours, or until completely firm.
- Before serving, spread the thawed whipped topping over the top of the frozen pie.
- Slice and serve immediately.
Notes
- For a different flavor, substitute vanilla ice cream with mint chocolate or cake batter ice cream.
- If you want a richer crust, use 8 tablespoons of butter instead of 6.
- You can make this pie up to one week ahead of time and keep it covered in the freezer.
Nutrition
- Serving Size: 1 slice
- Calories: 450
- Sugar: 45g
- Sodium: 350mg
- Fat: 28g
- Saturated Fat: 15g
- Unsaturated Fat: 13g
- Trans Fat: 0.5g
- Carbohydrates: 48g
- Fiber: 2g
- Protein: 6g
- Cholesterol: 45mg