
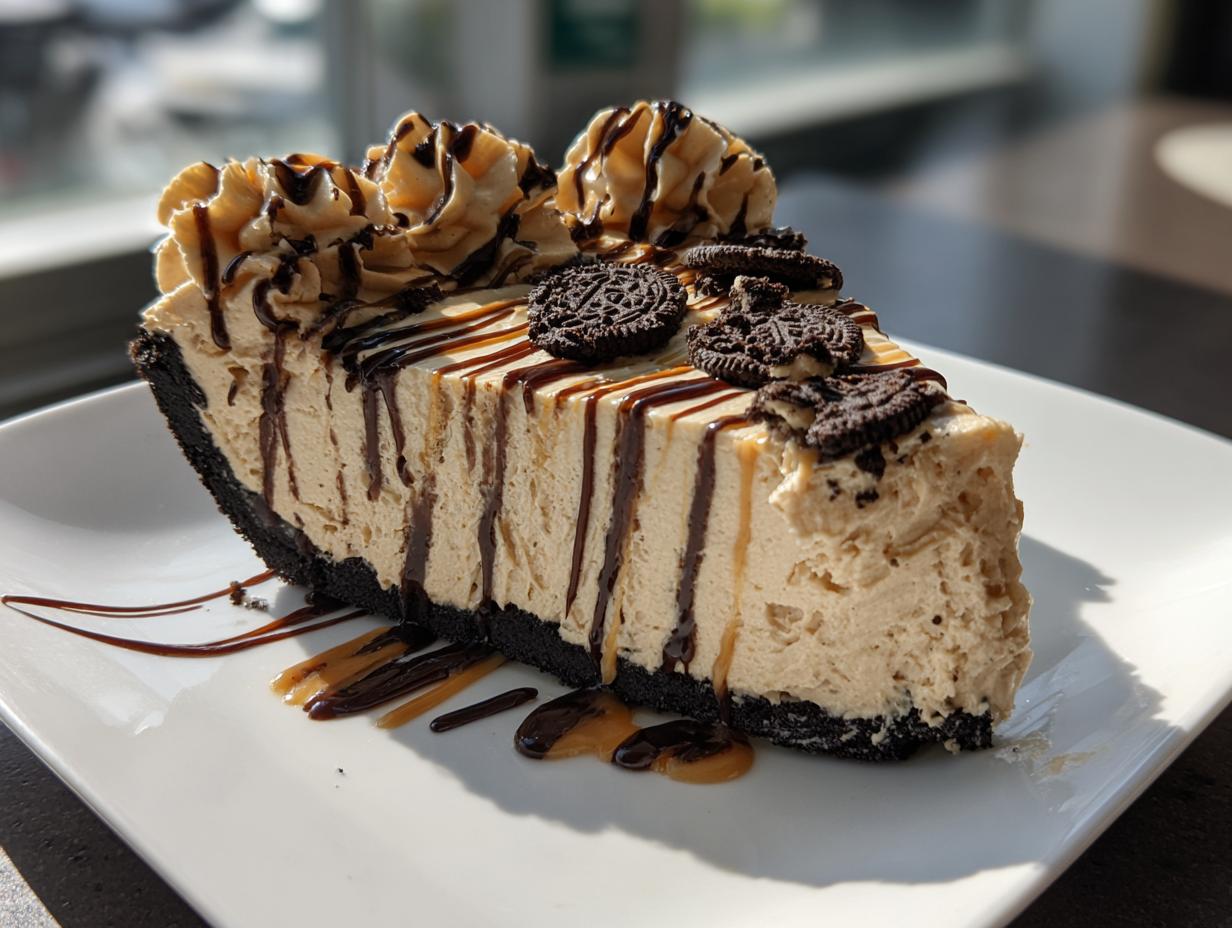
Do you ever just need a serious flavor hit but simply cannot face turning on the oven? I completely get it, especially when the weather is hot or the holiday cooking has you tied up in knots. That’s why I’m sharing my absolute go-to when I need something rich, decadent, and ready fast: the Easy No-Bake Creamy Peanut Butter Pie. This recipe delivers that classic, creamy peanut butter pie experience we all crave. Here at Cookery Command, we focus on making those time-honored American recipes completely foolproof, and trust me, this one is a guaranteed winner that comes together in maybe twenty minutes of actual work!
- Why This Easy Peanut Butter Pie Recipe is a Crowd Pleaser Dessert
- Ingredients for Your Creamy Peanut Butter Pie Recipe
- Step-by-Step Instructions for the Perfect Peanut Butter Pie
- Ingredient Notes and Substitutions for Your Peanut Butter Pie
- Tips for Success with This Easy Peanut Butter Pie
- Storage and Reheating Instructions for Your Homemade Peanut Butter Pie
- Frequently Asked Questions About This Peanut Butter Pie Recipe
- Estimated Nutritional Information for a Slice of Peanut Butter Pie
- Share Your Thoughts on This Decadent Peanut Butter Dessert
Why This Easy Peanut Butter Pie Recipe is a Crowd Pleaser Dessert
Honestly, the best part about this Easy Peanut Butter Pie is that it lets you look like a genius without putting in the actual effort. Seriously, no oven time means less fuss, especially when you’re trying to keep the kitchen cool. It’s the ultimate Quick Peanut Butter Dessert for last-minute fixes!
This is why I always keep the ingredients on hand—it’s my secret weapon for any emergency gathering. I remember one Thanksgiving when the turkey took *forever* to thaw, and I hadn’t even thought about dessert. I whipped this up in under 20 minutes and stuck it in the freezer while we ate. It was ready, perfectly chilled, and turned out to be the biggest hit! It’s truly a famous Crowd Pleaser Dessert because everyone loves that deep, chocolate-and-peanut-butter punch.
If you want the full scoop on why we focus on reliable, traditional desserts like this, you can check out our philosophy over on the About Page. But for now, just trust me on this: you need this no-bake magic in your life!
Ingredients for Your Creamy Peanut Butter Pie Recipe
Okay, you ready to see how few things you actually need for this incredible dessert? It’s almost silly how simple the ingredient list is for something that tastes this rich. Remember, since we aren’t baking, all of our heavy lifting is done in the mixing bowl. You’ll want everything measured out before you start mixing!
For the Oreo Crust Pie Base
- 1 1/2 cups crushed Oreo cookies (about 25 cookies—don’t sweat the exact number!)
- 6 tablespoons unsalted butter, melted
This simple Oreo Crust Pie base gets hard and crisping up fast in the freezer—that’s our first quick win!
For the No Bake Peanut Butter Pie Filling
- 1 (8 ounce) package cream cheese, softened completely
- 1 cup creamy peanut butter (the smooth stuff is best for that ultra-creamy texture!)
- 1 1/2 cups powdered sugar
- 1 teaspoon vanilla extract
- 1 (12 ounce) container frozen whipped topping (like Cool Whip), thawed
Making sure that cream cheese is perfectly soft before you start is the key to achieving that smooth, luxurious filling that makes this the Best Peanut Butter Pie.
For the Chocolate Peanut Butter Pie Topping
- 1/2 cup creamy peanut butter (for melting and drizzling)
- 1/2 cup chocolate chips (semi-sweet works beautifully)
- 1 tablespoon vegetable oil (optional, but it makes the chocolate drizzle just perfect)
Step-by-Step Instructions for the Perfect Peanut Butter Pie
This is where the magic happens, and by magic, I mean super fast assembly! Since this is a No Bake Peanut Butter Pie, we aren’t dealing with oven temperatures, but chilling time is our most crucial step. Gather your bowls and let’s get this going!
Preparing the Oreo Crust Pie
Grab those crushed Oreos and melted butter. Mix them up until it looks like wet sand—you want everything evenly coated. Press that mixture firmly into your 9-inch pie plate. I mean *firmly*! Use the bottom of a glass or a measuring cup to really pack it down on the bottom and up the sides. Once it’s nice and solid, pop that crust right into the freezer while we tackle the filling. That chill time makes all the difference!
Mixing the Creamy Peanut Butter Pie Filling
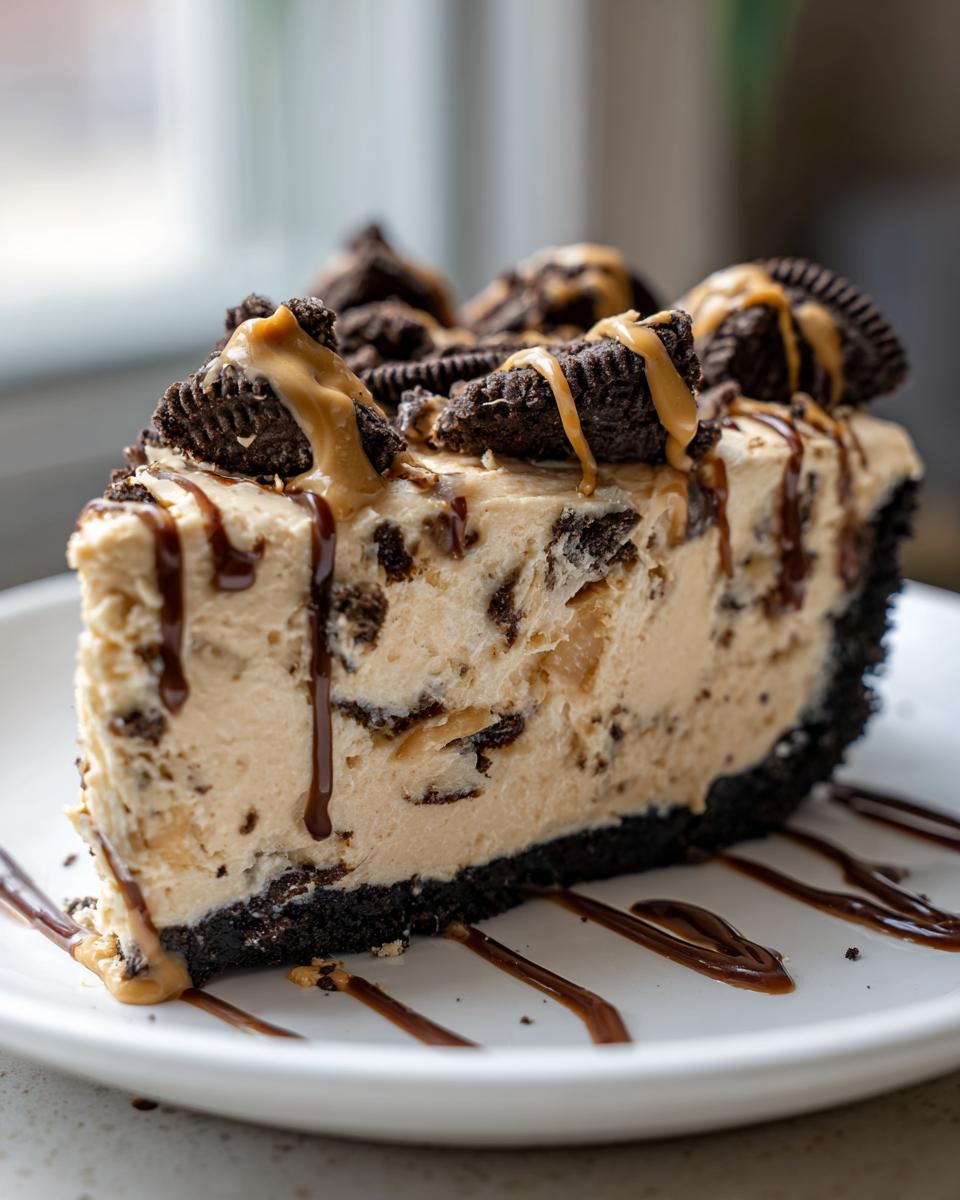
Time for the star! Get your softened cream cheese into a big bowl and beat it until it’s smooth as silk—no lumps allowed! Then, beat in that cup of creamy peanut butter, the powdered sugar, and the vanilla. Mix it until it’s just combined and looks beautiful. Now, the expert tip for texture: take your thawed whipped topping and GENTLY fold it in using a spatula. You want to keep all that air in there; overmixing here will deflate your filling, and we want an airy, luscious Peanut Butter Cream Pie, not a brick!
Assembling and Topping Your Peanut Butter Cream Pie
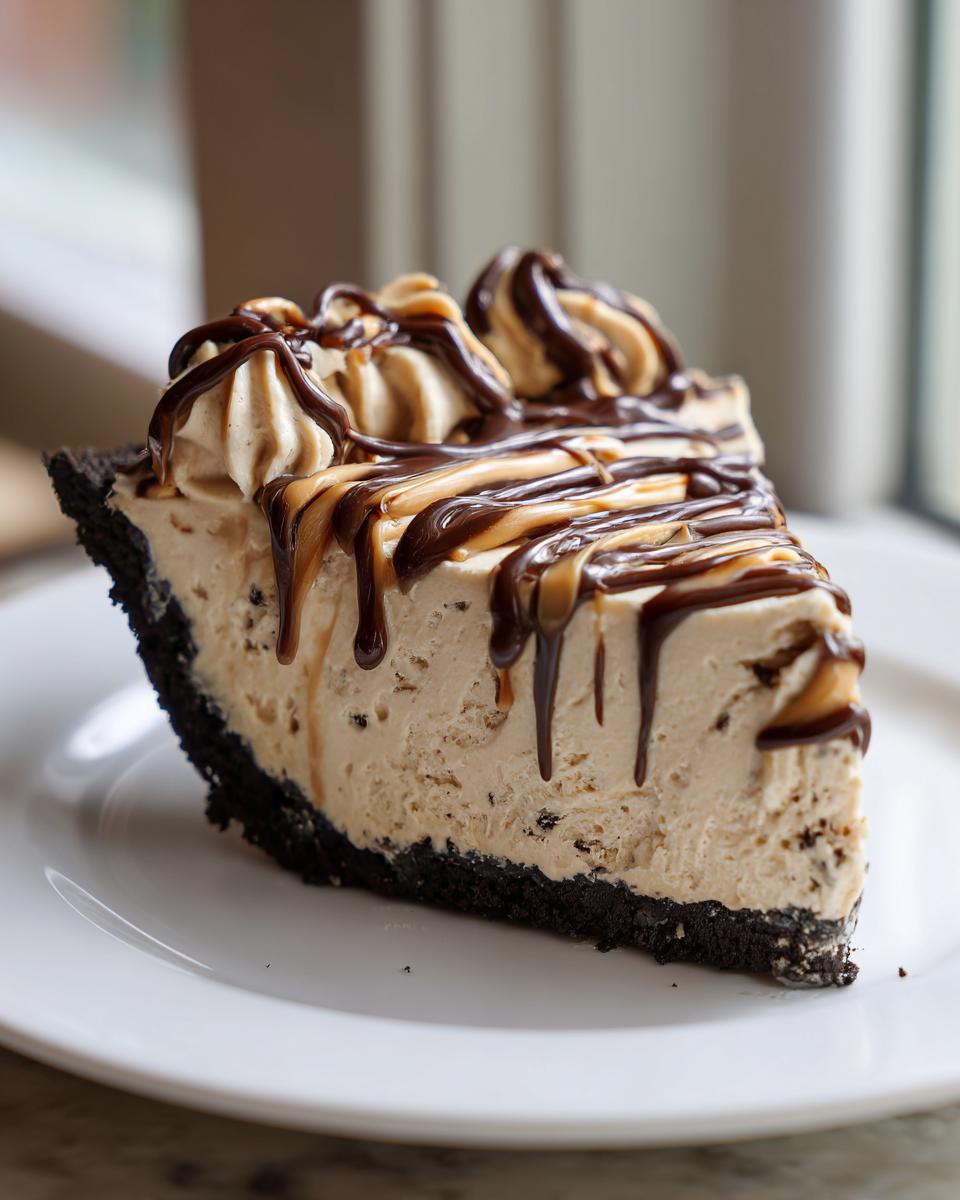
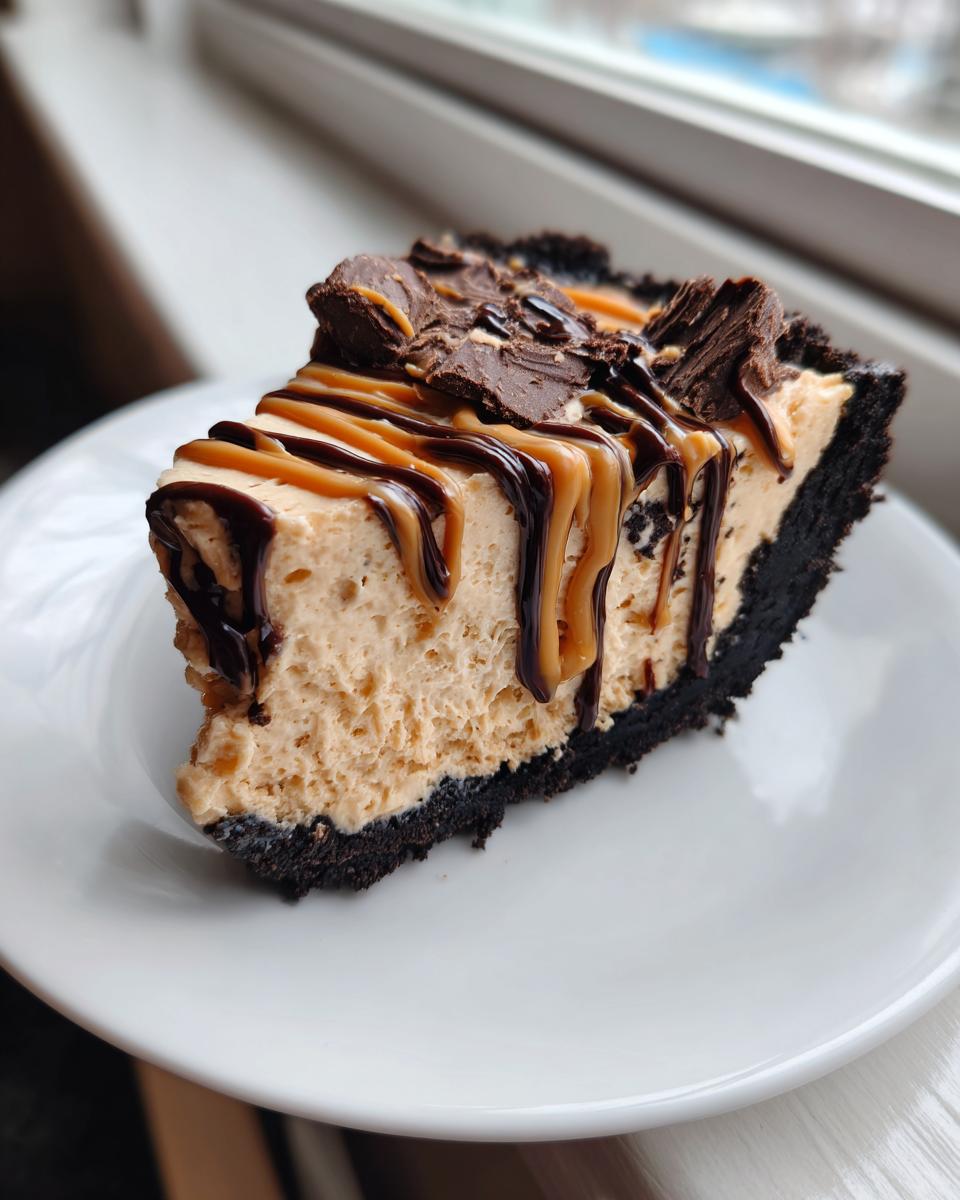
Scrape that gorgeous, fluffy filling right into your chilled Oreo crust and smooth the top out evenly. Now for the fun part! Warm up that extra half-cup of peanut butter for about 20 seconds until it’s runny, and drizzle it all crazy-style over the top. If you’re feeling extra, melt your chocolate chips with a tiny bit of oil and drizzle that right over the peanut butter swirl. It looks so impressive!
Chilling Time for the Best Peanut Butter Pie
This is the hardest part, I know! You must let this pie firm up. You need at least four hours in the refrigerator to set properly, but honestly, if you can wait overnight, it will give you the absolute best structure you could ask for in a No Bake Peanut Butter Pie. Once it’s fully chilled, dig in!
Ingredient Notes and Substitutions for Your Peanut Butter Pie
I always get questions about substitutions, especially since this is a **No Bake Peanut Butter Pie** and structure matters! Let’s talk peanut butter first. I strongly recommend using smooth, creamy peanut butter for the filling because we are aiming for that melt-in-your-mouth texture. If you use crunchy, it will definitely change the overall mouthfeel of this **Creamy Peanut Butter Pie**.
Now, what if you’re out of Oreos? Don’t panic! This recipe is forgiving. If you prefer a **Graham Cracker Crust Pie**, you can easily substitute it. The recipe note suggests using about 1 3/4 cups of graham cracker crumbs mixed with a little extra sugar (about 1/4 cup) and the same 6 tablespoons of melted butter. It works just as well for setting up!
Also, don’t skip softening that cream cheese! If it’s too cold, your filling will be lumpy, and we want pure decadence here. For more dessert ideas that keep things easy, check out this great resource for other no-bake peanut butter pie recipes!
Tips for Success with This Easy Peanut Butter Pie
You might think because there is no baking required that this pie is foolproof, but listen to me—you still need a couple of veteran cook tricks to get that ultimate texture!
The absolute number one thing you mustn’t forget is what I call the Great Whipped Topping Rule. When you fold in that thawed whipped topping after you have mixed the cream cheese and peanut butter, you need to be incredibly gentle. Use a spatula and cut down the middle, then fold over. Seriously, treat it like you’re folding the finest silk fabric! If you mix too vigorously, all the air escapes, and that light, fluffy texture we worked so hard to achieve in the filling collapses. It turns into heavy slop, and that’s not what we want in our **Creamy Peanut Butter Pie**.
Secondly, don’t shortcut that chilling time! I know waiting is the absolute worst when you smell chocolate and peanut butter wafting from the fridge, but that chill time is what sets the structure. If you try to slice it after just an hour, it’s going to ooze out onto your serving plate, and you’ll end up with a messy puddle instead of a picture-perfect slice of **Easy Peanut Butter Pie**. Four hours is the minimum, but if you can let it rest overnight, I promise you’ll have the firmest, most decadent slice ever!
Also, if you are using the melted peanut butter drizzle on top, make sure that peanut butter is barely runny, not hot! Putting hot drizzle on cold filling can sometimes make the whole pie start to separate a tiny bit. Just warm it enough so it pours nicely off a spoon. That’s the secret to great presentation on this **Simple Holiday Pies** alternative!
Storage and Reheating Instructions for Your Homemade Peanut Butter Pie
Since this is a wonderful No-Bake Peanut Butter Pie, storage is honestly one of its best features! Because we didn’t use any eggs that need traditional cooking cycles, this pie keeps beautifully structured in the cold.
First, the refrigerator is your best friend. Once your pie has set properly—remember, at least four hours!—cover the entire pie plate tightly with plastic wrap or foil. Make sure you aren’t pressing the wrap directly onto the topping if you have a fancy drizzle, or you might smudge it. Store it this way, and your **Homemade Peanut Butter Pie** will stay fresh, creamy, and delicious for three to four days, easy.
Now, can you freeze it? Yes, you absolutely can freeze this pie, and I often do this when I make a batch for the holidays! If you know you won’t eat the whole thing within four days, freeze it whole, or slice it first if you prefer single servings. Wrap the pie very securely—first in plastic wrap, and then maybe wrap the whole thing again tightly in foil to prevent any freezer burn or weird smells from getting in.
It freezes really well for up to a month. When you’re ready to eat it, just transfer it directly from the freezer to the refrigerator and let it thaw slowly overnight. It will behave just like you just made it! Seriously, no oven required, and it’s perfect when thawed—a true **Quick Peanut Butter Dessert** ready when you need it.
Frequently Asked Questions About This Peanut Butter Pie Recipe
I always expect questions when folks try my favorite recipes for the first time! Trust me, I’ve tested this **Peanut Butter Pie Recipe** about a hundred ways over the years, so let’s clear up the most common things people ask about this no-bake wonder.
Can I make this Easy Peanut Butter Pie ahead of time?
Oh, please do! Making this ahead of time is actually the *best* way to tackle it. Since this is an incredibly easy dessert, its only real enemy is impatience! Because it needs that minimum four-hour chill time to set up properly, making it the day before or even two days before is totally fine. It firms up really nicely in the fridge, and honestly, it tastes even better the second day when all those wonderful peanut butter and chocolate flavors have really married together in the filling. It’s fantastic for planning!
What is the best way to get a perfectly smooth filling for my Creamy Peanut Butter Pie?
This is all about temperature control! The real culprit for lumpy fillings is cold cream cheese. You absolutely must let your cream cheese sit out on the counter until it is fully softened—when you press it with your finger, it should leave an easy indent without fighting you back. Once the cream cheese is soft, beat it by itself until it looks smooth and creamy *before* you add the peanut butter and powdered sugar. That initial step using your electric mixer really breaks it down so you are guaranteed a fantastic **Creamy Peanut Butter Pie** filling, not a chunky one!
Is this recipe suitable for a large gathering or Dessert for a Crowd?
You bet it is! This recipe yields a standard 9-inch pie which generally serves about eight big slices, but if you cut those slices a little thinner, you can easily stretch it to serve ten or twelve people who are going to be eating other rich foods. Because it’s such a rich and decadent dessert, a smaller slice still hits the spot perfectly. For really huge parties, I usually just make two pies side-by-side—they stack perfectly in the fridge! It’s a true **Dessert for a Crowd** because everyone loves it and it doesn’t take up oven space when you need it most.
Estimated Nutritional Information for a Slice of Peanut Butter Pie
Now, look, I’m not a nutritionist—I’m just happy when the pie tastes amazing and disappears fast! But because we promised reliability here at Cookery Command, I want to give you a general idea of what you’re looking at here. This information is based on dividing the whole pie into 8 equal slices using standard, off-the-shelf brand ingredients for the recipe. Think of this as a helpful guide, not strict medical advice!
This **Peanut Butter Pie** is definitely rich, so one slice contains all that glorious fat and sugar that makes it so wonderfully decadent and creamy. If you’re serving this during the holidays or a special occasion, it’s going to be a showstopper, just be mindful of those numbers!
- Serving Size: 1 slice
- Calories: Approximately 450
- Fat: About 30 grams (Remember, a lot of that deliciousness comes from the peanut butter and crust!)
- Saturated Fat: Around 10 grams
- Carbohydrates: Roughly 40 grams
- Sugar: This clocks in around 35 grams, so yes, this is a real treat!
- Protein: About 10 grams (Thanks, peanut butter!)
- Sodium: Close to 300 mg
No matter the count, every bite of this truly **Decadent Peanut Butter Dessert** is worth it. If you’re watching sugar, you can always skip the heavy chocolate drizzle on top, but I highly recommend keeping the main filling as is—it’s perfect!

Share Your Thoughts on This Decadent Peanut Butter Dessert
Alright, you’ve made it! I hope you’ve had a chance to whip up this **Decadent Peanut Butter Dessert** and experience the joy of a perfect, no-bake slice. Now comes the part I love the most—hearing about *your* success stories!
Did you use the Oreo crust, or did you try the graham cracker swap? Did you load yours up with chopped peanut butter cups, or did you keep it simple with just the chocolate drizzle? Did you find it to be the easiest **Peanut Butter Pie Recipe** you’ve ever tried?
Please take a moment to leave a rating right here on the page—it genuinely helps other cooks know this recipe is dependable. If you have any questions or want to share how you topped your pie, drop a comment below! I read every single one, and I love seeing your beautiful, creamy creations come to life.
If you need to ask a specific question that isn’t covered in the FAQs, feel free to send us a note through the Contact Page. Happy baking (or, well, chilling)!
PrintEasy No-Bake Creamy Peanut Butter Pie with Oreo Crust
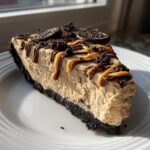
Make this rich, decadent peanut butter pie without turning on your oven. It features a simple Oreo crust and a creamy filling, perfect for crowds or quick desserts.
- Prep Time: 20 min
- Cook Time: 0 min
- Total Time: 4 hr 20 min
- Yield: 8 servings 1x
- Category: Dessert
- Method: No-Bake
- Cuisine: American
- Diet: Vegetarian
Ingredients
- 1 1/2 cups crushed Oreo cookies (about 25 cookies)
- 6 tablespoons unsalted butter, melted
- 1 (8 ounce) package cream cheese, softened
- 1 cup creamy peanut butter
- 1 1/2 cups powdered sugar
- 1 teaspoon vanilla extract
- 1 (12 ounce) container frozen whipped topping (like Cool Whip), thawed
- 1/2 cup creamy peanut butter (for topping swirl)
- 1/2 cup chocolate chips (for melting)
- 1 tablespoon vegetable oil (optional, for chocolate drizzle)
Instructions
- Prepare the crust: Mix the crushed Oreo cookies and melted butter in a bowl until evenly moistened. Press the mixture firmly into the bottom and up the sides of a 9-inch pie plate. Place the crust in the freezer while you prepare the filling.
- Make the filling: In a large bowl, beat the softened cream cheese until smooth. Add 1 cup of creamy peanut butter, powdered sugar, and vanilla extract. Beat until fully combined and creamy.
- Fold in the whipped topping: Gently fold the thawed whipped topping into the peanut butter mixture until no streaks remain. Do not overmix.
- Fill the crust: Spoon the peanut butter filling evenly into the chilled Oreo crust. Smooth the top with a spatula.
- Create the topping swirl: Microwave the remaining 1/2 cup of peanut butter for 15-20 seconds until slightly runny. Drizzle it over the top of the pie. If making a chocolate drizzle, melt the chocolate chips with the optional oil in a microwave-safe bowl in 30-second intervals, stirring until smooth. Drizzle the melted chocolate over the peanut butter layer.
- Chill: Refrigerate the pie for at least 4 hours, or until firm. For best results, chill overnight.
- Serve: Before serving, top the pie with additional whipped cream or chopped peanut butter cups if desired. Slice and serve cold.
Notes
- For an extra decadent topping, melt 1 cup of semi-sweet chocolate chips with 1 teaspoon of coconut oil for a smooth, shiny chocolate ganache to pour over the top before chilling.
- If you do not have Oreos, you can substitute with 1 3/4 cups of graham cracker crumbs mixed with 1/4 cup of sugar and 6 tablespoons of melted butter for the crust.
- This pie sets best when chilled for a minimum of 6 hours.
Nutrition
- Serving Size: 1 slice
- Calories: 450
- Sugar: 35
- Sodium: 300
- Fat: 30
- Saturated Fat: 10
- Unsaturated Fat: 20
- Trans Fat: 0
- Carbohydrates: 40
- Fiber: 2
- Protein: 10
- Cholesterol: 45