
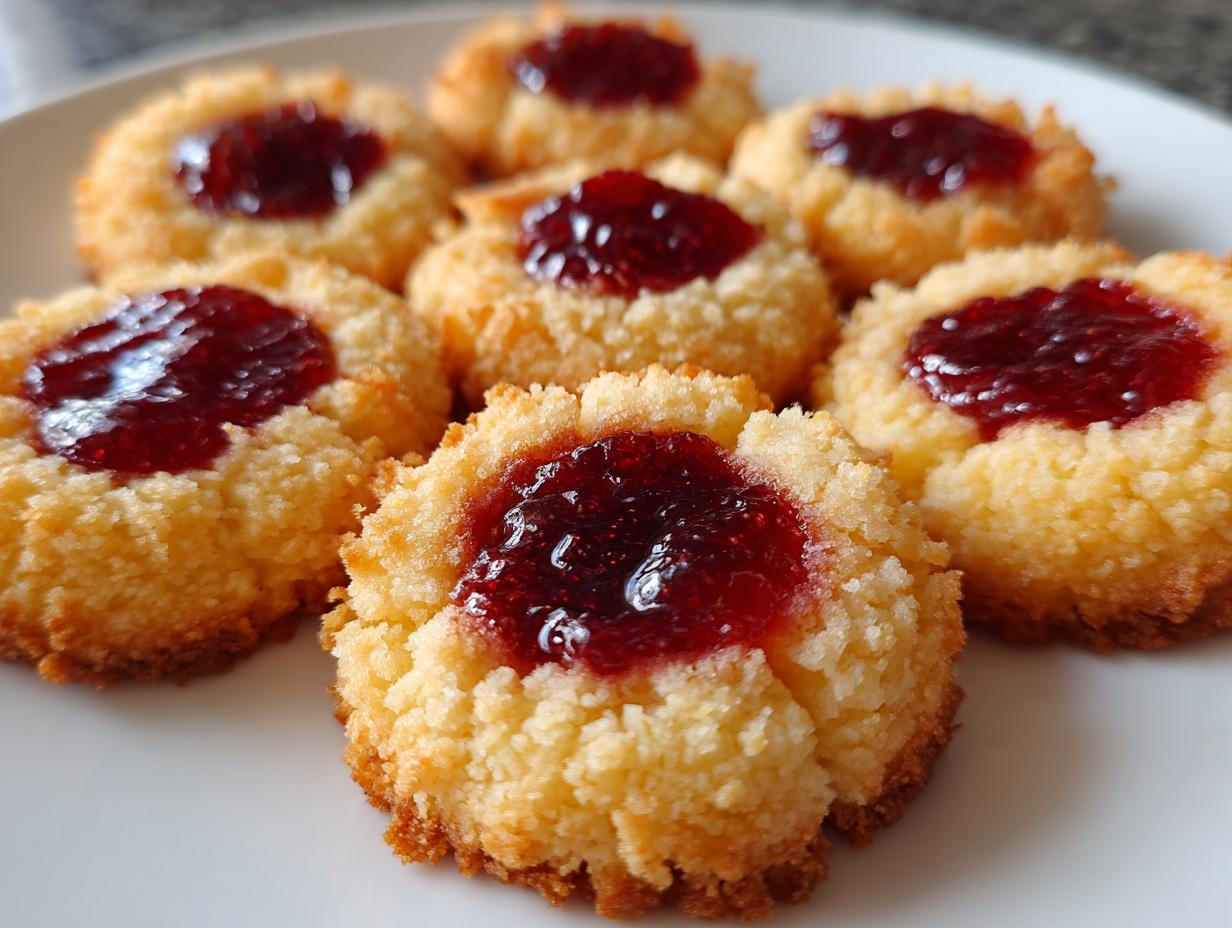
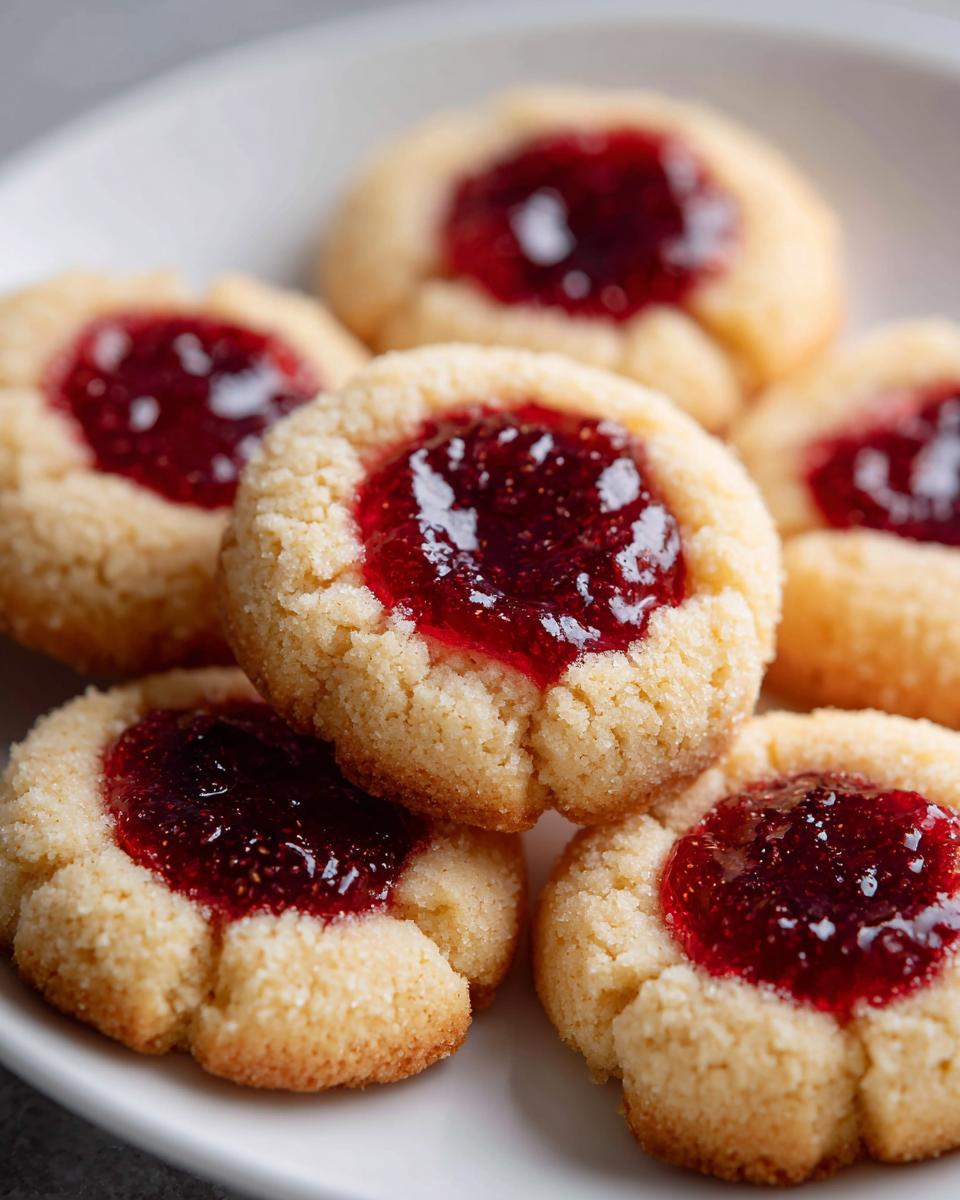
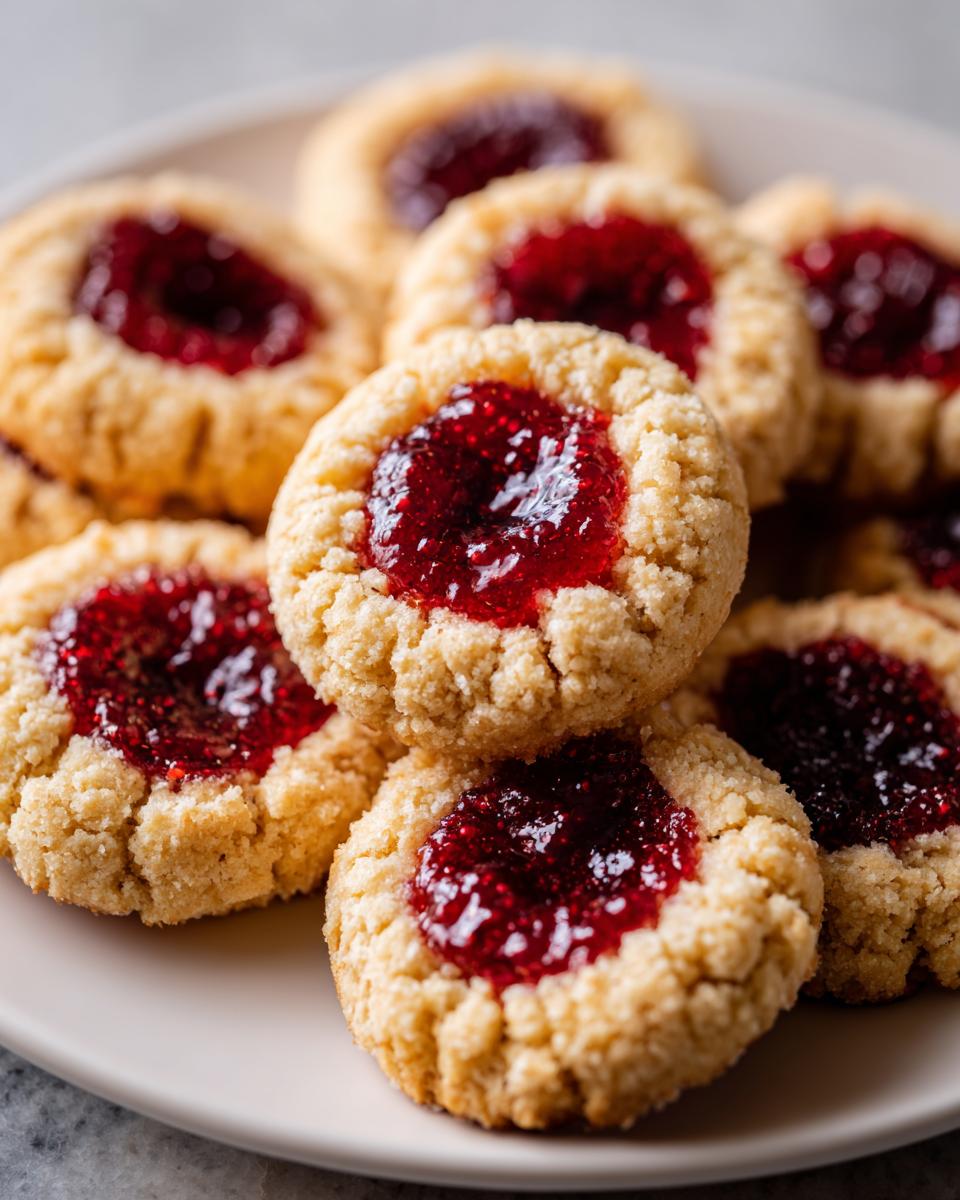
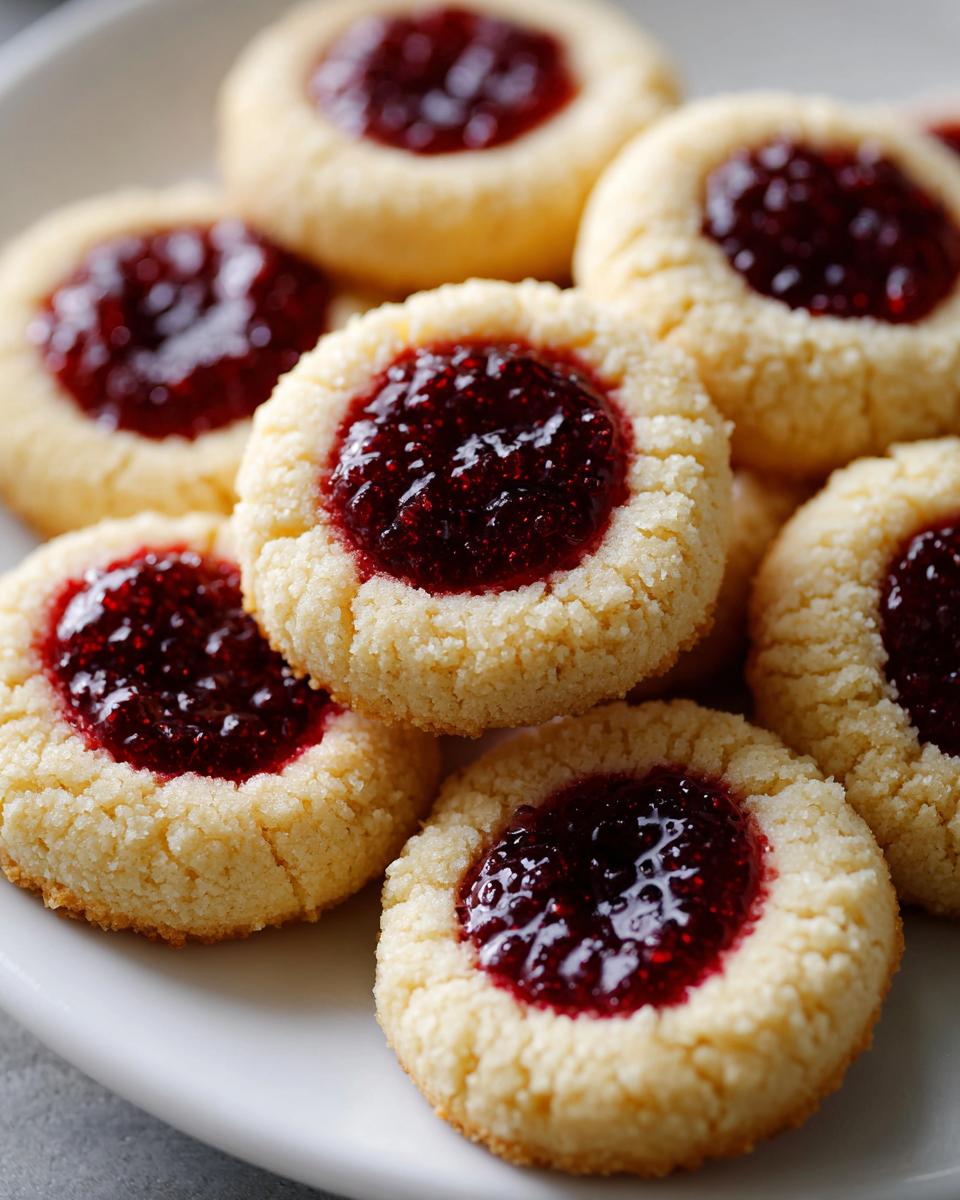
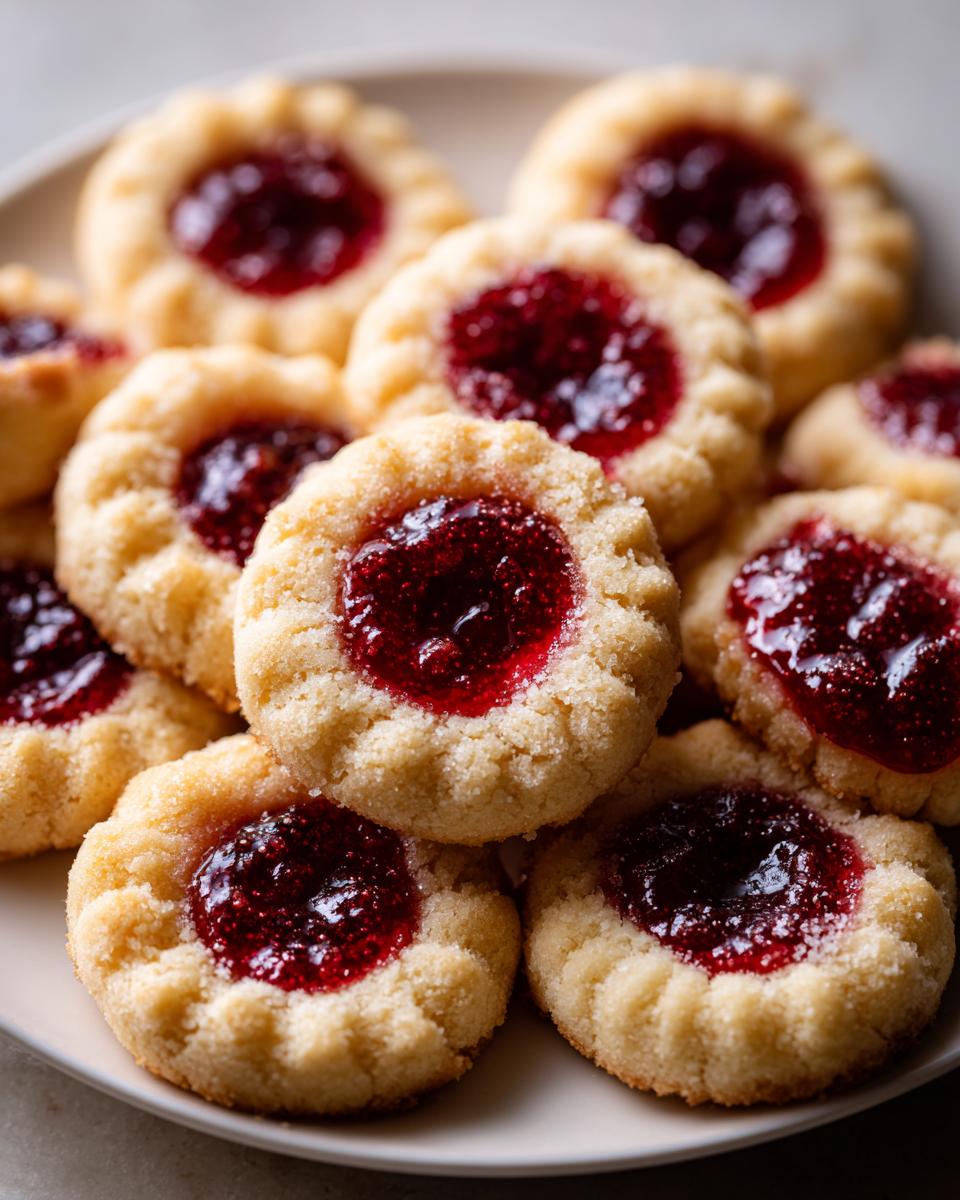
There’s something truly comforting about a classic cookie, especially one that practically melts the moment it hits your tongue. Forget those dry, cardboard versions you sometimes run into; we aren’t about that kind of baking here at Command Central! My goal, and what I try to pass on from my own kitchen upbringing, is making sure home baking creates joy, not stress. That’s why I’m so thrilled to share this recipe for raspberry thumbprint cookies. The secret really lies in the base: we’re building these around a rich, buttery shortbread dough that holds up beautifully. When you have a recipe that’s this dependable, you can focus on enjoying the process. Trust me, you’re going to want to save this one!
If you love the rich flavor of pure butter in your dough, you might also want to check out my guide on classic butter cookie melt in your mouth treats when you have a moment. It uses similar foundational dough techniques we love so much!
- Why This is the Best Raspberry Thumbprint Cookies Recipe (E-E-A-T Focus)
- Gathering Ingredients for Your Raspberry Thumbprint Cookies
- Step-by-Step Instructions for Easy Homemade Thumbprint Cookies
- Expert Tips for Perfect Thumbprint Cookie Dough Tips
- Variations: Almond Raspberry Cookies and Glazed Thumbprint Cookies
- Serving Suggestions for Your Bite Sized Raspberry Treats
- Storage and Reheating Instructions for raspberry thumbprint cookies
- Quick Dessert Recipes: Nutritional Snapshot of raspberry thumbprint cookies
- Your Next Bake: Simple Cookie Baking Ideas
Why This is the Best Raspberry Thumbprint Cookies Recipe (E-E-A-T Focus)
When I set out to create the ultimate version of these, I had two main things in mind: they had to taste incredibly rich, and they had to survive a cookie swap without crumbling into dust. I think we absolutely nailed it here. This recipe keeps coming back at the top because it’s simply reliable, which is everything when you’re baking for a crowd.
Why do people love this version so much? It comes down to a few things that just work:
- The dough is pure, buttery shortbread. It bakes up tender without being fragile, creating those wonderful Melt in Your Mouth Thumbprints.
- Making the indentation is foolproof, even for beginners, because we chill the dough properly beforehand.
- We know how important a dependable recipe is when you’re sharing your hard work, which is why this one is always a hit at holiday trays and cookie swap favorites gatherings. It seems like everyone who tries it saves the recipe!
Gathering Ingredients for Your Raspberry Thumbprint Cookies
Before we even think about turning on the mixer, we need to make sure we have the absolute best building blocks. Since this dough relies so heavily on that buttery shortbread texture—the kind that practically dissolves—you absolutely must use good quality, unsalted butter. Don’t skimp here; that fat carries so much of the flavor for our Buttery Shortbread Cookie Recipe.
You’ll need these exact amounts for about two dozen cookies. Having everything measured out and ready to go makes the creaming process so much smoother!
- 1 cup unsalted butter, softened (this is important!)
- 1/2 cup granulated sugar
- 1 large egg yolk
- 1 teaspoon vanilla extract
- 2 cups all-purpose flour
- 1/4 teaspoon salt
- 3/4 cup raspberry jam (the good stuff!)
- 1/4 cup powdered sugar (only if you plan on drizzling)
- 1 tablespoon milk or water (only if you plan on drizzling)
Step-by-Step Instructions for Easy Homemade Thumbprint Cookies
Alright, let’s turn those lovely ingredients into baked perfection. These steps for our Easy Homemade Thumbprint Cookies are straightforward, but the chilling time is non-negotiable—it’s what keeps them thick and pretty! If you plan on adding a glaze later, you might want to peek at the tips for getting that icing recipe to dry hard, just so you know what to expect!
Preparing the Buttery Shortbread Cookie Dough
First things first: cream your softened butter and sugar together until it looks light and fluffy—like pale, sweet clouds! Next, beat in that egg yolk and vanilla, just until it mixes in. Now, add your flour and salt mix gradually. Stop mixing as soon as the dough comes together into a soft ball. Wrap that baby up tightly and send it to the fridge for at least 30 minutes. Trust me on the chill time; it makes all the difference in the final cookie shape!
Forming and Filling Classic Raspberry Thumbprint Cookies
Time to get ready for baking! Preheat your oven to 350°F (175°C) and line those sheets with parchment paper. Grab tablespoon-sized dough balls and roll them gently between your palms. Now for the magic: use your thumb—or maybe a little measuring spoon if you have giant thumbs like my husband—to press a deep well right into the middle of each cookie. Spoon just a touch of raspberry jam into that hole. Don’t let the jam touch the edges, or they’ll look messy after baking! We need perfect little wells for our Classic Raspberry Thumbprint Cookies.
Baking and Finishing Your Raspberry Jam Filled Cookies
Bake these little gems for only about 12 to 15 minutes. You’re looking for the edges to just barely start turning golden brown; the center should still look soft. Let them sit right on the hot pan for five minutes—don’t rush it! Then move them to a cooling rack. Once they are completely cool, you can skip the fuss or quickly whisk together your powdered sugar and liquid if you want those pretty lines on your Raspberry Jam Filled Cookies. Drizzle lightly, and you are DONE!
Expert Tips for Perfect Thumbprint Cookie Dough Tips
I’ve learned a thing or two over the years about what makes these cookies go from ‘good’ to ‘I need the recipe immediately.’ It mostly comes down to temperature and patience. If you skip the chilling time, your dough will get too soft while you’re rolling and pressing those wells. When they go into the oven soft, they spread way too much, and all your beautiful indentations turn into sad, flat puddles!
Also, when mixing the flour in, please, please watch mixing speed. We are making a shortbread base here, not bread, so overmixing develops gluten and makes them tough. We want them to be tender! Another crucial tip for your Thumbprint Cookie Dough Tips: if your jam seems really thick, warm it up for just 10 seconds in the microwave. It won’t run out during baking, but it will be easier to spoon neatly into those little dough holes.
Variations: Almond Raspberry Cookies and Glazed Thumbprint Cookies
I know some of you already have your go-to flavor profiles, so let’s talk about how easily we can customize these little parcels of joy! If you want to lean into a fancier profile, try making these Almond Raspberry Cookies. It’s super simple: just swap out a quarter cup of your all-purpose flour for almond flour, or add a tiny splash of almond extract when you add the vanilla.
If you’re looking for that bakery-style finish for your holiday trays, the drizzle is gorgeous. For simple Glazed Thumbprint Cookies, all you need is a quick whisk of powdered sugar and a splash of milk or water until it’s pourable. If you want to get really sophisticated with almond flavors later on, check out my no-cook almond flour recipe guide for marzipan—you could use that as a base instead of jam sometime!
Serving Suggestions for Your Bite Sized Raspberry Treats
Here’s the thing about these little beauties: they are so incredibly versatile! They are absolutely perfect when you’re assembling those big cookie platters for the holidays—truly one of the Best Holiday Dessert Cookies you can make because they look so polished. But don’t save them only for Christmas! They are the ideal small indulgence for a Saturday afternoon coffee break, or when you just need a little handheld sweet treat.
Because they are so sturdy and perfectly portioned as Bite Sized Raspberry Treats, they travel wonderfully, too. If you’re looking for more inspiration for your baking centerpiece, check out my guide on Christmas sprinkle sugar cookies for more dazzling ideas!
Storage and Reheating Instructions for raspberry thumbprint cookies
One of the best things about these shortbread-style cookies is that they actually get better after they’ve had a chance to sit! These raspberry thumbprint cookies are fantastic for making ahead, which is a lifesaver during busy holiday baking seasons. I always bake mine by Wednesday if I need them fresh for a weekend thing.
Here’s the game plan for keeping them absolutely perfect:
- Airtight is Key: Once they are completely cool—and I mean stone-cold, don’t rush this stage, or they will sweat—transfer them immediately to an airtight container. You can use a simple cookie tin or a sturdy plastic container with a tight lid.
- Room Temperature Only! Resist the urge to put them in the fridge! The cold air tends to dry out shortbread bases quickly, and we want them nice and tender. They do perfect fine just sitting on your counter for up to a week.
- Shelf Life Magic: Honestly, they are best the first three days, but thanks to that buttery structure, they stay quite good for seven days. If you used a powdered sugar drizzle, just make sure they aren’t stacked too tightly so the decoration doesn’t smear onto the cookie below it.
See? Easy cleanup and easy planning. You just can’t beat a batch of fresh, homemade treats ready to go when guests drop by!
Quick Dessert Recipes: Nutritional Snapshot of raspberry thumbprint cookies
Now, I know some of you are dedicated label-readers, and while I always say that homemade treats should be enjoyed without counting every speck, it’s good to have a general idea of what you’re serving up! Since every oven is different, please remember these numbers are just estimates based on dividing the recipe yield evenly. These raspberry thumbprint cookies are definitely a worthy indulgence in any collection of Quick Dessert Recipes, hitting that perfect balance of sweet and buttery!
- Calories: About 135 per cookie
- Fat: Roughly 8g
- Carbohydrates: Around 15g
- Protein: About 2g
See? Perfectly portioned for a grab-and-go sweet moment without feeling too heavy. Enjoy them!
Your Next Bake: Simple Cookie Baking Ideas
I genuinely hope you loved making these bright, buttery treats! I’ve poured a lot of family know-how into making sure this one succeeds for you. When you’re done snacking, come on back and let me know how they turned out! Were your indentations deep enough? Drop a comment below and tell me your secrets. If you’re looking for more inspiration, check out my full collection of dessert recipes—there are tons of other Simple Cookie Baking Ideas waiting for you!
If this recipe was a big hit, I’d love to see you share your beautiful raspberry thumbprint cookies photos! And hey, if you want to see what others are making on Pinterest, you can always peek at this other great take on classic cookies here: Classic Raspberry Thumbprint Cookies for Gifting.
PrintClassic Raspberry Thumbprint Cookies with Buttery Shortbread Base

Make these easy homemade thumbprint cookies featuring a buttery shortbread cookie base filled with sweet raspberry jam. This recipe is reliable for cookie swaps and holiday baking.
- Prep Time: 20 min
- Cook Time: 15 min
- Total Time: 65 min
- Yield: 24 cookies 1x
- Category: Dessert
- Method: Baking
- Cuisine: American
- Diet: Vegetarian
Ingredients
- 1 cup unsalted butter, softened
- 1/2 cup granulated sugar
- 1 large egg yolk
- 1 teaspoon vanilla extract
- 2 cups all-purpose flour
- 1/4 teaspoon salt
- 3/4 cup raspberry jam
- 1/4 cup powdered sugar (for optional glaze)
- 1 tablespoon milk or water (for optional glaze)
Instructions
- Combine the softened butter and granulated sugar in a mixing bowl. Beat them together until the mixture is light and fluffy.
- Beat in the egg yolk and vanilla extract until just combined.
- In a separate bowl, whisk together the flour and salt. Gradually add the dry ingredients to the wet ingredients, mixing on low speed until a soft dough forms. Do not overmix.
- Wrap the dough in plastic wrap and chill in the refrigerator for at least 30 minutes. This step helps the dough hold its shape.
- Preheat your oven to 350 degrees Fahrenheit (175 degrees Celsius). Line baking sheets with parchment paper.
- Scoop the chilled dough into balls, about 1 tablespoon each. Roll them lightly between your palms.
- Place the dough balls on the prepared baking sheets, leaving about 2 inches between them.
- Create the thumbprint indentation. Use your thumb or the back of a small measuring spoon to press a deep well into the center of each dough ball.
- Spoon about 1/2 teaspoon of raspberry jam into each indentation. Fill the well, but avoid letting the jam overflow onto the cookie edges.
- Bake for 12 to 15 minutes, or until the edges are lightly golden brown. The centers will remain pale.
- Remove the cookies from the oven and let them cool on the baking sheets for 5 minutes before transferring them to a wire rack to cool completely.
- If using the glaze, whisk the powdered sugar with the milk or water until smooth. Drizzle the glaze over the cooled cookies.
Notes
- For the best indentation, chill the dough thoroughly. If the dough softens while rolling, return it to the refrigerator for 10 minutes.
- To add almond flavor, substitute 1/4 cup of the all-purpose flour with almond flour, or add 1/2 teaspoon of almond extract with the vanilla.
- These melt in your mouth thumbprints store well in an airtight container at room temperature for up to one week.
Nutrition
- Serving Size: 1 cookie
- Calories: 135
- Sugar: 10
- Sodium: 45
- Fat: 8
- Saturated Fat: 5
- Unsaturated Fat: 3
- Trans Fat: 0
- Carbohydrates: 15
- Fiber: 0.5
- Protein: 2
- Cholesterol: 30