
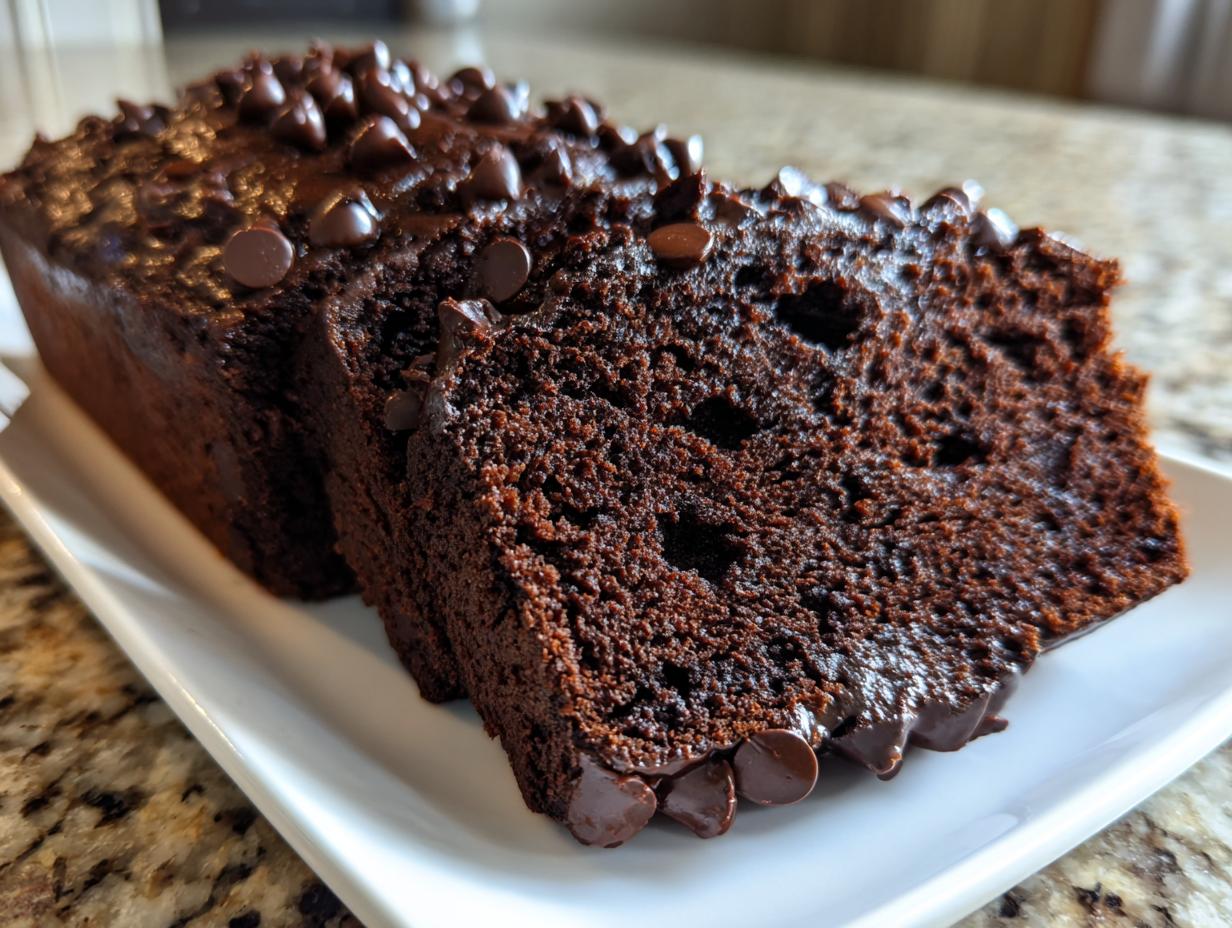
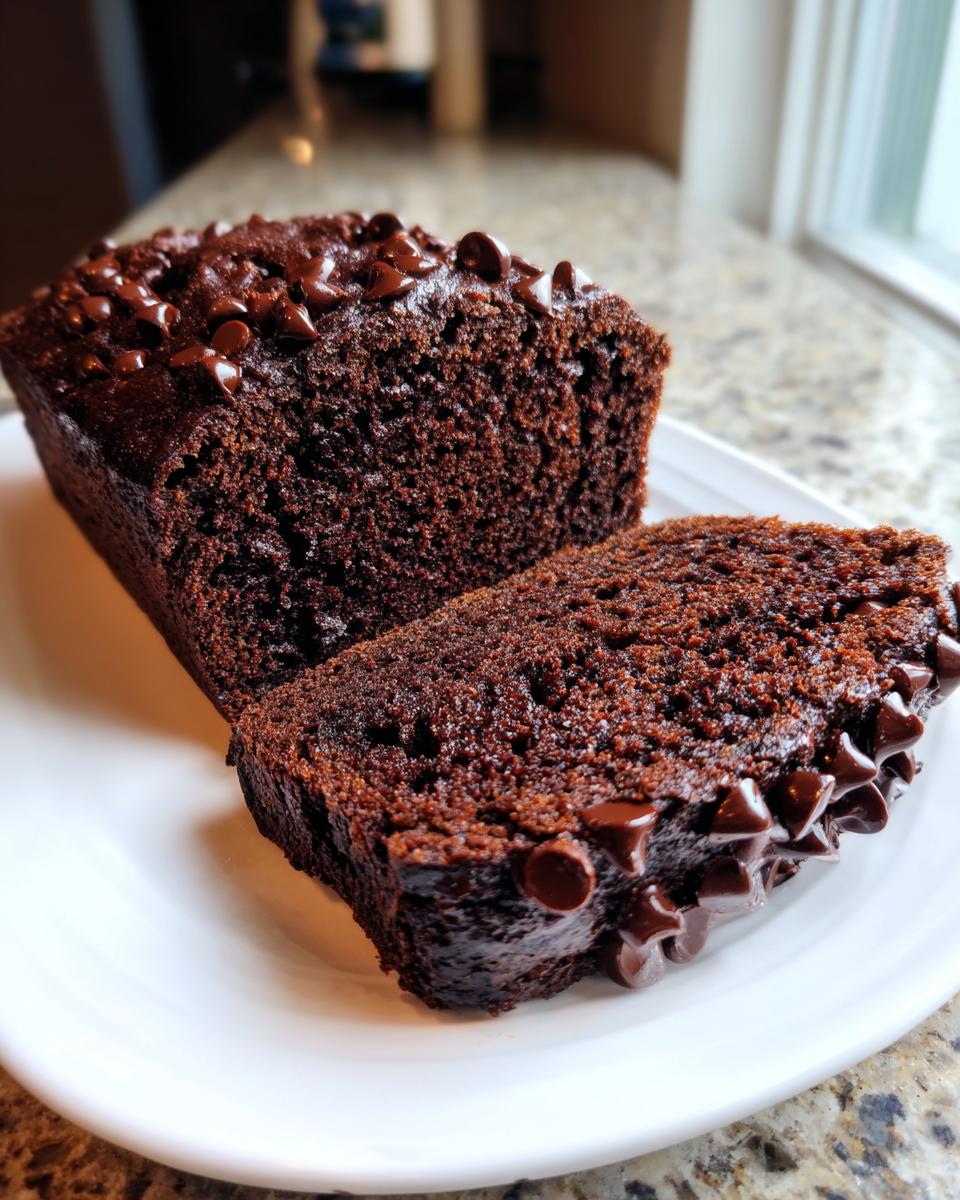
There is just something about the warmth that fills the house when you pull a freshly baked loaf from the oven, isn’t there? That feeling is the very essence of homemade comfort baking. If you are looking for a recipe that feels like a hug but tastes like a decadent, fudgy dessert, you have found the right place! We’re diving into the Super Moist Double Chocolate Banana Bread. Forget every dry, crumbly loaf you’ve ever experienced; this version is designed to be rich, easy, and unbelievably tender. After rigorous testing based on the principles Emily Harrison established in our test kitchens, I can promise you this amazing chocolate banana bread recipe delivers reliability every single time.
- Why This Double Chocolate Banana Bread is the Best Chocolate Banana Bread
- Gathering Ingredients for Your Chocolate Banana Bread
- Equipment Needed for Easy Banana Bread Baking
- Step-by-Step Instructions for the Best Chocolate Banana Bread
- Tips for Truly Moist Chocolate Banana Bread Success
- Variations: Chocolate Chip Loaf Recipe Swaps
- Serving Suggestions for This Decadent Chocolate Dessert
- Storage and Reheating Your Chocolate Banana Bread
- Frequently Asked Questions About Making Chocolate Banana Bread
Why This Double Chocolate Banana Bread is the Best Chocolate Banana Bread
I know, I know, everyone promises the “best” loaf, but this recipe truly delivers on the three things that matter most: maximum moisture, deep chocolate flavor, and surprisingly easy mixing. When you’re looking for that perfect chocolate banana bread, you need reliability. This isn’t just throwing ingredients together; it’s applying a little culinary science to guarantee success. You won’t be disappointed!
- It stays tender for days—seriously, no dry edges here!
- It uses both cocoa powder AND chocolate pieces for ultimate richness.
- The mixing process is quick enough for a weeknight baking project.
Achieving Peak Moistness with Sour Cream
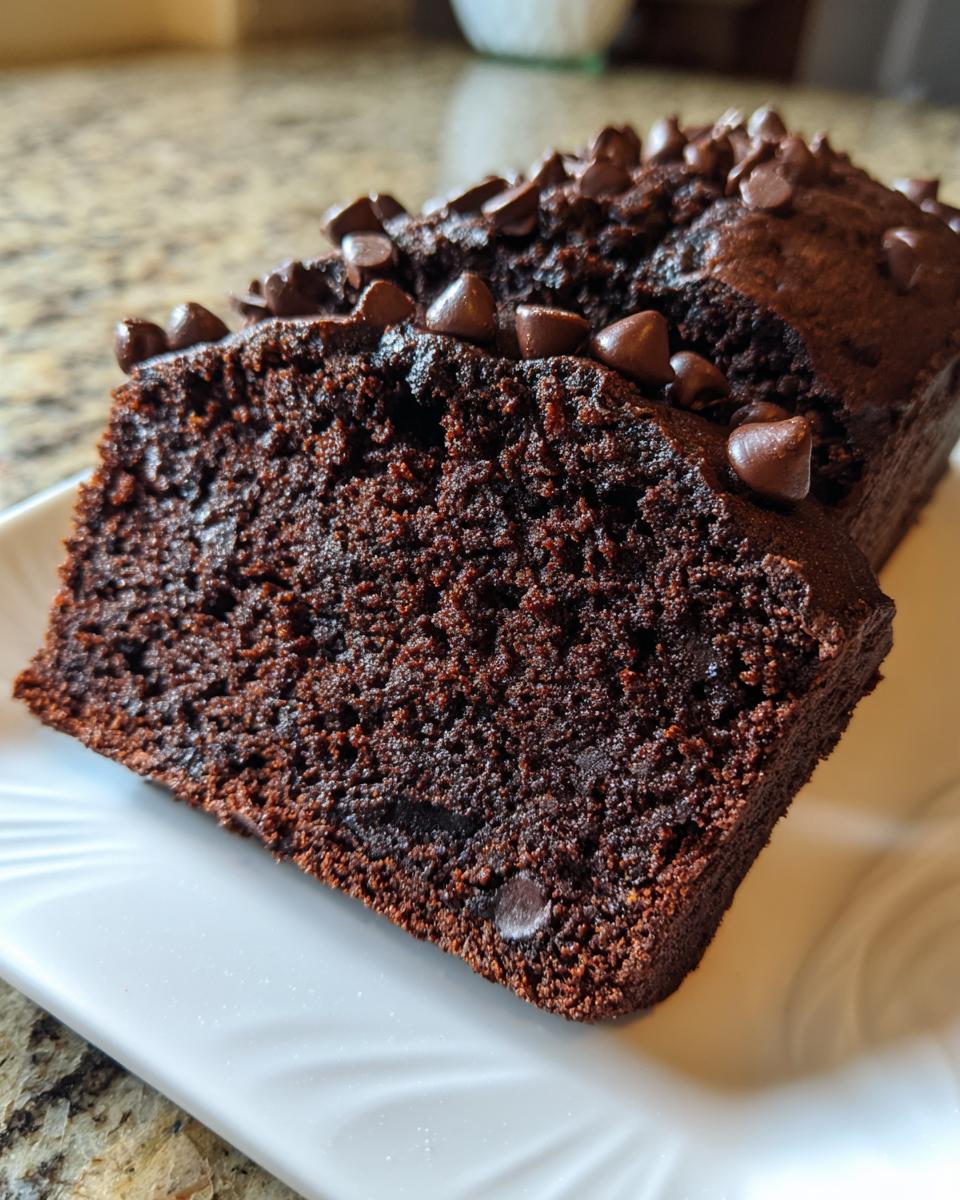
This is where we borrow from the professionals! Most quick breads rely only on bananas for moisture, but we add sour cream or Greek yogurt. The slight acidity helps break down the flour proteins just enough while the fat content locks in moisture during baking. That’s the secret sauce right there to that incredible, fudgy texture we aim for—it’s what prevents the dreaded dry crumb we all try to avoid. Getting your bread moist is all about layering fats and acids correctly.
Rich Flavor Profile: Double Chocolate Banana Bread
Why settle for one dose of chocolate when you can have two? We use robust, unsweetened cocoa powder in the base batter, which gives that deep, dark background flavor you crave in a true rich cocoa loaf. Then, we fold in both semi-sweet chips AND dark chocolate chunks. That combination ensures you get delicious cocoa flavor throughout the crumb, plus pockets of molten chocolate goodness in every bite of this chocolate banana bread.
Gathering Ingredients for Your Chocolate Banana Bread
Alright, let’s talk supplies! To make the absolute best chocolate banana bread, you can’t cheat the ingredients, especially when it comes to the bananas. Look for ones that are truly speckled—I mean, almost completely black on the peel! The browner they are, the sweeter and more intensely flavored your loaf will be. This recipe uses about three large bananas, mashed up nice and smooth.
Make sure you have high-quality cocoa powder; it makes a massive difference in the final color and depth of flavor. Also, remember to use room-temperature eggs and that sour cream or yogurt we talked about! I’ve laid out exactly what you need below. Getting your mise en place ready is half the battle won, trust me. For more insight on using bananas before they go bad, check out my tips on baking with ripe bananas!
- 1 3/4 cups all-purpose flour
- 3/4 cup unsweetened cocoa powder
- 1 1/2 teaspoons baking soda
- 1/2 teaspoon salt
- 1 cup (2 sticks) unsalted butter, melted
- 1 1/4 cups granulated sugar
- 1/2 cup packed light brown sugar
- 2 large eggs
- 1 teaspoon vanilla extract
- 1 cup sour cream or plain Greek yogurt
- 1 1/2 cups very ripe, mashed bananas (about 3 large)
- 1 cup semi-sweet chocolate chips
- 1/2 cup dark chocolate chunks or chopped chocolate
Equipment Needed for Easy Banana Bread Baking
I’m all about keeping the cleanup easy, especially when diving into a decadent chocolate banana bread recipe. Since you’re looking for an easy banana bread baking adventure, trust me, having the right tools ready makes everything smoother. This bread actually comes together faster than you might think, especially if you’re ready to go! You can check out all my favorite fundamentals for getting started with quick bread recipes for beginners right here.
You don’t need a fancy stand mixer for this one—old-fashioned elbow grease works perfectly fine, which is great for beginners! If you’re new to making these, having these basics on hand is key to success.
- One 9×5 inch loaf pan. Don’t try to use a smaller one unless you plan to bake in two batches—this batter is generous!
- A medium bowl for your dry ingredients (flour, cocoa, soda, salt).
- A large bowl for mixing all our delicious wet ingredients together.
- A sturdy whisk for blending the dry ingredients and the initial wet base.
- A flexible silicone spatula. This is essential for gentle folding later on—we don’t want to deflate all that air we introduced with the eggs!
- Measuring cups and spoons, naturally! Make sure your liquid measuring cups are ready for that sour cream.
Step-by-Step Instructions for the Best Chocolate Banana Bread
Okay, deep breath! This is the part where we bring it all together. We want that fudgy banana bread technique in action, which means following the order precisely and, most importantly, mixing as little as possible once the flour hits the bowl. I recommend setting your oven rack in the center before you even start mixing. We’re aiming for a perfect bake, and that starts with a good foundation.
Follow these steps, and you’ll have the most incredible chocolate banana bread loaf cooling in no time. Don’t forget to check out my deep dive on the fudgy banana bread technique if you want to understand why we mix things the way we do!
Preparing the Dry and Wet Bases
- First things first: Preheat your oven to 350°F (175°C). Make sure you grease and flour your 9×5 inch loaf pan really well, or better yet, line it with parchment paper that overhangs the edges—that little handle makes removal a dream!
- In a medium bowl, whisk together the flour, the cocoa powder, baking soda, and salt. Get them fully incorporated so there are no dry pockets of leavening agent hiding later. Set this dry mixture aside.
- Now for the wet bowl! Whisk that melted butter together with both the granulated and the packed brown sugar until they look happy together.
- Beat in your two eggs, one right after the other, making sure each one is fully mixed in before adding the next. Stir in the vanilla extract.
- Mix in the sour cream or yogurt. Mix until it looks mostly smooth, but remember, we are aiming for “just combined.” We don’t want to agitate this mixture too much!
Folding in the Final Ingredients for Rich Cocoa Loaf
This next part is critical for preventing a tough, chewy loaf. Slowly, add the dry ingredients into your wet mixture—I usually do this in thirds. Fold gently with your spatula. Stop mixing when you still see a few streaks of flour. Yep, I said stop mixing! Overmixing is what develops gluten and makes bread tough!
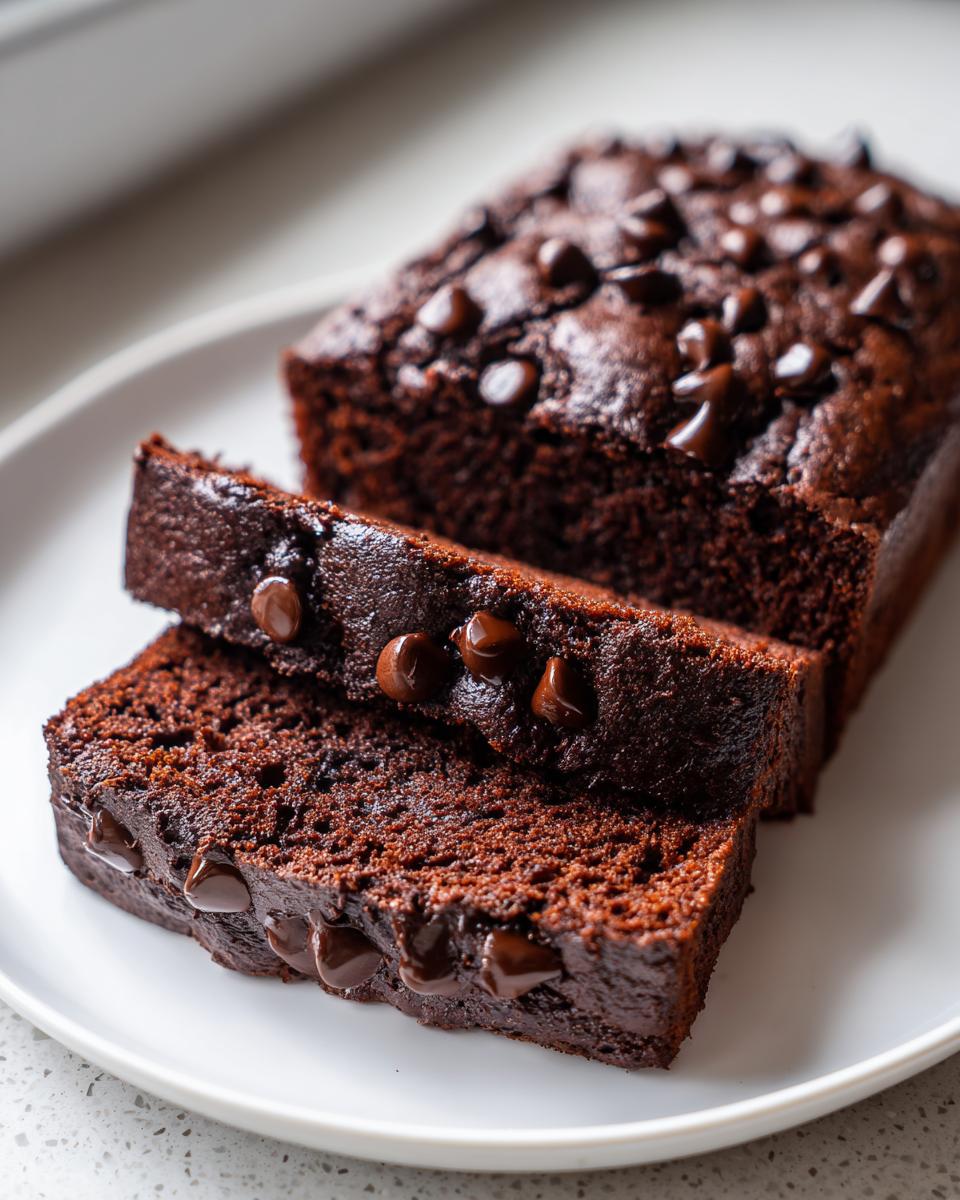
Finally, gently fold in your chocolate chips and the darker chocolate chunks. We want those babies suspended beautifully throughout the batter to achieve that rich cocoa loaf you deserve. Pour the batter into your prepared pan and smooth the top. Bake it for about 55 to 65 minutes. Remember to check it with a skewer; you want moist crumbs attached, not wet batter—that’s the key to the best chocolate banana bread!
Tips for Truly Moist Chocolate Banana Bread Success
We’ve baked the loaf, but now we need to make sure it stays perfect for snacking over the next few days! Keeping your chocolate banana bread moist isn’t just about the mixing; it’s also about how you treat the loaf right after it comes out of the oven and how you store it later. As my training taught me, the little details make the difference between good bread and amazing, dependable bread. If you want to avoid the frustration of dry loaves, these tips are non-negotiable!
My best advice right near the top here is to wrap it up quickly! For more general expertise on fighting dryness, you can look at my full guide on no dry bread baking tips. But for this specific recipe, focus on these two areas right now.
The Importance of Ripe Bananas for Flavor
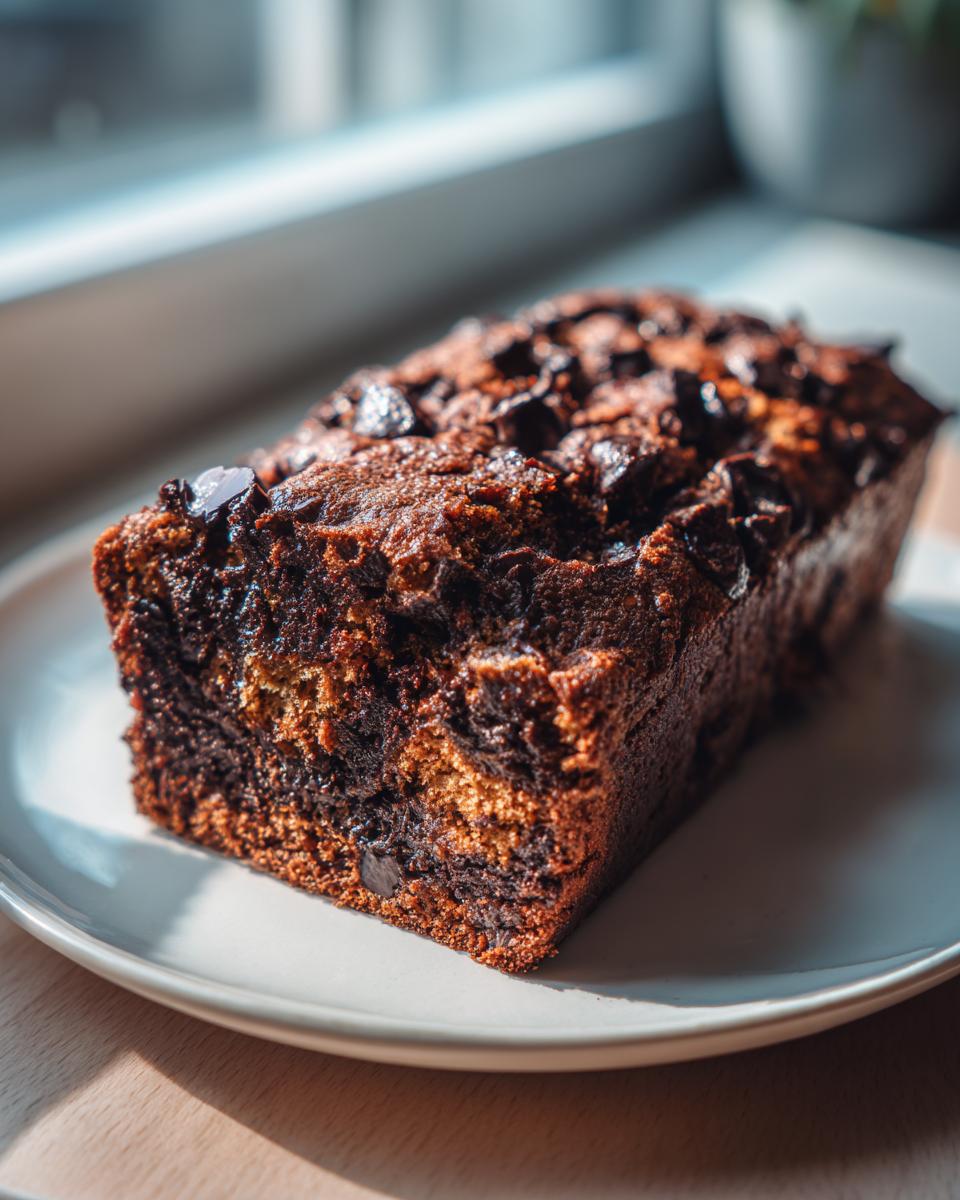
I stressed this before, but it bears repeating: if you see bananas that look like they’ve lost the will to live—all brown, spotty, maybe even a little black—grab them! Remember that rule: the browner the peel, the sweeter the fruit, and therefore the deeper the banana flavor in your final chocolate banana bread. Using hard, slightly green bananas means you’ll end up tasting more starch than sweet fruit. We need that intense, natural sweetness to balance the richness of the cocoa!
Checking Doneness: Moist Crumbs vs. Wet Batter
This is probably the single most common mistake people make when baking quick breads. Sure, the recipe says 55 to 65 minutes, but ovens vary wildly. When you test the bread for doneness, you’re aiming for a very specific result on your skewer or toothpick. It should come out clean, but it shouldn’t be bone dry. A perfectly baked moist banana bread recipe will pull a few *moist crumbs* off with the skewer. If the stick comes out wet with gooey batter, it needs more time. If it comes out completely dry with nothing clinging to it, you’ve gone too far, and the loaf will be drier!
Variations: Chocolate Chip Loaf Recipe Swaps
While I think this double chocolate quick bread is pretty much perfect as written—because why mess with near perfection, right?—I totally get wanting to make it your own signature loaf! Baking is all about personalization, and sometimes you have specific ingredients on hand you just want to use up.
Don’t feel like you have to stick strictly to the two types of chocolate I listed. If you prefer using milk chocolate chips instead of semi-sweet, go for it! Or maybe you have some white chocolate melting wafers hiding in the pantry; toss those in for an extra buttery flavor burst. If you decided to make a chocolate chip loaf recipe variation, the key is keeping the total amount of added chocolate (chips + chunks) around 1.5 cups total.
For those of you who like texture beyond the soft crumb, chopped nuts are always welcome. Walnuts and pecans are classic pairings for banana, but if you want to get adventurous, chopped toasted hazelnuts are amazing here. You can fold in about 3/4 cup of nuts along with your chocolate. If you are using nuts, I highly recommend giving them a quick toast in a dry pan for five minutes first—it wakes up that flavor so much! For more ideas on customizing these simple loaves, take a look at what I suggest for other sweet loaf combinations.
A quick swap note on sweeteners: if you’re trying to reduce refined sugar, you *can* substitute some of the granulated sugar with honey or maple syrup, but be warned! Since liquids affect the overall batter structure, you’ll need to reduce the sour cream/yogurt slightly (by about 1/4 cup) to compensate. It might alter the final texture slightly, but it’s definitely doable if you need a slight tweak!
Serving Suggestions for This Decadent Chocolate Dessert
Now that you have this gorgeous, rich loaf sitting on your counter, the real question is: when do you eat it? Honestly, this decadent chocolate dessert works perfectly for absolutely any time of day. It’s so satisfying because it manages to feel comforting like a classic bread but rich enough to satisfy that deep sweet craving.
For breakfast, I often just slice it thick and eat it toasted. A light smear of good-quality salted butter melts right into those chocolate pockets—it’s divine! If you haven’t tried toasting it, you absolutely must. It brings out the banana flavor in such a wonderful way. This is one of my favorite sweet breakfast baking ideas when I need something fast but special.
If you’re serving it as an afternoon snack alongside your coffee or tea, a simple dusting of powdered sugar is all it needs. It keeps the focus on that beautiful dark cocoa color. But if you are serving this loaf after dinner, you can dress it up a little!
- Whip up some homemade whipped cream and serve a slice warm with a dollop on top.
- A scoop of vanilla bean ice cream changes this quick bread instantly into a true dessert centerpiece.
- Try drizzling a tiny bit of caramel sauce over the top for a flavor combination that just sings!
No matter how you slice it—morning, noon, or night—this bread is sure to be a hit. Enjoy every bite! If you need more ideas for making mornings special, check out how I approach other sweet breakfast baking projects.
Storage and Reheating Your Chocolate Banana Bread
Now, here’s the part where we make sure that glorious moisture we worked so hard for in this chocolate banana bread lasts! This loaf is so good you might want to save some for later, and trust me, it actually tastes even better on day two once the flavors have really settled in.
The most important thing you can do once the loaf is completely cool (and I mean *cool*—if you wrap it warm, you’ll steam it and defeat our moisture mission!) is to wrap it tightly. I grab several layers of plastic wrap. You want it sealed up completely so it doesn’t dry out overnight. Stored tightly like this at room temperature, you can expect it to stay wonderfully fresh for up to three days. If you need to keep it longer, freezing is your best bet. We cover all the best methods for freezing those extra overripe banana recipes right here!
If your loaf has been sitting out or you pulled it from the freezer and it feels a little firm, don’t panic! Reheating is super easy and instantly brings back that fresh-from-the-oven crumb. For the best experience with your chocolate banana bread:
- If it’s just a slice, pop it in the microwave for about 10 to 15 seconds until it’s just warm through. That little blast of heat softens the chocolate chips right up again.
- If you have half the loaf and want a slightly crisper texture, slice off what you need and place the slices in a toaster oven for maybe 3 minutes. This gives you that lovely soft interior while making the edges just a tiny bit crisp.
Remember, treat this loaf right, and it will keep rewarding you with incredible flavor!
Frequently Asked Questions About Making Chocolate Banana Bread
I totally get it—when you’re trying out a new recipe, especially one as amazing as this chocolate banana bread, questions pop up! We want you to feel completely confident in your baking skills. I’ve gathered the most common things people ask me so you can troubleshoot any small hiccups and ensure your loaf turns out perfectly fudgy every single time. If you’re interested in simplifying the cleanup process next time, you might want to read up on my take on one bowl baking!
Can I substitute Greek yogurt for sour cream in this chocolate banana bread?
Absolutely, you can! Sour cream is fantastic because of its high fat content, which gives us that really luxurious, rich mouthfeel—that’s why I list it first. However, plain Greek yogurt is a wonderful stand-in. You might find the final crumb is slightly less rich, just because Greek yogurt is usually lower in fat than full-fat sour cream, but the acidity still activates the baking soda perfectly. Go ahead and swap them cup-for-cup!
How can I make this recipe a ‘one bowl banana bread’?
That’s a fantastic question for those days when you just don’t want to deal with mountains of dishes! While my step-by-step method is designed to maximize texture by separating the dry and wet components before combining them gently, you can definitely streamline this into a one bowl banana bread approach. Here’s how: In your large bowl, mix *all* your wet ingredients—butter, sugars, eggs, vanilla, and sour cream/yogurt. Then, stir in the mashed bananas. Finally, add your pre-whisked dry ingredients right on top of the wet mixture—and then fold gently until *just* combined. It saves washing that second bowl, though I still stand by the original order for the absolute best texture!
What is the best way to freeze leftover chocolate banana bread?
If, by some miracle, you have leftover chocolate banana bread, freezing it is the way to go! The key here is protection from freezer burn, which is the enemy of all moist banana bread recipes. First, let the loaf cool completely—no warm bread goes into the freezer, ever. Next, wrap the whole loaf (or individual slices!) very tightly in plastic wrap. I recommend two layers of plastic wrap, followed by a layer of aluminum foil. This double barrier keeps freezer odors out and moisture locked in. It will keep beautifully for up to three months. When you want a slice, just thaw it on the counter for a couple of hours!
PrintSuper Moist Double Chocolate Banana Bread
Follow this easy recipe to make a rich, fudgy double chocolate banana bread that stays incredibly moist. This quick bread uses overripe bananas for deep flavor and is perfect for breakfast or dessert.
- Prep Time: 15 min
- Cook Time: 60 min
- Total Time: 75 min
- Yield: 1 loaf (about 10 servings) 1x
- Category: Dessert
- Method: Baking
- Cuisine: American
- Diet: Vegetarian
Ingredients
- 1 3/4 cups all-purpose flour
- 3/4 cup unsweetened cocoa powder
- 1 1/2 teaspoons baking soda
- 1/2 teaspoon salt
- 1 cup (2 sticks) unsalted butter, melted
- 1 1/4 cups granulated sugar
- 1/2 cup packed light brown sugar
- 2 large eggs
- 1 teaspoon vanilla extract
- 1 cup sour cream or plain Greek yogurt
- 1 1/2 cups very ripe, mashed bananas (about 3 large)
- 1 cup semi-sweet chocolate chips
- 1/2 cup dark chocolate chunks or chopped chocolate
Instructions
- Preheat your oven to 350°F (175°C). Grease and flour a 9×5 inch loaf pan, or line it with parchment paper.
- In a medium bowl, whisk together the flour, cocoa powder, baking soda, and salt. Set this dry mixture aside.
- In a large bowl, whisk the melted butter, granulated sugar, and brown sugar until combined.
- Beat in the eggs one at a time, mixing well after each addition. Stir in the vanilla extract.
- Mix in the sour cream or yogurt until just combined.
- Fold in the mashed bananas until mostly incorporated. Do not overmix the batter at this stage.
- Gently fold the dry ingredients into the wet ingredients until just a few streaks of flour remain.
- Fold in the chocolate chips and chocolate chunks.
- Pour the batter into the prepared loaf pan and spread evenly.
- Bake for 55 to 65 minutes, or until a wooden skewer inserted into the center comes out with moist crumbs attached, but not wet batter.
- Let the bread cool in the pan for 15 minutes before carefully turning it out onto a wire rack to cool completely before slicing.
Notes
- Use very ripe bananas; the browner the peel, the sweeter and more flavorful your bread will be.
- For a fudgier texture, use melted chocolate instead of some of the chocolate chips.
- To keep the bread moist longer, wrap the cooled loaf tightly in plastic wrap before storing at room temperature for up to three days.
Nutrition
- Serving Size: 1 slice
- Calories: 380
- Sugar: 35
- Sodium: 250
- Fat: 21
- Saturated Fat: 12
- Unsaturated Fat: 9
- Trans Fat: 0
- Carbohydrates: 48
- Fiber: 3
- Protein: 5
- Cholesterol: 65