
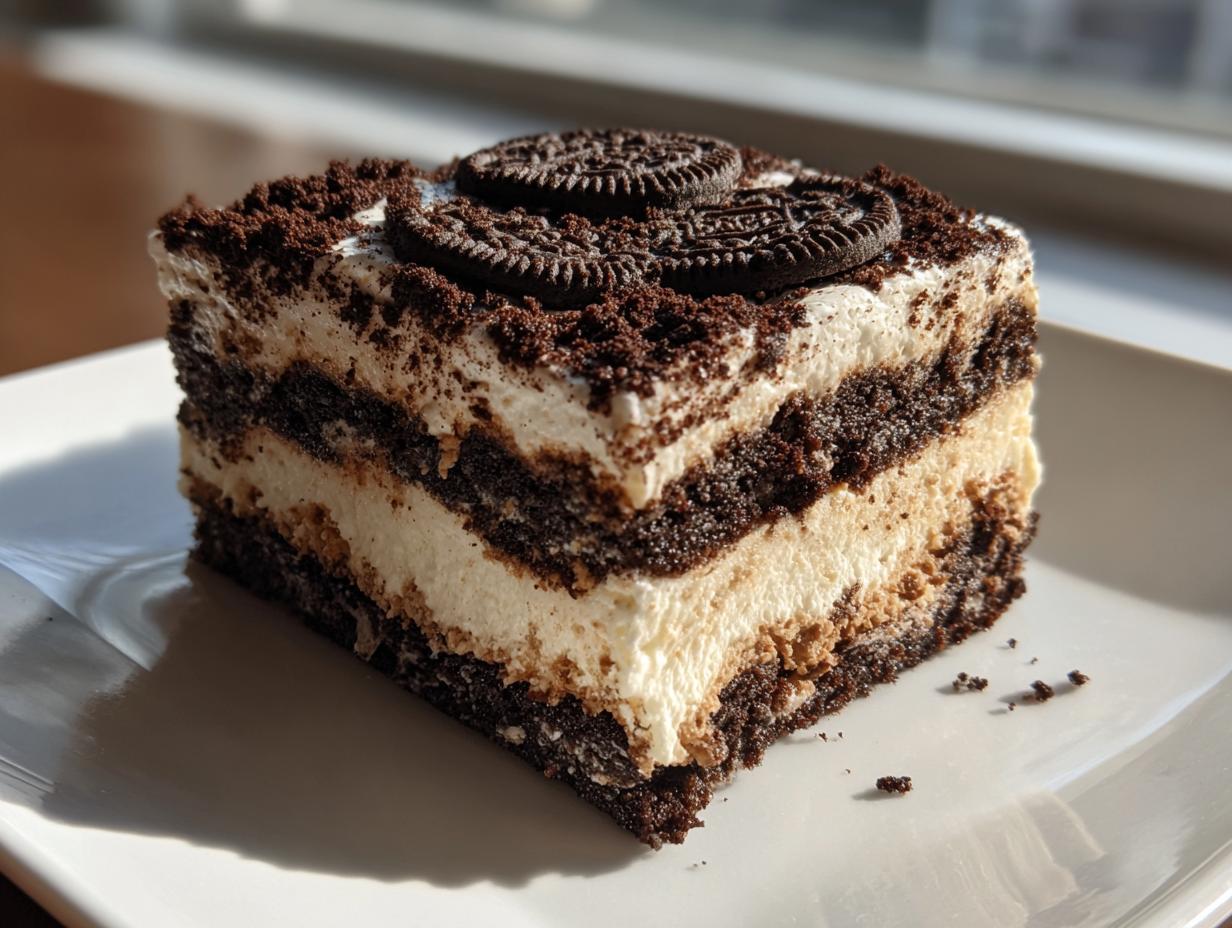
Sometimes, the most requested desserts are the ones that bring us right back to childhood birthday parties or big family gatherings. I get it! Life is busy, and while I love complex cooking, I absolutely rely on those sweet, no-fuss recipes that never fail. That’s why I’m sharing my definitive recipe for the best, easy, no-bake dirt cake you will ever make. This layered pudding dessert is pure, creamy nostalgia, and trust me, it was always the first thing to disappear at our Ohio family events. It’s simple, it’s impressive, and you don’t even have to turn the oven on! Find more of my favorite easy desserts here!
- Why This Is the Best No Bake Dirt Cake Recipe
- Gathering Ingredients for Your Oreo Dirt Cake Recipe
- Step-by-Step Instructions for This Easy Dirt Cake Dessert
- Tips for the Ultimate Dirt Cake with Oreos
- Making This No Bake Dirt Cake for Gatherings
- Storage and Reheating Instructions for Your dirt cake
- Frequently Asked Questions About the Best Dirt Cake Recipe
- Estimated Nutrition for This Creamy Dirt Cake
- Share Your Classic dirt cake Creations
Why This Is the Best No Bake Dirt Cake Recipe
I’ve tried a few recipes over the years, and while they are all pretty good, this one hits that sweet spot of being incredibly simple while delivering maximum satisfaction. It’s truly the ultimate Simple Make Ahead Dessert. When I need something reliable for the kids’ school parties or a last-minute potluck, this is the recipe I grab because there’s almost zero chance of error. Plus, the flavor only gets better as it chills!
The preparation takes maybe 25 minutes tops before it heads to the fridge, which means I can whip this up quickly after dinner and have it ready for the next day. It beats any complicated, multi-step baked goods any day of the week.
Achieving the Perfect Creamy Dirt Cake Texture
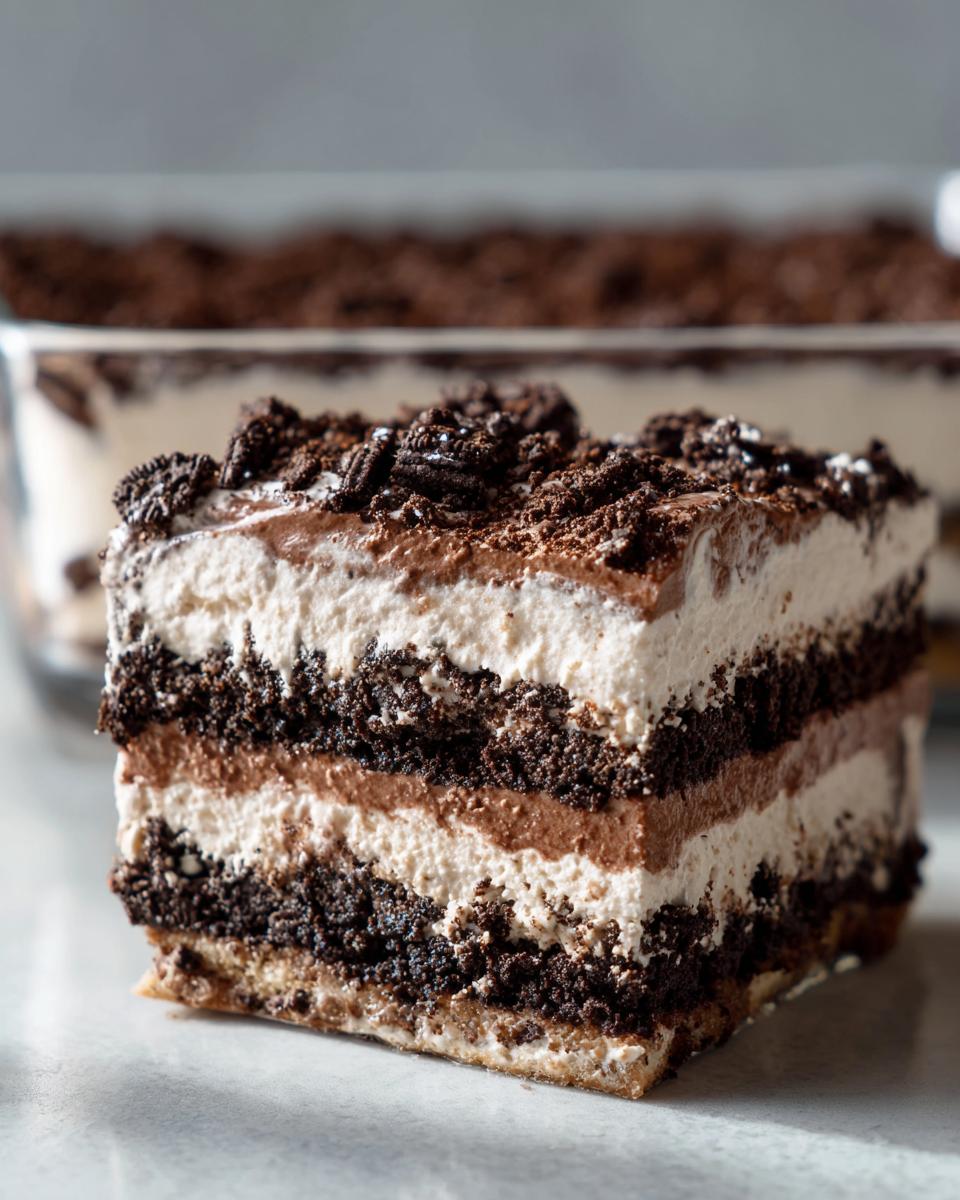
What makes mine different? It’s all about the base foundation. Too many recipes just mix the pudding with milk and call it a day, but that ends up watery. We are building serious body here! I use the full combo: softened cream cheese, softened butter, and that powdered sugar mixed until they are totally smooth first. Then, folding in the whipped topping gives it that luxurious, stable, cloud-like consistency. That careful three-part base is the secret to achieving a truly Creamy Dirt Cake that holds its shape perfectly in the layers.
When you fold in that thickened chocolate pudding mixture gently, you keep all those air bubbles intact. That’s how you get that rich, melt-in-your-mouth factor without it collapsing into soup overnight. It’s worth the extra two minutes of creaming, check out my no-bake energy balls for another quick treat!
Gathering Ingredients for Your Oreo Dirt Cake Recipe
Okay, let’s talk supplies! Because this is a No Bake Dirt Cake, we are relying heavily on the quality of the refrigerated and pantry staples here. You don’t need a lot of fancy equipment, but grabbing the right ingredients for this Oreo Dirt Cake Recipe is crucial for that top-tier result. Here is exactly what you need to collect before you start.
- 1 (14.3 ounce) package Oreo cookies
- 1 (8 ounce) package cream cheese, softened
- 1 cup unsalted butter, softened
- 2 cups powdered sugar
- 1 (12 ounce) container frozen whipped topping, thawed
- 2 (3.9 ounce) packages instant chocolate pudding mix
- 3 cups cold milk
- 1 package gummy worms (optional, for decoration)
Don’t forget to check out some of my tips for making other creamy bases successfully!
Ingredient Notes and Substitutions for Dirt Cake
I have to stress this: use full-fat cream cheese and butter. Seriously, don’t reach for the light stuff here. It throws off the structure we’ve worked so hard to build in the first mixing bowl, and we want this dessert sturdy, not weak! Also, you absolutely must use instant chocolate pudding mix; the cook-and-serve kind won’t set up right in this cold scenario. And while you could technically swap Oreos for another chocolate sandwich cookie, I highly recommend sticking to the real deal. Those black cookies are the whole point—they make the perfect, realistic ‘dirt’ look!
If you’re looking for other great recipe ideas, check out this guide on Oreo combinations!
Step-by-Step Instructions for This Easy Dirt Cake Dessert
This is the fun part! Since we’re making an Easy Dirt Cake Dessert, there’s no stress about baking times or oven thermometers—just mixing and waiting. We need to tackle the ‘dirt’ first, then build that wonderful, fluffy cream filling. Remember, since nothing is going in the oven, the chilling time is crucial. That’s when this dessert goes from being a bowl of ingredients to a firm, sliceable treat!
Preparing the Oreo ‘Dirt’ Layers
First up is crushing those cookies! You want this as fine as possible; think rough soil, not chunky gravel. I toss the whole batch into my food processor and pulse until it looks dusty. Take a measuring cup and pull out about one cup of those lovely crumbs right now and set them aside. That reserved cup is what goes on top at the very end to look like fresh earth. The rest of the crumbs go into the bottom of your serving dish—this starts our whole layered pudding dessert structure.
Mixing the Creamy Chocolate Filling for the dirt cake
Remember how we talked about the cream base? This is where we build volume. In your biggest bowl, beat that softened cream cheese, butter, and powdered sugar together until it’s pale and fluffy—no lumps allowed! Then, gently fold in that thawed whipped topping. Once that’s happy, you whip up your instant pudding and cold milk until it starts to barely thicken. Now, gently, gently fold that pudding into the cream cheese mixture. Do not grab the electric mixer for this step! We fold slowly so we don’t deflate all that air we just whipped in. Keep folding until it’s just uniform, and try not to overmix the glorious dirt cake!
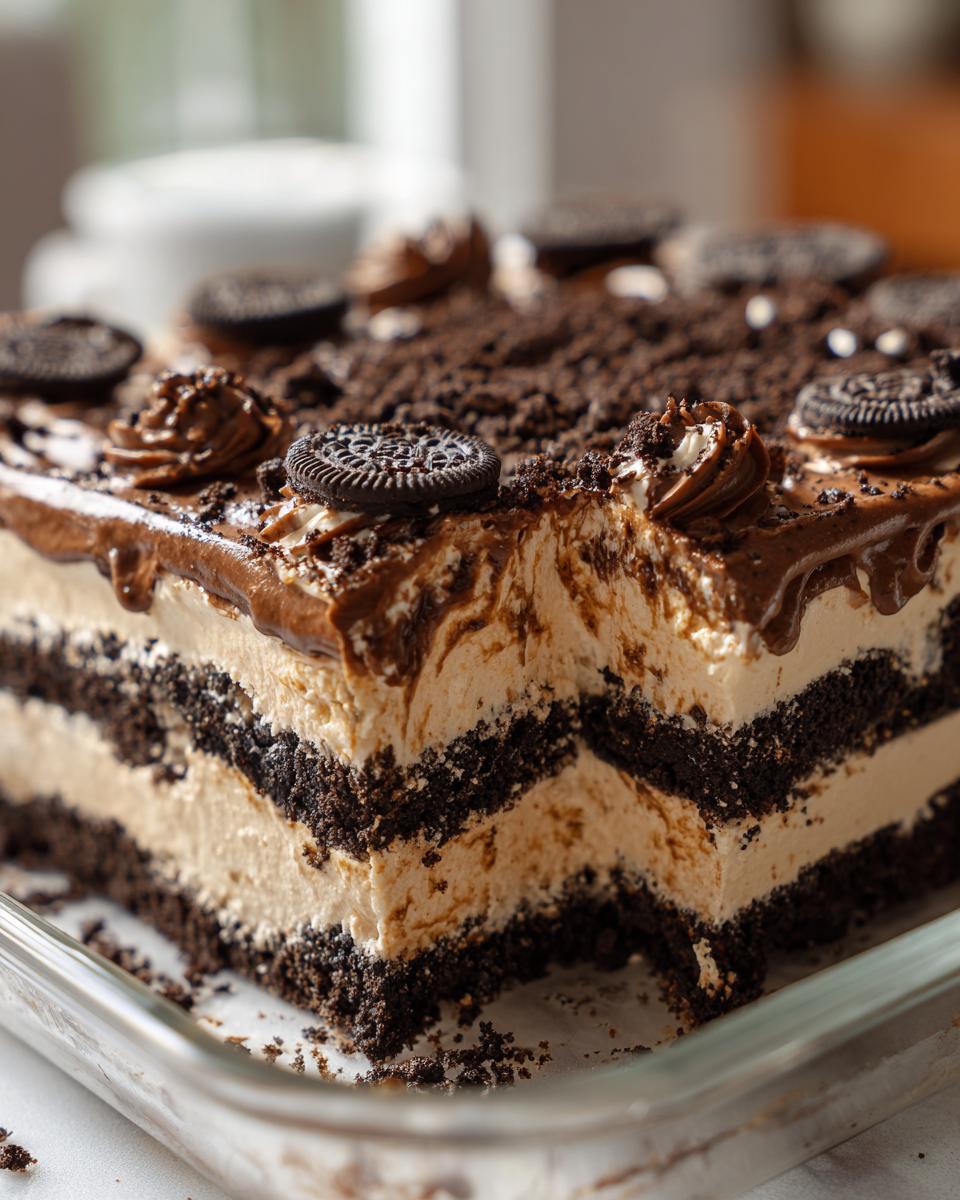
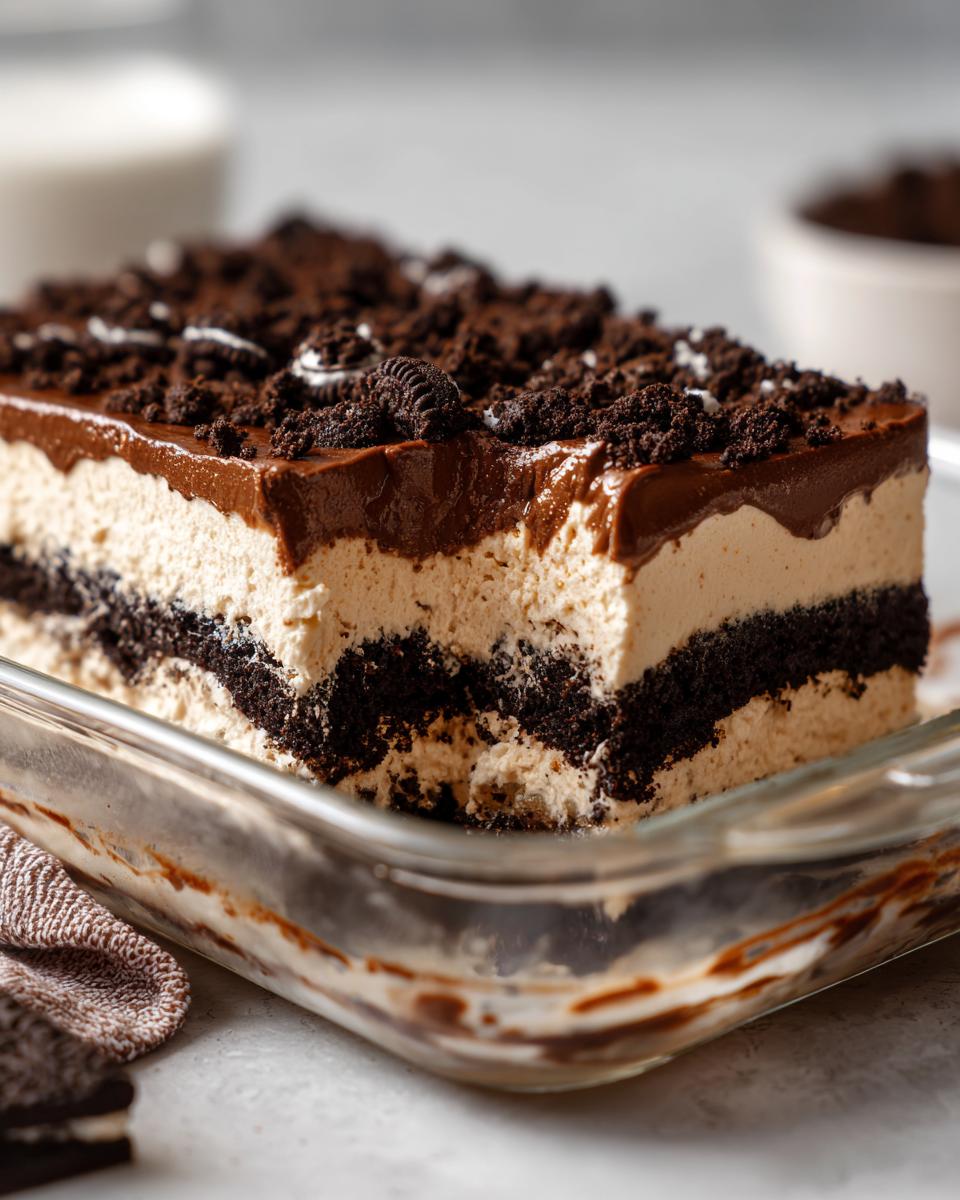
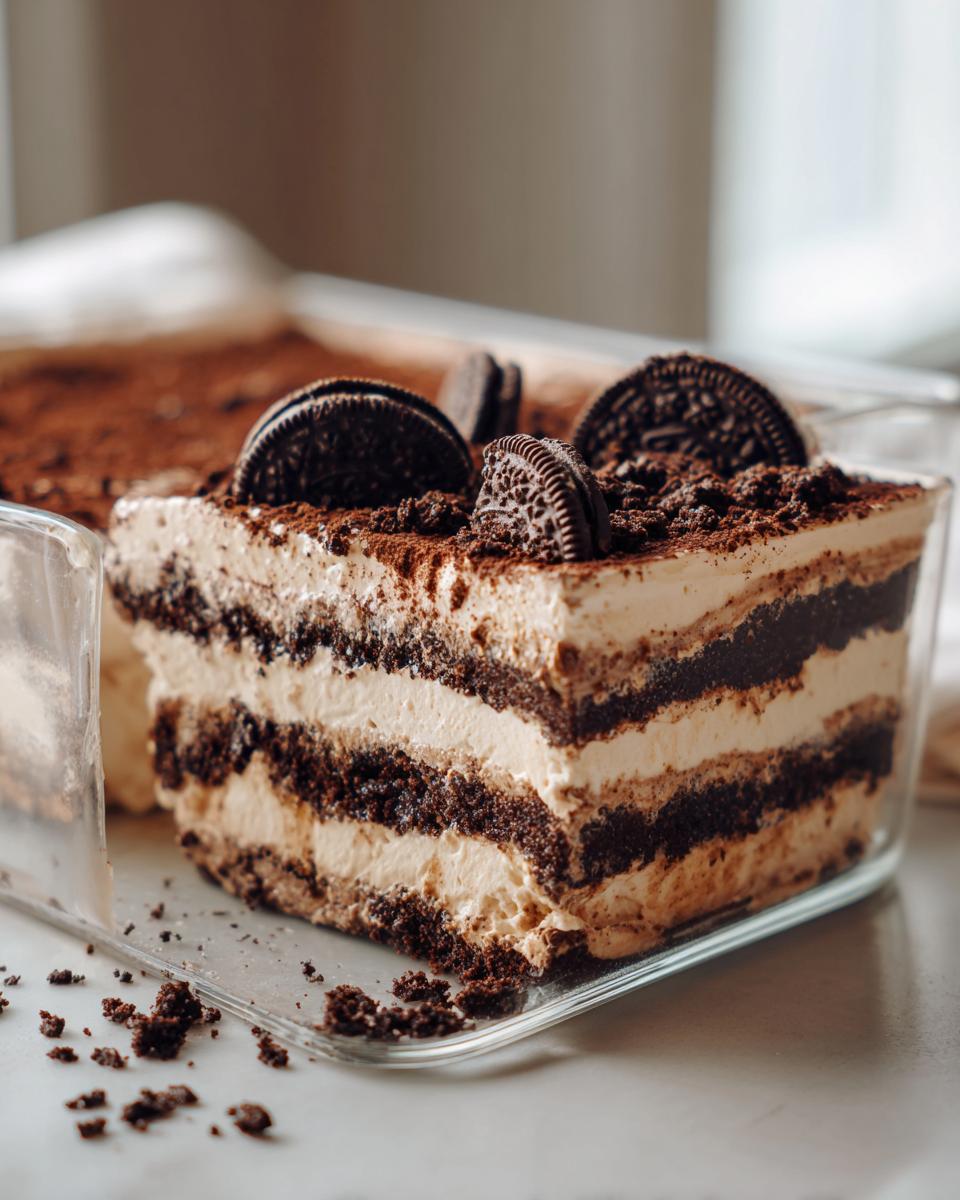
Assembling and Chilling Your Layered Pudding Dessert
Time to stack these beauties! Start with your bottom layer of crushed Oreos you placed in the dish. Spoon half of that glorious chocolate cream mixture right on top—smooth it out if you want those clean lines! Next, sprinkle on another layer of your crushed cookies (not the reserved top layer, just a middle one). Then, spoon over the rest of the cream filling. Finally, sprinkle that last reserved cup of fine crumbs all over the top layer. Now, this is the most important part for any quality layered pudding dessert: cover it tightly and let it chill for a minimum of four hours. Honestly, overnight works best. That resting time lets the crumbs absorb moisture and firms up the cream so your layers don’t slide around when you serve it. You can see a quick visual guide to layering here, but trust me, patience pays off!
If you need quick sauces while you wait for this to set, check out my creamy peanut sauce recipe!
Tips for the Ultimate Dirt Cake with Oreos
Now that you have the basic framework down for this fantastic Dirt Cake with Oreos, let’s talk about elevating the experience. As a busy mom myself, I know presentation matters, especially when you’re serving it to kids! These little tweaks take it from good to legendary.
Making Individual Dirt Cake Cups
If you’re taking this dessert to a potluck or a big party, skip the giant pan and make individual servings! Small glass jars—like mason jars or even fancier little parfait glasses—make this so much more fun. You layer everything just the same way: cookie layer, cream layer, cookie layer, cream layer. The great thing is that everyone gets a perfect ratio of cream to cookie dust in every single serving. Plus, cleanup is a breeze, and nobody has to worry about cutting a perfect slice!
Decorating Your Chocolate Dirt Dessert Fun
You simply cannot make a classic Chocolate Dirt Dessert without the worms! This is where the fun comes in. When you’re spooning on that final top layer of reserved “dirt,” always stab a few gummy worms (or even a candy rock!) halfway into the top layer before it completely sets in the fridge. It looks like they are actually burrowing! I used to hide a little plastic shovel decoration in the middle of the pan when my kids were small, and they’d fight over who got to dig it out. If you’re looking for other ways to use that cookie crust base, check out my recipe for an easy ice cream pie!
Remember, presentation is just as important as taste, and this easy dessert is all about fun. You can find some great visual inspiration over at this Oreo Dirt Cake inspiration.
Making This No Bake Dirt Cake for Gatherings
This is truly one of my favorite desserts when I know I’m feeding a crowd, and that’s because it handles being made ahead like a champion. Whether you’re taking it to a big summer picnic or serving it up for a holiday dessert table, this is the ultimate **Potluck Dessert Ideas** winner. Because it sets overnight, I can clear up the kitchen the night before, leaving me totally stress-free the day of the party.
You get a generous 12 servings out of one standard 9×13 pan, maybe more if you cut your squares a little shy (I won’t tell!). That reliability is why I always turn to the **dirt cake** when I’m planning Family Gathering Treats. It’s easy to scale up, too—if you’re hosting fifty people, just use two pans! It holds up beautifully in transit, too, especially if you keep it covered and slightly chilled until serving time.
Since it’s no-bake, you don’t have to worry about keeping it warm or reheating anything, which is a huge plus when your oven space is already maxed out with the main course. If you’re looking for some easy finger foods to serve alongside this sweet treat, be sure to check out my list of easy appetizers and snacks!
And if you’re thinking about presentation for a whole bunch of people, remember the individual cup idea I mentioned earlier! Those little cups are amazing for kids running around at a cookout because they don’t need plates or forks—just grab their cup and dig right in! You can see some extra fun presentation ideas, including taking those cups to the next level, over at this guide on dirt cake cups.
Storage and Reheating Instructions for Your dirt cake
Since this amazing dessert relies on all those lovely refrigerated elements—the pudding and the cream cheese base—it has to stay cool. The good news is that this doesn’t need any reheating whatsoever! In fact, you never want to heat it up, or you’ll end up with a gloopy mess that has definitely lost its structure.
When it comes to storage, you must cover it tightly. I usually wrap the whole pan snugly in plastic wrap, or if I’m using individual cups, I snap on little plastic lids. This prevents it from picking up any weird fridge smells. It is fantastic if you can let it chill overnight—I really mean it when I say the longer it sets, the firmer those layers get, and the better the flavor melds together.
You can safely keep this no bake dirt cake in the refrigerator for up to four days. After day four, the texture starts to change a little bit too much for my liking; the cookie crumbs get a bit too soft, losing that lovely contrast against the cream. But honestly? It rarely lasts that long in my house!
If you’re looking for a great side dish to serve that keeps well in the fridge too, you absolutely must try my honey butter skillet corn side recipe. It’s always a hit!
Frequently Asked Questions About the Best Dirt Cake Recipe
It’s natural to have questions when you are making a recipe for the first time, especially one as beloved as this! I’ve gathered the questions I get asked most often about making the absolute Best Dirt Cake Recipe. Hopefully, these quick answers help you get set up for success!
Can I make this dirt cake without Oreos?
Look, I get it—sometimes you grab what you have! You certainly *can* substitute another chocolate sandwich cookie, and the dessert will still taste great. However, you’ll lose that authentic, slightly gritty look and texture that makes it feel like real dirt. The deep black color of the Oreo crumbs is truly part of the fun, plus the specific texture of that cream filling works perfectly with the classic cookie.
What is the best pudding to use for dirt cake?
You must use the instant chocolate pudding mix for this recipe. Not the kind you cook on the stove! The instant mix sets up properly just by whipping it with cold milk and then folding it into our cream cheese base. That process incorporates the necessary thickness without requiring us to turn on any heat. Make sure that milk is ice cold—it activates the setting agents much faster!
If you want to make a batch of homemade chocolate milk to use instead of regular cold milk (a fun upgrade!), you can find my easy recipe here!
For more troubleshooting tips on making unforgettable layered desserts, I always recommend seeing what other cooks have tried over on this great resource.
Estimated Nutrition for This Creamy Dirt Cake
Now, I want to be completely upfront with you—this dessert falls firmly into the “indulgent treat” category. We are using butter, cream cheese, sugar, and Oreos, so we aren’t exactly aiming for light fare here! But knowing the numbers is important, and I’ve worked out the estimates based on the full yield this recipe provides.
Please remember, these are just estimates based on standard ingredient brands, and your final nutrition facts might shift slightly depending on what you use for milk or toppings. I always say, enjoy it first, and worry about the macros second when it comes to memories like this!
Here is the breakdown per serving:
- Serving Size: 1 serving
- Calories: 410
- Sugar: 45g
- Sodium: 350mg
- Fat: 22g
- Saturated Fat: 12g
- Trans Fat: 0.5g
- Carbohydrates: 52g
- Fiber: 1g
- Protein: 5g
- Cholesterol: 45mg
If you are looking for something that feels a little lighter in the morning, but still has big flavor, you have to try my super fluffy oatmeal pancakes. They are a family favorite when we need a weekend morning lift!
Share Your Classic dirt cake Creations
That’s it! You’ve made the magic happen, and now you have the absolute best, easiest, no-bake summer dessert ready to go. I truly hope this recipe brings as much joy and laughter to your table as it has to mine over the years. Now that you’ve mastered this dirt cake, I absolutely want to see what you came up with!
Don’t be shy! Tell me about it in the comments below. Did you use the gummy worms, or did you go for something else funny? Did you use a big pan, or did you make those cute little individual cups? I read every single comment because hearing about your successes (and any little mishaps!) helps me make these recipes even better for everyone who visits. Your feedback is gold to me.
If you took a picture of your beautifully layered pudding dessert—especially if you got a great cross-section shot—please send it my way! You can reach out via the contact page here. I love seeing this traditional American treat pop up in kitchens all over!
Seriously, rate this recipe five stars if you loved the creamy texture and the ease of it. Let’s share the fun!
PrintEasy No-Bake Oreo Dirt Cake

Create this classic, creamy, no-bake Oreo Dirt Cake. This layered pudding dessert uses simple ingredients and is perfect for parties or family gatherings.
- Prep Time: 25 min
- Cook Time: 0 min
- Total Time: 4 hr 25 min
- Yield: 12 servings 1x
- Category: Dessert
- Method: No Bake
- Cuisine: American
- Diet: Vegetarian
Ingredients
- 1 (14.3 ounce) package Oreo cookies
- 1 (8 ounce) package cream cheese, softened
- 1 cup unsalted butter, softened
- 2 cups powdered sugar
- 1 (12 ounce) container frozen whipped topping, thawed
- 2 (3.9 ounce) packages instant chocolate pudding mix
- 3 cups cold milk
- 1 package gummy worms (optional, for decoration)
Instructions
- Crush all Oreo cookies in a food processor until they resemble fine dirt. Set aside 1 cup of the crushed cookies for topping later.
- In a large bowl, beat the softened cream cheese and butter together until smooth.
- Gradually beat in the powdered sugar until fully combined.
- Fold in the thawed whipped topping until the mixture is uniform and creamy.
- In a separate bowl, whisk together the instant chocolate pudding mix and cold milk for about two minutes until the mixture begins to thicken.
- Gently fold the pudding mixture into the cream cheese mixture until just combined. Do not overmix.
- In a large, clear serving dish or individual cups, begin layering the dessert. Start with a layer of the remaining crushed Oreos.
- Top the cookie layer with half of the chocolate cream mixture.
- Add another layer of crushed Oreos over the cream layer.
- Top with the remaining chocolate cream mixture.
- Sprinkle the reserved 1 cup of crushed Oreos over the top layer to resemble dirt.
- If using, press gummy worms into the top layer for decoration.
- Cover the dish and chill in the refrigerator for at least 4 hours, or preferably overnight, to allow the dessert to set properly.
Notes
- For the best texture, crush the Oreos finely; you want them to look like soil.
- You can make this dessert ahead of time; chilling overnight improves the flavor and firmness.
- If you prefer individual servings, layer the ingredients in small clear cups for fun dirt cups.
Nutrition
- Serving Size: 1 serving
- Calories: 410
- Sugar: 45
- Sodium: 350
- Fat: 22
- Saturated Fat: 12
- Unsaturated Fat: 10
- Trans Fat: 0.5
- Carbohydrates: 52
- Fiber: 1
- Protein: 5
- Cholesterol: 45