
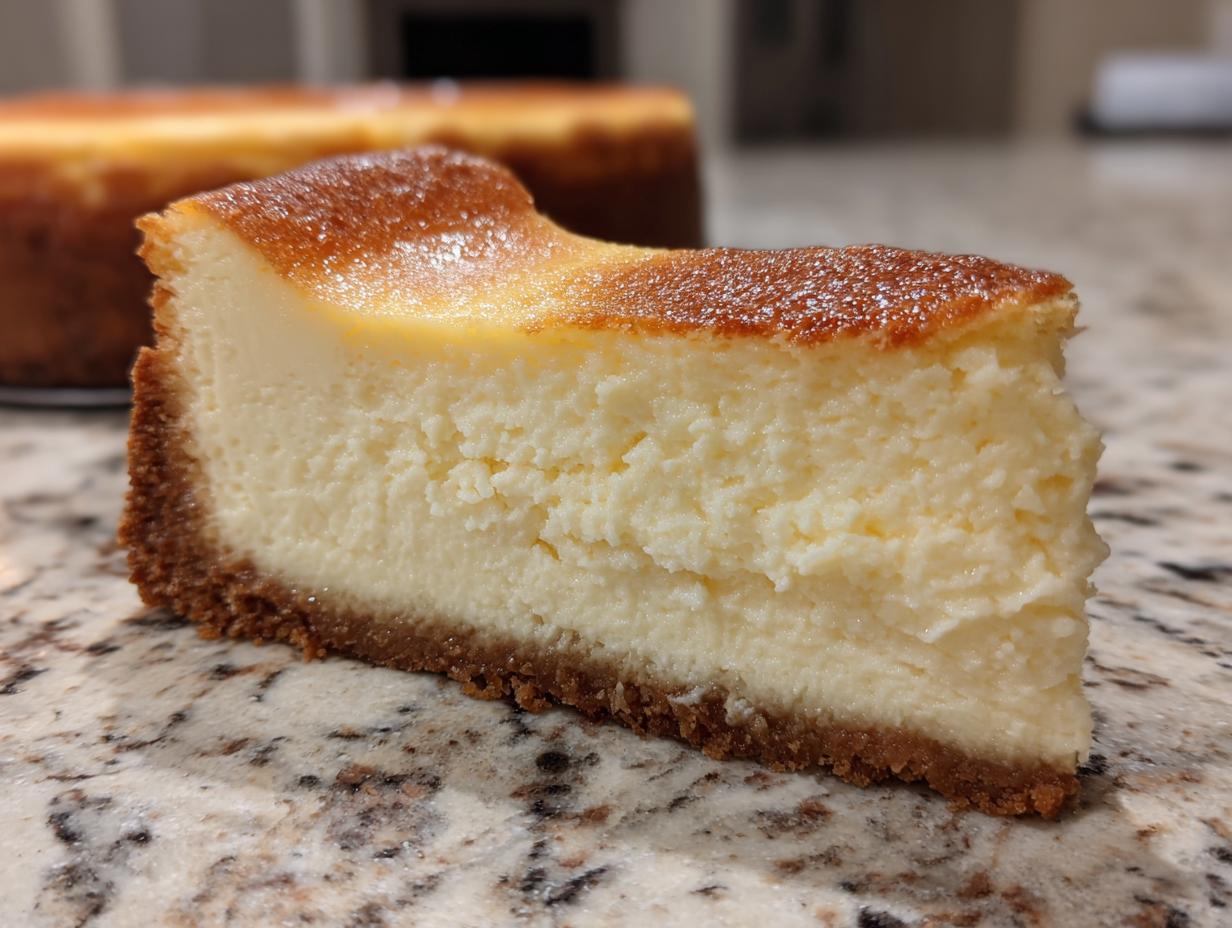
Oh, the sheer indulgence of a truly spectacular slice of cake! When I think about the quintessential American dessert, nothing beats that rich, silken texture that only a proper New York cheesecake can deliver. For years, I thought achieving that dense, creamy perfection without the dreaded crack on top was reserved only for professional bakeries. I really struggled with it early on, ending up with sunken centers more than once. But through rigorous testing in the Cookery Command test kitchen, I finally cracked the code! Trust me when I say this is the definitive, reliable recipe that guarantees you a jaw-droppingly rich, dense, and—most importantly—crack-free result. You’ve got this!
- Why This Classic New York Cheesecake Recipe Works (E-E-A-T)
- Ingredients for the Perfect New York Cheesecake
- Preparing the Graham Cracker Crust Recipe
- Mixing the Filling for a Dense Cheesecake
- Baking Your New York Cheesecake Recipe with a Water Bath
- No Crack Cheesecake Tips: Cooling the Rich Dessert Slowly
- Essential Chilling and Serving for the Best Cheesecake Recipe
- Frequently Asked Questions About Your New York Cheesecake
- Storage and Reheating Instructions for this Timeless Dessert
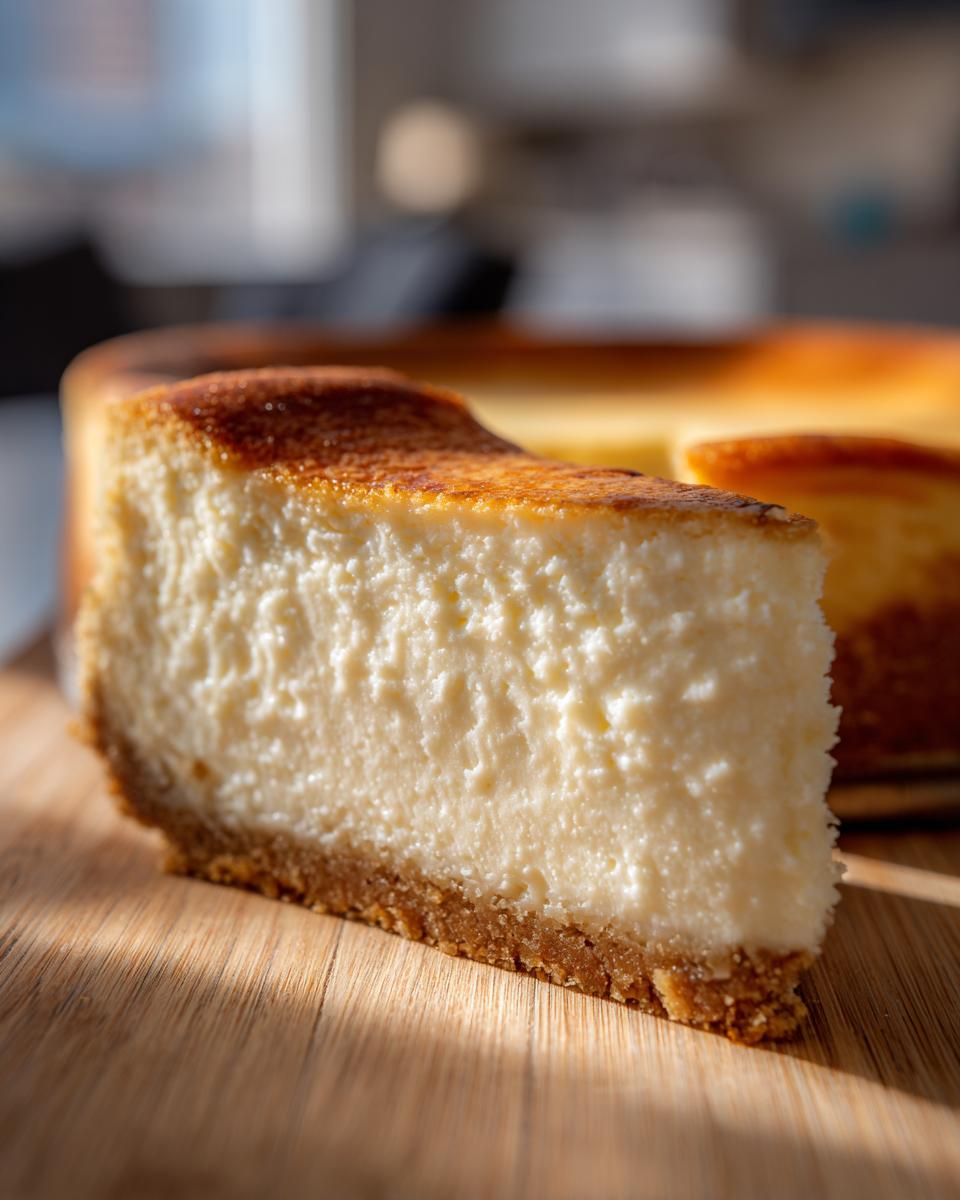
Why This Classic New York Cheesecake Recipe Works (E-E-A-T)
I know so many people who fear making a Creamy Baked Cheesecake because it seems so fussy, but that’s where the science comes in! To get that dense, velvety texture New York is famous for, we have to respect the ingredients. My biggest non-negotiable rule is using everything at true room temperature—I mean, truly soft cream cheese, sour cream, and eggs. Cold ingredients fight each other and create lumps, which eventually lead to cracks when they expand in the oven.
Also, you absolutely cannot skip the water bath around the pan. That gentle steam shields the top from the direct, harsh heat of the oven. It keeps the temperature even, allowing the filling to set slowly and evenly across the entire surface. This technique is how we achieve that flawlessly smooth, tall, and creamy result every single time. For more deep dives into what makes this style work, check out the brilliant tips over here!
Ingredients for the Perfect New York Cheesecake
When you’re aiming for a show-stopping, Homemade Cheesecake that tastes just like the real deal from a Manhattan bakery, you can’t mess around with substitutions. The quality and preparation of these ingredients are half the battle won! I’ve listed exactly what you need below. Remember, if it says room temperature, it means it—don’t even try to cheat that step!
- 1 1/2 cups graham cracker crumbs
- 1/4 cup granulated sugar (for crust)
- 6 tablespoons unsalted butter, melted
- 4 (8 ounce) packages full-fat cream cheese, softened to room temperature
- 1 1/2 cups granulated sugar (for filling)
- 1/4 cup all-purpose flour
- 1 teaspoon vanilla extract
- 1/4 teaspoon salt
- 1 cup sour cream, room temperature
- 4 large eggs, room temperature
I got these measurements from my notes after testing this ratio dozens of times to get that perfect, sweet-yet-tangy filling. If you’re looking for more fun ways to use cream cheese in your baking repertoire, you have to peek at my churro cheesecake bars—they’re divine!
Preparing the Graham Cracker Crust Recipe
Alright, let’s talk foundation! A truly great Graham Cracker Crust Recipe is crucial because it needs to hold up against all that rich, creamy filling we are about to make for this new york cheesecake. First, just toss those graham cracker crumbs with the quarter cup of sugar and the melted butter. Mix it up until it looks like wet sand—you know the texture I mean?
Now, the secret here is compression. You have to press it firmly into the bottom of your springform pan. I use the flat bottom of a measuring cup to really pack it down tight. This prevents it from crumbling when you slice it later! Don’t skip chilling this layer for at least 30 minutes; that solidifies the butter and makes it ready for baking.
Mixing the Filling for a Dense Cheesecake
This is where most people accidentally introduce air into what should be a beautiful, smooth batter for this unbelievable new york cheesecake. Remember how I stressed room temperature ingredients? If your cream cheese is cold, you might be tempted to beat it harder and longer to break up those lumps. Stop right there! Cold cream cheese leads to lumps, and beating those lumps out is what pumps air into the mix, guaranteeing cracks later. We want dense, we want rich, we want smooth—not light and fluffy cake batter!
When you start mixing, make sure you add the sugar, flour, vanilla, and salt gradually after the cream cheese is perfectly smooth. Mix only until incorporated. But here is the absolute golden rule: once those eggs go in, you are barely stirring. Seriously, just enough so you don’t see streaks of yolk!
When you look at recipes online for this style, like some of the classic methods here, they all emphasize light mixing. Adding eggs one at a time, mixing *just* until they disappear, that’s the technique for a decadent dessert that sets up perfectly creamy instead of airy. That rich flavor comes from technique, not speed, my friends!
Cream Cheese Preparation: Achieving Smoothness
Before we even think about adding sugar, you need to tackle that cream cheese solo. I let mine sit out for at least three hours, sometimes four, until I can press my finger into the block and it leaves a clean indent without resistance. Beat it on medium-low speed until it looks like the creamiest frosting you’ve ever seen—no lumps tolerated! Only once it’s completely velvety smooth do you introduce the dry ingredients slowly. This initial step makes sure you don’t have to go back and overwork the batter later trying to find hidden pockets of cheese.

Baking Your New York Cheesecake Recipe with a Water Bath
Okay, it’s time for the step that truly separates the good cheesecake from the *amazing* New York cheesecake. We have to deploy the water bath, or the bain-marie. I know, it sounds incredibly fussy, but trust me, this is the single most effective tool for achieving those famous No Crack Cheesecake Tips. The logic is simple: a water bath creates a moist, steamy environment in the oven, preventing the top of the cheesecake from drying out and setting too fast. This slow, gentle bake is what gives us that dense, creamy texture we crave.
You must wrap your springform pan tightly in heavy-duty foil—I usually do three good layers on the bottom and sides, just in case! Place that carefully wrapped pan inside a much larger roasting pan. Before you ever put it in the oven, you gently pour hot water into the roasting pan until it comes up about an inch or so on the sides of the cheesecake pan. Seriously, use hot water; it helps the bath regulate the temperature faster. This moist, protective layer is your insurance policy for a flawless, silky finish!
Check out how they set up their water bath over at JuicyTable for another great visual reference. This technique ensures your New York cheesecake cooks evenly from the edge to the center without forming that ugly, dry ring or sinking.
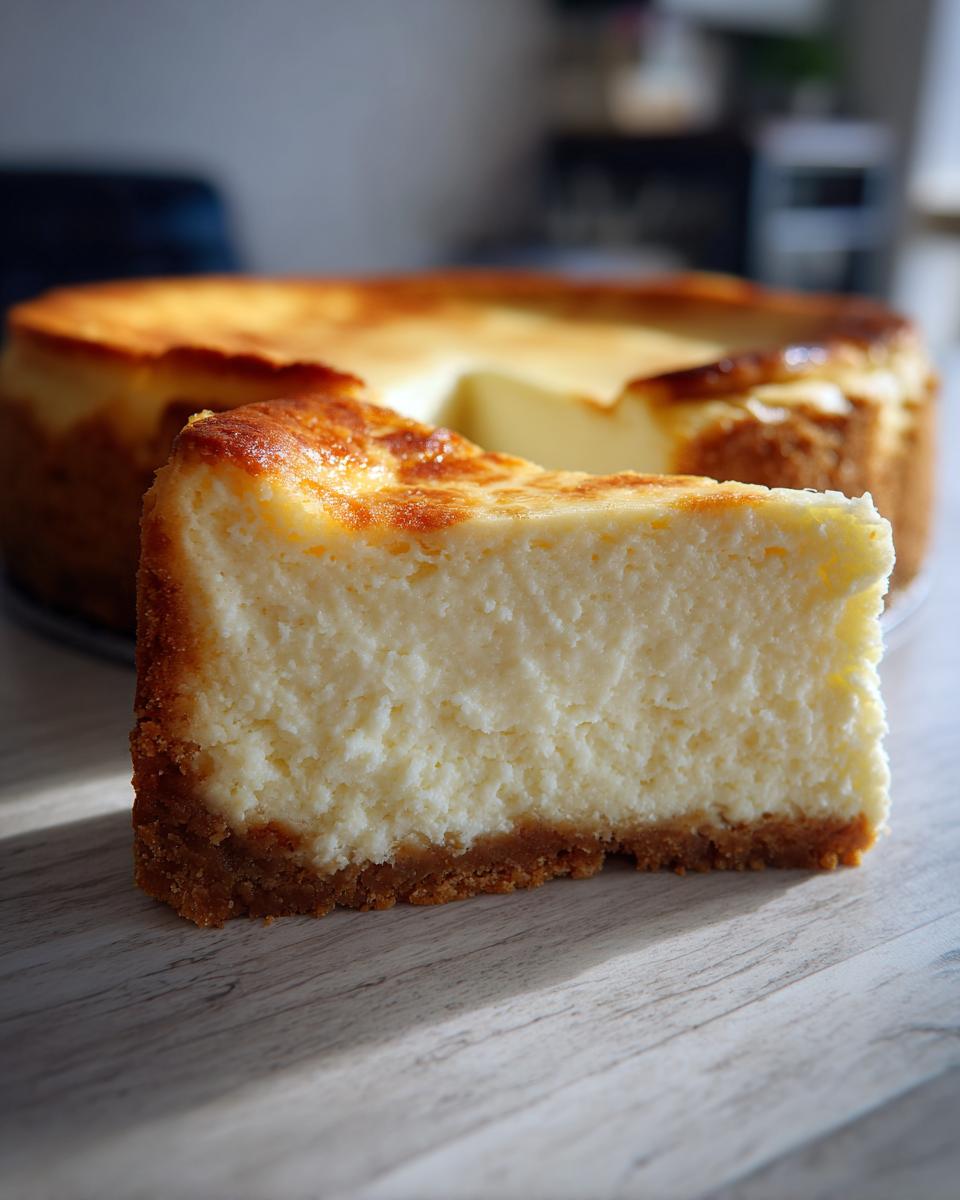
No Crack Cheesecake Tips: Cooling the Rich Dessert Slowly
You pulled it out of the water bath, and it looks absolutely stunning—don’t let a rushed cool-down ruin your masterpiece! The number one tip I have for guaranteeing you get those lovely No Crack Cheesecake Tips on the surface is patience during the cooling phase. Temperature shock is the enemy of the rich dessert we just created.
When the 60 to 75 minutes of baking time is up, your cheesecake should still have a slight, gentle jiggle in the very center—about two inches wide from the center point. That means it’s done, even if it doesn’t look fully set. Don’t take it out yet! This is my favorite trick to ensure success.
Turn the oven off completely. Now, grab a wooden spoon or even a folded kitchen towel and prop the oven door open about two inches. Leave that beautiful cake inside the cooling oven for a full hour like that. It slowly acclimates to the room temperature instead of getting shocked by the cooler air immediately. This gradual descent is crucial for maintaining that smooth surface and that perfect, dense texture throughout the entire bake.
After that hour inside the propped-open oven, you can finally take it out of the roasting pan and remove the foil wrapping. Let it sit on a wire rack at room temperature until it’s just slightly warm to the touch. Don’t rush it onto the counter to cool too fast! Following these cooling steps religiously is the secret to delivering that flawless, creamy slice every time.
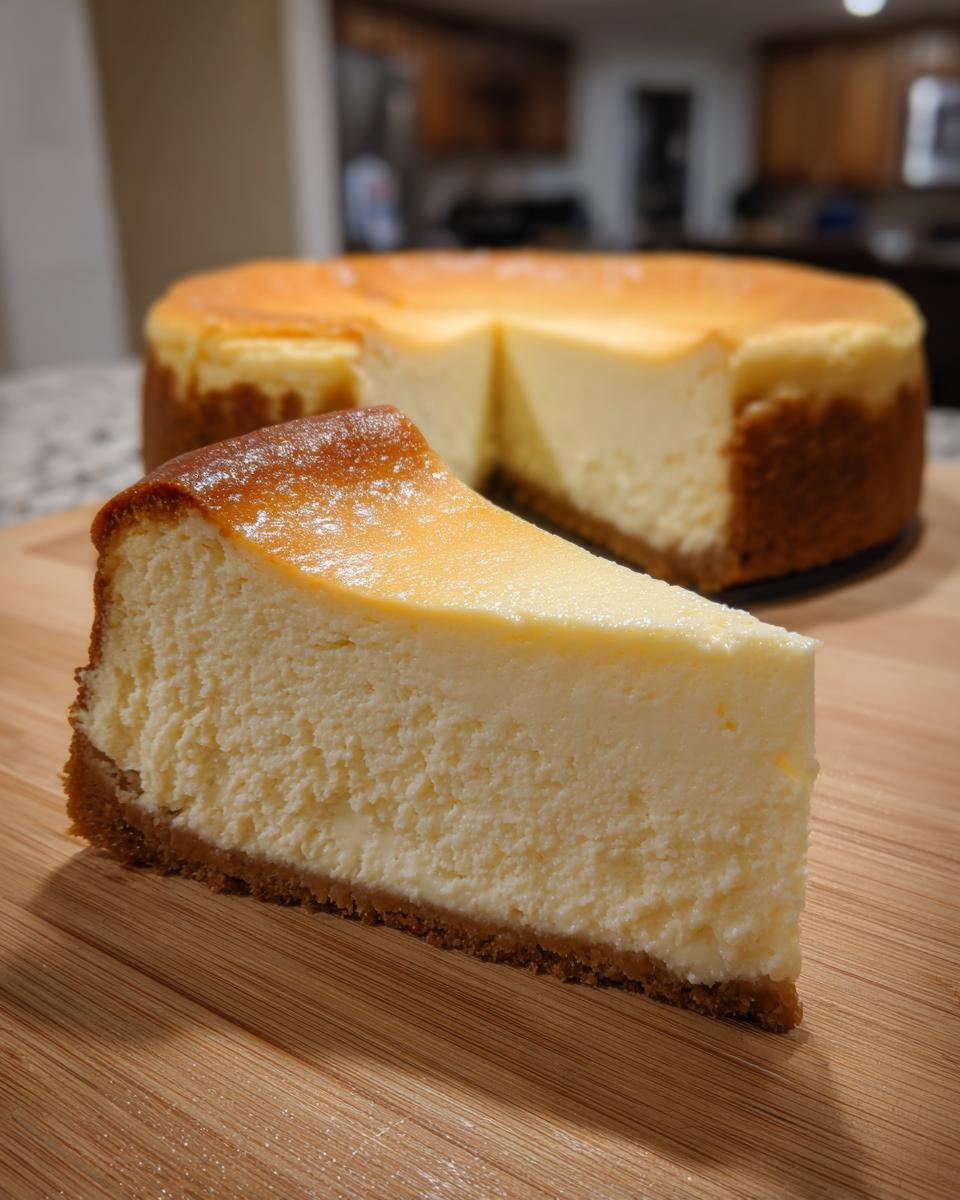
Essential Chilling and Serving for the Best Cheesecake Recipe
If you’ve made it this far without peeking or cracking the top, congratulations! You’ve earned the right to eat this thing, but trust me, you need to show a little more patience. You simply cannot rush the chill time. This isn’t a batch of chocolate chip cookies; this is a truly magnificent New York cheesecake, and it needs time to firm up completely.
The filling needs a minimum of six hours in the refrigerator, but I tell everyone I know to shoot for overnight. When those cheeses and eggs chill down completely, that’s when you unlock the absolute dense, velvety texture that defines the Best Cheesecake Recipe.
Now for the tricky part: slicing it gracefully! If you just take a room-temperature knife and hack away, you’ll smudge that beautiful, creamy surface we worked so hard on. You need the hot knife technique for clean cuts. Grab a thin, sharp carving knife—the thinner the blade, the better. Heat that blade up by running it under very hot tap water until it’s steaming. Wipe it completely dry with a clean towel, and then make your cut.
Wipe the knife clean again, reheat it, and repeat for every single slice. It sounds like extra work, I know, but seeing those perfect, clean slices of dense filling just makes the whole effort worthwhile. It’s the final polish on your incredible homemade creation!
Frequently Asked Questions About Your New York Cheesecake
I know baking something this impressive can lead to a few questions popping up in your mind while you wait for that chill time to pass! We’ve answered the things I hear most often in the test kitchen. Honestly, if you stick to the room-temp ingredients and the water bath, you’re 90% of the way to that perfect slice of Classic New York Cheesecake!
Can I make this Classic New York Cheesecake ahead of time?
Oh, absolutely! In fact, I highly recommend it. This decadent dessert tastes even better on day two once all those wonderful flavors have had time to really marry together in the fridge. I usually aim to bake it the day before any party or holiday. Just make sure it’s fully chilled—at least six hours, but overnight is the ticket. Cover it loosely with plastic wrap once it’s completely cool, making sure the wrap isn’t actually touching the surface of the cheesecake.
If you need to store it longer, say a week or so, it holds up beautifully sealed in the refrigerator. Don’t worry about the crust getting soggy; the foil barrier we use during baking usually protects it quite well!
What happens if I use low-fat or light cream cheese?
Please, please don’t attempt to use low-fat cream cheese if you want that true, rich texture. A Dense Cheesecake relies heavily on the fat content from full-fat blocks to create that signature density and smooth mouthfeel. Low-fat versions have more water content, which messes with the structure, often resulting in a much softer, almost gummy texture, and it almost guarantees cracks because the structure won’t support itself under heat.
Is the water bath absolutely mandatory for this recipe?
I totally get why people try to skip it—it’s messy, and wrapping the pan in foil takes time! But for a true, tall, and creamy baked cheesecake, yes, it is mandatory. The water bath is your insurance policy against drastic temperature swings that cause cracking. If you skip it, you’re basically gambling on a sunken, unevenly cooked top. If you want reliability, you need that steam shield protecting the sides and bottom!
How long does the finished cheesecake last in the fridge?
Because we are using so much dairy and eggs, we want to keep it safe and tasting great! A finished, properly covered cheesecake will last wonderfully for about 5 to 7 days in the refrigerator. It maintains that perfect consistency, too. I sometimes think the flavor actually gets deeper and richer on day four. When you serve slices, just take them out about 20 minutes before you plan to eat them so they aren’t quite ice-cold, making them easier to slice and giving you the best flavor.
Storage and Reheating Instructions for this Timeless Dessert
Once you’ve managed to resist eating the whole thing the night it comes out of the fridge, you need to store this Timeless Dessert correctly. Keeping your cheesecake fresh is easy, but you have to protect that beautiful top! Make sure it’s completely cool, then cover it loosely with plastic wrap—but don’t let the wrap touch the surface, or you might disturb the finish.
It keeps beautifully in the refrigerator for about a week. If you need to stash it longer, I recommend wrapping it tightly in a layer of plastic wrap followed by a layer of aluminum foil before freezing. Seriously, don’t even try to reheat a slice; it just ruins that glorious, dense texture. If you do freeze it, let it thaw slowly in the fridge overnight, never on the counter!
For great make-ahead tips on other desserts, you might want to check out my recipe for a brownie refrigerator cake!
PrintClassic New York Cheesecake Recipe: Rich, Creamy, and Crack-Free

Follow this detailed recipe to create a rich, dense, and velvety New York Cheesecake with a buttery graham cracker crust. We provide clear steps and water bath instructions to achieve a flawless, creamy texture every time.
- Prep Time: 30 min
- Cook Time: 75 min
- Total Time: 9 hours 45 min
- Yield: 12 servings 1x
- Category: Dessert
- Method: Baking
- Cuisine: American
- Diet: Vegetarian
Ingredients
- 1 1/2 cups graham cracker crumbs
- 1/4 cup granulated sugar (for crust)
- 6 tablespoons unsalted butter, melted
- 4 (8 ounce) packages full-fat cream cheese, softened to room temperature
- 1 1/2 cups granulated sugar (for filling)
- 1/4 cup all-purpose flour
- 1 teaspoon vanilla extract
- 1/4 teaspoon salt
- 1 cup sour cream, room temperature
- 4 large eggs, room temperature
Instructions
- Prepare the crust: Combine graham cracker crumbs, 1/4 cup sugar, and melted butter. Press the mixture firmly into the bottom of a 9-inch springform pan. Chill the crust for 30 minutes.
- Preheat your oven to 350°F (175°C).
- Prepare the water bath: Wrap the outside bottom and sides of the springform pan tightly with heavy-duty aluminum foil to prevent water from seeping in. Place the wrapped pan inside a larger roasting pan.
- Make the filling: In a large bowl, beat the softened cream cheese with an electric mixer until completely smooth. Scrape down the sides.
- Gradually beat in 1 1/2 cups sugar, flour, vanilla extract, and salt until just combined. Do not overmix.
- Beat in the sour cream until smooth.
- Add the eggs one at a time, mixing only until each egg is incorporated. Stop mixing as soon as the last egg disappears into the batter. Overmixing adds air, which causes cracks.
- Pour the filling over the chilled crust.
- Carefully pour hot water into the roasting pan to reach about 1 inch up the side of the springform pan. This creates the water bath.
- Bake for 60 to 75 minutes. The edges should look set, but the center 2 inches should still have a slight jiggle when gently nudged.
- Turn off the oven, prop the door open slightly (about 2 inches), and let the cheesecake cool slowly inside the oven for 1 hour. This slow cooling prevents cracking.
- Remove the cheesecake from the water bath and foil. Let it cool completely on a wire rack.
- Chill the cheesecake in the refrigerator for at least 6 hours, or preferably overnight, before serving.
Notes
- Use room temperature ingredients for the filling. Cold ingredients cause lumps.
- Do not scrape down the sides of the bowl after adding the eggs.
- Baking in a water bath is the best way to achieve a creamy, dense, no-crack cheesecake.
- To prevent cracking when slicing, run a thin, sharp knife under hot water, wipe it dry, and slice. Repeat for each cut.
Nutrition
- Serving Size: 1 slice
- Calories: 450
- Sugar: 35g
- Sodium: 300mg
- Fat: 30g
- Saturated Fat: 18g
- Unsaturated Fat: 12g
- Trans Fat: 0.5g
- Carbohydrates: 38g
- Fiber: 1g
- Protein: 8g
- Cholesterol: 120mg