
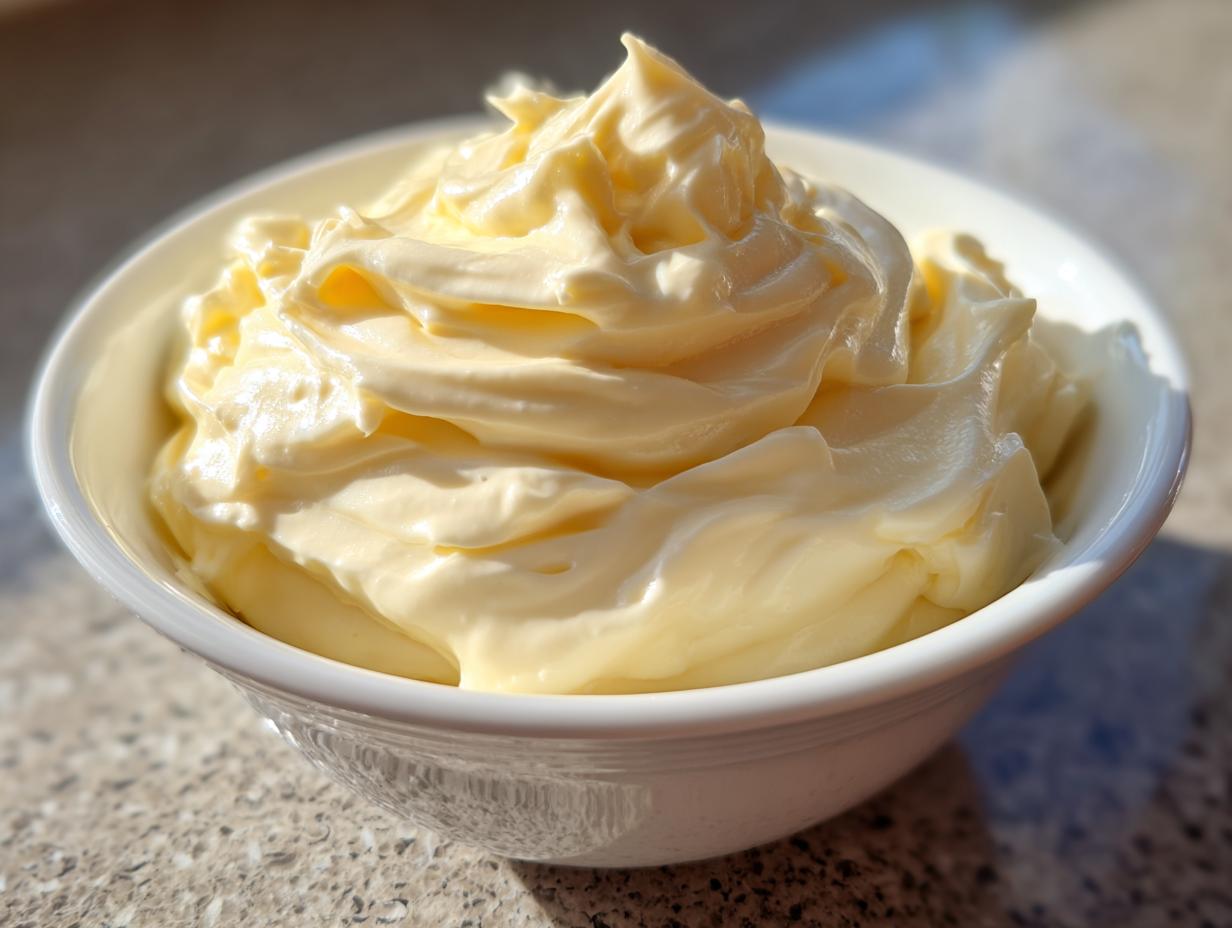
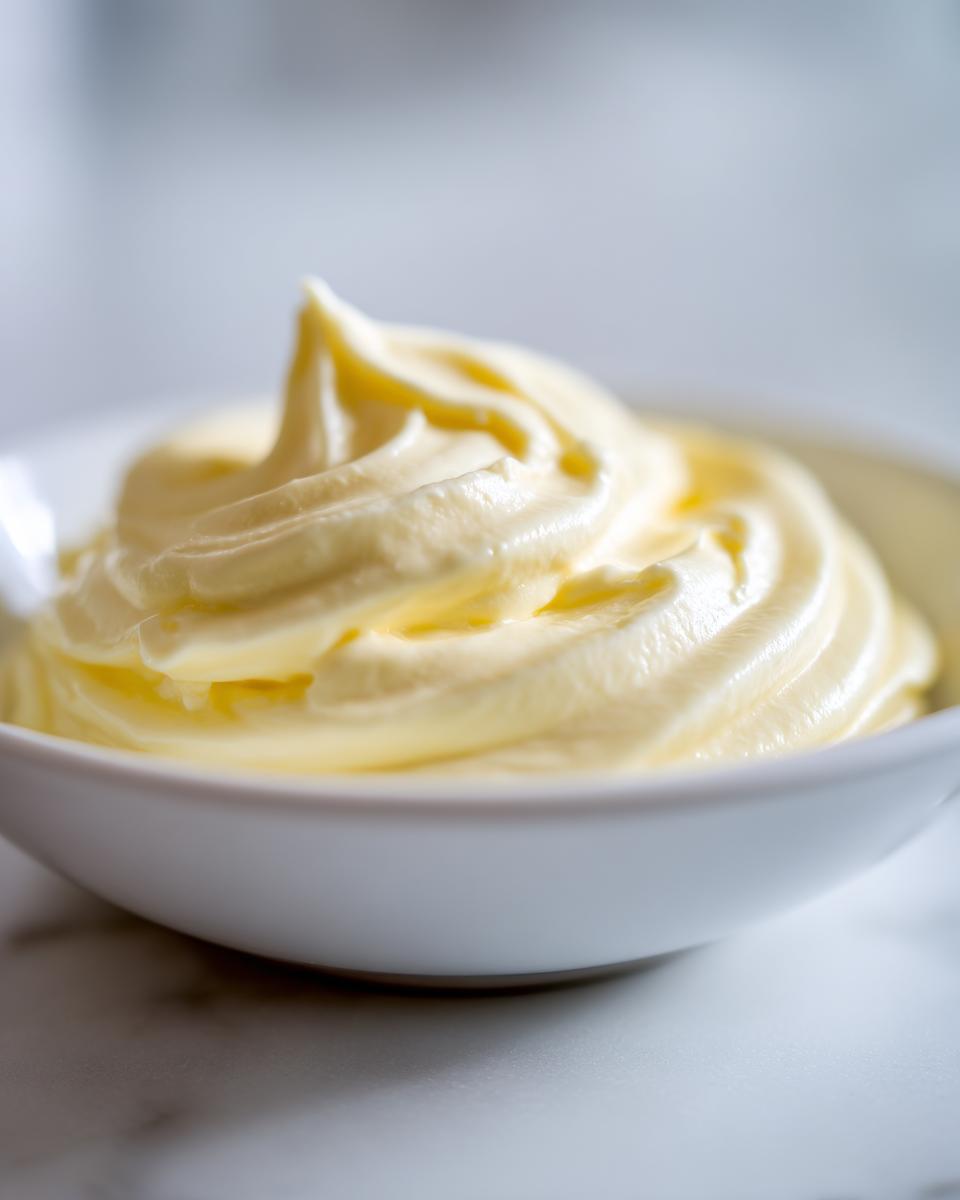
If you’re still buying mayonnaise out of a jar, I honestly ask you to stop right now. Seriously! Why fill your fridge with preservatives and mystery oils when you can whip up something infinitely better in about five minutes flat? I developed this **homemade mayonnaise** recipe after years working in professional test kitchens, where reliability is everything. Trust me when I say this immersion blender method is the closest thing to a guaranteed success you’ll ever find. It’s rich, it’s creamy, and it’s the gold standard for every **homemade sandwich spread** you’ll ever make. We’re talking pantry staples transforming into condiment magic!
- Why This Foolproof Homemade Mayonnaise Recipe Works Every Time
- Gather Your Kitchen Staples for Homemade Mayonnaise
- Step-by-Step Instructions for Immersion Blender Homemade Mayonnaise
- Ingredient Notes and Avocado Oil Mayonnaise Options
- Troubleshooting: Fixing Separated Homemade Mayonnaise
- Storage and Flavor Variations for Your Creamy Homemade Mayo
- Serving Suggestions for Fresh Homemade Sauces
- Frequently Asked Questions About How to Make Mayonnaise
- Your Next Steps in DIY Mayonnaise Mastery
Why This Foolproof Homemade Mayonnaise Recipe Works Every Time
The biggest reason folks get scared off making **homemade mayonnaise** is the fear: ‘What if it breaks?’ I totally get it! But that’s why we’re using this method. My goal, coming from that test kitchen background, was to eliminate the guesswork associated with the traditional whisking method. We rely on two core elements here that guarantee success. First, room temperature ingredients are non-negotiable—they blend together so much more happily!
Secondly, we are using the trusty immersion blender. It’s not about elbow grease; it’s about physics! This gadget is the secret sauce to our **no-fail mayo technique**. Once you see how simple it is, you’ll be making your own dressings constantly. After you nail this basic recipe, you can check out my recipe for creamy garlic aioli—it uses the exact same base technique!
The Science Behind a Stable Homemade Mayonnaise Emulsion
Think of making mayo like convincing two reluctant friends—oil and water—to hold hands. They naturally repel each other! Emulsification is just forcing them together so they stay mixed. Your egg yolk is the superstar here, holding the lecithin that acts like a tiny bridge between the oil and the water (from the lemon juice or vinegar). The immersion blender is so powerful; running it stationary at the bottom pulverizes those oil droplets into microscopic pieces so fast the emulsion sets up thick and stable before it even has a chance to break.
Quick Preparation Time for Homemade Mayonnaise
This is my favorite part, truly. You need almost no time, which makes this the ultimate **quick mayonnaise recipe** for busy weeknights. We aren’t laboring over a double boiler or praying over a slow drip of oil. Most people, myself included, have a perfectly structured, thick jar of homemade mayo ready to go in under 90 seconds once the blender starts moving. It’s faster than driving to the store, honestly!
Gather Your Kitchen Staples for Homemade Mayonnaise
Okay, here’s the beautiful part: you only need five things! Seriously, this is my simplified, absolutely reliable **5 ingredient mayonnaise** method, and it’s why it’s so quick to put together. We are aiming for quality here, not complexity. Grab these items, and let’s get started before you change your mind!
Ingredient Clarity for Easy Mayo From Scratch
- 1 large egg, straight from the counter (it *must* be room temperature, trust me on this!)
- 1 teaspoon Dijon mustard (this helps stabilize things immensely)
- 1 teaspoon fresh lemon juice or white vinegar (for that crucial tang)
- 1/4 teaspoon salt (don’t skimp, this wakes up the flavor!)
- 1 cup neutral oil, such as avocado oil or light olive oil
That’s it! Keeping the egg at room temperature is the number one thing you can do to make sure this **easy mayo from scratch** emulsifies perfectly the first time. It’s worth setting it out on the counter ten minutes before you plan to blend!
Step-by-Step Instructions for Immersion Blender Homemade Mayonnaise
Alright, this is where the magic happens! Forget slow whisks and praying the oil doesn’t break everything—we use the power of the immersion blender right here. The setup is everything, so pay close attention to how you layer these things. If you do this right, you won’t even need to worry about my troubleshooting section!
Setting Up Your Homemade Mayonnaise Container
First things first, grab the narrowest, tallest container you own—the one that came with your immersion blender is usually perfect. We need things snug. Into the bottom goes our room-temperature egg, the mustard, the salt, and the lemon juice or vinegar. Don’t stir anything yet! Seriously, resist the urge. Follow that with the entire cup of oil poured right over the top. You should have a distinct layer of oil sitting perfectly on top of the yolk and flavorings. This layering is crucial for our **immersion blender mayonnaise** technique to shock the system into emulsifying correctly.
Achieving the Perfect Emulsion for Homemade Mayonnaise
Now for the action! Take your immersion blender and push that head *all the way* to the bottom of the jar. Make sure it completely covers the egg at the bottom. Turn the speed to high and hold it steady right there—don’t move it for a solid 10 to 15 seconds. You are going to instantly see creamy mayo forming around the base! Once you see a good wall of thick mayo appear, *then* you slowly, I mean agonizingly slowly, begin to lift the blender upward. Keep lifting until the oil on top starts getting pulled down and incorporated into that beautiful, thick emulsion. That’s it! In less than a minute, you’ll have a jar of the thickest **homemade mayonnaise** ever. If you want to make something spicy next, check out my guide for homemade tartar sauce!
Ingredient Notes and Avocado Oil Mayonnaise Options
One question I get asked constantly is about the oil. This is where we talk about making sure your **homemade mayonnaise** tastes delicate and clean, not overpowering! While you can technically use any neutral oil, I have strong opinions on olive oil. Please, don’t use your fancy, extra-virgin olive oil here.
That strong, peppery flavor doesn’t do the smooth creaminess of mayo any favors; it can actually make the final product taste a little bitter or grassy. That is why this recipe emphasizes a purely neutral oil. If you are actively trying to avoid seed oils—which I totally support—then using a light, flavorless **avocado oil mayonnaise** is your absolute best bet for a clean taste. I even found a great resource on making your own fresh mayo when you need ingredients you can trust.
Choosing the Right Oil for Your Homemade Mayonnaise
For this recipe, stick to something mild. Avocado oil is fantastic because it’s stable, healthy, and has almost no flavor interference. Canola or light sunflower oil also work in a pinch if you’ve got them on hand. If you must use olive oil, use the lightest one you can find, but know that the stronger the flavor, the more it competes with the egg and mustard. Keep it neutral for the best, creamiest result!
Troubleshooting: Fixing Separated Homemade Mayonnaise
If you panicked and moved the blender too soon, or maybe your egg was a little too cold, you might end up with a runny, sad mess instead of our beautiful, thick **homemade mayonnaise**. Don’t toss it! This is the beauty of the immersion blender method—it’s often fixable. If your mixture looks liquid and oily instead of creamy, we’re going to bring it back from the brink.
Here is the trick for salvaging your **homemade mayonnaise recipe**: Take that separated mixture right back into the same tall jar. Now, add just one tiny teaspoon of *warm* water. Re-insert that blender head all the way to the bottom, turn it on high, and hold steady for those crucial 10 seconds just like before. Slowly raise it up. Nine times out of ten, it will instantly whip back into a perfect, stable emulsion. See? Nothing wasted!
Storage and Flavor Variations for Your Creamy Homemade Mayo
Now that you’ve mastered the five-minute mayonnaise miracle, you need to know how to keep this glorious stuff around! Since we’re using fresh, raw ingredients here—no preservatives to keep it shelf-stable—you need to treat it like you would leftover chicken salad. Keep your finished **creamy homemade mayo** in a clean, airtight jar and tuck it right into the fridge. It should stay wonderfully fresh and flavorful for about one week. Honestly, though, I rarely have leftovers past day three because everyone uses it on everything!
Making Flavorful Variations of Homemade Mayonnaise
While the basic recipe is perfect for sandwiches and burgers, it’s also the ultimate launchpad for other fantastic **fresh homemade sauces**. This is where you get to really command your kitchen! Want to make a quick aioli? Just add a clove or two of roasted garlic while you blend. It adds such incredible depth. For a smoky kick on your next batch of potato salad, throw in a pinch of chipotle powder along with your salt. You can even fold in fresh herbs like chives or tarragon at the very end for a lighter flavor. If you’re looking for more dressing bases to play with, check out my guide on easy homemade salad dressing recipes!
And if you want to take it savory, you can use this exact base to create a quick homemade tomato sauce—just stir in some tomato paste, Worcestershire sauce, and a dash of paprika after the mayo has set up!
Serving Suggestions for Fresh Homemade Sauces
So you’ve mastered the blender trick and have a jar of heaven sitting in the fridge. Now what? My absolute favorite thing is knowing that a basic jar of what most people buy off the shelf becomes the star of the show when it’s fresh. This homemade mayo is fantastic as the backbone for any **homemade sandwich spread**—it makes a turkey club sing! But don’t stop there.
This is the absolute best base for any **fresh homemade sauces** you can dream up. Mix it with some celery and onions for the ultimate creamy egg salad. Or, thin it out with a little dill and pickle brine for the best ranch dressing you’ll ever taste. Seriously, try dipping your fries in a little bowl of this, maybe mixed with hot sauce? You won’t look back!
Frequently Asked Questions About How to Make Mayonnaise
I know when you look at a recipe this quick, your brain starts buzzing with questions. That’s smart! We have to cover the little things so you feel totally comfortable making this **homemade mayonnaise**. Don’t worry if you’ve struggled before; the immersion blender method changes the game entirely. If you’re looking for something totally different after this, maybe try my amazing beef noodle soup recipe next!
Can I use only egg yolks for homemade mayonnaise?
You technically can, and traditionally, that’s what many European recipes use! Egg yolks have the highest concentration of emulsifying agents. However, for this super speedy, **quick mayonnaise recipe**, using the whole egg is what makes it so foolproof and stable, even with the whole egg included. The sheer speed of the immersion blender handles the whole egg beautifully, giving you a thicker result with zero fuss. It’s just easier!
What if I want a copycat Hellmanns mayo flavor?
That classic store-bought tang is pretty specific! If you’re aiming for that familiar flavor profile we grew up with, just play with the acid content slightly. After your mayo has set up nicely, taste it. If it needs that sharp, commercial bite, add another little half-teaspoon of vinegar or lemon juice and give it a quick blend for just a second. Sometimes bumping the salt up just a tiny bit helps mimic that same packaged flavor, too. It’s all about customizing your perfect **tangy homemade dressing base**!
Is this healthy mayonnaise safe to eat?
This is important for any recipe using raw egg! Because we are ditching all those preservatives found in the long-shelf-life jars, you have to treat this **healthy mayonnaise** like any other fresh product. I always recommend using pasteurized eggs if you have any concerns about safety, especially if serving kids or older family members. But honestly, when you’re making it fresh in the kitchen and using it within a week, the quality of the fresh ingredients usually beats anything that sits on a shelf for six months!
Your Next Steps in DIY Mayonnaise Mastery
Okay, you’ve seen the easiest, most foolproof way to make **homemade mayonnaise**. Seriously, what are you waiting for? Go grab that immersion blender; you have everything you need sitting in your cupboards right now to create the best condiment you’ve ever tasted.
Don’t just pin this recipe and save it for “someday.” Make a batch this week! Trust me, once you taste this fresh, creamy flavor—especially if you use that avocado oil—you’ll look at the jars in the grocery aisle and just shake your head. This is true **DIY mayonnaise** success, ready in minutes.
I absolutely love hearing from you all! Once you try this, please come back and leave a comment letting me know how it turned out. Did you keep it neutral, or did you sneak in some garlic? If you have any lingering doubts or weird separation issues I haven’t covered, don’t hesitate to reach out through my contact page. Let’s keep mastering these kitchen basics together!
PrintFoolproof Homemade Mayonnaise Recipe (Immersion Blender Method)
Make rich, creamy homemade mayonnaise from scratch in under five minutes using a simple immersion blender. This recipe guarantees a stable emulsion every time, giving you a superior, fresh condiment without preservatives.
- Prep Time: 2 min
- Cook Time: 0 min
- Total Time: 2 min
- Yield: About 1 cup 1x
- Category: Condiment
- Method: Immersion Blending
- Cuisine: American
- Diet: Vegetarian
Ingredients
- 1 large egg, room temperature
- 1 teaspoon Dijon mustard
- 1 teaspoon fresh lemon juice or white vinegar
- 1/4 teaspoon salt
- 1 cup neutral oil (such as avocado oil or light olive oil)
Instructions
- Place the egg, Dijon mustard, lemon juice (or vinegar), and salt into a tall, narrow container, such as the blending cup that came with your immersion blender.
- Pour the entire cup of oil over the top of the other ingredients. Do not stir.
- Insert the head of the immersion blender all the way to the bottom of the container, ensuring it covers the egg yolk.
- Turn the blender on high speed and keep it steady at the bottom for about 10 to 15 seconds until you see the mayonnaise start to form and thicken.
- Slowly begin to lift the immersion blender upward, moving it just enough to incorporate the remaining oil at the top into the emulsion.
- Continue blending until all the oil is incorporated and the mixture is thick and creamy. This should take less than one minute total.
- Taste the homemade mayonnaise and adjust salt or add a small splash of lemon juice for extra tang if desired.
- Transfer the finished mayonnaise to an airtight container and refrigerate.
Notes
- Use room temperature ingredients for the best chance of a successful emulsion.
- If your mayonnaise separates, place the separated mixture back into the jar, add one teaspoon of warm water, and re-blend with the immersion blender until it comes back together.
- This fresh homemade mayonnaise keeps well in the refrigerator for up to one week.
Nutrition
- Serving Size: 1 Tbsp
- Calories: 95
- Sugar: 0
- Sodium: 60
- Fat: 10
- Saturated Fat: 1.5
- Unsaturated Fat: 8.5
- Trans Fat: 0
- Carbohydrates: 0
- Fiber: 0
- Protein: 0.5
- Cholesterol: 25