

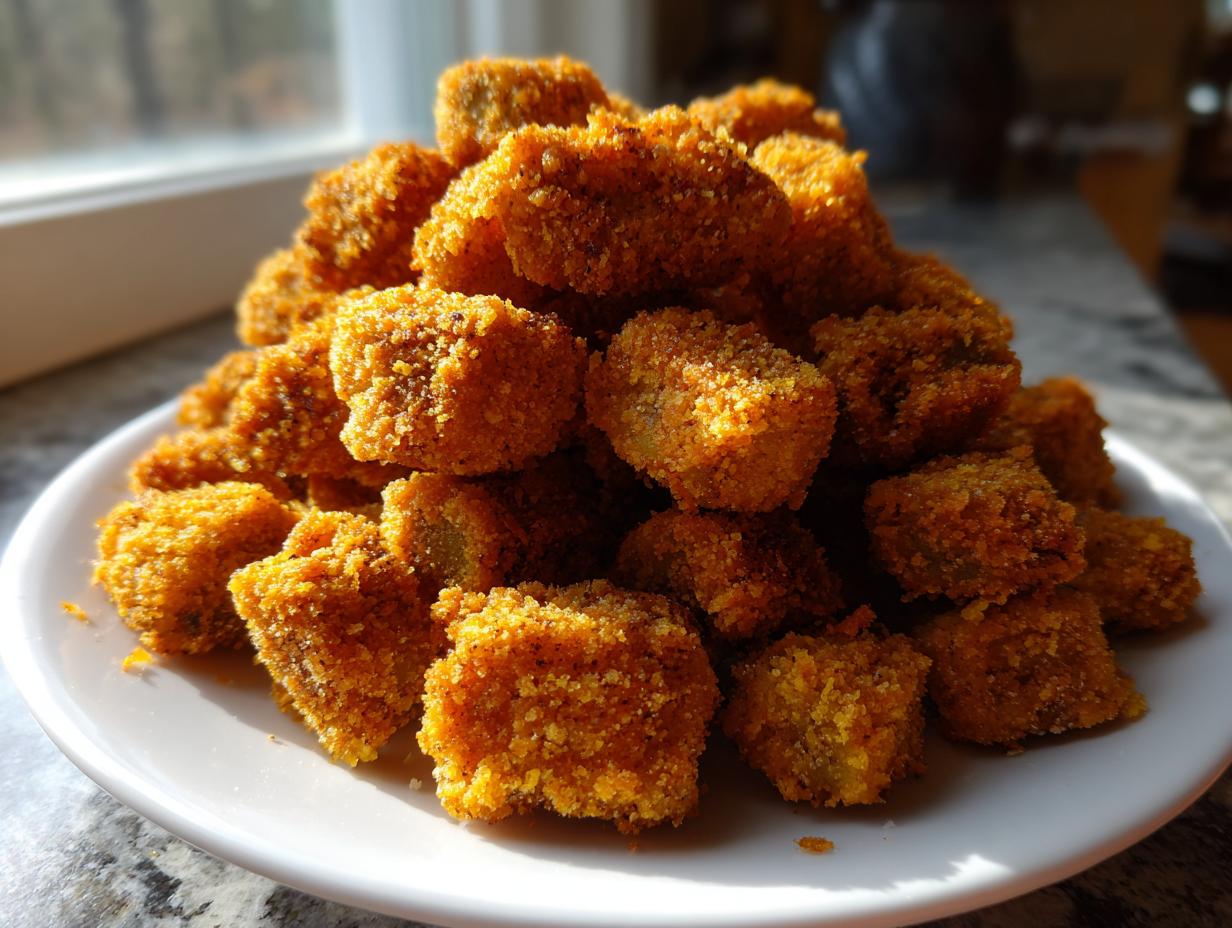
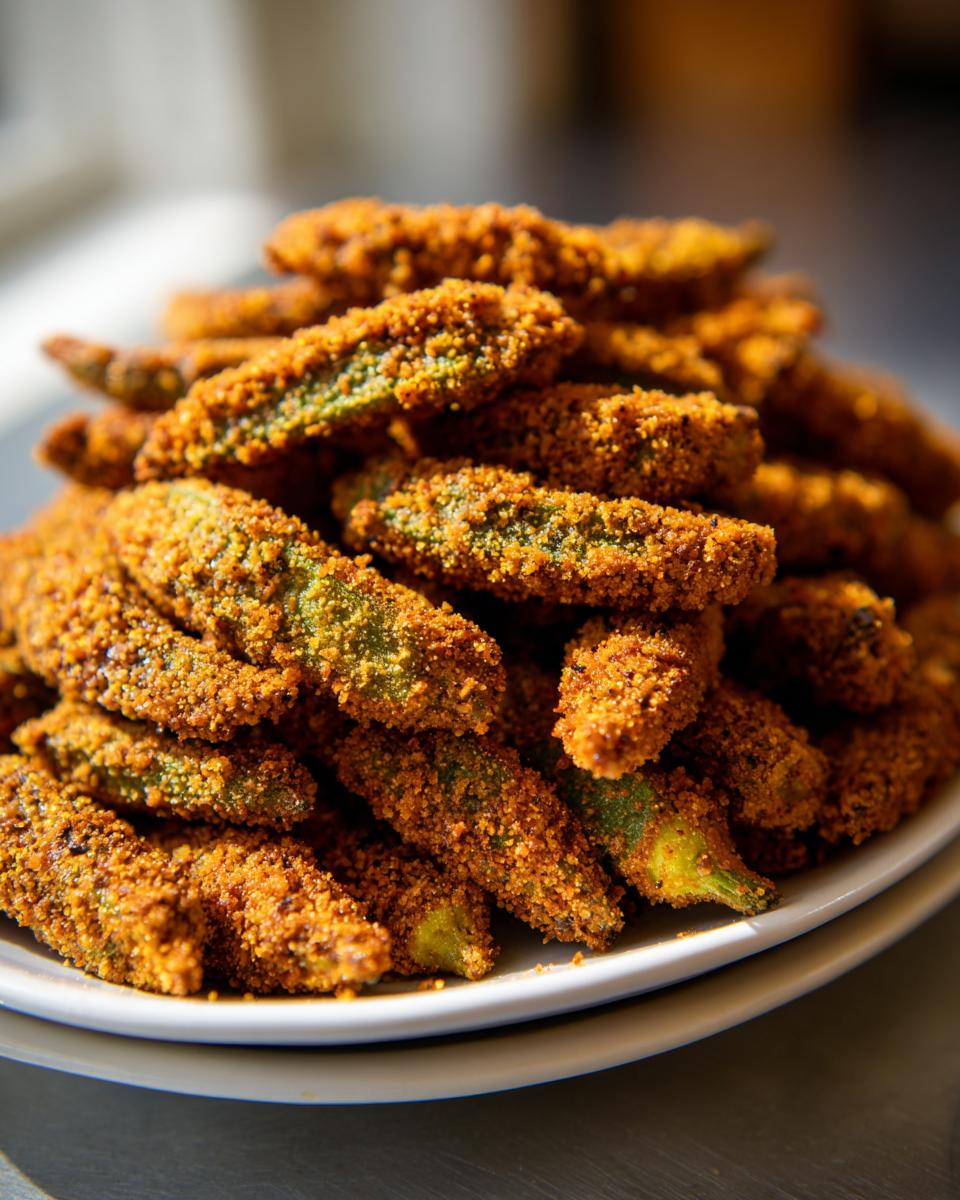
There’s nothing quite like the sound of truly perfect fried okra hitting a hot skillet—that immediate sizzle promises comfort and crunch. For years, I struggled with okra sticking to itself or turning into a slimy mess, which made me hesitant to bring this Southern staple to my table. But don’t you worry; I cracked the code! This recipe for Southern Fried Okra uses a specific buttermilk soak followed by a decisive double cornmeal dredge that locks in flavor and guarantees a golden, shatteringly crispy exterior. Mastering this technique means you finally get that deeply satisfying crunch in every single bite. I promise, once you try this method, you’ll command your kitchen with confidence every time you make this classic side dish. If you’re looking for another great Southern side, you simply must try my recipe for crispy Southern skillet fried cornbread next!
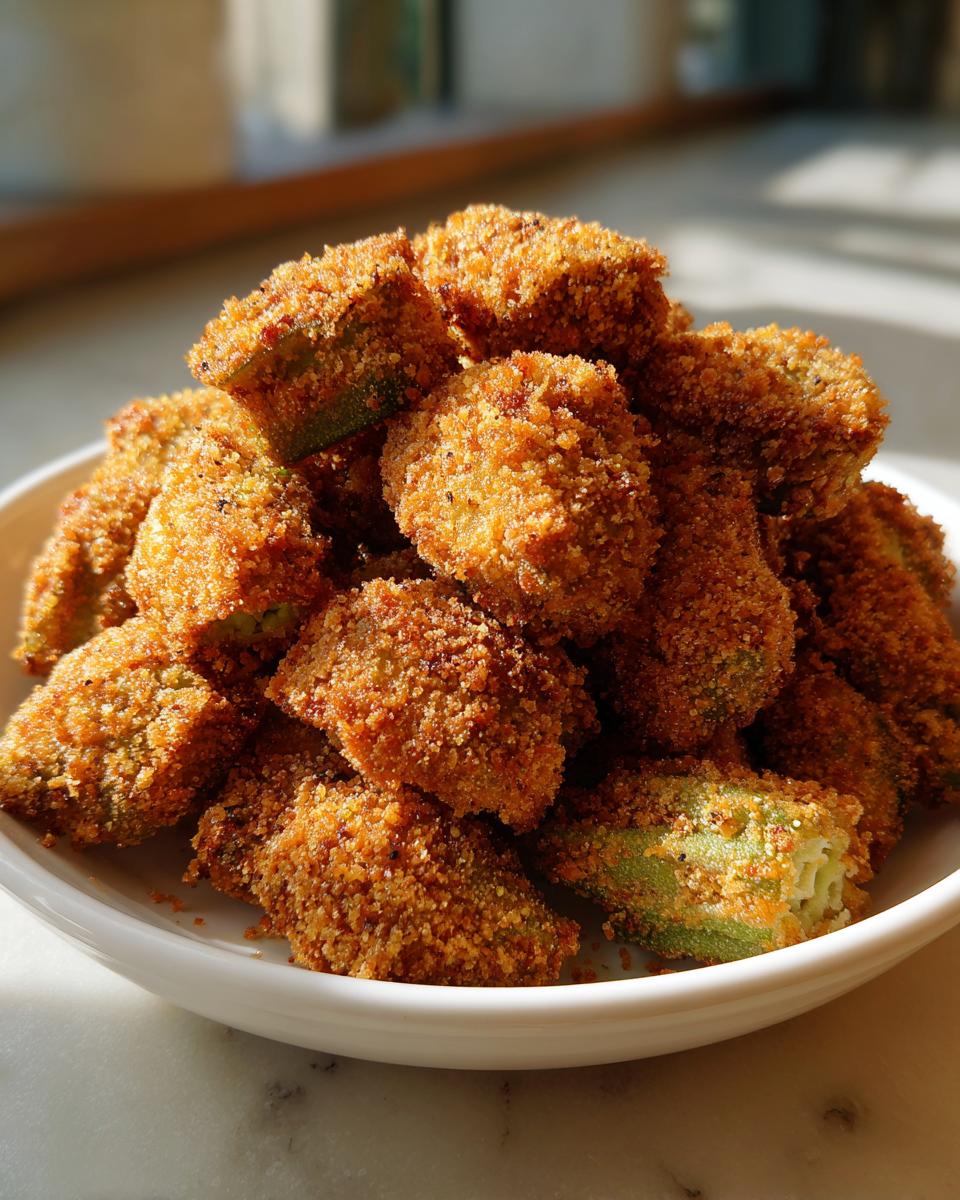
- Why This Crispy Southern Fried Okra Recipe Works
- Ingredients for Perfect Fried Okra
- Step-by-Step Instructions for Easy Fried Okra
- Tips for the Best Fried Okra Seasoning and Texture
- Serving Suggestions for Your Classic Southern Vegetable Side
- Storage and Reheating Instructions for Fried Okra
- Frequently Asked Questions About Fried Okra
- Nutritional Estimates for This Fried Okra Dish
- Share Your Crunchy Okra Snack
- Nutritional Estimates for This Fried Okra Dish
- Share Your Crunchy Okra Snack
Why This Crispy Southern Fried Okra Recipe Works
When you’re aiming for that perfect crunch—the kind that echoes Southern cooking at its best—you can’t just toss things in a pan and hope for the best. The success here lies in intentional steps that work against okra’s natural sliminess. We are creating protective layers, folks! This method ensures you get that beautiful, crave-able texture every single time. When you follow these steps, you’re guaranteed a dish that’s superior to any quick-fry attempt. Check out these guarantees:
- It’s the ultimate remedy for No Slime Fried Okra.
- You get a guaranteed Crispy Fried Okra Recipe result.
- It transforms into a fantastic Easy Okra Side Dish that people actually look forward to.
- The coating adheres perfectly, giving you that satisfying Cornmeal Coated Okra crust.
Mastering the Buttermilk Fried Okra Soak
That 15-minute soak in buttermilk isn’t just for flavor; it’s science working in our favor! The mild acid in the buttermilk helps break down some of the surface mucilage—that’s the goo, honey—before it ever hits the hot oil. It also slightly tenderizes the interior vegetable, giving you that wonderful contrast between the soft inside and the hard, salty crust.
Achieving Maximum Crunch with Cornmeal Coated Okra
The key to true crunch is the double dredge. We coat it, dip it quickly to re-dampen the surface, and then coat it again! This *builds* a thick, craggy barrier around the okra. Think of it like armor. This heavy coating, made primarily of cornmeal, fries up hard and golden, sealing in the juices and ensuring the final product is a delightful Crunchy Okra Snack rather than a soggy disaster. If you need a little inspiration for other homemade toppings, you should look up my recipe for easy fluffy homemade marshmallows!
Ingredients for Perfect Fried Okra
Alright, let’s talk supplies! For truly amazing fried okra, we keep things classic and straightforward here in my kitchen. We aren’t doing ten different dips—just the essentials needed to build that beautiful, crunchy shell. You’ll need exactly one pound of fresh okra, and make sure you take the time to rinse it and slice it evenly into about half-inch thick rounds; consistency is key for even cooking. For the soaking liquid, grab one full cup of buttermilk. When it comes to the dredging station, you’ll need one cup of bright yellow cornmeal, half a cup of all-purpose flour to lighten the mix just a touch, and your standard seasonings: one teaspoon of salt, half a teaspoon of black pepper, and half a teaspoon of garlic powder. If you like just a little kick—and I usually do when making this Easy Okra Side Dish—a quarter teaspoon of cayenne pepper sneaks in perfectly. Finally, you need vegetable oil, about two inches deep in your skillet, hot and ready for frying. I made a similar dipping sauce recently that you might love—check out my easy beer cheese recipe!
Step-by-Step Instructions for Easy Fried Okra
Okay, this is where all the prep work pays off! Getting perfectly crispy fried okra is about timing and heat—don’t rush the process, but don’t dawdle either! We need to move fast once we hit the oil. I find having all my stations (buttermilk bowl, dredging bowl, and draining rack) set up before I even turn on the burner helps everything flow smoothly.
Preparing the Okra and Buttermilk Soak
First things first: once you have your okra sliced to about half an inch thick, get it submerged in that whole cup of buttermilk. Seriously, cover every little round! Set a timer for at least 15 minutes. If you’re worried about the slime goo—and I totally hear you—rinse the fresh okra with a splash of white vinegar before putting it in the buttermilk bath. This helps kill that sliminess right off the bat. If you need inspiration for your next main course, you absolutely should check out my recipe for easy chicken tinga!
The Double Dredge for Crunchy Okra
This is the secret sauce for maximum crunch! After the soak, lift the okra out, letting that excess buttermilk drip well—we don’t want a runny mess in the flour. Toss it into your prepared cornmeal mix until it’s fully covered. Now, here’s the magic: take those coated pieces and quickly dip them *back* into the buttermilk for just a second. Don’t soak it! Immediately toss them back into the cornmeal mixture for the second and final coat. This time, really press that cornmeal onto the pieces to build a sturdy crust.
Deep Frying the Fried Okra to Golden Perfection
Heat your oil up until that thermometer reads a solid 375 degrees Fahrenheit. This temperature is non-negotiable for success! Carefully add the okra—and I mean *carefully* and in small batches. If you dump in too much, the oil cools down, and guess what? Soggy okra! We are aiming for that perfect Quick Fried Okra Dinner Side. Fry them for about three to five minutes, turning them gently, until they look deep golden brown and crunchy. Once they look perfect, pull them out fast and let them drain on a wire rack, not paper towels, so air circulates underneath. That’s how you get truly awesome, crusty results!
Tips for the Best Fried Okra Seasoning and Texture
If you want to move past just “good” fried okra and get to “must-make-this-every-weekend” status, you have to pay attention to the details—especially around the oil temperature!
How to Make Fried Okra Crispy Every Time
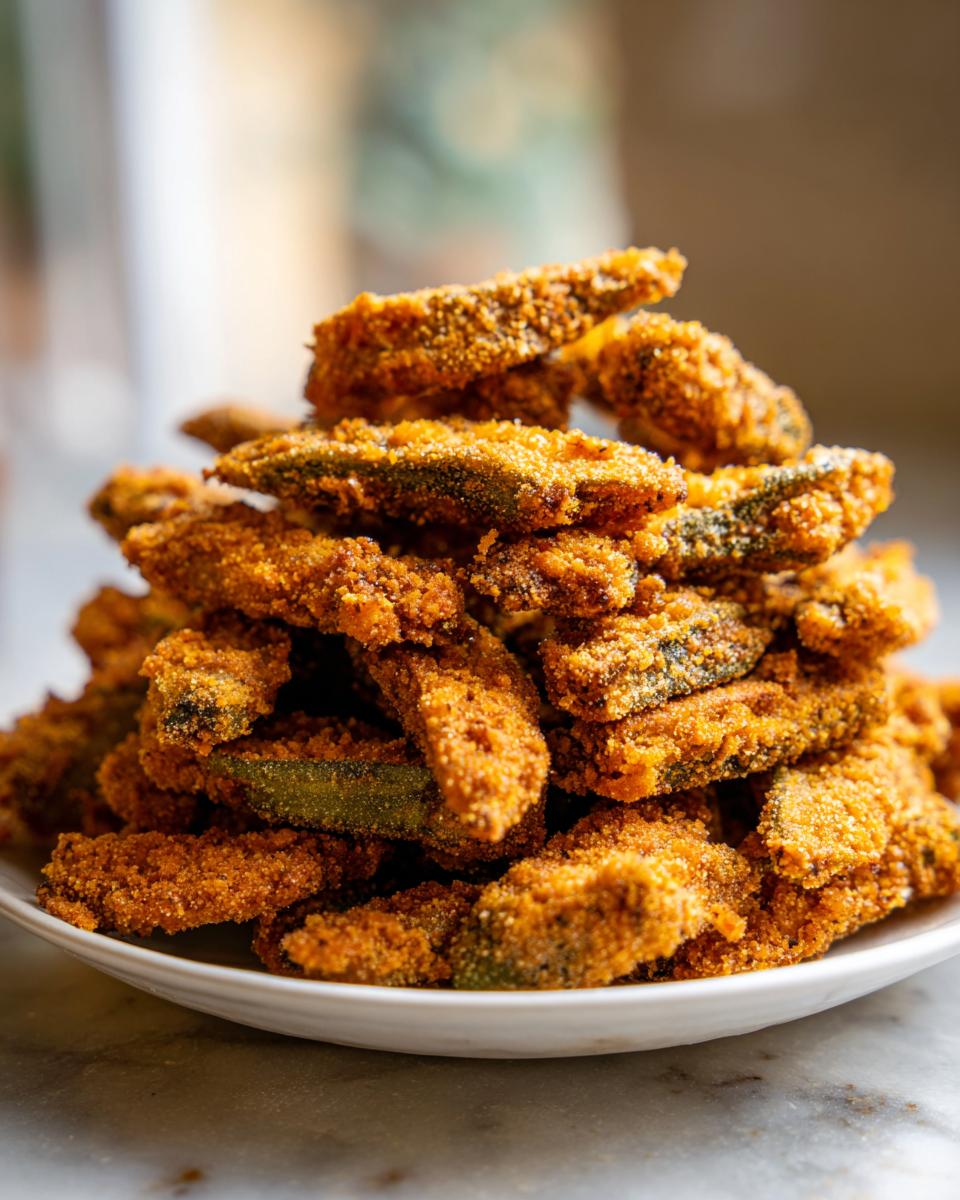
We already talked about the double dredge, which is huge, but let’s focus on the heat. That 375°F mark has to happen before the okra goes in. If your oil is shy, you’ll just end up with greasy okra that won’t crisp up. Also, remember the batch size rule: fry small amounts! The second you crowd that pan, the temperature drops dramatically. Once the okra is done, don’t just drop it onto a stack of paper towels. While paper towels help absorb the initial shock of oil, they trap steam underneath, which is the perfect recipe for a soggy bottom layer. I always pull mine out with a slotted spoon and set them directly on a sturdy wire cooling rack placed over a baking sheet. Letting that hot air circulate all around keeps the bottom crunchy while the excess oil drips away. It’s a game-changer for keeping that perfect texture!
Alternative Cooking Methods: Air Fryer Fried Okra and Oven Fried Okra
Listen, deep frying is the classic way to get that deep, unmistakable Southern flavor, but sometimes you just want to keep things a little lighter or faster. That’s where alternatives come in handy! For the Air Fryer Fried Okra variation, you’ll toss your double-dredged pieces lightly with a cooking spray—just enough to look moist. Pop those into your air fryer basket (again, don’t pack them in!) at 400 degrees Fahrenheit. They usually take about 10 to 12 minutes, but you must remove the basket and give them a good shake halfway through so everything gets kissed by the hot air evenly. If you’re going the oven route—maybe you’re pan-frying a huge batch and need to keep some warm—bake them on a parchment-lined sheet at 425 degrees Fahrenheit for about 15 to 20 minutes, flipping halfway. While the oven version takes longer, it really satisfies that craving for a Crunchy Okra Snack without all the oil!
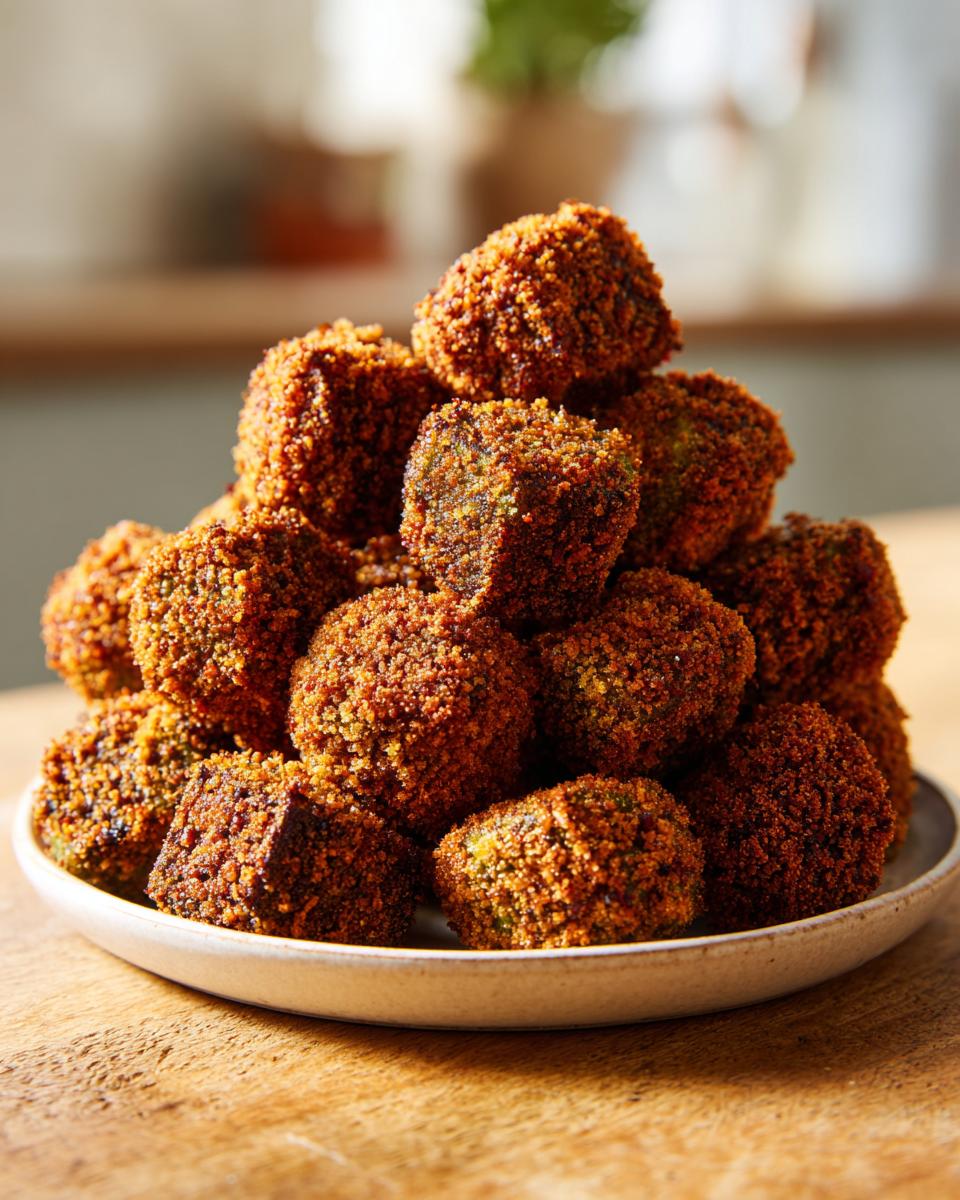
Speaking of great toppings, try serving these crispy bites with a dipping sauce made from my recipe for classic creamy peppercorn sauce—trust me, the savory kick is unexpectedly amazing with the cornmeal coating!
Serving Suggestions for Your Classic Southern Vegetable Side
Now that you’ve mastered the crunch, the question is, what are we serving this perfect side dish with? Because this fried okra has such a deep, savory flavor thanks to that cornmeal coating and seasoning, it pairs beautifully with almost any hearty Southern meal. It’s versatile enough for a weeknight dinner or a big Sunday gathering.
When I serve this, I usually think classic comfort. It’s fantastic alongside simple, well-seasoned proteins. Think about pairing it with some slow-cooked BBQ pulled pork or maybe some creamy grits and shrimp—that’s a combination that just sings!
Here are a few ways I love to present this Classic Southern Vegetable Side to make the whole meal feel complete:
- Meat-and-Three Style: It’s essential next to fried chicken, a slice of meatloaf, or slow-cooked collard greens. It fills that crunchy vegetable role perfectly.
- Dipping Fun: Don’t skip the dipping! While plain salt sprinkled on top is great, ramekins of comeback sauce or a zesty ranch dressing elevate this immediately.
- Lighter Prep Pairing: If you made the Air Fryer Fried Okra version to keep things a little lighter, try serving it alongside grilled fish or a big mixed green salad to balance the texture.
If you’re looking for another crunchy side that can stand up to big flavors, you have to check out my recipe for ultimate crispy roast potatoes. They disappear just as fast as the okra does!
Storage and Reheating Instructions for Fried Okra
So, you made a double batch of that glorious fried okra, and now you’re wondering how to keep the magic alive until tomorrow? I totally get it! Fried food is always best right out of the oil, of course, but we can absolutely bring back most of that wonderful crunch later on. The biggest enemy here is steam, and that’s why we absolutely skip the microwave. That machine heats water molecules, and nobody wants soggy, steamed okra when we worked so hard for that crispy shell!
If you have leftovers, the best way to store them is in a paper bag, loosely closed, or in a container that isn’t sealed tightly. This allows any residual moisture to escape instead of condensing inside the bag and softening that beautiful coating we worked so hard to achieve. You want them completely cooled down before you even think about storing them.
To bring back the crispiness? You have two fantastic options, both utilizing dry heat to evaporate surface moisture:
The Oven Method: Set your oven to 375 degrees Fahrenheit. Spread the leftover okra in a single layer out on a wire rack set over a baking sheet. Yes, use the rack again! This allows heat to hit the bottom just as well as the top. Bake it for about 8 to 10 minutes. Keep an eye on it, though, because the breading is already cooked, so you are just trying to reactivate the crispness, not cook it further.
The Air Fryer Revival: If you have an air fryer, this is my preferred method! Pop the cooled okra into the basket—again, single layer is best—and set the temperature to about 350 degrees Fahrenheit. Give it just 4 to 5 minutes. You’ll be amazed at how quickly it puffs back up to that glorious crisp texture. You can use these same reheating methods if you happen to make the Air Fryer Fried Okra version in the first place!
When you’re experimenting with fluffy treats next time, don’t forget to check out how I made easy fluffy homemade marshmallows. They store differently, but they are just as delicious the next day!
Frequently Asked Questions About Fried Okra
I know reading through a recipe can sometimes bring up last-minute confusion, especially when you’re trying to nail that perfect crunch. That’s okay! Getting fried okra right is about technique, and I’m happy to walk you through any last hurdles so you can serve the most amazing Southern Fried Okra your family has ever tasted. Here are the questions I get asked most often when people try this for the first time!
Can I use frozen okra for this fried okra recipe?
Oh, honey, that’s a tough one. If your absolute main goal is that signature, non-stop crunch, then I really, really suggest using fresh. Frozen okra has already gone through a blanching process, which means it carries a whole lot more initial surface moisture than fresh produce. If you try to deep fry frozen okra, that extra water hits the hot oil, and it lowers our temperature instantly, making everything steam instead of fry. You end up with a gummy coating! If you absolutely must use frozen, thaw it completely, then spread it on paper towels and press down hard to get every bit of water out possible. Honestly, if you’re using frozen, you might have much better luck trying the Air Fryer Fried Okra method I mentioned earlier, as air fryers handle moisture a bit better!
What oil is best for making Southern Fried Okra?
For frying anything—especially something breaded like this—you have to rely on an oil with a high smoke point, otherwise the oil starts smoking and breaking down before your coating is even brown. I always reach for refined vegetable oil because it’s neutral. Peanut oil works beautifully too, and its flavor is really traditional for Southern Fried Okra. Canola oil is another solid, budget-friendly choice that won’t interfere with the seasoning we put on that cornmeal coating. Just make sure you have about two inches heated up to that crucial 375 degrees Fahrenheit!
How do I prevent my okra from getting slimy?
This is probably the number one question I get, and thankfully, it’s the easiest part to conquer if you follow the method! We tackle sliminess head-on using two major steps. Step one is that essential 15-minute buttermilk soak; the low acidity really helps neutralize that natural goo. Step two is speed! Once that okra comes out of the buttermilk and into the cornmeal, you coat it, and then you get it into the hot oil—don’t let it sit around coated! That quick trip into the 375°F oil flash-fries the exterior, sealing in everything and stopping any sliminess from developing. If you want an extra layer of defense, remember that quick soak in vinegar before the buttermilk! For other helpful guides on cooking and balancing flavors, feel free to check out my guide to easy, healthy homemade salad dressing recipes!
Nutritional Estimates for This Fried Okra Dish
As the founder here at Cookery Command, I always want you to know what you’re feeding your family, but remember that these final numbers for fried okra can swing a little based on how much oil your specific breading soaks up. These estimates are based on exactly four servings, using the ingredients laid out in the recipe above, assuming standard absorption rates during deep-fat frying.
- Serving Size: About 1 cup
- Calories: 320
- Total Fat: 22g (with 4g saturated)
- Carbohydrates: 30g
- Protein: 5g
- Sodium: 450mg
- Fiber: 7g
It’s a side dish, so it carries a little more fat since it’s fried, but that crunch is worth it sometimes! If you’re looking for a lighter option, remember those air fryer instructions can significantly drop the fat content. When you’re ready for a sweet ending to your meal, I highly recommend trying my recipe for easy fluffy homemade marshmallows!
Share Your Crunchy Okra Snack
Now you have all my secrets for ensuring that whenever you make this recipe, you get the crispiest, most satisfying fried okra possible. That double dredge is the key to making this a reliable, go-to Comfort Food Side for any gathering!
I truly hope you and your family love this texture—it took me a few tries to get Grandma’s technique down, but achieving that crunch is just so rewarding. Go on, take command of your kitchen this week! When you make it, I’d love to hear about it. Please leave a rating and your thoughts in the comments below so I know how it went for you and if you have any other tips to share with our community. If you ever have specific questions about the method, don’t hesitate to reach out via the contact page. Happy cooking!
Nutritional Estimates for This Fried Okra Dish
As the founder here at Cookery Command, I always want you to know what you’re feeding your family, but remember that these final numbers for fried okra can swing a little based on how much oil your specific breading soaks up. These estimates are based on exactly four servings, using the ingredients laid out in the recipe above, assuming standard absorption rates during deep-fat frying.
- Serving Size: About 1 cup
- Calories: 320
- Total Fat: 22g (with 4g saturated)
- Carbohydrates: 30g
- Protein: 5g
- Sodium: 450mg
- Fiber: 7g
It’s a side dish, so it carries a little more fat since it’s fried, but that crunch is worth it sometimes! If you’re looking for a lighter option, remember those air fryer instructions can significantly drop the fat content. When you’re ready for a sweet ending to your meal, I highly recommend trying my recipe for easy sweet potato muffins!
Share Your Crunchy Okra Snack
Now you have all my secrets for ensuring that whenever you make this recipe, you get the crispiest, most satisfying fried okra possible. That double dredge is the key to making this a reliable, go-to Comfort Food Side for any gathering!
I truly hope you and your family love this texture—it took me a few tries to get Grandma’s technique down, but achieving that crunch is just so rewarding. Go on, take command of your kitchen this week! When you make it, I’d love to hear about it. Please leave a rating and your thoughts in the comments below so I know how it went for you and if you have any other tips to share with our community. If you ever have specific questions about the method, don’t hesitate to reach out via the contact page. Happy cooking!
PrintCrispy Southern Fried Okra with Buttermilk and Cornmeal
Make perfectly crispy, golden-brown Southern Fried Okra that stays crunchy. This easy recipe uses a buttermilk soak and double cornmeal dredge to prevent sliminess, delivering a classic comfort food side dish ready in under 30 minutes.
- Prep Time: 20 min
- Cook Time: 10 min
- Total Time: 30 min
- Yield: 4 servings 1x
- Category: Side Dish
- Method: Deep Frying
- Cuisine: Southern American
- Diet: Vegetarian
Ingredients
- 1 pound fresh okra, rinsed and sliced 1/2 inch thick
- 1 cup buttermilk
- 1 cup yellow cornmeal
- 1/2 cup all-purpose flour
- 1 teaspoon salt
- 1/2 teaspoon black pepper
- 1/2 teaspoon garlic powder
- 1/4 teaspoon cayenne pepper (optional, for heat)
- Vegetable oil, for frying (about 2 inches deep)
Instructions
- Prepare the okra: Slice the okra into 1/2-inch thick rounds. Place the sliced okra in a bowl and cover completely with buttermilk. Let it soak for at least 15 minutes. This step helps reduce sliminess.
- Prepare the coating: In a shallow dish, whisk together the cornmeal, flour, salt, black pepper, garlic powder, and cayenne pepper, if using. This is your seasoned cornmeal coating.
- Drain and dredge: Remove the okra from the buttermilk, letting excess drip off, but do not rinse. Immediately toss the damp okra into the cornmeal mixture. Toss until every piece is fully coated.
- Second dredge (for extra crispiness): Return the coated okra to the buttermilk bath for just a few seconds, ensuring it is lightly coated again. Immediately return the okra to the cornmeal mixture and press gently to create a thick, crunchy crust.
- Heat the oil: Pour vegetable oil into a heavy-bottomed skillet or Dutch oven to a depth of about 2 inches. Heat the oil over medium-high heat until it reaches 375 degrees Fahrenheit. Use a thermometer for accuracy.
- Fry the okra: Working in small batches to avoid overcrowding the pan, carefully add the coated okra to the hot oil. Do not overcrowd the skillet, as this lowers the oil temperature and results in soggy okra.
- Cook until golden: Fry for 3 to 5 minutes, turning occasionally, until the okra is deep golden brown and crispy.
- Drain: Remove the crispy fried okra with a slotted spoon and place it on a wire rack set over a baking sheet lined with paper towels to drain excess oil. Sprinkle lightly with extra salt immediately after draining.
- Serve hot: Serve your crunchy okra immediately as a classic Southern side dish or snack.
Notes
- For an Air Fryer Fried Okra variation, toss the double-dredged okra lightly with cooking spray. Air fry at 400 degrees Fahrenheit for 10 to 12 minutes, shaking the basket halfway through, until golden and crisp.
- To minimize sliminess before soaking, you can briefly toss the fresh okra with 1 tablespoon of white vinegar before adding it to the buttermilk.
- Use self-rising cornmeal if you prefer a slightly lighter crust, adjusting the added salt slightly.
Nutrition
- Serving Size: 1 cup
- Calories: 320
- Sugar: 4
- Sodium: 450
- Fat: 22
- Saturated Fat: 4
- Unsaturated Fat: 18
- Trans Fat: 0
- Carbohydrates: 30
- Fiber: 7
- Protein: 5
- Cholesterol: 20