
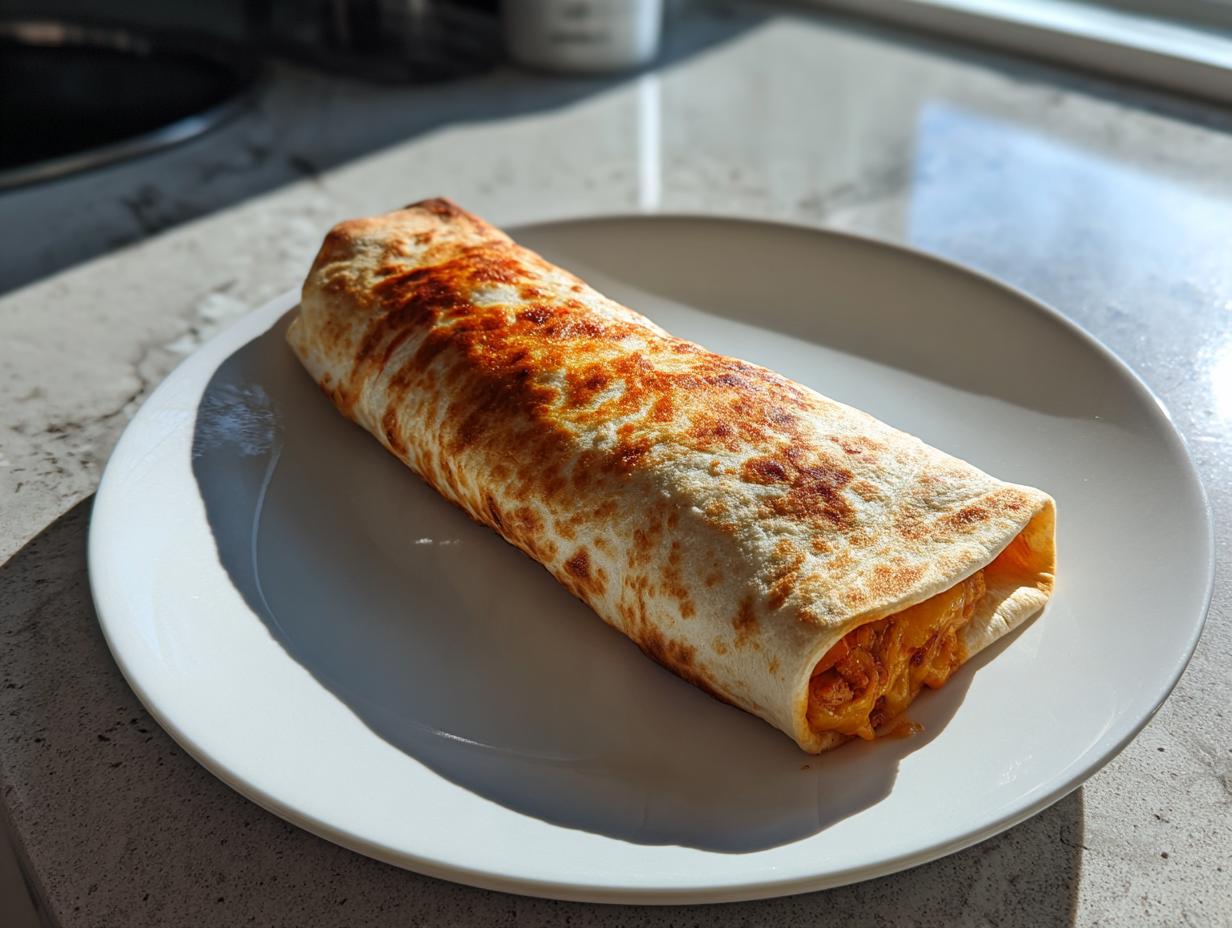
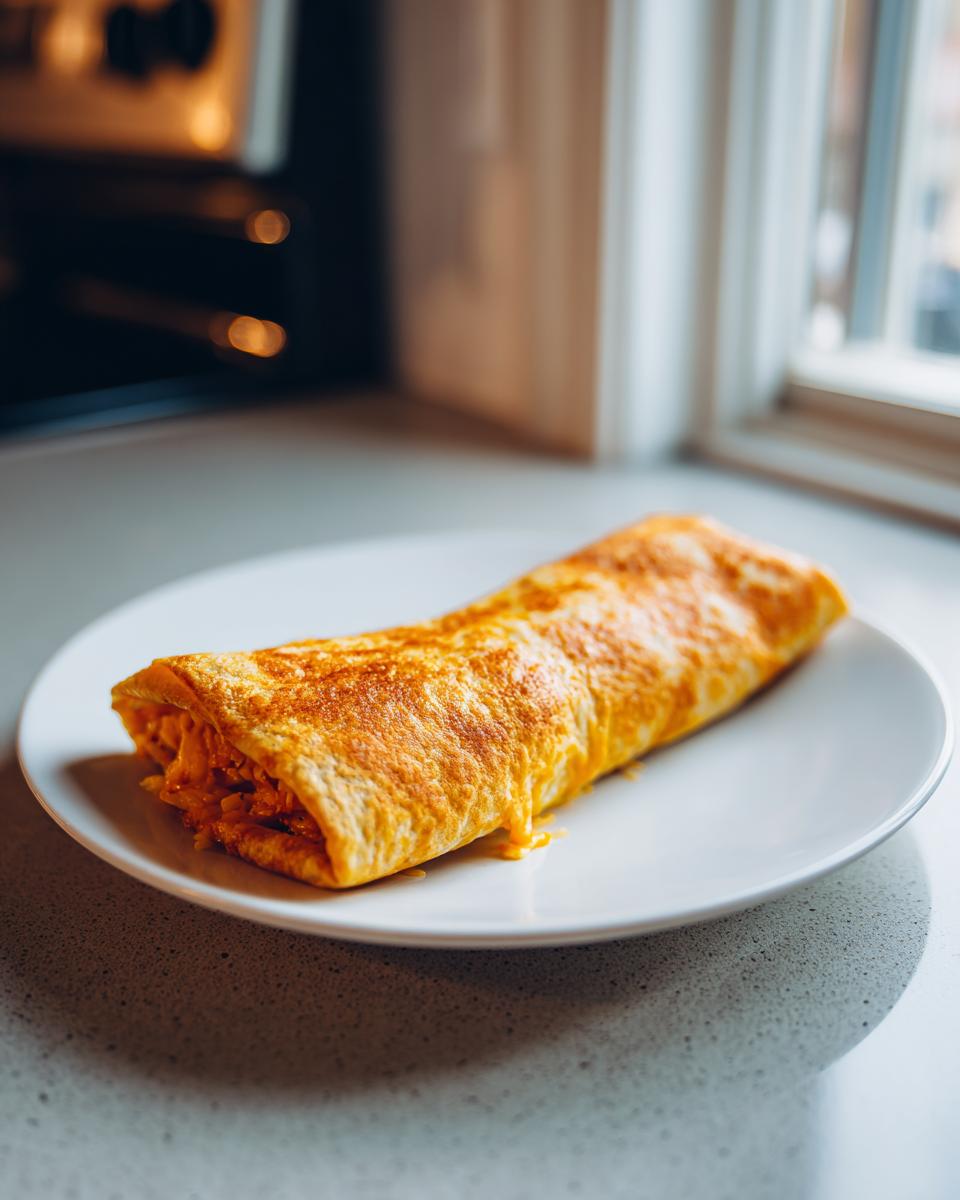
Oh, I know that feeling! You’re staring down a craving for something deeply comforting—something cheesy, savory, and deeply Tex-Mex—but you just cannot face the idea of a huge sink full of oil after frying. That’s exactly why I perfected these Baked Chicken Chimichangas. We want that satisfying crunch, that perfect roll, but we also want a healthier chimichanga recipe that fits onto a busy Tuesday night schedule. My goal here, as always, is to bring the robust flavors of tradition, like those zesty spices you expect, into a technique that suits modern kitchens. Trust me, achieving a beautiful, golden baked tortilla texture is absolutely possible.
If you’re looking for more quick meals that fit right into your week, you should definitely take a look at all my other go-to weeknight dinner recipes. These chimichangas are fantastic!
- Why You Will Love This Easy Baked Chimichangas Recipe
- Ingredients for Perfect Baked Chicken Chimichangas
- Step-by-Step Instructions for Crispy Oven Baked Chicken Chimichangas
- Tips for Making Better Than Fried Chimichangas
- Make-Ahead and Storage for Your Baked Chicken Chimichangas
- Serving Suggestions for Your Tex Mex Dinner Ideas
- Frequently Asked Questions About Baked Chicken Chimichangas
- Nutritional Snapshot of These Guilt Free Comfort Food
- Share Your Command Over This Baked Chicken Chimichangas Recipe
Why You Will Love This Easy Baked Chimichangas Recipe
Look, we all want that deep flavor payoff without the deep fry mess. That’s the beauty of this approach! Since we’re switching to the oven, this becomes a true easy appetizer or snack that doubles as a full meal.
- Healthier Chimichanga Recipe: You cut out the heavy frying oil but keep all the delicious, cheesy filling that makes chimichangas great.
- Serious Speed: This is a fantastic option for a quick weeknight Mexican dinner, especially when you use pre-cooked chicken.
- Crispy Texture Guaranteed: Follow my brushing trick, and you get those wonderful golden baked tortillas that satisfy every craving.
Ingredients for Perfect Baked Chicken Chimichangas
Okay, let’s talk about what goes into these beauties. The list is wonderfully short, which is another bonus for a lean chicken recipe on a busy night. For your filling, you absolutely need about two cups of cooked, shredded chicken. If I’m being honest, I often use rotisserie chicken because it saves so much time!
Next, grab those medium flour tortillas—the burrito-sized ones work best here to hold everything snugly. You’ll mix the chicken with your spices, which are simple but powerful: chili powder, cumin, and garlic powder. Finish it off with a cup of shredded Monterey Jack or cheddar cheese. Don’t forget the optional spoonful of refried beans if you want that extra creamy factor!
Step-by-Step Instructions for Crispy Oven Baked Chicken Chimichangas
We are moving fast here, but we are also moving smart! Getting that amazing crunch without dipping them in oil means we have to respect the oven temperature. First, crank that heat up to 400°F (200°C) right away and get your baking sheet ready—I like to give mine a light grease just to be safe.
This whole process is designed to be a quick weeknight Mexican dinner, especially if you’re using pre-cooked chicken. Remember, the goal is that crispy oven baked chicken texture!
Prepping the Filling and Assembly of Baked Chicken Chimichangas
First things first: seasoning! Mix your shredded chicken with the chili powder, cumin, and garlic powder until every piece is coated in flavor. Now, here’s a trick: warm your tortillas up—just 15 seconds in the microwave or a dry pan works wonders to make them bendy. If they crack when you roll them, you’ll lose that cheesy filling!
Lay the tortilla flat. Put a scoop of seasoned chicken down the middle, top with cheese, and fold in the sides before you roll it up tight, just like a little present. Make sure the seam side is down when you place it on that hot baking sheet. Rolling them tight is key so they don’t unravel while baking. I try to squeeze them together a bit once placed on the sheet, too!
Achieving the Golden Baked Tortillas Finish
This is the magic step for those golden baked tortillas we love! Take your cooking spray or melted butter and brush the entire top surface of every chimichanga. Don’t be stingy here; this is what mimics the frying process and makes them golden brown at 400°F.
Bake them for about 15 to 20 minutes total, but set a timer for 10 minutes. You must flip them halfway through! Flipping ensures both sides get that wonderful, crunchy texture. When they come out, they should look deeply golden—totally better than fried, I promise!
Tips for Making Better Than Fried Chimichangas
If you want these to compete with their fried cousins, the secret lies in the execution—this is where we move from good to great! Remember, for truly oven fried chimichangas, you cannot overstuff them. If you push too much filling in, the cheese melts out the seams, and you end up with soggy spots instead of guaranteed crispness. Keep the filling modest, okay?
Also, don’t skimp on the brushing! I know it feels wasteful, but using melted butter instead of just spray really helps achieve that deep golden crust we’re aiming for. And speaking of speed, if you rely on a store-bought rotisserie chicken, you instantly qualify this as a lean chicken recipe that takes practically no time to assemble. One trick from my notes that I swear by? You can actually assemble the whole batch, wrap them tightly, and keep them in the fridge for up to a day before baking. That makes them a fantastic prep-ahead Tex Mex dinner idea!
Make-Ahead and Storage for Your Baked Chicken Chimichangas
One of the things I love most about these family friendly Mexican food nights is being able to prep ahead so I’m not rushing around when everyone gets home starving! You absolutely can assemble these chimichangas completely before you plan to eat them. This is a lifesaver when you need a super quick meal ready to go.
Once you have rolled them up tightly (seam side down, remember?), place them seam-side down on your baking sheet, cover the whole thing loosely with plastic wrap, and pop them into the fridge. They are happy there for about 24 hours. If you’re cooking straight from the fridge, don’t worry, just add about five extra minutes to your bake time to make sure they heat all the way through.
Thinking about freezing them? That works too! For freezing, I wrap each individual chimichanga tightly in plastic wrap, then put them all into a heavy-duty freezer bag. They can hang out in the freezer for up to two months. When you decide it’s time for that guilt-free comfort food fix, pull them out, unwrap them, and place them seam-side down on a baking sheet with zero thawing time. Give them maybe 25-30 minutes at 400°F.
Now, for leftovers—if you even have any! The truth is, baked things lose some crunch overnight, but we can fix that. Reheating them in the microwave makes them soft, which is a shame. Instead, throw any cooled leftovers into a toaster oven or even an air fryer for just a few minutes until they are hot and have regained some of that golden crispiness!
Serving Suggestions for Your Tex Mex Dinner Ideas
Honestly, a chimichanga isn’t truly complete until you pile on the toppings—it’s half the fun! Since these are already packed with chicken and cheese, we want toppings that add freshness, cooling contrast, or a nice acidic kick. Of course, my staples are always fresh salsa, creamy guacamole, and a dollop of sour cream to temper the spice.
If you need a full plate and want something easy to serve alongside, these pair beautifully with rice and beans. I have an amazing chicken rice bowl base recipe that you can easily adapt by leaving out the chicken and adding some black beans to the side. It keeps the theme going without making the meal too heavy. These are just wonderful Tex Mex dinner ideas!
Frequently Asked Questions About Baked Chicken Chimichangas
It’s natural to have questions when you switch up a classic technique! Here are the things I hear most often about turning these deep-fried favorites into a much friendlier supper. I find that once people realize how easy achieving that perfect texture is, they start making them all the time—it’s true guilt-free comfort food!
Are Baked Chicken Chimichangas as Crispy as Fried Ones?
That is the million-dollar question, isn’t it? Look, being baked means they aren’t greasy, but they can get incredibly crispy—truly better than fried chimichangas if you prep them right! Frying achieves crispiness rapidly using hot oil. But, by brushing the tortillas thoroughly with melted butter and cranking your oven up to 400°F, you create a ‘dry crisp’ that is wonderfully golden and avoids that heavy, saturated feeling. The key is the high heat and ensuring you don’t overfill them, which creates steam and makes them soggy rather than crisp.
Can I Make These a 30 Minute Chicken Chimichanga?
Absolutely, yes! That’s one of the main selling points for this quick weeknight Mexican dinner. If you start with store-bought, pre-cooked shredded chicken—like rotisserie—the prep time is only about 15 minutes for mixing the filling and rolling. Since the actual bake time is only 20 minutes, you can easily have these on the table in under 35 minutes total. That makes them perfect for those nights when you need dinner fast!
What if I only have small tortillas?
If you only have the smaller taco-sized tortillas, you can totally pivot! You won’t be making a chimichanga, but rather a smaller, crispier roll-up. You’ll probably only be able to fit about half the amount of filling, and you should probably only use three or four per person. You’ll notice they cook even faster, perhaps only needing 12 to 14 minutes to get that beautiful golden color.
Can I use corn tortillas instead of flour?
I really wouldn’t recommend it for this recipe, especially if you are hoping for that ‘better than fried’ texture. Corn tortillas are more prone to cracking when you fold them the first time if they aren’t perfectly reheated, and they don’t brown quite the same way flour ones do in the oven. Flour tortillas give you that pliable shell that seals up nicely and crisps beautifully when brushed with fat. Corn tortillas are better saved for tacos or enchiladas, in my book!
Nutritional Snapshot of These Guilt Free Comfort Food
When you’re making my easy black bean soup recipe on the side, you want to know what you are eating! For one serving of these baked chicken chimichangas, you are looking at roughly 320 calories, about 20g of protein, and 12g of fat. Remember friend, these numbers are just estimates; how much cheese you use or if you skip the beans makes a big difference in the final count!
Share Your Command Over This Baked Chicken Chimichangas Recipe
Now that you’ve seen how simple it is to create these delicious, crispy treats, I’d absolutely love to hear from you! Taking command in the kitchen means sharing your successes, right? Please hit that five-star rating button if these Baked Chicken Chimichangas brought some satisfying crunch to your dinner table this week.
Don’t be shy! Leave a comment below and tell me what toppings you tried, or if you managed to make them even faster than the suggested timeline. Did you use rotisserie chicken, or did you shred your own? Every bit of feedback helps me, and it helps other cooks build their confidence too.
If you shared a picture of your golden beauties on social media, please tag us! I love seeing your creations. Keeping that high standard of delicious, reliable home cooking alive is what Cookery Command is all about. You’ve got this!
If you want to learn more about our philosophy on mastering the kitchen, check out our About page. Happy cooking!
PrintEasy Baked Chicken Chimichangas
Make satisfying, crispy chicken chimichangas in your oven. This recipe uses seasoned shredded chicken and cheese, offering a healthier, quick weeknight Mexican dinner alternative to frying.
- Prep Time: 15 min
- Cook Time: 20 min
- Total Time: 35 min
- Yield: 8 servings 1x
- Category: Dinner
- Method: Baking
- Cuisine: Tex-Mex
- Diet: Vegetarian
Ingredients
- 2 cups cooked, shredded chicken
- 1 cup shredded Monterey Jack or cheddar cheese
- 1/2 cup refried beans (optional)
- 1 teaspoon chili powder
- 1/2 teaspoon cumin
- 1/4 teaspoon garlic powder
- 8 medium flour tortillas (burrito size)
- Cooking spray or melted butter for brushing
- Optional toppings: salsa, sour cream, guacamole
Instructions
- Preheat your oven to 400°F (200°C). Lightly grease a baking sheet.
- In a medium bowl, combine the shredded chicken, chili powder, cumin, and garlic powder. Mix well until the chicken is evenly seasoned.
- Warm the tortillas briefly in the microwave or a dry skillet to make them pliable.
- Place about 1/4 cup of the seasoned chicken mixture (and a spoonful of refried beans, if using) down the center of each tortilla. Top with cheese.
- Fold the sides of the tortilla inward over the filling, then tightly roll the tortilla up like a burrito. Place the seam-side down on the prepared baking sheet.
- Repeat with the remaining tortillas and filling.
- Lightly brush the tops and sides of the rolled chimichangas with cooking spray or melted butter to help them crisp up.
- Bake for 15 to 20 minutes, flipping halfway through, until the tortillas are golden brown and crispy.
- Serve immediately with your favorite toppings.
Notes
- For extra crispiness, you can lightly brush the tortillas with melted butter before baking.
- You can prepare these ahead of time; place assembled chimichangas on the baking sheet, cover, and refrigerate for up to 24 hours before baking. Add a few extra minutes to the cook time if baking straight from the refrigerator.
- Use pre-cooked rotisserie chicken for a faster preparation time.
Nutrition
- Serving Size: 1 chimichanga
- Calories: 320
- Sugar: 2
- Sodium: 450
- Fat: 12
- Saturated Fat: 5
- Unsaturated Fat: 7
- Trans Fat: 0
- Carbohydrates: 35
- Fiber: 2
- Protein: 20
- Cholesterol: 55