

There’s just something about a true Southern comfort dessert that wraps you up like a warm blanket, isn’t there? If you’re chasing that feeling of sweet nostalgia, stop searching right now, because we have the absolute cornerstone recipe for you: the buttermilk pie. Forget flimsy imitations; this is the classic, creamy, and perfectly tangy treat that defines American baking traditions. Here at Command Central, we don’t just hand out recipes; we meticulously work on them until they are flawless. Our founder, Emily, poured years of testing into making sure every traditional American recipe, especially something as beloved as the buttermilk pie, delivers absolute perfection right here in your kitchen. You can read more about our commitment to flawless technique on our About Us page.
- Why This Classic Southern Buttermilk Pie Recipe Works
- Ingredients for Your Old Fashioned Pie Recipe
- Step-by-Step Instructions for the Best Buttermilk Pie
- Tips for Baking a Traditional Buttermilk Pie
- Variations on the Classic Buttermilk Pie
- Serving and Storing Your Buttermilk Pie
- Frequently Asked Questions About Buttermilk Pie
- Nutritional Estimates for This Buttermilk Pie
- Share Your Buttermilk Pie Creations
Why This Classic Southern Buttermilk Pie Recipe Works
When you’re making something as foundational as a classic buttermilk pie, reliability is everything. We’ve optimized this recipe beyond the usual guesswork. This version is famous in our test kitchen because it guarantees that signature smooth texture every single time. It’s what transforms a simple pie into true homemade magic. You won’t have to worry about a runny center, I promise!
- It delivers that deep, comforting Southern flavor that feels like home.
- The balance between sweet and tart is spot-on—it keeps you coming back for another bite.
- It works beautifully with the simplest dessert base.
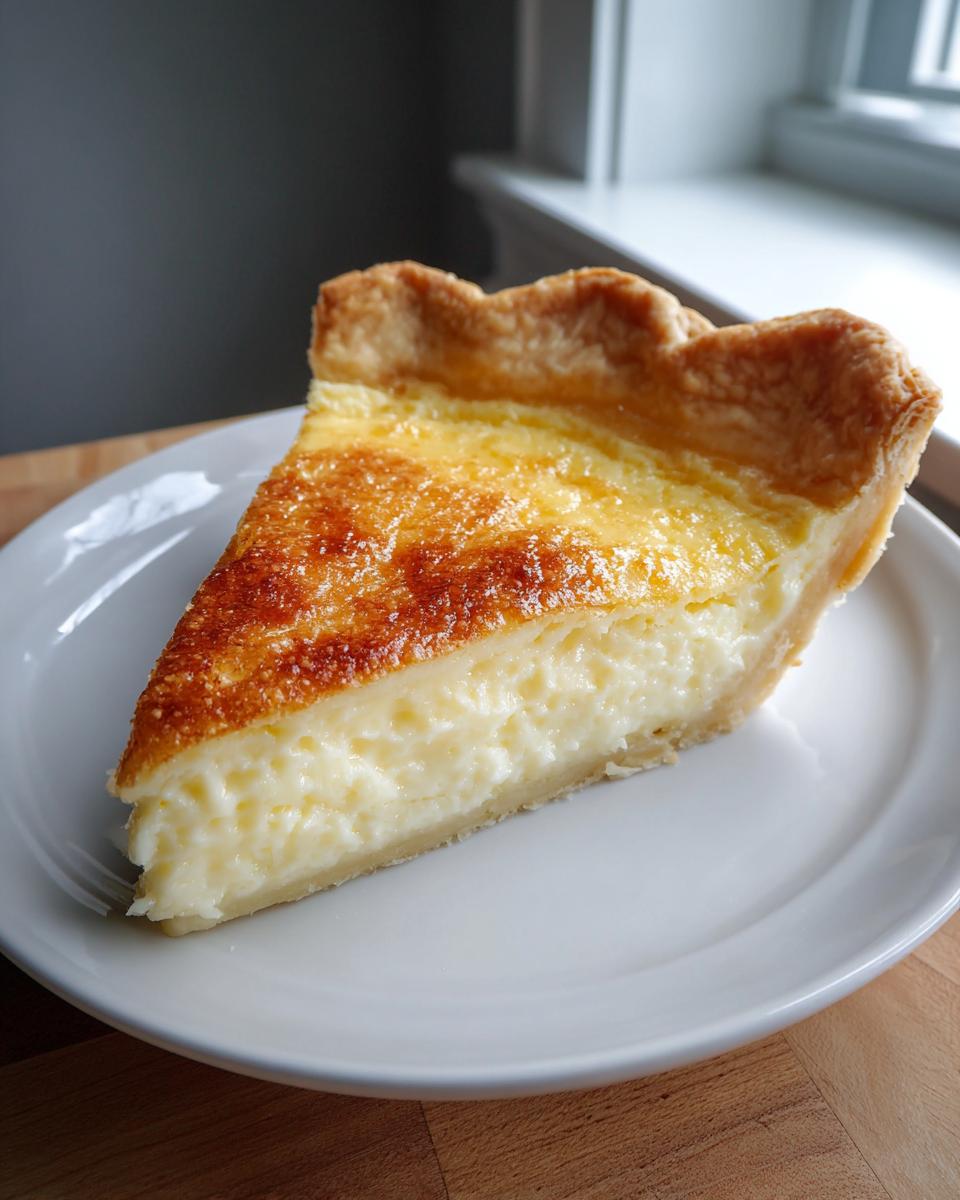
Achieving the Perfect Creamy Comfort Food Texture
The secret to that incredible Creamy Comfort Food texture lies in the chemical dance between the eggs and the acid in the buttermilk. As it bakes, the protein in the eggs sets up perfectly around the dairy molecules. This creates a velvety, egg-custard structure that holds up beautifully when chilled. It’s just the right sliceable consistency, not too jiggly at all!
The Tangy Sweet Pie Balance
Without that kick, you just have a sweet, vanilla custard, which is nice, but not *this* pie. The buttermilk is the star because it provides a necessary, refreshing tang that cuts right through the sugar. This Tangy Sweet Pie profile is what makes people crave a second slice. Honestly, that slight tartness is what separates the good pies from the ones worth fighting over at a family dinner.
Ingredients for Your Old Fashioned Pie Recipe
When we talk about an Old Fashioned Pie Recipe, we mean using simple, readily available ingredients that deliver maximum flavor. You don’t need fancy imported goods here; just quality staples treated with respect. I always keep these exact measurements on hand because this pie comes together so fast when company shows up unexpectedly. Trust me, having these things ready means less stress and more delicious results!
For the Simple Pie Filling
For the filling, everything needs to be measured carefully. This is where we build that beautiful creamy structure. Here’s exactly what goes into the bowl:
- 1 1/2 cups granulated sugar
- 3 tablespoons all-purpose flour
- 1/4 teaspoon salt
- 1 cup buttermilk (If all you have is milk, whisk 1 tablespoon of white vinegar into 1 cup of whole milk and let it sit for five minutes—it works in a pinch!)
- 1/2 cup (1 stick) unsalted butter, melted
- 2 large eggs, lightly beaten
- 1 teaspoon vanilla extract
Choosing Your Homemade Pie Crust
You need a sturdy vehicle for all that glorious filling, so the crust matters! The foundation of this amazing buttermilk pie requires one 9-inch unbaked, ready-to-go crust. We always advocate for Homemade Pie Crust around here, because nothing beats that flaky texture next to the creamy filling. If you’re looking to perfect your pastry game, I have a great recipe for flaky biscuits that you can adapt for a pie shell—it’s all about handling the butter gently!
Step-by-Step Instructions for the Best Buttermilk Pie
Getting the Best Buttermilk Pie on the table takes very little active work, but it requires attention to detail. We are baking a custard here, so mixing technique is key to avoiding lumps or an overly soft center later on. Follow these steps precisely, and you’ll have that perfect golden top and creamy interior!
First things first, get your oven preheated to 350 degrees Fahrenheit. While that warms up, press your unbaked pie crust securely into your 9-inch pie plate. If you’re feeling fancy, you can crimp the edges now, or just leave it rustic—either way works for this humble dessert.
Preparing the Dry and Wet Components
We tackle the dry ingredients first so they are ready to receive the liquids without overmixing. In one medium bowl, you just need to whisk together the sugar, flour, and salt until they are happy together. Don’t rush this—make sure there are no flour pockets hiding in the bottom! In a separate bowl, whisk your buttermilk, melted butter (make sure it’s not hot, just melted!), eggs, and vanilla until everything is smooth and homogenous.
Combining Filling and Initial Bake
Now for the careful part! You want to gradually introduce the wet mixture into your dry ingredients. Add the liquids slowly while whisking constantly. The goal is to combine everything until it just looks uniform. Stop whisking the second you lose streaks of flour! Seriously, overmixing develops gluten and ruins that silky texture we are aiming for. Pour that gorgeous filling right into your prepared crust. Bake it for about 45 to 55 minutes. You’re looking for the edges to look golden brown and the center to have just a slight jiggle, like Jell-O, when you gently shake the rack. This attention to baking time is why this remains the old-fashioned buttermilk pie favorite.
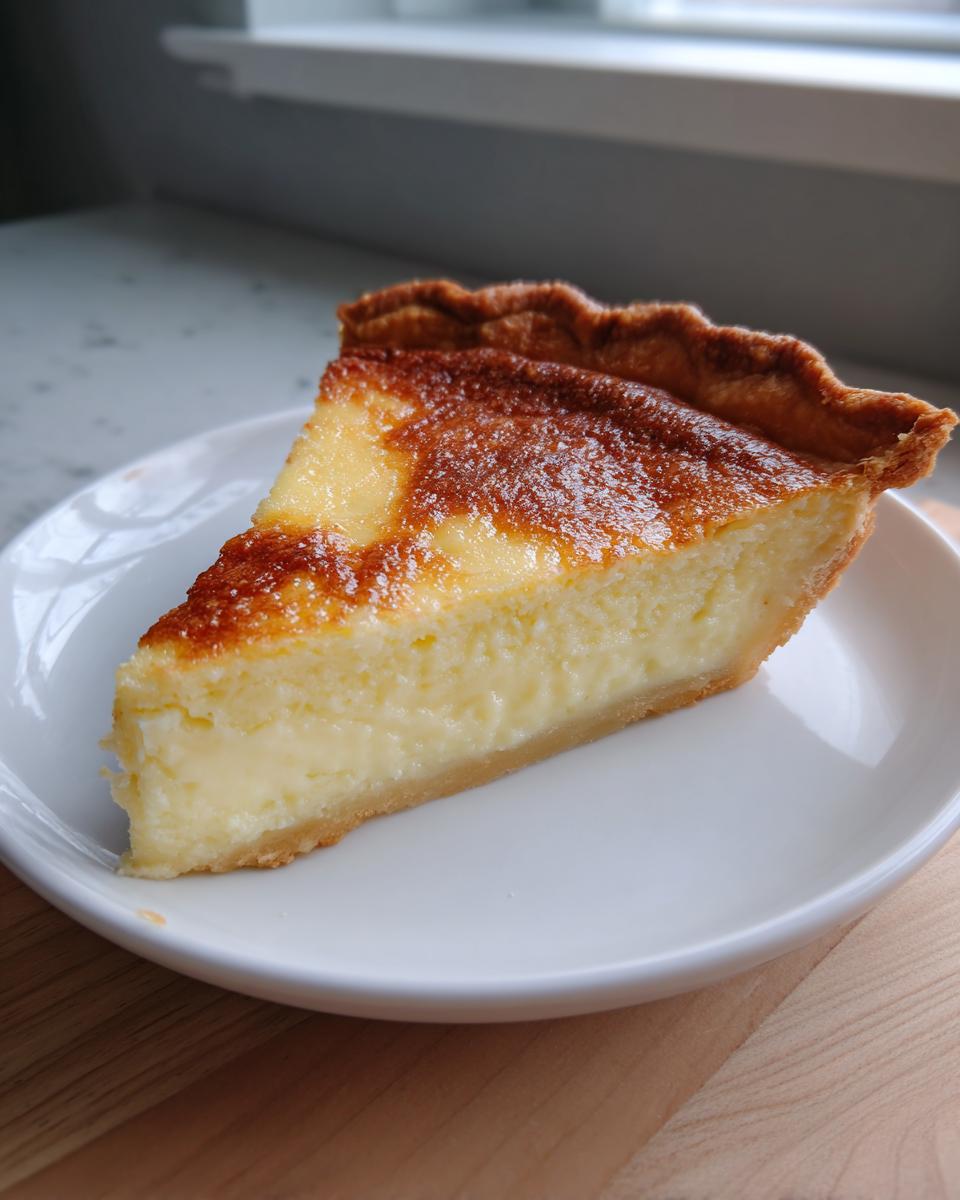
The Crucial Cooling and Setting Phase for Buttermilk Pie
This is where patience pays off! Remove the buttermilk pie from the oven and place it on a wire rack to cool down completely—it will firm up a lot as it goes from hot to room temperature. Do not skip the chilling! I know it’s hard to wait, but for that truly classic, sliceable texture, you need to chill it in the fridge for a minimum of 4 hours, though overnight is even better. This ensures you get that perfect bite when you slice into that classic custard pie.
Tips for Baking a Traditional Buttermilk Pie
We are focused on Baking from Scratch that delivers results you can rely on, and that means paying attention to the little details that make a big difference, especially with a delicate custard like this. Oven temperature is everything! Make sure your oven is fully preheated before that pie goes in. Peeking early is tempting, but keep that oven door closed for at least the first 35 minutes, or you risk deflating that beautiful, gentle rise the custard gets.
Also, pay close attention to how you assemble the filling. Always make sure your melted butter is cooled down slightly—pouring piping hot butter into the eggs will scramble them before they even hit the oven! If you’re unsure about the jiggle test, try this: gently jostle the open oven door with your hip, not your hand. If the center shimmies dramatically, give it another five minutes. We want a subtle ripple. You can also try setting a pie dish inside a larger roasting pan filled with about an inch of hot water right on the oven rack. That water bath helps create gentle, even heat, keeping the edges from setting too fast while the center finishes cooking—it’s an old trick for rich puddings and it works wonders here!
Remember that for a truly great texture, you need to follow the cooling instructions exactly! Grab that fantastic recipe for honey butter corn while your pie cools for the perfect side dish!
Variations on the Classic Buttermilk Pie
Once you master this buttermilk pie, you’ll want to play around, won’t you? That’s the beauty of mastering a great core recipe in Southern Tradition Recipes—it becomes a launchpad for other amazing desserts. While I adore the pure, simple custard, sometimes you need a little extra something for texture or richness. Trust me, this base is so reliable that you can toss in other flavors, and it holds up beautifully.
We’ve tested a few additions over the years, and they all bring that nostalgic Southern feeling we are aiming for.
Creating a Buttermilk Pecan Pie Hybrid
If you love pecan pie but want that signature custard base, this merger is for you! It’s honestly the best of both worlds. You’ll want to sprinkle about one cup of chopped pecans right across the bottom of your unbaked pie shell before you pour in the liquid filling. They will sink slightly, but they toast up nicely during baking and give you that satisfying crunch alongside the soft custard. It’s fantastic.
Making a Copycat Buttermilk Pie Filling
I know so many of y’all are looking specifically for that famous flavor you get at big chain restaurants, and honestly, that taste is what we are achieving here! This recipe hits that creamy, rich profile that people associate with the best versions of a Copycat Buttermilk Pie. You get all the melt-in-your-mouth goodness of those beloved recipes, but you made it yourself, which is always better! If you want to see how others are loving simple, traditional pies, check out this wonderful Buttermilk Pie guide.
For a really fun side variation, especially during holidays, try our recipe for Sweet Potato Rolls—they pair perfectly with this pie!
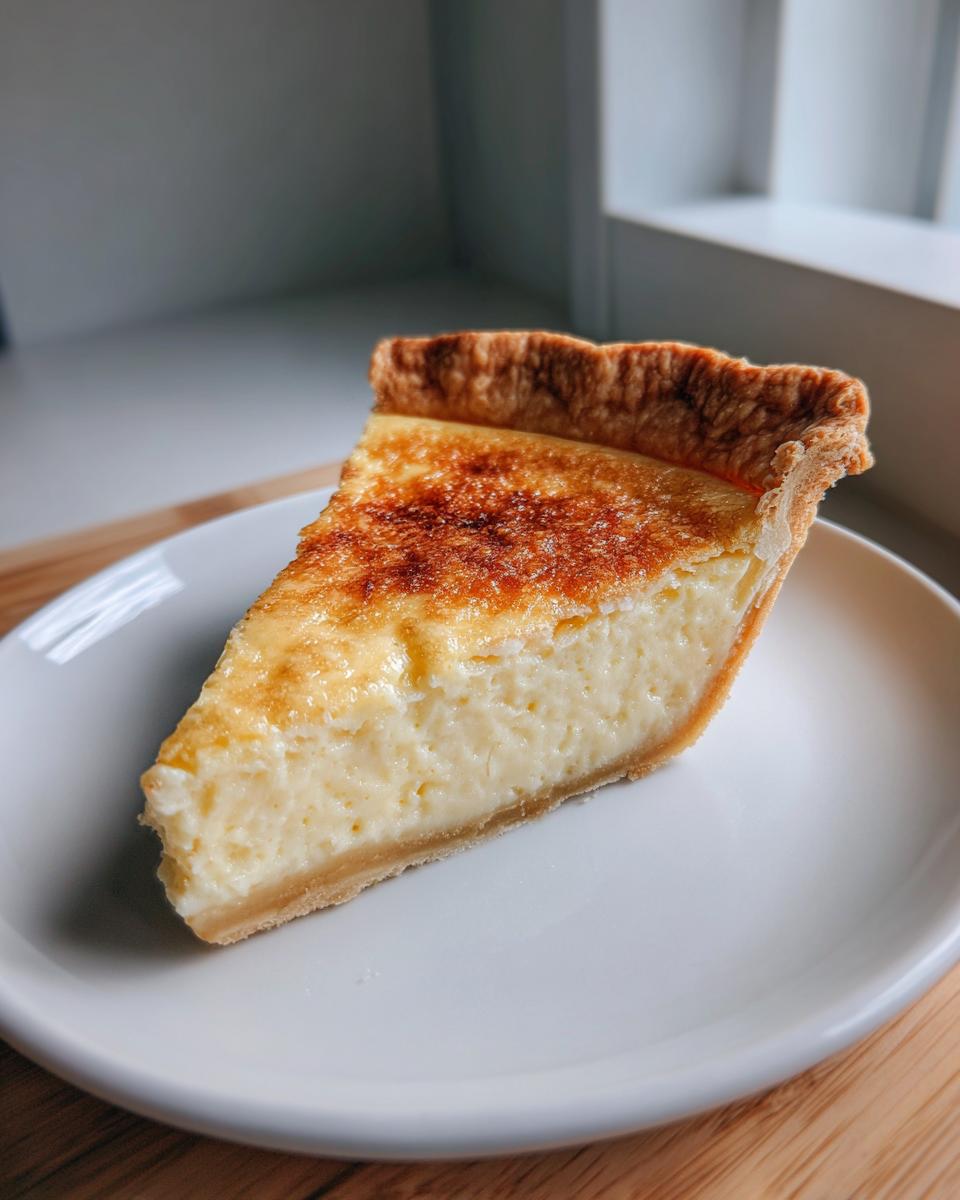
Serving and Storing Your Buttermilk Pie
Alright, you’ve baked it, you’ve waited (impatiently, I’m sure!), and now it’s time to enjoy the fruits of your labor! Serving and storing your finished buttermilk pie is almost as important as baking it correctly, especially if you want that perfect, sliceable texture developed during chilling. This truly is an Easy Buttermilk Dessert, but we want to make sure it lasts!
So, when do you serve it? While some folks love a warm slice, honestly, the texture of this custard shines when it’s cool. I strongly recommend slicing it chilled, straight from the fridge. That four-hour minimum chill time we talked about? That’s when the magic sets up fully to give you that clean, gorgeous slice. Don’t worry if you want to bring it out 30 minutes before serving, a slight room temperature is lovely, but don’t let it sit out all afternoon.
For storage, because this pie contains dairy and eggs, it loves the cold. Cover the entire cooled pie tightly with plastic wrap or foil—or if you’re using a pie carrier, make sure that lid is secure. It needs to stay in the refrigerator. It keeps wonderfully for three to four days! I rarely have leftovers past day two because everyone devours this, but it’s nice to know there’s more for a midday snack later.
If you’re looking for something simple to serve alongside that slice, maybe something lighter before you dive into this rich goodness, check out some simple appetizers and snacks we love to put out before dessert time!
Frequently Asked Questions About Buttermilk Pie
I know you’ve got questions! Whenever a recipe is this old-fashioned, people always wonder about the little details that make it work. It’s smart to ask! We tested every scenario possible when creating this recipe, so let’s clear up any lingering doubts about making the absolute Best Buttermilk Pie.
Can I use regular milk instead of buttermilk in this Classic Custard Pie?
You absolutely *can* make a substitute if you’re in a bind—just mix a tablespoon of white vinegar or lemon juice into a cup of regular milk and let it curdle for five minutes. That’s better than nothing! However, if you want the true flavor of a Classic Custard Pie and that perfect, authentic tang that sets this dessert apart, you really need to use genuine buttermilk. The acidity is what helps create the structure and flavor combination that makes it such a beloved dessert.
How do I prevent my buttermilk pie from cracking?
Cracking is usually a sign of overbaking or letting the pie cool down too fast, which causes it to seize up. The absolute rule is: pull it out when the edges look set but that small center area still has a gentle wiggle. Once out of the oven, let it cool completely on a wire rack on the counter before you even think about putting it in the fridge. Slow, natural cooling prevents that surface tension that causes those sad little cracks.
Is this the same as a Chess Pie?
That’s a great question, and they certainly look similar! While both are amazing Southern desserts, they are different. A true Southern Buttermilk Pie relies heavily on that buttermilk for its specific sour note and texture balance. Chess pies are usually sweeter, often relying on cornmeal or a bit of vinegar instead of buttermilk to set the filling, resulting in a slightly richer, different flavor profile. This recipe is firmly planted in the creamy, tangy buttermilk camp!
If these answers didn’t quite cover what you needed, don’t hesitate to reach out via the contact page. Happy baking!
Nutritional Estimates for This Buttermilk Pie
We always aim for total transparency here at Command Central, which means we want you to know what you’re creating! While the true joy of an Old Fashioned Pie Recipe lies in the taste and comfort, it’s good to have an idea of the numbers. We’ve run this buttermilk pie recipe through our standard testing protocols to give you a generally accurate estimate based on the ingredients listed. Remember, these are just estimates, and they can certainly change based on the specific brand of butter or sugar you use, especially if you’re trying out one of the fun variations we talked about!
Here is the breakdown based on 8 servings for this Classic Custard Pie:
- Serving Size: 1 slice
- Calories: 350
- Sugar: 35g
- Sodium: 250mg
- Fat: 18g
- Saturated Fat: 10g
- Unsaturated Fat: 8g
- Trans Fat: 0g
- Carbohydrates: 45g
- Fiber: 1g
- Protein: 5g
- Cholesterol: 90mg
We believe that knowing what goes onto your plate helps you maintain confidence in the kitchen, making this a trusted part of our commitment to you. Enjoy that slice of Creamy Comfort Food!
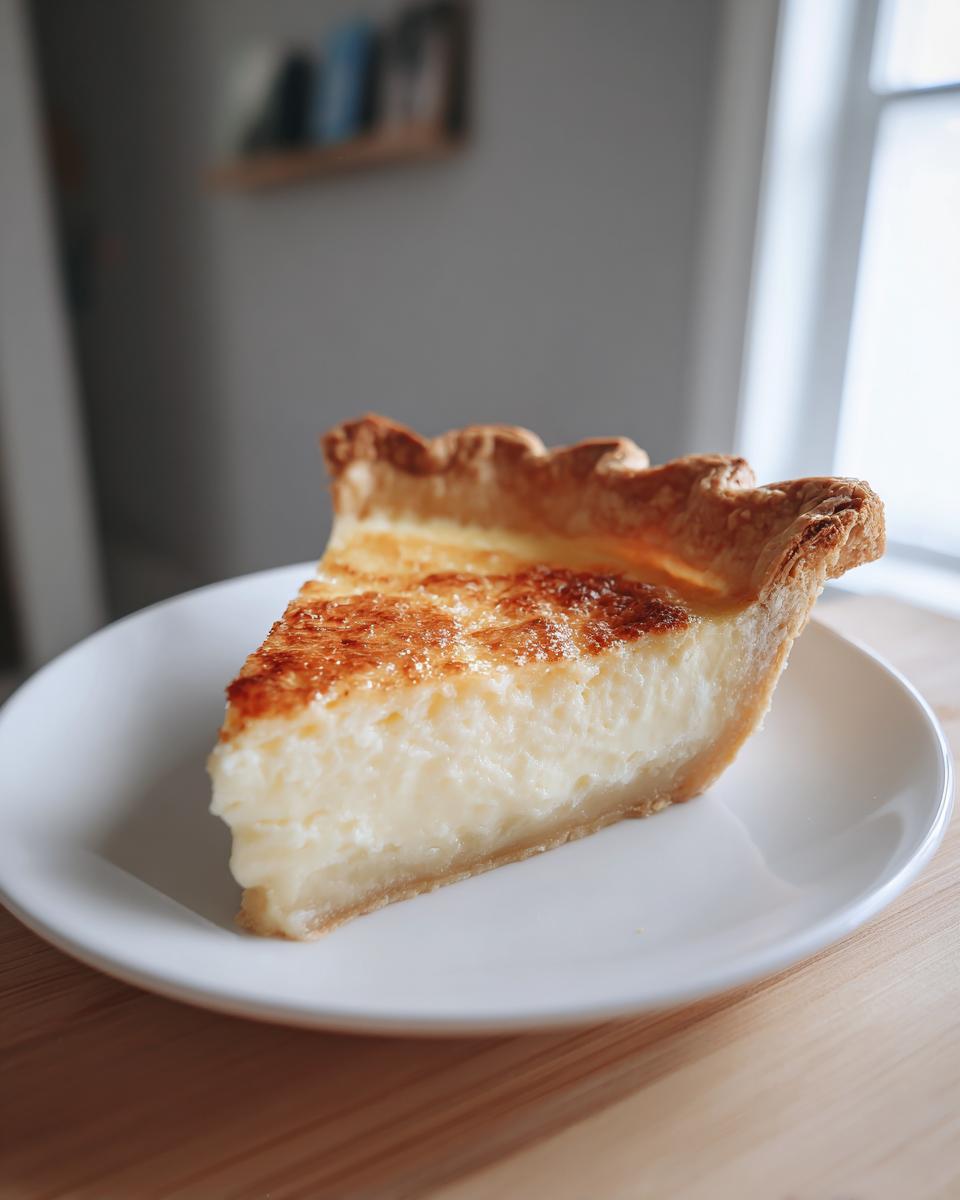
Share Your Buttermilk Pie Creations
Well, there you have it! We’ve walked through every step to make sure you’ve got the absolute best buttermilk pie cooling on your counter right now. Making this Classic Custard Pie isn’t just about following steps; it’s about creating a tradition in your own home. Now, I’m genuinely eager to hear what you think! Did it bring back memories of Sunday dinners, or did you create a brand new memory with your family?
When you finish baking this pie, please come back right here and let me know how it went! Seriously, rate this recipe with five big stars if you loved that perfect, tangy sweetness, and tell me in the comments exactly how you served it. Did you use a dollop of homemade whipped cream? Did you manage to wait those four hours before slicing into it?
The community here is what makes Command Central such a wonderful place to bake. Sharing your success—or even asking a little follow-up question—helps me know that this Old Fashioned Pie Recipe is shining bright in kitchens across the country. Your engagement signals to me that we are creating reliable, joyful recipes for everyone!
And just a quick reminder on privacy—we take your information seriously, just like we take our baking seriously! You can always check out our privacy policy if you ever have concerns about sharing your love for this pie. Now go enjoy that slice of heaven!
PrintClassic Southern Buttermilk Pie Recipe

Make this classic Southern Buttermilk Pie for a creamy, tangy, and sweet dessert with old-fashioned comfort. This recipe delivers a reliable, traditional custard pie.
- Prep Time: 15 min
- Cook Time: 50 min
- Total Time: 5 hr 5 min
- Yield: 8 servings 1x
- Category: Dessert
- Method: Baking
- Cuisine: American
- Diet: Vegetarian
Ingredients
- 1 (9-inch) unbaked Homemade Pie Crust
- 1 1/2 cups granulated sugar
- 3 tablespoons all-purpose flour
- 1/4 teaspoon salt
- 1 cup buttermilk
- 1/2 cup (1 stick) unsalted butter, melted
- 2 large eggs, lightly beaten
- 1 teaspoon vanilla extract
Instructions
- Preheat your oven to 350 degrees Fahrenheit. Place your unbaked pie crust into a 9-inch pie plate.
- In a medium bowl, whisk together the sugar, flour, and salt until combined.
- In a separate bowl, whisk together the buttermilk, melted butter, eggs, and vanilla extract until smooth.
- Gradually add the wet ingredients to the dry ingredients, whisking constantly until the filling is uniform. Do not overmix.
- Pour the buttermilk filling into the unbaked pie crust.
- Bake for 45 to 55 minutes. The center should be mostly set but still have a slight jiggle when gently shaken. The top should be golden brown.
- Remove the pie from the oven and place it on a wire rack to cool completely. The center will firm up as it cools.
- Chill the pie for at least 4 hours before slicing and serving for the best creamy texture.
Notes
- For a flakier crust, use an all-butter pie crust recipe.
- If you do not have buttermilk, mix 1 cup of whole milk with 1 tablespoon of white vinegar or lemon juice and let it sit for 5 minutes before using.
- Serve this pie slightly chilled or at room temperature.
Nutrition
- Serving Size: 1 slice
- Calories: 350
- Sugar: 35
- Sodium: 250
- Fat: 18
- Saturated Fat: 10
- Unsaturated Fat: 8
- Trans Fat: 0
- Carbohydrates: 45
- Fiber: 1
- Protein: 5
- Cholesterol: 90