
Oh, how I understand the craving! Sometimes you just want that rich, cool comfort of ice cream, but you don’t want the mountain of sugar that comes with it. That’s where my specialty comes in—taking classic comfort food and making it work for your goals. I’m Emily Harrison, and I founded Cookery Command because I believe you shouldn’t have to sacrifice flavor for fitness. With my background in nutrition and years in a test kitchen, I’ve cracked the code on truly satisfying protein ice cream.
Forget everything you think you know about healthy frozen treats. We aren’t messing around with gooey bananas here, and you absolutely do not need an expensive ice cream maker collecting dust in the cupboard. This recipe delivers that unbelievably creamy texture you crave, using just simple blending and freezer time. If you love easy protein hacks, you should definitely check out our thoughts on making easy no-bake protein balls too! Get ready to meet your guilt-free obsession.
- Why This No-Churn Protein Ice Cream is Your New Favorite Healthy Indulgence
- The Simple Ingredients for Perfect Protein Ice Cream
- Step-by-Step Instructions for Easy Protein Ice Cream
- Tips for the Best Homemade Protein Ice Cream Results
- Flavor Variations for Your High Protein Desserts
- Storing and Keeping Your Protein Ice Cream Fresh
- Understanding the Nutrition of This Low Sugar Ice Cream Recipe
- Frequently Asked Questions About Making Protein Ice Cream
- Share Your Creamy Protein Dessert Creations
Why This No-Churn Protein Ice Cream is Your New Favorite Healthy Indulgence
I’ve seen so many recipes online claiming to be “healthy ice cream,” but they usually involve an ice cream maker or that sneaky banana base. Nope! This recipe is for the practical cook who wants incredible results right now. It’s truly a healthy indulgence and manages to be one of the best low calorie frozen treats you’ll ever make.
- No churning required—just blend and freeze!
- Zero banana, so you get pure vanilla flavor, not fruit.
- Super high protein count to keep you satisfied.
Don’t forget to check out my trick for an easy ice cream pie with no-bake crust sometime!
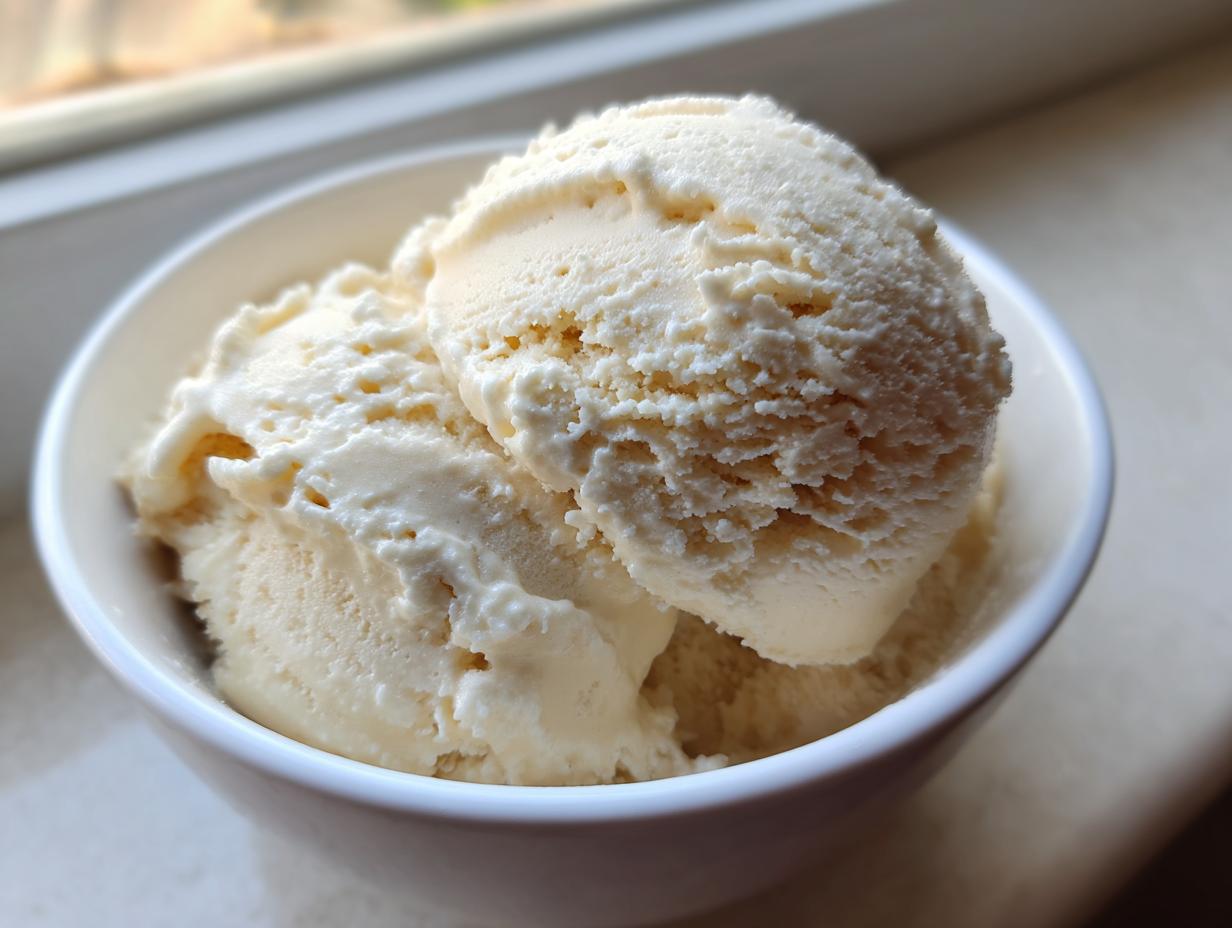
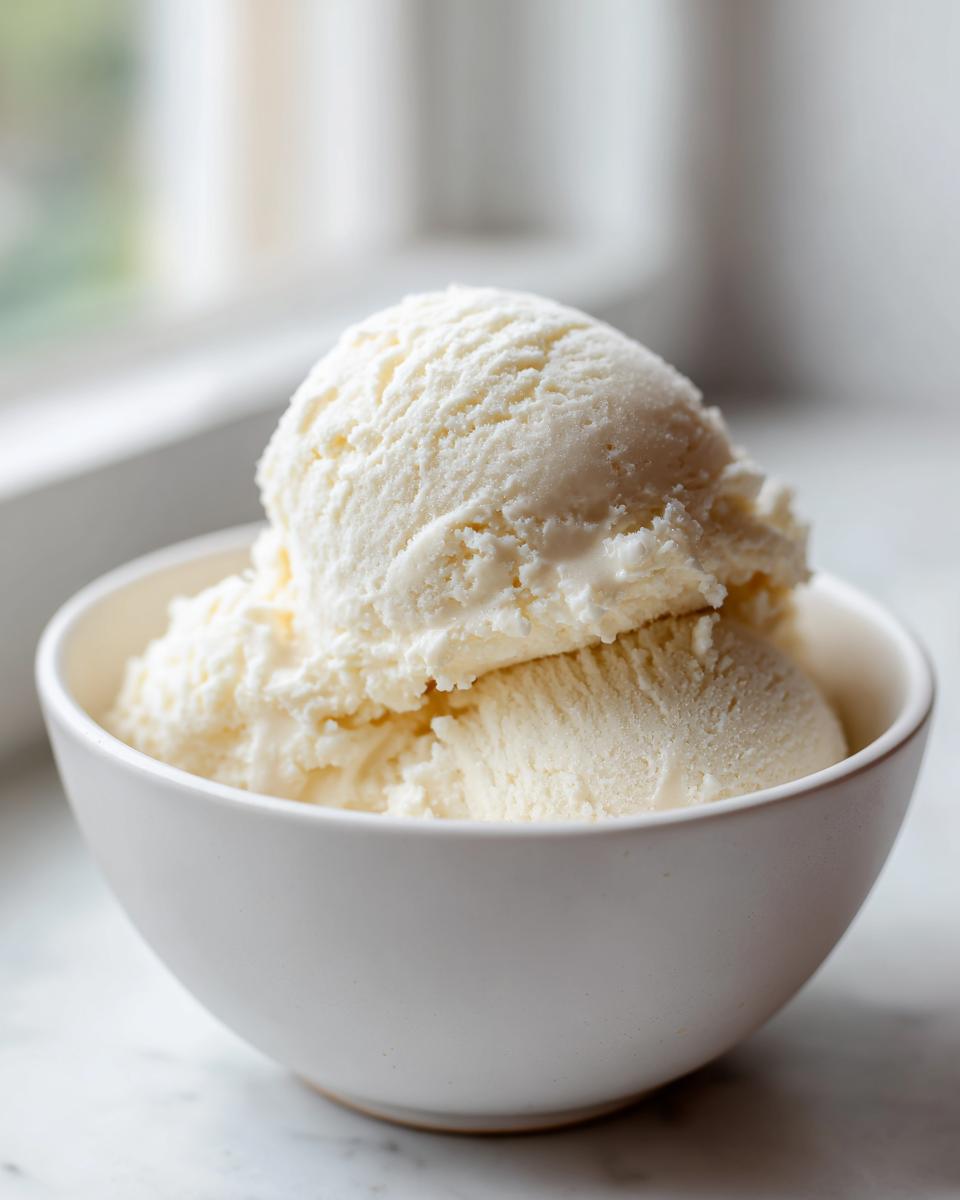
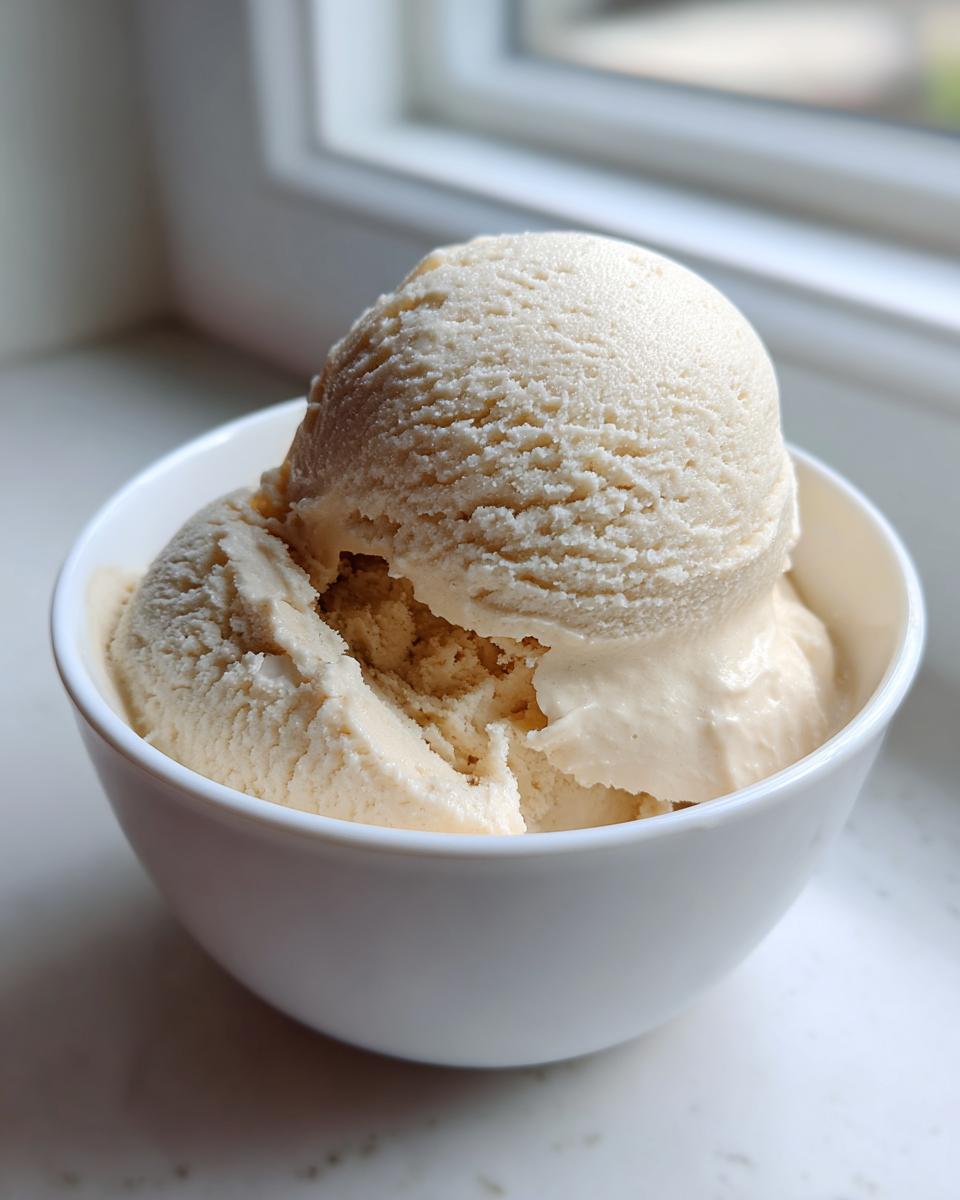
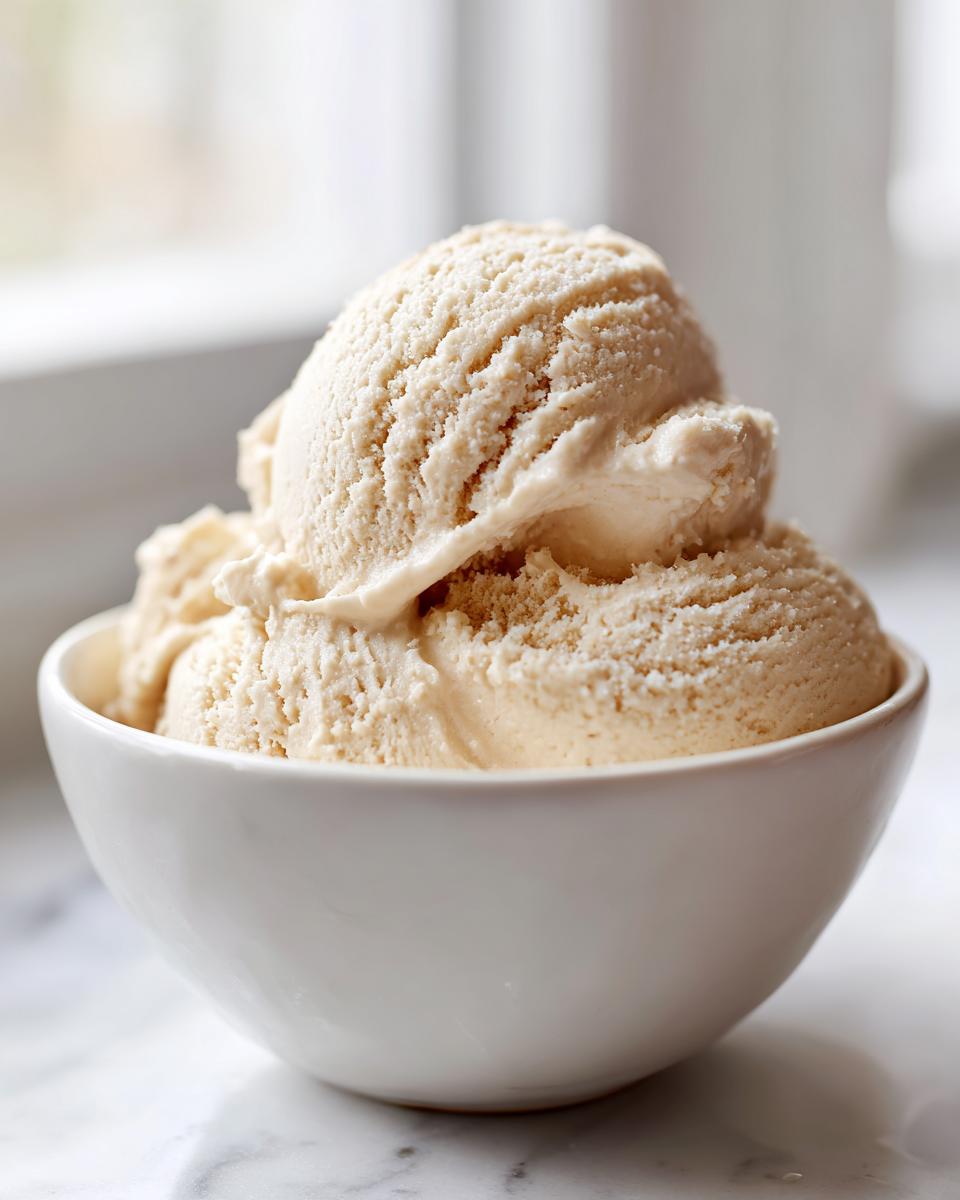
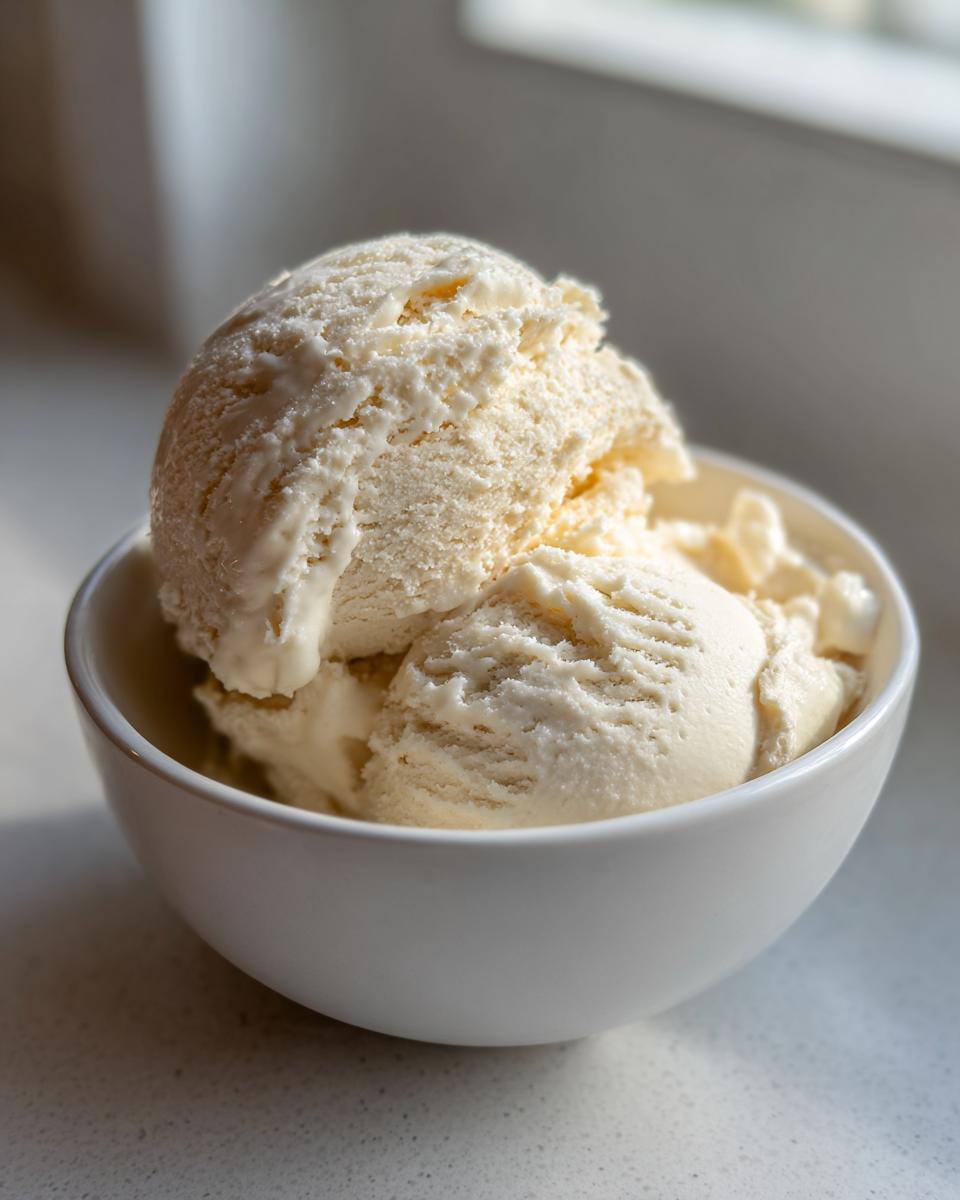
Achieving Creamy Protein Ice Cream Texture Without Churning
People always ask me how you get this so smooth without churning? It’s all about the base structure. We use thick Greek yogurt and protein powder together. The yogurt has just the right amount of body and fat to resist becoming rock-hard ice. When blended perfectly, this combination mimics the overrun you get from churning. It transforms into a wonderful, creamy protein dessert that holds its shape beautifully.
The Simple Ingredients for Perfect Protein Ice Cream
When you are aiming for a low sugar ice cream recipe, you need to be ruthless about what goes into it. The beauty of this easy protein dessert is its short ingredient list. I’ve pared this right down so you get maximum protein impact without any fillers or unnecessary junk hiding in there. I only use ingredients I know will give us that perfect scoopable texture.
Trust me, quality really does matter here, especially since there are so few components at play! We’re building flavor from the ground up.
Ingredient Specifications and Preparation Notes
Here is exactly what you need for four satisfying servings. Pay close attention to the yogurt choice; we are specifically using Greek yogurt here as a cottage cheese ice cream alternative because it blends much smoother for a non-churn application. If you prefer a thicker base, go with 2% fat, but 0% keeps those calories super low!
- We need exactly one cup of plain Greek yogurt.
- For the vanilla aspect, use one scoop—or about 30 grams—of your favorite vanilla protein powder. Since protein powders vary wildly in sweetness, taste your base before freezing!
- You’ll use unsweetened almond milk, just one cup, to help it blend.
- We add a pinch of salt and a teaspoon of vanilla to really wake up those vanilla notes.
Step-by-Step Instructions for Easy Protein Ice Cream
Now that you have your components ready, getting this protein ice cream into the final product is seriously fast. It’s almost like magic, but it’s really just good blending fundamentals. We are using the blender here to turn this liquid into a dense, scoopable dessert, so technique matters a little bit!
Remember that you can weave these simple steps into your routine. If you make the base when you’re prepping dinner, it will be perfectly frozen by the time dessert rolls around. And if you check out my guide to easy no-bake protein balls, you can have quick snacks and treats ready all week long!
Blending and Achieving the Smooth Base for Your Protein Ice Cream
Dump everything—milk, yogurt, powder, sweetener—right into your trusty blender. Now, blend it up, and don’t be shy! You need to keep going until it looks truly uniform. I always stop halfway just to scrape down the sides with a spatula. If you skip that, you end up with little pockets of unmixed powder lurking at the bottom, and nobody wants that grainy surprise. The goal is a perfectly smooth liquid base for your blender protein ice cream.
Freezing and Serving Your No Churn Protein Ice Cream
Pour that smooth base into a tight container—a shallow loaf pan works best for me because it freezes faster. Cover it tightly so no weird freezer smells get in there, and tuck it away for at least four to six hours. That’s the minimum wait time for success! Crucially, don’t try to scoop it straight from the deep freeze. For the absolute best experience when serving your no churn protein ice cream, pull it out about 10 to 15 minutes beforehand. That little bit of tempering time changes hard ice into perfectly creamy. You’ll thank me later!
Tips for the Best Homemade Protein Ice Cream Results
I always get questions about tweaking this foundation recipe, and that’s what I love—making it yours! Because protein powders fight their own little battles with sweetness and liquids, you have to be prepared to adjust things slightly based on what brand you grab. For instance, if your powder is already super sweet, you might need to cut back on the erythritol a bit. I learned early on that every kitchen needs that little bit of flexibility!
Also, if you find your mixture stiffens up a little too much after freezing—we’ve all been there with low-fat recipes—a dash more almond milk during the blending stage will loosen it right up. It’s about testing and tasting, just like I learned doing those initial explorations in the kitchen. It reminds me a bit of how I approach seasoning when I make easy honey butter skillet corn; you just have to know when it’s right!
Adapting Your Protein Ice Cream for the Ninja Creami
Okay, let’s talk about the gadget everyone seems to have now—the Ninja Creami. If you have one, this base recipe works like a dream, but you treat the freezing process differently! Instead of that loaf pan, you need to pour this liquid right into a standard Creami pint container. Freeze that whole pint solid overnight—we’re talking serious freezer time for this machine. Then, you process it according to your machine’s standard instructions, and boom! Instant, unbelievably creamy results.
Flavor Variations for Your High Protein Desserts
Since we started with that perfect, clean vanilla base, it’s just begging to be customized! This is where you can really turn this into the high protein desserts you dream about. It’s so easy to pivot into decadent flavors without adding much fuss or sugar. I see this vanilla base as my canvas for all sorts of fun experiments.
If you’re looking for something rich, just add a tablespoon or two of unsweetened cocoa powder right in the blender with the initial ingredients. Blend it well, and suddenly you have a fantastic chocolate base! For a salted caramel vibe, try swapping out half the vanilla extract for a high-quality caramel extract, and then drizzle a tiny bit of sugar-free caramel sauce on top right before that 10-minute soften time.
I also love stirring in some mini chocolate chips or crushed peppermint candies after it’s partially frozen if I’m feeling extra fancy. Remember, you can find a great recipe for chocolate peppermint cookies if you ever want a baked treat, but this ice cream is just faster!
If you are freezing this for the Ninja Creami, you can also follow the advice in some of those great Creami recipes out there for adding mix-ins after the first spin—genius!
Storing and Keeping Your Protein Ice Cream Fresh
Storing this protein ice cream is incredibly simple, which is a huge plus when you’re trying to keep healthy options on hand. The key is making sure it stays protected from those terrible freezer air currents that steal moisture! Always transfer the finished, fully frozen product into a truly airtight container. I mean *tightly* sealed—no flimsy foil tops here!
When you’re ready to dig in, remember the trick we talked about earlier. Because this is a lower-fat, low-sugar formula, it can freeze up harder than the stuff you buy at the store. It’s worth the tiny wait! Pull that container out about 10 to 15 minutes before you plan on scooping. This brief thaw brings back that dreamy, scoopable texture.
If you need more easy make-ahead tips for your kitchen game, you have to check out my secrets for easy appetizers and snacks that help manage your week!
Understanding the Nutrition of This Low Sugar Ice Cream Recipe
I know so many of you are tracking macros and watching sugar intake, so let’s look at why this low sugar ice cream recipe is such a winner. Per serving—and we’re talking a generous half-cup scoop—you’re only looking at about 110 calories! That’s a wonderful number for something that feels so decadent.
The best part? It packs a whopping 18 grams of protein, which is why this is such an amazing option for high protein desserts.
- Calories: 110
- Protein: 18g
- Sugar: Only 3g!
Now, a quick but important note: since everyone’s protein powder is different, 110 calories is just an estimate. If you use a heavily sweetened powder or add extra mix-ins later, those numbers will change! Always keep that in mind when you are calculating your totals.
Frequently Asked Questions About Making Protein Ice Cream
I get so many messages after people try out this recipe because they have questions about swapping ingredients or making it even simpler! That’s fantastic; it means you’re getting creative in the kitchen. I’ve pulled together the most common queries right here so you have all the troubleshooting tips you need when making these high protein desserts.
Can I substitute Greek yogurt with cottage cheese?
This is a big one! Many other makers prefer the boost you get from cottage cheese, but I strongly recommend sticking to Greek yogurt for this specific method. Cottage cheese pieces don’t blend as smoothly as yogurt, and without an ice cream maker, you risk crunchy or grainy spots. This recipe succeeds because the Greek yogurt offers a smooth, creamy foundation, avoiding that texture issue entirely. It’s truly the best cottage cheese ice cream alternative if you want a smooth, guilt free frozen yogurt vibe.
Is this truly a 3 ingredient protein dessert?
If you look online, you’ll see people claiming sensational titles like homemade protein ice cream (3 ingredients!). While you *can* technically make a paste using just powder, liquid, and maybe a banana or sweetener, you won’t get the texture we aim for here. My recipe needs at least five components (powder, milk, yogurt, salt, vanilla) to ensure it’s creamy and not icy. For the best creamy protein dessert that tastes fantastic, stick to the list!
Do I really need a full-power blender?
Yes, please use your best blender if you have one! This process falls under the Blender protein ice cream category for a reason. You are emulsifying a thick protein powder into a dense liquid base. If your blender struggles, you’ll end up with clumps and poor texture. If yours is weaker, blend in smaller batches or let the ingredients sit for five minutes after the first blend to let the powder hydrate before tackling that final smooth mix!
What if I don’t have any zero-calorie sweetener?
The sweetener isn’t just for sweetness; it helps keep the texture soft by interfering with ice crystal formation. If you skip it completely, your protein ice cream might freeze rock hard. If you’re avoiding erythritol or stevia, you can use a small amount of Monk fruit or even a tablespoon of maple syrup, although that will increase the sugar count slightly. If you have questions about specific substitutes, feel free to reach out on my contact page!
Share Your Creamy Protein Dessert Creations
I always love hearing how you’ve made this recipe your own! If you whipped up this vanilla base and turned it into a Salted Caramel dream, or maybe tried adding a swirl of peanut butter, please let the community know! Drop a comment below with your rating and any amazing flavor modifications you discovered. I always enjoy connecting with readers like you—it’s what makes Cookery Command feel like home. You can also learn more about our mission here at the Command Center!
PrintEasy High-Protein Vanilla Ice Cream (No Banana, No Ice Cream Maker)

Make creamy, high-protein ice cream at home without needing an ice cream maker or using banana. This recipe delivers a satisfying, low-sugar frozen treat.
- Prep Time: 5 min
- Cook Time: 0 min
- Total Time: 6 hours 5 min
- Yield: 4 servings 1x
- Category: Dessert
- Method: Freezing
- Cuisine: American
- Diet: Low Fat
Ingredients
- 1 cup unsweetened almond milk
- 1 cup plain Greek yogurt (0% or 2% fat)
- 1 scoop (approx. 30g) vanilla protein powder
- 1/4 cup erythritol or preferred low-calorie sweetener
- 1 teaspoon vanilla extract
- Pinch of salt
Instructions
- Combine the almond milk, Greek yogurt, vanilla protein powder, sweetener, vanilla extract, and salt in a blender.
- Blend the mixture until it is completely smooth and uniform. Scrape down the sides as needed.
- Pour the mixture into a freezer-safe container, such as a loaf pan or a shallow plastic container.
- Cover the container tightly with a lid or plastic wrap.
- Place the container in the freezer for at least 4 to 6 hours, or until firm.
- For the best texture, remove the container from the freezer 10 to 15 minutes before serving to allow it to soften slightly.
- Scoop and enjoy your healthy indulgence.
Notes
- For a richer texture, you can substitute half of the almond milk with a low-fat milk option.
- If you are using a Ninja Creami, freeze the base mixture in a Ninja Creami pint overnight, then process according to the machine’s instructions.
- Adjust the sweetener amount based on the sweetness of your specific protein powder.
Nutrition
- Serving Size: 1/2 cup
- Calories: 110
- Sugar: 3
- Sodium: 150
- Fat: 2
- Saturated Fat: 0.5
- Unsaturated Fat: 1.5
- Trans Fat: 0
- Carbohydrates: 8
- Fiber: 1
- Protein: 18
- Cholesterol: 10