
You know, sometimes I look at a stiff, traditional plated brunch and I think, “Where’s the fun in that?” We aren’t just eating to survive; we’re celebrating, mingling, and sharing moments! That’s why I am absolutely obsessed with ditching the white plates and jumping straight into the ultimate Breakfast grazing board. This isn’t just food; it’s an experience, designed to be visually stunning and put you firmly in command of your entertaining. Trust me, putting together a gorgeous brunch charcuterie board is way easier than you think, and it brings that confident, joyful atmosphere that my mother, Emily Harrison, always strived for in her own busy Midwestern kitchen. Check out all our best breakfast and brunch recipes for more inspiration. Get ready to make something everyone will want to photograph!
- Why This Breakfast Grazing Board Beats Plated Meals
- Essential Components for Your Breakfast Grazing Board
- Ingredient Clarity for the Perfect Breakfast Grazing Board
- Step-by-Step Assembly of Your Breakfast Platter
- Tips for Success Creating a Pancake Board
- Ingredient Substitutions for Your Breakfast Grazing Board
- Serving Suggestions for Your Brunch Charcuterie Board
- Storage and Reheating for Your Breakfast Grazing Board Components
- Frequently Asked Questions About the Breakfast Grazing Board
Why This Breakfast Grazing Board Beats Plated Meals
Honestly, why serve three separate dishes when you can serve one explosion of deliciousness? This style of hosting is completely taking over because it delivers big on visual impact without stressing you out. It’s the perfect answer to modern social eating formats where people want to graze and chat instead of sitting down rigidly.
- Total customization: Guests pick exactly what they want, meaning no food waste or picky eater drama!
- Built-in stunning visuals: Every component looks amazing arranged together.
- Less stress for you: You cook once, and the board does the serving.
Creating a Visually Stunning Breakfast Platter
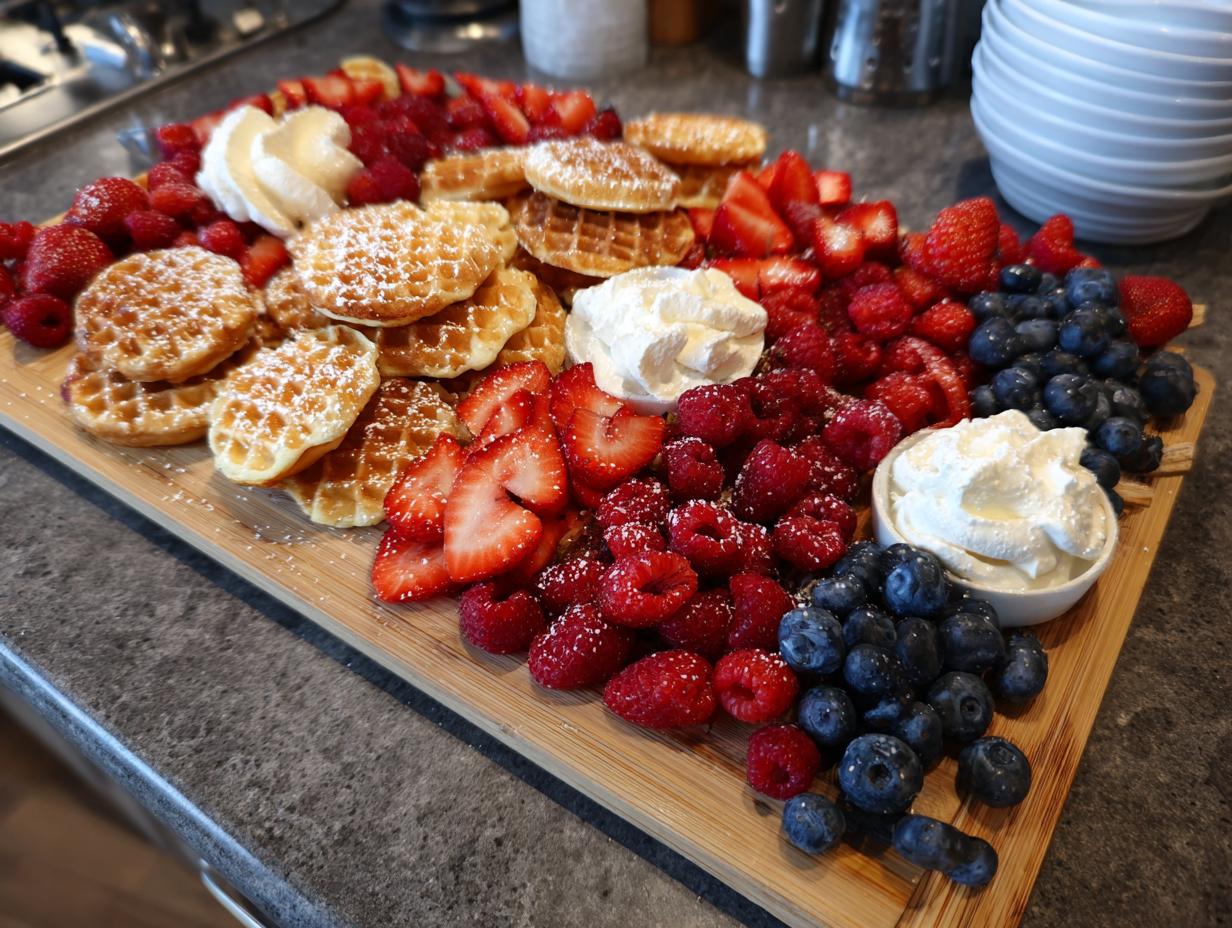
If you want that ‘wow’ factor for your next gathering—or just a great photo for social media—you have to focus on styling. We’re talking about high contrast here. Think vibrant berries next to fluffy white cream cheese. The goal is a truly professional food styling look that makes people lean in for a closer look before they even pick up a fork.
The Joy of Interactive Dining
I absolutely love plating food this way because it forces people to socialize! When I hosted my sister’s baby shower, everyone gathered around the table, pointing out the best waffle bites and debating dipping techniques. Building your own perfect bite from this breakfast platter is what makes it fun. It turns eating into an activity, and that’s just way better than everyone staring down at their own quiet plate.
Essential Components for Your Breakfast Grazing Board
To build a truly show-stopping spread that screams quality and confidence, you need to think in categories, just like we do with cheese and meat boards. When we talk about the ultimate Breakfast grazing board, we aren’t just throwing pancakes on a platter; we are curating an experience! Having these distinct groups of ingredients ensures every guest finds something they love, which is the key to successful easy brunch hosting. Follow my lead here, and you’ll elevate this from a simple breakfast setup to a centerpiece!
The Starches: Mini Pancakes and Waffle Bites
Forget big floppy flapjacks that get tough quickly. The secret weapon is size control here! We need mini pancakes and waffle bites. Why? Because they are incredibly easy to grab and fit artfully between the other elements on your board. Aim for uniformity; small, perfectly cooked circles and squares look miles better than a jumble of different shapes. They are the foundation of this whole arrangement.
Creamy Elements and Spreads for the Brunch Charcuterie Board
You simply cannot have texture without a rich, cool element to cut through the warmth of the starches. This is where the homemade cream cheese spread comes in. A dollop of that fluffy goodness right on the board offers a luxurious break from the sweet syrup dunking. It balances the density of the baked goods perfectly and looks so elevated on a wooden platter.
Fresh Fruit Variety and Color Pop
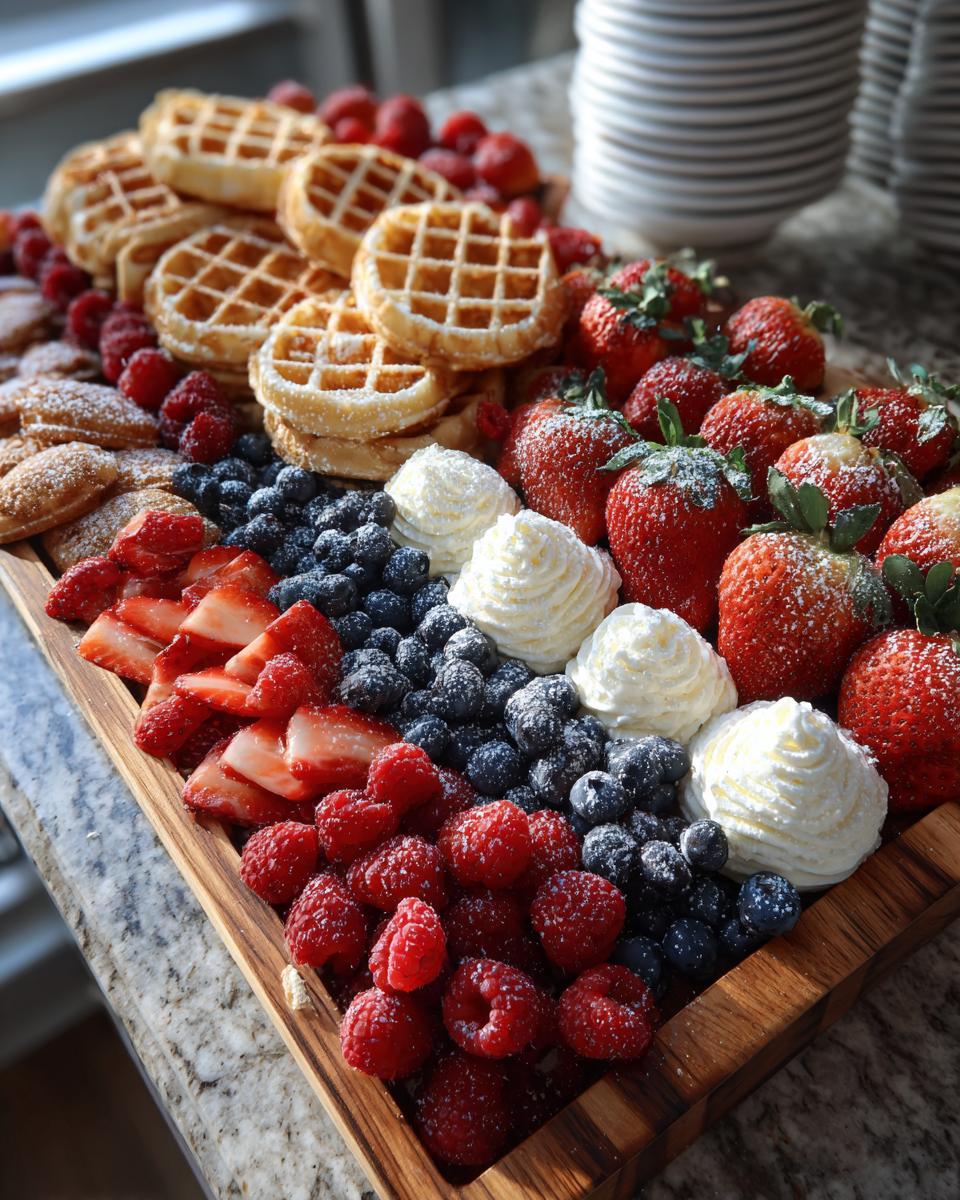
This is where the photography magic happens! We need high-quality, deeply colored berries. Think vibrant reds and blues. I always go heavy on raspberries, blueberries, and beautifully sliced strawberries. They add necessary freshness, acidity, and that brilliant pop of color that designers use for professional food styling. Don’t skimp on quality here; it shows!
Ingredient Clarity for the Perfect Breakfast Grazing Board
When you’re aiming for that high-end, styled look, the exact instruction for ingredients really matters. I’ve learned that cutting corners on preparation—like using hard cream cheese or dry berries—will ruin the texture and the visual appeal fast. This is where we build trust in the recipe because I’m telling you exactly how to prep things so they work together beautifully on your board. It’s all about the tiny details that separate a good brunch from an unforgettable one!
For the Mini Pancakes
You’ll need the basic dry ingredients: one cup of all-purpose flour, two tablespoons of sugar, two teaspoons of baking powder to give them a little lift, and half a teaspoon of salt. For the wet side, pay attention to this! You must use one large egg and exactly two tablespoons of melted butter, plus extra for the griddle. Remember, we cook them small, so don’t over-mix the batter! If you want some extra fluff, check out my guide on fluffy old-fashioned buttermilk pancakes for technique tips.
For the Cream Cheese Spread
This is the creamy anchor of your board, so texture is everything. You must start with 8 ounces of cream cheese that is completely softened—I mean barely firm to the touch! Beat that with a quarter cup of heavy cream to keep it light, and one teaspoon of vanilla extract for that classic aroma. Beat it until it’s truly smooth and fluffy; no one wants lumpy frosting on their breakfast board!
For Assembly and Toppings
This is the pop! For variety, grab one pint of fresh strawberries, and make sure they are sliced nicely. You also need one pint of fresh blueberries and one cup of raspberries. For the finishing touches that everyone dips into, keep a half cup of maple syrup ready, a quarter cup of powdered sugar for that snowy, professional food styling dust, and don’t forget the prepared waffle mix or bites!
Step-by-Step Assembly of Your Breakfast Platter
Okay, this is the grand finale where all your prep work comes together! Honestly, watching the components transform into a complete Breakfast grazing board is the most rewarding part of hosting. We are moving through this in three clear phases: cook everything, prepare your spread, and then style, style, style! We want that interactive dining situation set up perfectly so your guests can dive right in. Follow these steps exactly, and you’ll achieve that stunning look we talked about.
Preparing the Pancake Board Ideas Components
First, let’s tackle the heat. Make your mini pancakes by cooking small dollops of batter on a lightly buttered griddle. You want them tiny, remember! Keep them warm in a low oven while you work on the waffle bites. If you’re using pre-made, just warm them up briefly. The key here is that everything needs to be ready to go when you start arranging. While that’s happening, get your waffle iron going to whip up those small waffle bites. Don’t worry if you’re new to this; even a basic batter sings with the right technique. If you want to deepen your pancake skills, check out my guide on fluffy old-fashioned buttermilk pancakes for technique tips.
Crafting the Cream Cheese Base
Next up is the creamy anchor. Take that softened cream cheese—remember it has to be soft!—and beat it like you mean it with the heavy cream and vanilla extract. You are looking for something incredibly smooth and fluffy; we aren’t looking for resistance here, we want air! This spread needs to mound nicely when you place it on the board.
Styling the Ultimate Breakfast Grazing Board
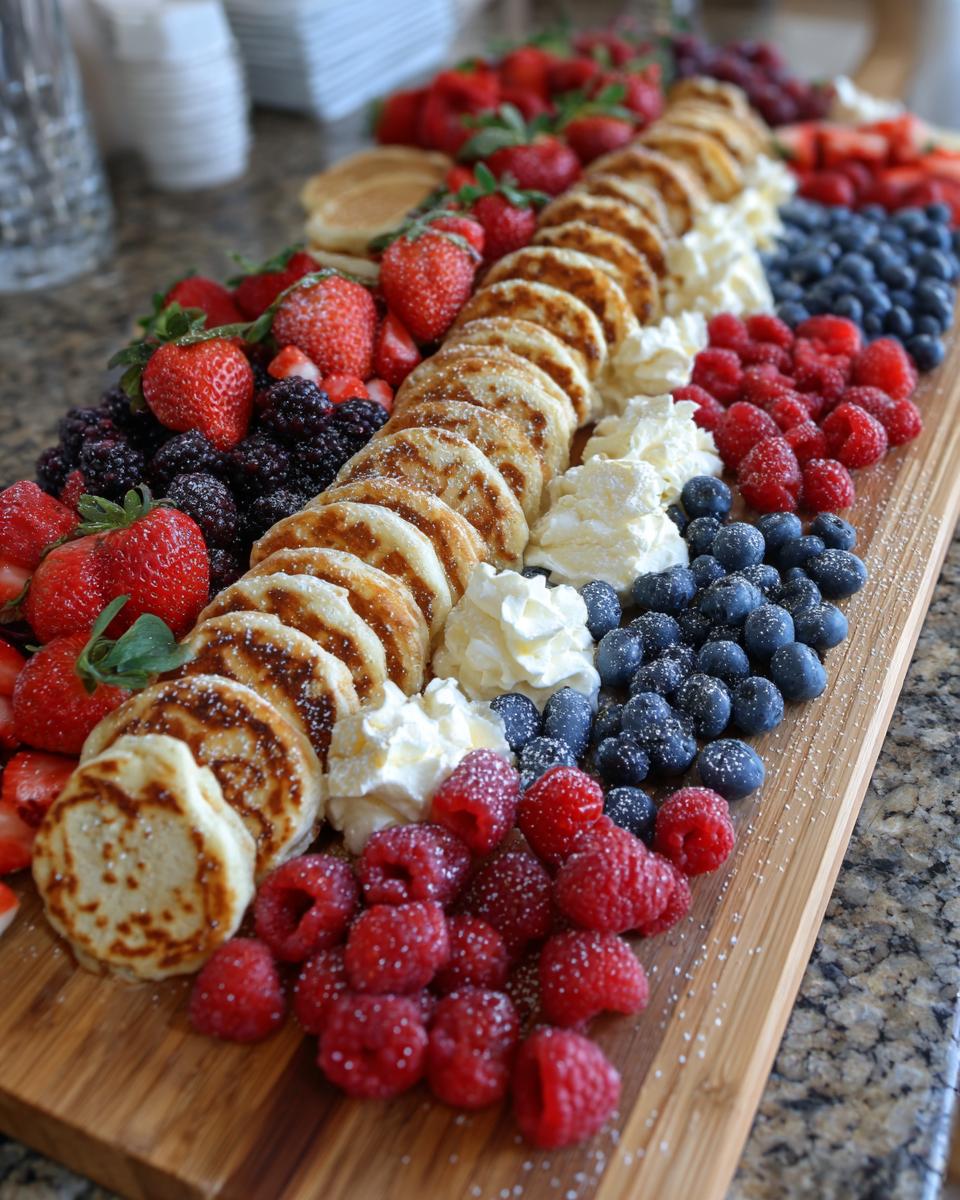
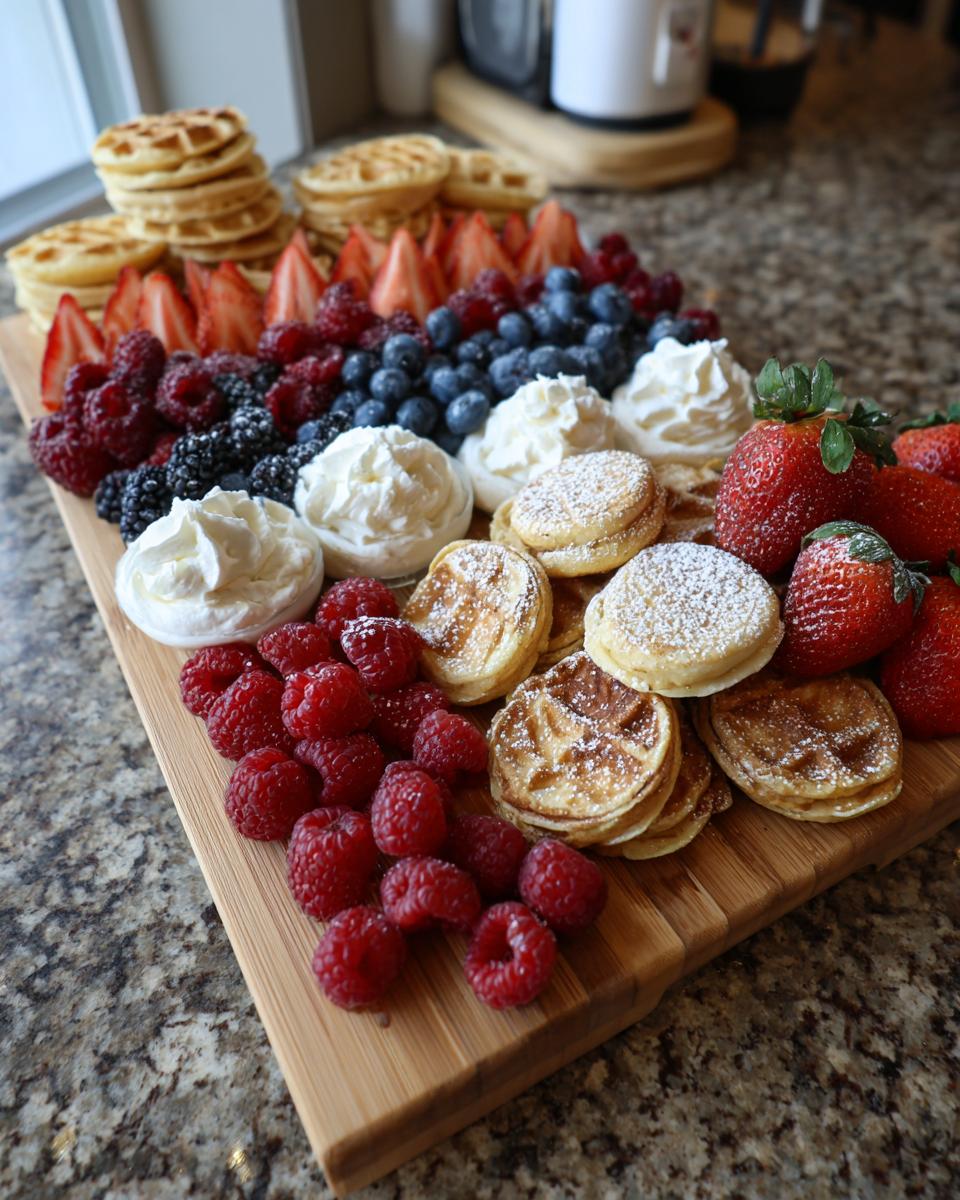
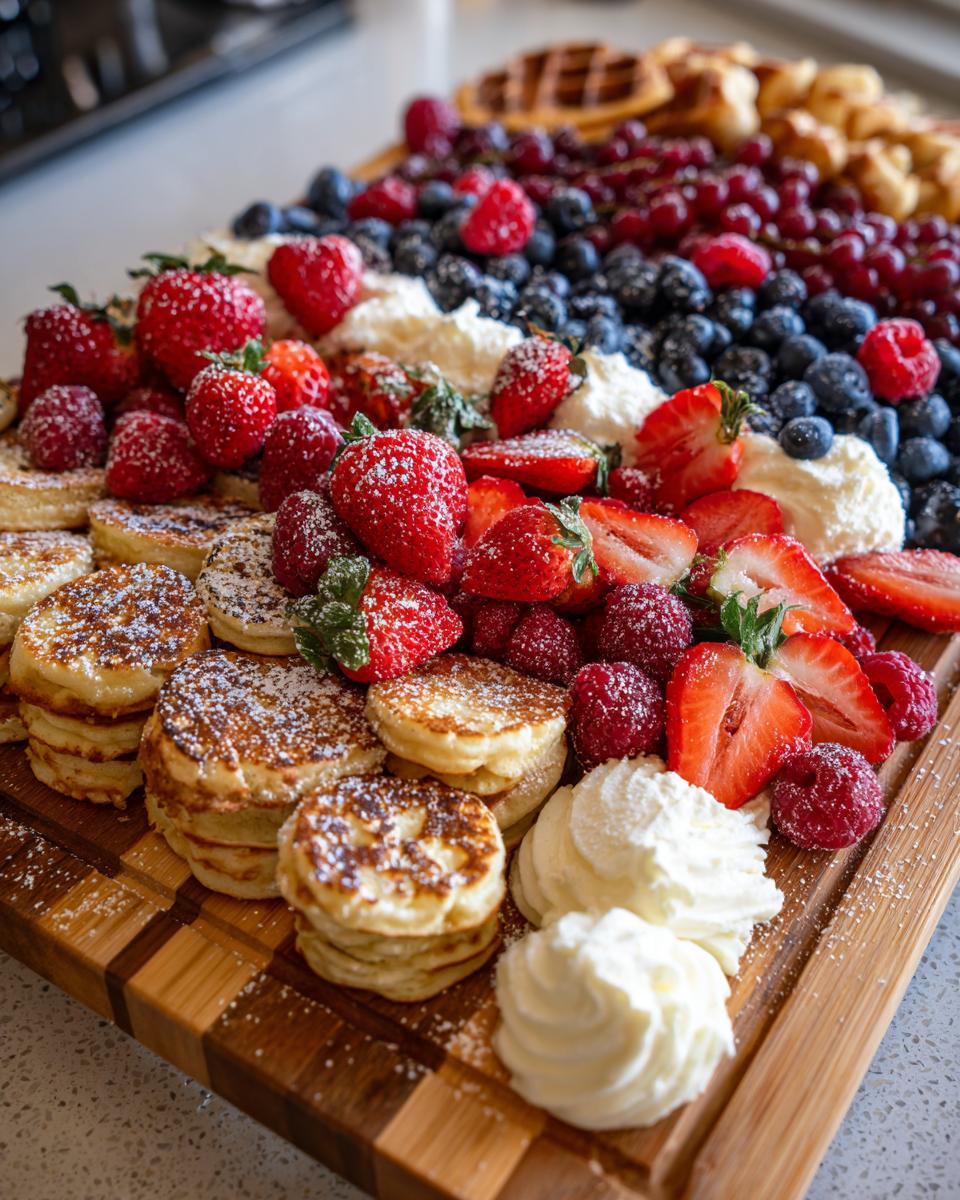
Now for the fun part, the professional food styling! Grab your largest wooden board. Start by placing your small bowls for the maple syrup and powdered sugar right where you want them—these act as anchors. Next, artfully pile the warm mini pancakes and waffle bites in large, slightly overlapping clusters. Then, take your sliced strawberries, blueberries, and raspberries and scatter them generously *around* the starches, letting them spill into the empty spaces. Finally, dollop or pipe that gorgeous cream cheese spread onto the board for contrast, and finish the whole masterpiece with a very light, airy dusting of powdered sugar over everything. Done! It’s ready for its close-up!
Tips for Success Creating a Pancake Board
Look, I’m all about making hosting easy and joyful, but that doesn’t mean we skip the professional touches! Getting this Breakfast grazing board right comes down to two things: presentation and temperature control. If you follow these tips, you’ll look like you spent hours curating this spread when, really, you were just smart about the execution. These little tricks I picked up from Emily Harrison’s playbook are what separate a cute brunch from one that everyone rushes to photograph. And hey, if you need more hosting guidance, check out my best tips for easy brunch hosting!
Achieving Professional Food Styling
The visual appeal is huge here, right? People eat with their eyes first, especially with these social eating formats. My absolute favorite trick, which is noted in my initial prep guide, is grouping your colors. Don’t just mix the red, blue, and white all over the place! Put your strawberries together in one section, your blueberries in another, and let the contrasting colors meet at the edges. Also, and this is a lifesaver for easy brunch hosting, line your board with parchment paper first! It protects your beautiful wood and means cleanup takes literally thirty seconds. Boom.
Timing for Warmth and Freshness
Nothing is sadder than a cold mini pancake. When you’re figuring out your strategy for easy brunch hosting, remember this: prep all your batters the night before, but do *not* cook them until your guests are about fifteen minutes away. Cooking them fresh right before serving is essential for that perfect warmth. Since you are cooking them quite small—tiny dollops for pancakes and small squares for waffles—they cook super fast anyway! Once they are done, you can pop them onto the board immediately while they are still steaming lightly. That little bit of warmth interacting with the cool cream cheese is just heavenly.
Ingredient Substitutions for Your Breakfast Grazing Board
I absolutely believe every recipe should flex to fit your pantry and your guests! When I’m putting together one of these spreads, I always have a few swaps in mind just in case someone says they can’t eat dairy or they’re trying gluten-free. Look, we want everyone gathered around sharing, right? Complicating things with substitutions just adds stress, which is the opposite of what Cookery Command is about. So, here are the swaps I trust most to keep your breakfast platter looking perfect without sacrificing that homemade quality.
Swapping Pancake and Waffle Bases
If you’re out of pancake mix or someone needs a different texture, don’t panic! You can absolutely use a good quality gluten-free flour blend in place of the all-purpose flour; just know you might need an extra splash of milk since GF flours can be thirstier. Another fun idea—and this really changes the game—is using thick slices of French toast instead of your mini pancakes. Cut them into cute little triangles or cubes! It still gives you that yummy, bread-like starch component that needs dipping, and everyone loves French toast, right?
Dairy-Free and Vegan Adjustments
This is probably the most common adjustment people ask about, especially when making a big breakfast platter for a crowd. To make these vegan-friendly, swap your cow’s milk for unsweetened soy or oat milk; oat milk gives the best richness, honestly. Instead of butter, use a high-quality vegan butter substitute that melts the same way. The trickiest part is usually that cream cheese spread. You can buy pre-made vegan cream cheese, but make sure you beat it aggressively with vegan heavy whipping cream or full-fat coconut cream (from a can!) to get it light and fluffy. Skip the egg in the pancake batter if you want to keep it strictly vegan, or use a flax egg replacement!
Serving Suggestions for Your Brunch Charcuterie Board
You’ve got the starches, you’ve got the fruit, and you’ve styled that board until it looks like it belongs in a magazine—but what about the drinks? A great spread deserves fantastic beverages to go alongside it! When you’re aiming for easy brunch hosting, you want drinks that are mostly batch-friendly, meaning you make a big pitcher and let everyone serve themselves. This keeps you away from the stove and mixers while your guests are enjoying the interactive dining experience you created.
Beverage Pairings
First things first: coffee. You absolutely need a fresh pot brewing, maybe even offer a nice cold brew option if it’s summer! For something lighter, I always lean into something slightly tart to balance out all that syrup and sugar. My favorite thing to make is a big batch of homemade pink lemonade—it’s bright, super refreshing, and looks amazing sitting next to the berries on the table. You can find my favorite recipe for pink lemonade recipe from scratch if you want to try it. Beyond that, a simple pitcher of sparkling water with sliced citrus rounds (oranges work great!) always feels elevated and keeps things light!
Storage and Reheating for Your Breakfast Grazing Board Components
Listen, I know you probably won’t have many leftovers because everyone devours these boards, but life happens! If you’re prepping for a big weekend or just trying to save some amazing pancake bites for weekday breakfasts, you need to store things correctly. You can’t just throw the whole beautiful board in the fridge, right? We need to separate the components so that nothing gets soggy or smells like berries when you reheat it later. Keeping things separate is the secret to making sure your leftovers taste almost as good as the original spread!
Storing Cooked Items
The pancakes and waffle bites are durable, but they still need proper handling. Once they are completely cool—and I mean totally cool, or they’ll steam themselves into mush—stack them paper-towel separated inside an airtight container. They should last great in the fridge for about three days. If you’re worried they’ll dry out, you can just put a tiny dollop of butter on top of the stack before sealing the container! Seriously, do that.
Now, the cream cheese spread is a different story. That beautiful, fluffy spread needs its own sealed container, too. Since it has cream and cream cheese, keep it chilled immediately. It should keep nicely for about a week. You absolutely should NOT try to reheat this! It goes straight from the fridge onto the board—it’s designed to be that cool, creamy contrast to the warm starches anyway.
When you’re ready to enjoy your leftovers, take the pancakes and waffles out about an hour before you plan to eat them to take the chill off. If you want them warm, just microwave them in 15-second bursts between two paper towels. They’ll be perfect for an easy, stress-free breakfast later!
Frequently Asked Questions About the Breakfast Grazing Board
I always get nervous when I host, wondering if I’ve covered all my bases! Since this style of serving is newer for a lot of people, you naturally have questions. Don’t worry, that’s half the reason I’m here—to give you the confidence to throw the best party without the headache. Tackling these questions beforehand makes easy brunch hosting a breeze!
How far ahead can I prep items for my brunch charcuterie board?
That’s the million-dollar question for any host! You can absolutely make the batter for the pancakes and waffles the night before and keep them covered in the fridge. You can also make the cream cheese spread the day before. However, for the best results on your brunch charcuterie board, you must cook the starches right before serving so they are warm. Assembly should happen no more than 30 minutes before company arrives, otherwise, the fruit starts to weep a little.
Can I make this a savory breakfast platter instead?
Oh, yes! If you want to balance out all that sweetness, treat your breakfast platter just like a traditional charcuterie board. I would absolutely add small piles of crispy bacon, some perfectly cooked, miniature sausage links, or maybe even some shredded cheddar that you toss under the broiler for a minute to get it just melting on the edges. Balance is key!
What size board do I need for 6 servings?
Since this recipe is designed to yield about six good servings, you really want to lean towards a larger canvas. I recommend a board that is at least 18 inches long. If you go any smaller, the items look too crowded, and you lose that beautiful, abundant look essential for professional food styling. If you’re worried about running out of space, check out my guide on easy appetizers and snacks for supplemental dishes!
PrintThe Ultimate Breakfast Grazing Board for Social Eating

Create a visually stunning and customizable brunch charcuterie board featuring mini pancakes and waffles for interactive dining.
- Prep Time: 25 min
- Cook Time: 20 min
- Total Time: 45 min
- Yield: 6 servings 1x
- Category: Breakfast
- Method: Griddling
- Cuisine: American
- Diet: Vegetarian
Ingredients
- 1 cup all-purpose flour
- 2 tablespoons sugar
- 2 teaspoons baking powder
- 1/2 teaspoon salt
- 1 1/4 cups milk
- 1 large egg
- 2 tablespoons melted butter, plus more for cooking
- 1 cup waffle mix (prepared according to package directions)
- 1 pint fresh strawberries, sliced
- 1 pint fresh blueberries
- 1 cup raspberries
- 1/2 cup maple syrup
- 1/4 cup powdered sugar
- 8 ounces cream cheese, softened
- 1/4 cup heavy cream
- 1 teaspoon vanilla extract
Instructions
- Prepare the mini pancakes: Whisk together flour, sugar, baking powder, and salt in a bowl. In a separate bowl, whisk milk, egg, and melted butter. Combine wet and dry ingredients; mix until just combined. Cook small dollops of batter on a lightly buttered griddle to form mini pancakes. Keep warm.
- Prepare the waffle bites: Cook small amounts of waffle batter on a waffle iron or use pre-made mini waffles. Keep warm.
- Make the cream cheese spread: Beat softened cream cheese, heavy cream, and vanilla extract until smooth and fluffy.
- Assemble the board: Select a large wooden board or platter for your breakfast platter. Start by placing small bowls for maple syrup and powdered sugar.
- Arrange the main items: Place piles of mini pancakes and waffle bites artfully on the board.
- Add fruit variety: Scatter sliced strawberries, blueberries, and raspberries around the pancakes and waffles.
- Place the spread: Dollop or pipe the cream cheese spread onto the board in an appealing spot.
- Garnish: Dust the entire board lightly with powdered sugar for a professional food styling finish.
- Serve immediately for interactive dining.
Notes
- For easy cleanup, line your board with parchment paper before arranging ingredients.
- To achieve a ‘Visually Stunning’ look, group similar colors together before scattering contrasting colors around them.
- Prepare all batters ahead of time and cook just before serving to maintain warmth.
Nutrition
- Serving Size: 1 serving
- Calories: 450
- Sugar: 35
- Sodium: 350
- Fat: 22
- Saturated Fat: 12
- Unsaturated Fat: 10
- Trans Fat: 0
- Carbohydrates: 55
- Fiber: 3
- Protein: 10
- Cholesterol: 80