

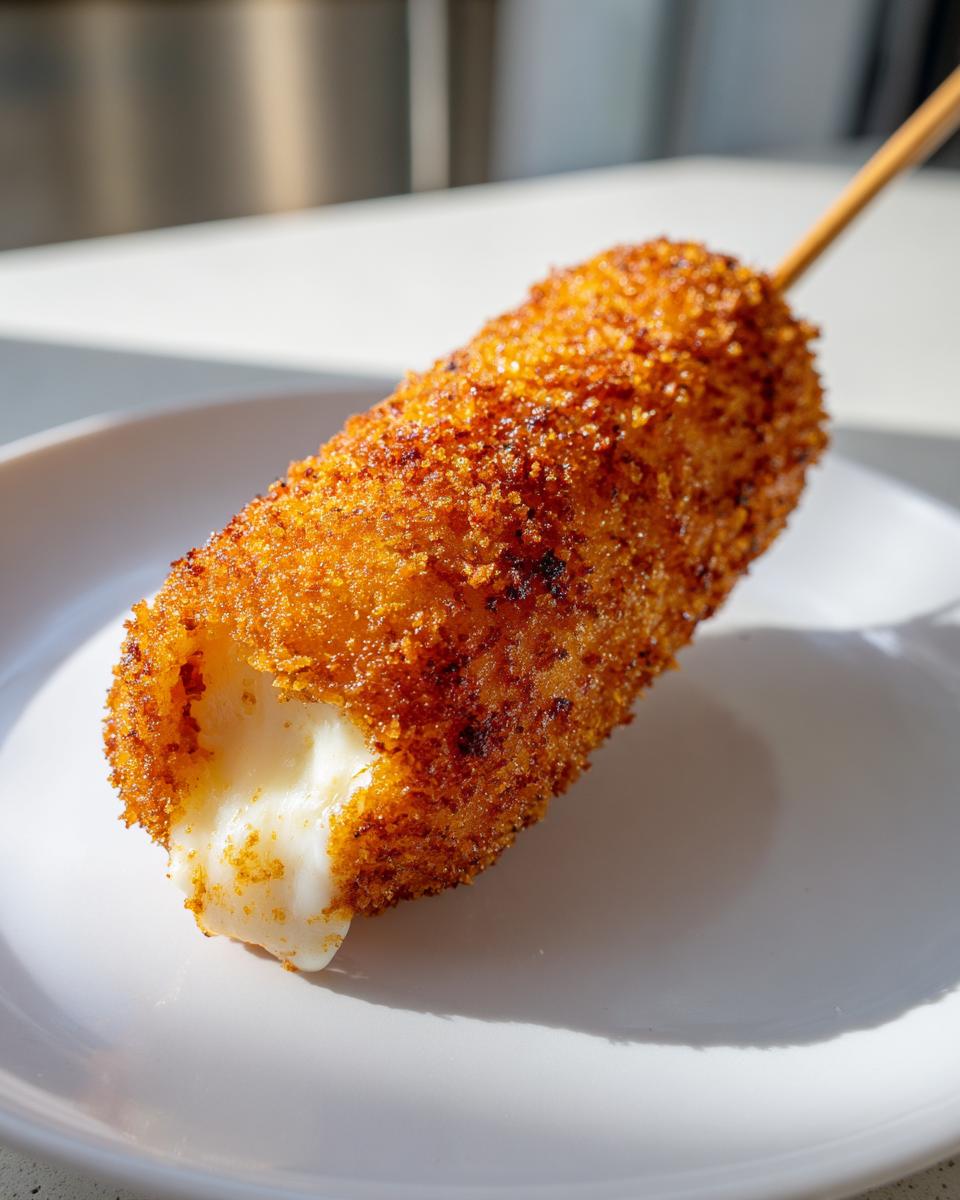
If you’ve been scrolling through social media lately, you’ve seen them—those unbelievably long, stretchy cheese pulls coming off golden, crispy sticks. We’re talking about the korean corn dog, and trust me, they look complicated, but they are pure fun to make right here in your kitchen. My family heritage taught me that technique, not complicated tools, is the secret to great fried snacks. That’s why I developed this guide showing you exactly how to master the ultimate gooey cheese pull and master the dual crust options—that fluffy panko coating or the amazing potato crust.
- Why You Will Master the Viral Korean Corn Dog Recipe
- Essential Ingredients for Your Homemade Korean Corn Dog Recipe
- Step-by-Step Viral Corn Dog Recipe Steps for Perfect Results
- Pro Tips for the Ultimate Korean Corn Dog Cheese Pull
- Finishing Touches: Authentic Korean Corn Dog Toppings and Serving
- Making Korean Street Food Snacks Ahead of Time
- Frequently Asked Questions About the Easy Cheesy Corn Dogs
- Estimated Nutritional Snapshot for This Korean Corn Dog Recipe
- Share Your Korean Food at Home Creations
Why You Will Master the Viral Korean Corn Dog Recipe
- You get that incredible shatteringly crisp texture that makes these so viral.
- It’s shockingly easy when you follow the chilling steps I lay out.
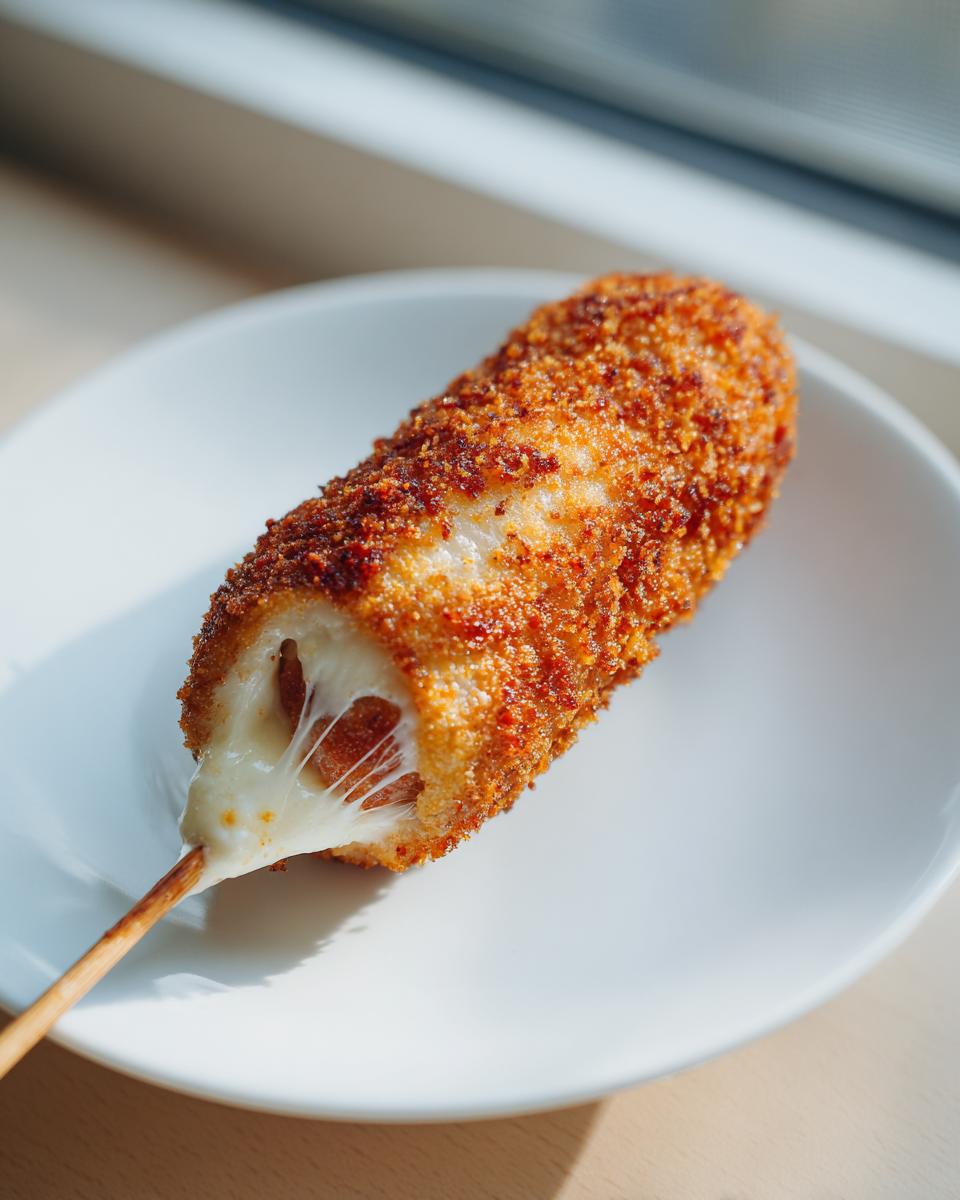
- Guaranteed gooey mozzarella center every single time—yes, that famous cheese pull awaits!
Achieving the Signature Crunch and Cheese Pull
Listen, the crunch is non-negotiable! The trick isn’t just in the yeasted batter, though that helps. It’s about chilling the coated dog thoroughly before it even thinks about hitting the oil. That 30-minute freeze locks everything tight, ensuring that when you pull it out of the fryer, you get maximum audible crunch and the best cheese stretch possible. Don’t skip that mandatory chill time!
Customizable Crust Options: Panko vs. Potato
This recipe covers both trending styles! You can go for the classic, airy crunch of Panko breadcrumbs, or you can take on the much-loved *Gamja Hotdog* style by coating them in tiny frozen french fries. Both yield phenomenal results, giving you control over your final texture for these easy cheesy corn dogs.
Essential Ingredients for Your Homemade Korean Corn Dog Recipe
Okay, friend, the ingredients list looks long, but don’t panic! I’ve broken it down because every component here plays a huge role in achieving that perfect street-food texture we’re aiming for. We need structure, we need yeast lift, and we need moisture for that famous chew. When you measure carefully here, I promise success is practically built into the batter.
Batter Components and Yeast Activation Details
The yeast is key; it gives this batter that slight tang and airiness you don’t get in a standard deep-fried treat. You’ll activate it in warm water—and I mean truly warm, not scorching hot—with just a touch of sugar. Let it foam up for about 5 to 10 minutes; that’s your first sign the magic is starting! For the flour, you need both all-purpose and sweet rice flour. If you skip the rice flour, you get a regular corn dog; the rice flour is what gives that phenomenal, satisfying chewiness that defines an authentic Korean corn dog.
Choosing the Right Hot Dogs and Cheese for the Mozzarella Corn Dog Recipe
For the filling, I’m using a mix of hot dogs and low-moisture mozzarella sticks. If you use the fresh, watery kind of mozzarella, watch out—it sweats too much during frying and can ruin your beautiful crust! Cut both your cheese and hot dogs into uniform pieces so they cook evenly on the skewer. If you’re doing the half-and-half style, alternate one piece of cheese, then one hot dog, repeating until the stick is loaded. Remember to pat everything super dry before dipping next!
Step-by-Step Viral Corn Dog Recipe Steps for Perfect Results
This is where the fun really starts, but stick close to the timing, okay? Getting this timing right separates a good Korean corn dog from the kind that goes viral because it just shatters when you bite it. When you are dealing with deep-frying, technique is everything, and I rely on the same precision I use for my other crispy fried snacks.
Preparing the Batter and Setting Up the Korean Corn Dog Station
Once your yeast is foamy—which tells us it’s active and working hard—you whisk it into your flours, baking powder, and salt. You are looking for a wet, thick batter, almost like a thick pancake mix. If it looks runny, you’ve gone too far! Once everything is incorporated, cover that bowl up and let it rest somewhere warm for a full hour. That rise time is essential for the texture—don’t rush it! While it rests, assemble your skewers. Remember to pat that cheese and sausage dry first; moisture is the enemy of a crispy crust!
Coating Technique: Mastering the Panko Coated Corn Dogs and Potato Crust
After the batter rests, it’s coating time. Dip that dog or cheese stick completely under the batter, let the excess drip off for just a second, and then you move fast! You roll it firmly in the Panko or the frozen fries if you chose the potato crust. You need to press lightly so the coating really sticks to that slippery batter. Now, hear me out: You must chill these! Pop the coated items onto parchment paper and stick them in the freezer for at least 30 minutes. This sets the crust so it doesn’t fall off in the hot oil—it’s a lifesaver!
Deep Frying the Crispy Fried Snacks to Golden Perfection
Frying is crucial, and you cannot eyeball this temperature. You absolutely need a reliable thermometer aimed right at 350°F (175°C). If the oil is too cool, the batter sponges up grease. If it’s too hot, the outside burns before the cheese melts! Carefully lower just two or three dogs into the oil at a time; we don’t want the oil temperature to drop drastically. Keep turning them gently until they are beautifully golden brown and look unbelievably crisp, which should take about 3 to 4 minutes. Pull them out immediately and let them drain thoroughly on a wire rack.
Pro Tips for the Ultimate Korean Corn Dog Cheese Pull
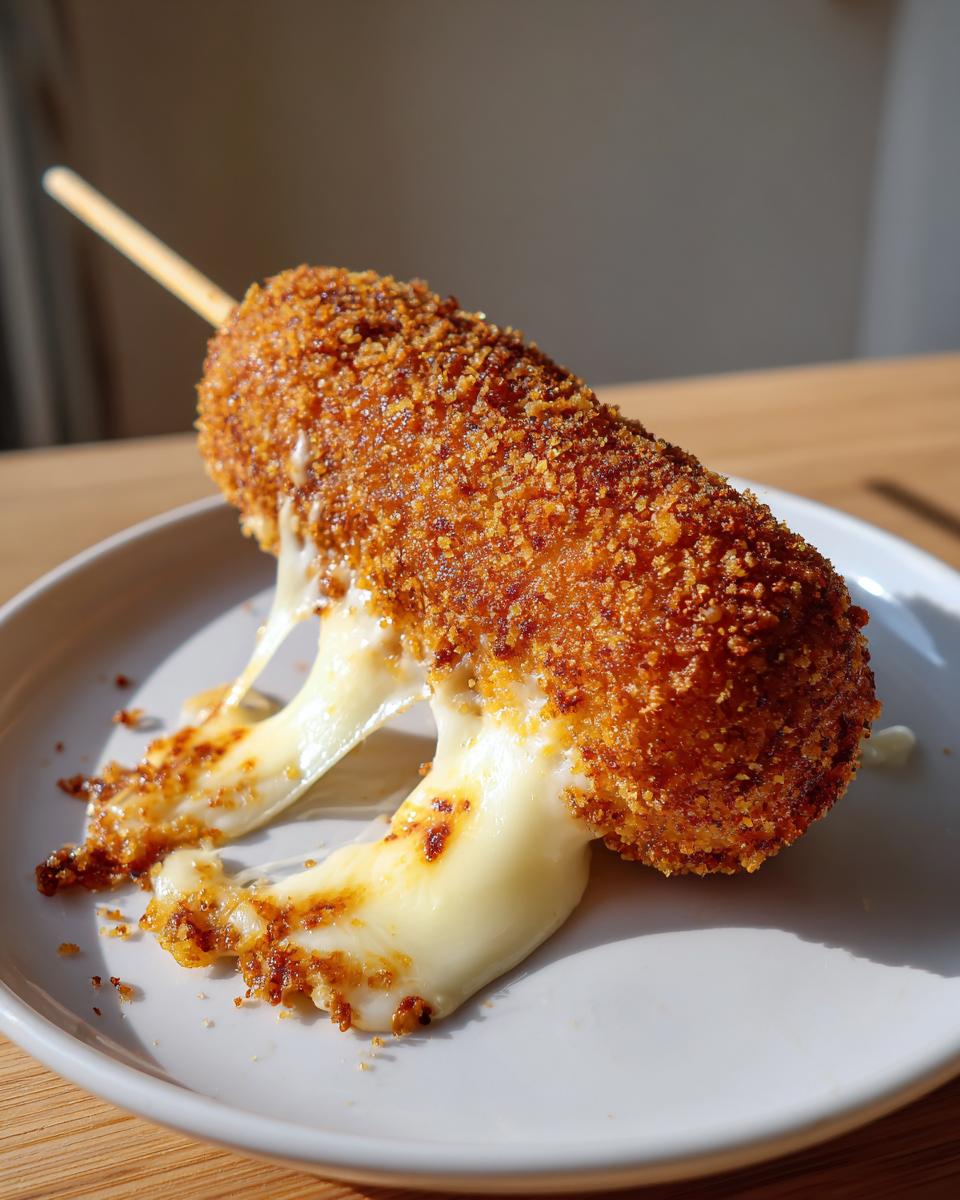
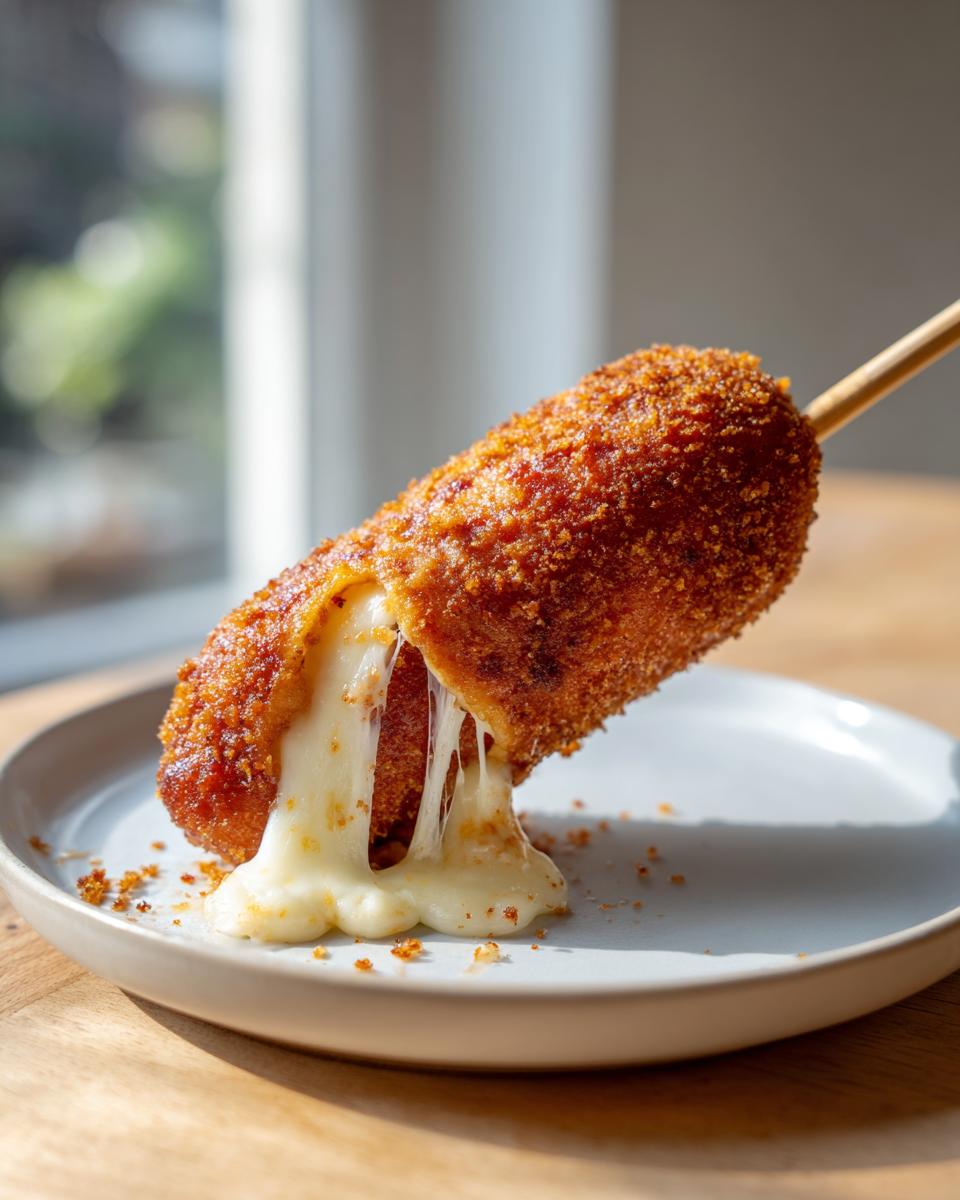
We all want that amazing, gravity-defying stretch when we bite into these, right? That glorious “cheese pull” is the signature move of a perfect korean corn dog, and it all comes down to preparation. Like I mentioned over in the ingredients list, always grab that low-moisture mozzarella.
Why? Because high-moisture cheese releases too much water when it hits the hot oil, and that steam can actually lift your crust right off the dog! Also, ensure your cheese pieces are pressed firmly against the hot dog pieces on the skewer when you assemble them. If there are gaps, the cheese expands unevenly during frying, and you might end up with a messy drip instead of a clean, long pull. Trust me, these small details elevate you from a home cook to a street food master! You can read a bit more about texture over at Eric Tries It, too.
Finishing Touches: Authentic Korean Corn Dog Toppings and Serving
We are almost there! Frying is done, the crust is golden, but these aren’t complete until they get their signature sweet and savory finish. As soon as those dogs come out of the oil and are draining, you need to immediately roll them generously in granulated sugar. Don’t wait for them to cool down! The hot, slightly oily surface grabs onto the sugar perfectly, creating that addictive savory sweet corn dogs flavor profile everyone raves about.
Once sugared, just line them up! The classic combination of ketchup and mustard is always perfect. If you want to jazz things up a bit—maybe you’re having a party—try drizzling them with a creamy sauce. I love making my easy creamy homemade tartar sauce to cut through the richness, but even a simple Sriracha mayo works wonders here!
Making Korean Street Food Snacks Ahead of Time
I know life gets busy, especially when you’re planning a party or hosting game night. Good news! You can totally prep these korean street food snacks ahead of time without sacrificing that crunchy texture. The key is stopping the process right before frying.
Once you have fully coated your dogs—whether you used Panko or those adorable little frozen fries—place them on parchment paper and stick them straight into the freezer. They need a solid few hours, or even overnight, until they are rock solid. That freezing step is part of my method for a reason; it locks that crust in place before the hot oil hits.
When you’re ready to serve, you *don’t* need to thaw them! Just pull those frozen dogs out and carefully lower them into your 350°F oil. You’ll just need to add an extra minute or two to the frying time until they are deeply golden brown. If you have leftovers that you already fried, don’t store them in a sealed container! They get soggy fast. Store them uncovered on a rack at room temperature for a few hours, or reheat them quickly in an air fryer for about five minutes to crisp them back up. Speaking of making things ahead, you might want to check out my recipe for easy bean salad for a great side!
Frequently Asked Questions About the Easy Cheesy Corn Dogs
I totally get it; sometimes you need a quick tweak to fit what you have on hand, or maybe you’re trying to cut down on the frying! People ask me questions all the time when they try this recipe for the first time, especially about substitutions and avoiding the deep fryer. Never feel like you can’t adapt a recipe—we just have to know what changes the texture will bring.
Can I bake or air fry the korean corn dog instead of deep frying?
You absolutely *can* try to bake or air fry these, but I have to be honest with you: you will lose that signature shatteringly crisp coating that makes these easy cheesy corn dogs famous! Deep frying is what locks in the moisture while instantly crisping the crust. If you must use an air fryer, you’ll need to spray the coated dogs generously with oil and cook them at a high heat, maybe 380°F, turning halfway until they register golden brown. It’ll be a different kind of crunch, but still tasty!
What is the best substitute for sweet rice flour in this best corn dog batter recipe?
This is a common question for those trying to make the best corn dog batter recipe without a trip to the Asian grocery store! The sweet rice flour is what gives that famous chewy texture. If you absolutely cannot find it, just substitute it cup-for-cup with more all-purpose flour. That’s my note from the recipe card—it will yield a batter much closer to a standard American corn dog; it won’t be quite as delightfully stretchy and chewy, but it will still work wonderfully.
Estimated Nutritional Snapshot for This Korean Corn Dog Recipe
Okay, transparency is part of building confidence in the kitchen, right? Since this recipe is deep-fried and stuffed with cheese, we aren’t aiming for low-calorie, but we are enjoying something truly fantastic! Below you’ll see the *estimated* nutrition breakdown for one dog, based on my choices (like using standard low-moisture mozzarella and mild hot dogs).
Please remember these numbers are just a guideline—if you use jumbo dogs or load up on the sugar dusting after frying, those numbers will definitely shift. I always tell folks, enjoy the treat, count the memories more than the calories, but knowing the rough footprint is smart cooking!
- Serving Size: 1 corn dog
- Calories: 450
- Fat: 28g (Saturated Fat: 9g)
- Carbohydrates: 35g (Fiber: 2g, Sugar: 12g)
- Protein: 18g
- Cholesterol: 55mg
- Sodium: 650mg
We kept the Trans Fat at zero because we use clean oil and proper temperature control, which is a little win! That high protein count comes right from the cheese and the sausage, making this more substantial than your average snack.
Share Your Korean Food at Home Creations
Well, we made it! You’ve successfully conquered the ultimate korean corn dog technique. Now that you’ve pulled that stretchy cheese and tasted that amazing crunch, I really want to know how it went for you. Did you stick with the Panko, or did you lean into that fun potato crust? Drop by the comments below and tell me what you thought of this korean food at home adventure!
I always love hearing from you all—it helps me write better recipes for the site. If you enjoyed this guide and feel more confident commanding your kitchen, check out our main ‘About Us’ page to see more of our mission!
PrintViral Cheesy Korean Corn Dogs: Ultimate Panko & Potato Crust Guide with Perfect Cheese Pull

Make street-style Korean corn dogs at home. This recipe gives you the steps for a crispy coating, gooey mozzarella center, and the option for a potato or panko crust. Achieve the viral cheese pull with these simple techniques.
- Prep Time: 20 min
- Cook Time: 15 min
- Total Time: 1 hour 35 min
- Yield: 6 servings 1x
- Category: Snack
- Method: Deep Frying
- Cuisine: Korean
- Diet: Vegetarian
Ingredients
- 1 cup all-purpose flour
- 1 cup sweet rice flour (or substitute with more all-purpose flour for a less chewy texture)
- 1 teaspoon baking powder
- 1 teaspoon salt
- 1 tablespoon sugar
- 1 cup warm water
- 1 packet active dry yeast
- 1 large egg
- 1 pound hot dogs or sausages
- 8 ounces low-moisture mozzarella cheese sticks, cut into 1-inch pieces
- Skewers or wooden sticks
- For Coating Options: 1 cup Panko breadcrumbs OR 1 cup small frozen french fries (for potato crust)
- For Frying: 4 cups neutral oil (like canola or vegetable)
- For Finishing: Granulated sugar, ketchup, mustard
Instructions
- Activate the yeast: In a small bowl, combine the warm water and sugar. Sprinkle the yeast over the top and let it sit for 5 to 10 minutes until foamy.
- Make the batter: In a large bowl, whisk together the all-purpose flour, rice flour, baking powder, and salt. Pour in the activated yeast mixture and the egg. Whisk until you have a smooth, thick batter, similar to pancake batter. Let the batter rest in a warm place for 1 hour to rise slightly.
- Prepare the sticks: If making half-and-half dogs, thread one piece of mozzarella cheese onto a skewer, followed by one hot dog piece, repeating the pattern if desired, ending with a hot dog. If using only hot dogs, thread one hot dog onto each skewer. Pat the sausages and cheese dry with paper towels.
- Prepare the crusts: Place the Panko breadcrumbs or the small frozen french fries onto separate shallow dishes.
- Coat the dogs: Dip each skewered item completely into the batter, ensuring it is fully covered. Let excess batter drip off for a few seconds.
- Apply the crust: Immediately roll the battered item in your chosen coating (Panko or fries). Press gently so the coating adheres well.
- Chill: Place the coated corn dogs on a parchment-lined tray and freeze for at least 30 minutes. This step helps the coating set and prevents it from falling off during frying.
- Heat the oil: Pour the oil into a deep, heavy-bottomed pot or Dutch oven to a depth of about 2 inches. Heat the oil to 350°F (175°C). Use a thermometer to maintain this temperature.
- Fry the corn dogs: Carefully lower 2 or 3 corn dogs into the hot oil, ensuring you do not overcrowd the pot. Fry for 3 to 4 minutes, turning occasionally, until the crust is deep golden brown and crispy.
- Drain and finish: Remove the corn dogs with tongs and place them on a wire rack set over a baking sheet to drain excess oil.
- Serve immediately: While still hot, roll the corn dogs lightly in granulated sugar. Serve with ketchup and mustard for a sweet and savory snack.
Notes
- For the best cheese pull, use low-moisture mozzarella. High-moisture cheese releases too much water when heated.
- If using french fries for the crust, ensure they are small and frozen solid before coating the dog.
- If you prefer a chewier batter, use a batter made primarily with rice flour, as this mimics traditional Korean street food texture.
Nutrition
- Serving Size: 1 corn dog
- Calories: 450
- Sugar: 12
- Sodium: 650
- Fat: 28
- Saturated Fat: 9
- Unsaturated Fat: 19
- Trans Fat: 0
- Carbohydrates: 35
- Fiber: 2
- Protein: 18
- Cholesterol: 55