
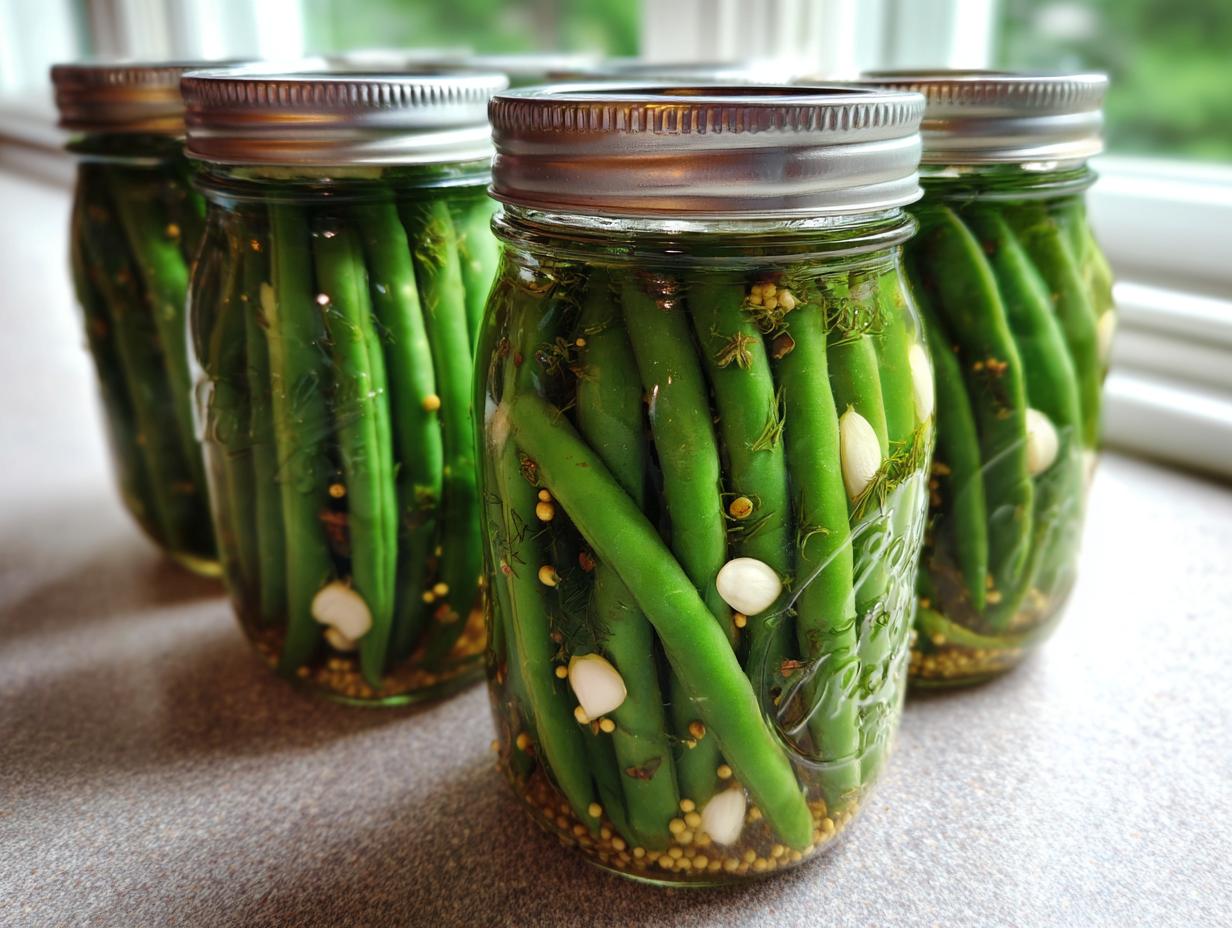
Oh my gosh, are you elbow-deep in summer garden produce and suddenly desperate for that sharp, tangy crunch only a perfect pickle can provide? I totally get it! When that craving hits, you need something fast and utterly reliable. That’s where our Easy Refrigerator Dilly Beans swoop in to save the day. These aren’t just pickled green beans; they are the ultimate quick, crunchy snack, and you’ll be munching on them well before most canning projects are done cooling! Here at Cookery Command, we blend that satisfying, old-school flavor of traditional dilly beans with modern, hassle-free technique, which means you can choose the fast refrigerator method or step up to water bath canning for your harvest, all with one dependable recipe. If you’re looking for other quick bites, check out our guide to easy appetizers and snacks!
- Why This Is the Best Dilly Bean Recipe for Your Kitchen
- Ingredients for Perfect Homemade Dilly Beans
- How to Prepare Easy Refrigerator Dilly Beans
- Optional: Water Bath Canning for Long-Term Dilly Beans Storage
- Tips for Success: Making Spicy Pickled Beans and More
- Serving Suggestions for Your Tangy Vegetable Snack
- Storage and Reheating Instructions for Dilly Beans
- Frequently Asked Questions About Pickled Green Beans Recipe
- Share Your Best Dilly Bean Creations
Why This Is the Best Dilly Bean Recipe for Your Kitchen
I know you’re looking for something that delivers that signature snap, and honestly, that’s what this recipe is built around. Forget mushy pickles! We’ve refined these instructions to guarantee you get bright, tangy, vibrant dilly beans every single time. It’s all about combining tradition with reliability, just like we do here at the Command Center.
Here’s what makes this recipe the absolute winner:
- Unbeatable, palate-pleasing crunch that lasts.
- Flavor that develops perfectly in just 24 hours (refrigerator method).
- The brine is so easy—just boil and pour!
- You get delicious pickled green beans whether you chill them…
- …or opt for long-term water bath canning for your biggest harvests.
Achieving Maximum Crunch in Your Dilly Beans
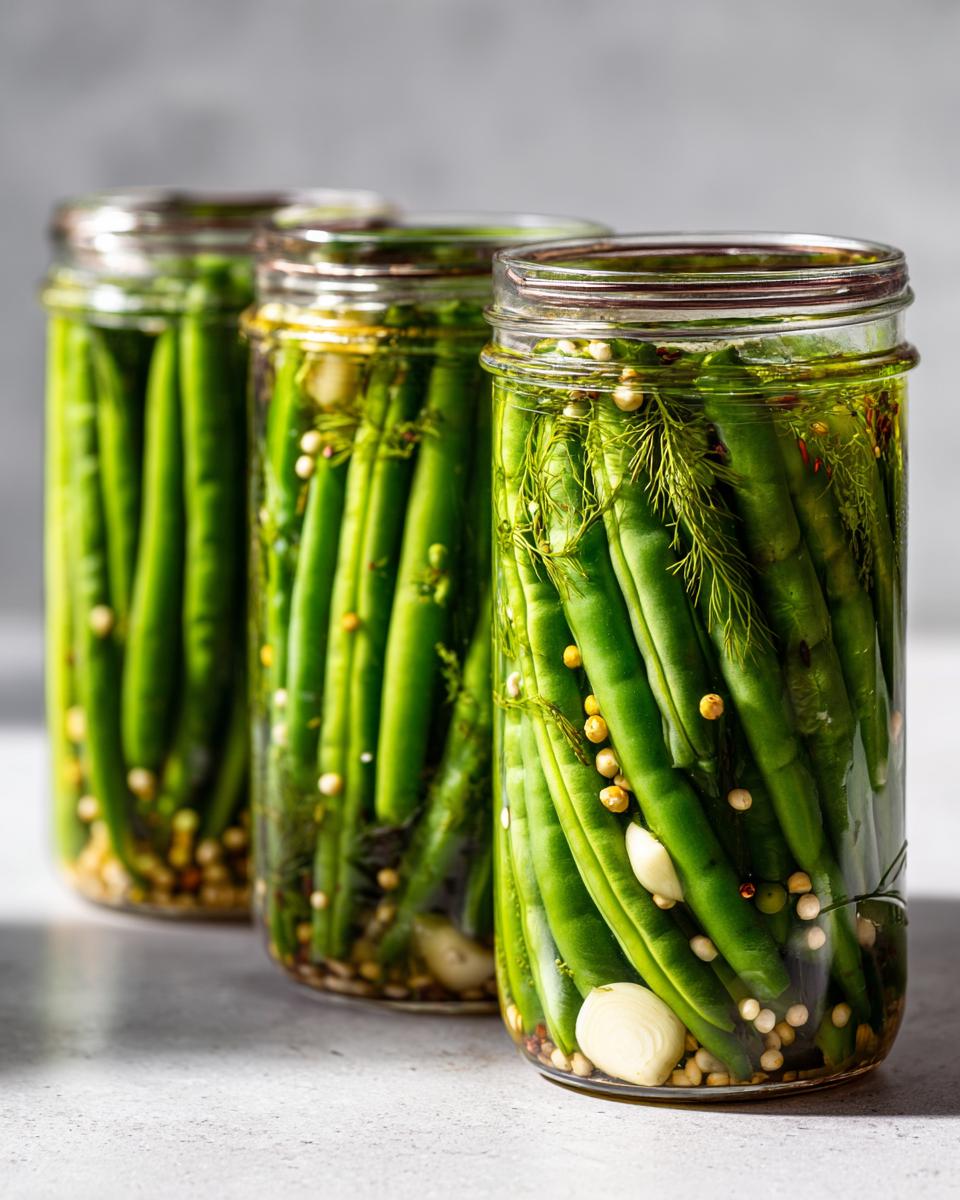
That sound when you bite into a perfect dill pickle? We are chasing that! The secret weapon here isn’t just the vinegar; it’s what you do *before* the beans even see the jar. Trust me on this: soaking those trimmed green beans in a big bowl of ice water for about two hours before packing them down will firm them right up. It’s a small extra prep step, but it makes such a huge difference in the final texture.
Ingredients for Perfect Homemade Dilly Beans
Okay, let’s talk supplies! Getting the right components is half the battle when making truly great homemade pickles. Remember, since this is our refrigerator pickles recipe, the quality of the spices really shines through. I’ve listed everything you need below, exactly as it goes into the jar—no confusing metric conversions here!
- 2 pounds garden fresh green beans, ends trimmed
- 4 cups water
- 2 cups white vinegar (must be 5% acidity, please!)
- 1/4 cup pickling salt (this is important!)
- 2 tablespoons granulated sugar
- 1 tablespoon whole black peppercorns
- 1 tablespoon mustard seeds
- 1 teaspoon whole allspice berries
- 1 teaspoon red pepper flakes (only if you want those spicy pickled beans!)
- 8 cloves garlic, peeled and halved
- 4 fresh dill heads or 4 tablespoons dried dill seed
If you need some inspiration on how to incorporate these tangy treats, pop over and see my list of easy appetizers and snacks; they pair wonderfully with almost anything!
Ingredient Notes and Substitutions for Dilly Beans
Here is where we apply just a touch of technique to ensure success. You absolutely need that 5% acidity white vinegar; don’t try to bring down the strength, as it’s essential for safe pickling. For salt, use pickling or canning salt only. Table salt has those anti-caking bits that will make your brine cloudy, and we don’t want cloudy brine!
If you can’t find fresh dill heads—which offer the best flavor—don’t sweat it. Just use the 4 tablespoons of dried dill seed mentioned above. It gives you that classic garlic dill pickle flavor instantly.
How to Prepare Easy Refrigerator Dilly Beans
Making these dilly beans is so quick, you’ll be amazed you waited this long to try homemade pickles! The steps are really straightforward because we are skipping the complicated canning setup for the express route. We focus on great flavor infusion, which happens really fast in the fridge. Seriously, after the initial mixing, you’re looking at maybe 10 minutes of active work, the rest is just waiting for that tangy flavor to develop. If you want more fast solutions for your kitchen, check out my favorite easy appetizers and snacks for inspiration later.
Making the Tangy Vinegar Brine Recipes
This brine is the soul of our vinegar brine recipes. Grab a saucepan—make sure it’s not aluminum, we don’t want any funky reactions! Combine your water, 5% vinegar, pickling salt, and sugar. You need to bring this mixture to a full, rolling boil over high heat. Stir it constantly until you see those crystals disappear entirely. If the salt or sugar isn’t fully dissolved, your flavor will be off, so keep that spoon moving until it’s perfectly clear, then kill the heat.
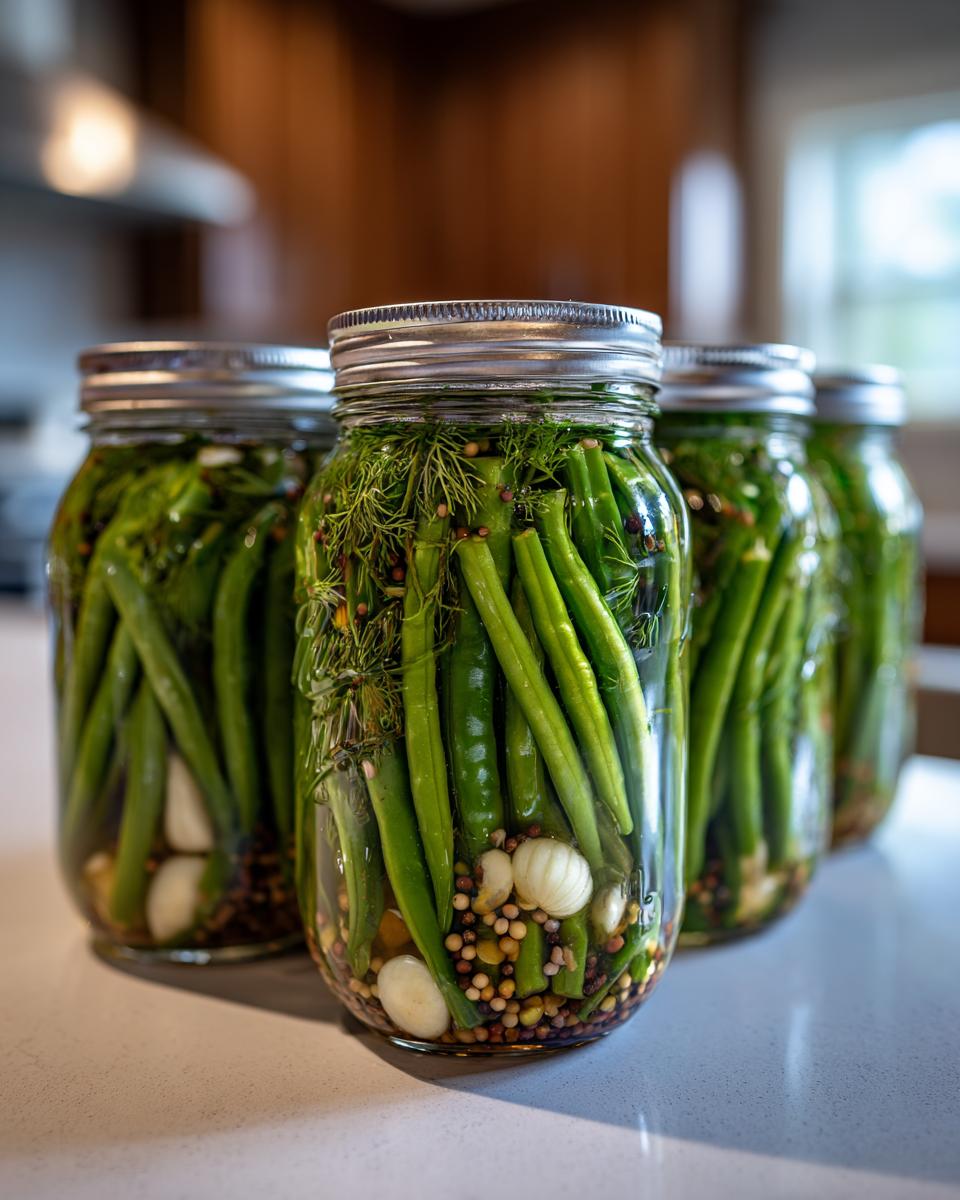
Packing Jars for Crunchy Dill Pickles
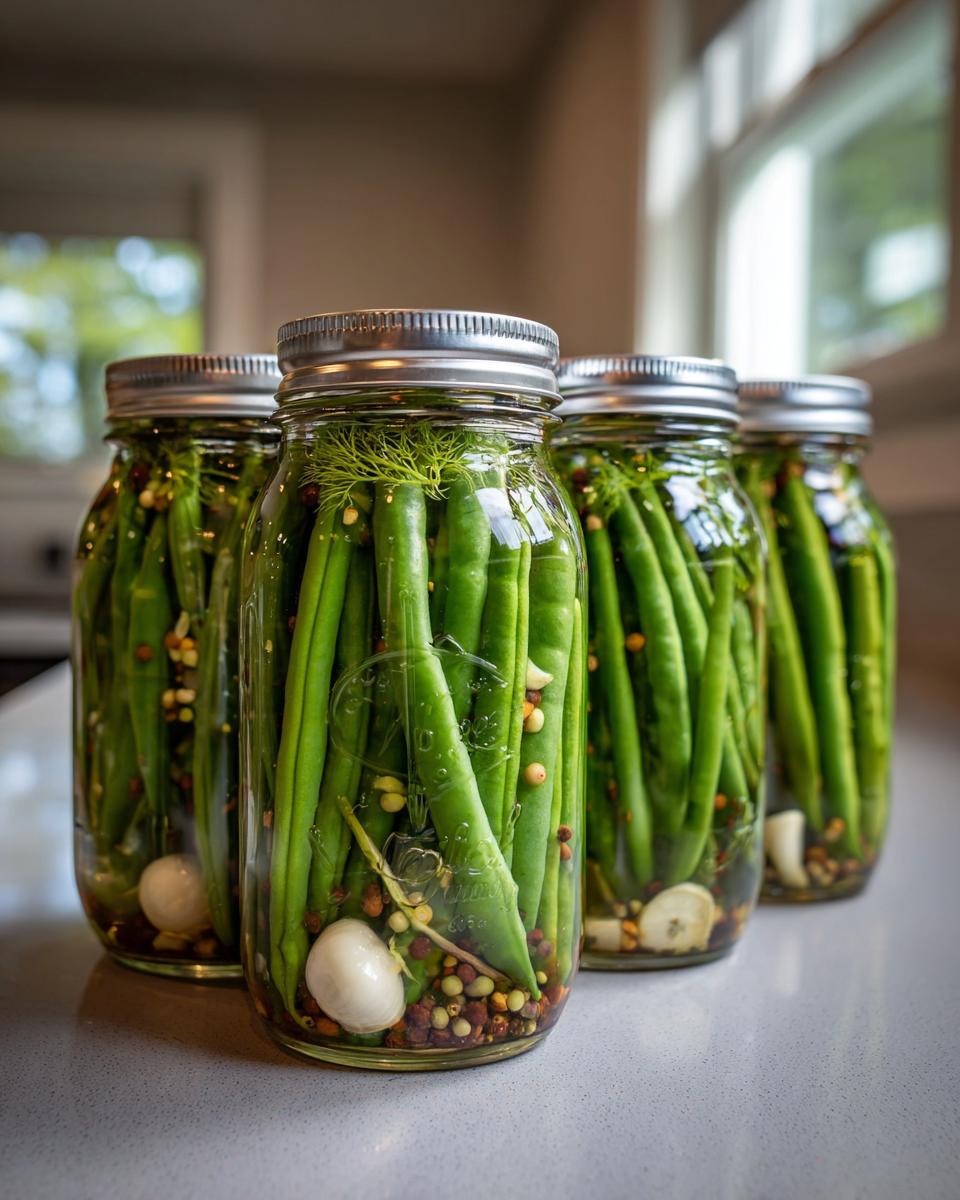
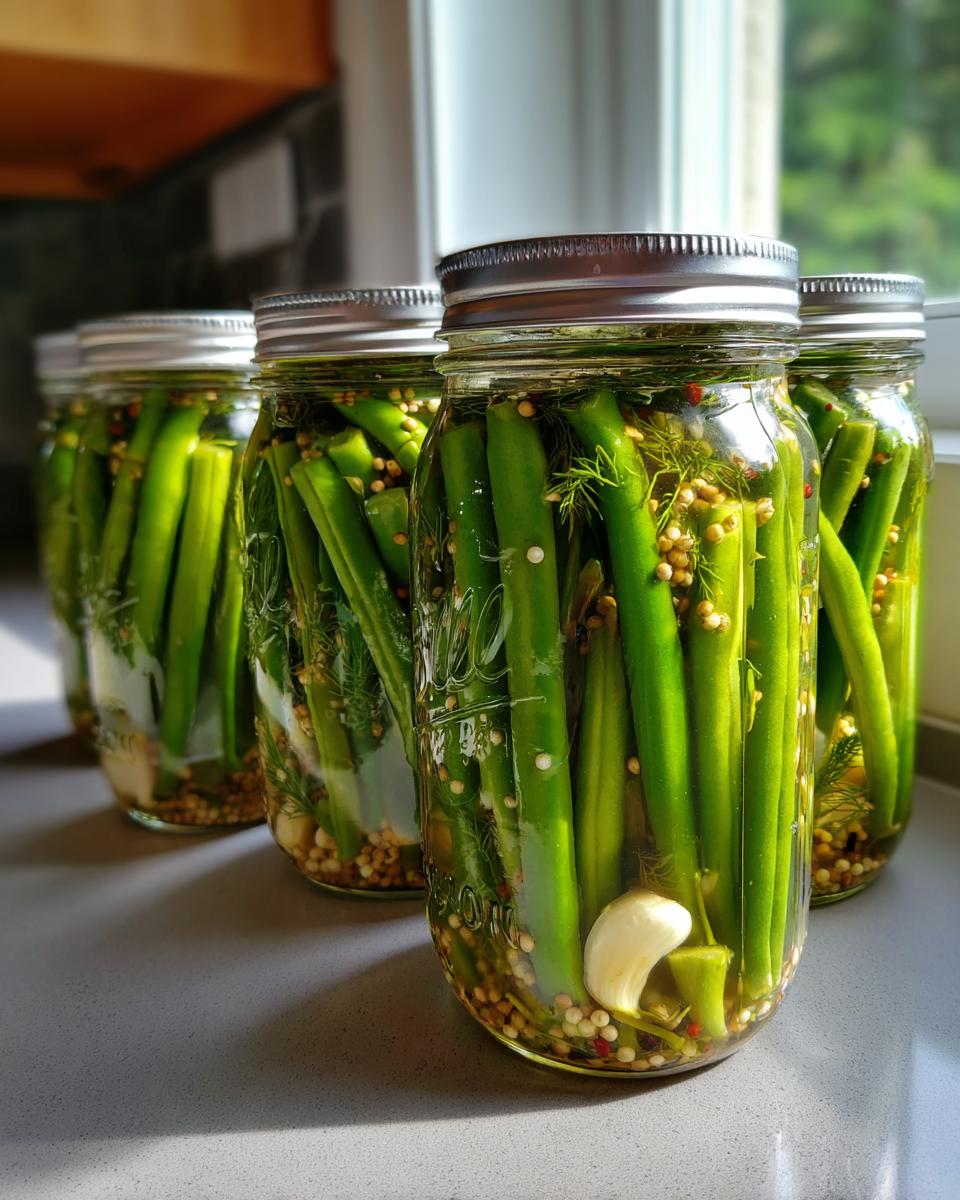
Now we layer in the good stuff! Divide your garlic, dill, peppercorns, mustard seeds, and optional pepper flakes evenly among your clean pint jars. Next, pack those green beans in tightly—really press them down so they stand upright if you can. When pouring in the hot brine, watch that headspace like a hawk; you must keep 1/2 inch from the top rim. After filling, gently tap the jars on the counter to break up any trapped air bubbles. Wipe the rims clean before sealing them fingertip tight. If you want more ideas for quick pickled vegetables, check out more tips right here!
Optional: Water Bath Canning for Long-Term Dilly Beans Storage
Now, while I absolutely love the speed of refrigerator pickles, I know many of you are looking to preserve your summer bounty much longer than a few weeks. That’s where water bath canning comes in! This is totally optional for our dilly beans, but it transforms them into shelf-stable treats that you can enjoy all winter long. It’s an extra step, but it gives you that peace of mind that your hard work is safely preserved.
If you choose this method, after you’ve wiped the rims and placed the lids on fingertip tight, you need to process those jars immediately. Place them snugly in your water bath canner, ensure they are covered with an inch or two of water, and process them for a full 10 minutes. Of course, just like with all my preservation advice, you must adjust that time for your specific altitude—always check your local guidelines for safety! For more reliable food preservation guides, take a peek at my notes on easy canning recipes, or follow this great guide on how to can dilly beans.
Once the 10 minutes are up, turn the heat off, remove the canner lid, and let the jars sit in the hot water for another five minutes before carefully lifting them out to cool on the counter. That satisfying *pop* of the vacuum seal means you’ve successfully preserved those tangy flavors for months!
Tips for Success: Making Spicy Pickled Beans and More
Now that you have the recipe down for these amazing dilly beans, I want to share a few insider tricks to take them from great to absolutely legendary. Remember, canning and pickling is a mix of science and intuition, and a few small adjustments can make all the difference. For instance, if you skipped the ice bath for maximum crunch—don’t worry, we can try to save future batches! If you are craving that kick, don’t hold back on the red pepper flakes; you can even look up specific guides on making them fully spicy pickled beans if you really love the heat.
We want your results to look as sharp and taste as snappy as possible. Anytime you need a zesty addition to a sandwich spread or a quick snack, these will be your go-to. You can find more of my favorite quick flavor boosters and easy appetizers and snacks ideas on the blog!
Troubleshooting Common Issues with Dilly Beans
The number one complaint I hear about homemade pickles is soft beans—it ruins the whole experience! If you see that happening, it means you either didn’t rinse the beans well, that your beans weren’t super fresh, or you skipped that pre-soak in ice water. For the brine cloudiness, if you used pickling salt, it’s usually fine and safe for refrigerator pickles, often caused by the interaction of the garlic and the salt. Just keep those refrigerator pickles cold, and they’ll still taste fantastic, even if they aren’t perfectly crystal clear.
Serving Suggestions for Your Tangy Vegetable Snack
So, what do you do with a whole jar of crunchy, tangy, garlicky goodness? Honestly, I just stand at the fridge and snap them up one by one—they are truly the best tangy vegetable snack straight from the jar! But if you manage to save some, these dilly beans shine as a side dish.
They cut right through the richness of just about anything. Think about pairing them next to a smoky BBQ plate—that acid is just what you need! They are absolutely transformative on a simple deli sandwich or wrapped in a slice of ham. If you’re planning meals around them, you should definitely check out my collection of quick, healthy lunch recipes where they can add that perfect, zesty crunch!
Storage and Reheating Instructions for Dilly Beans
Okay, this is super important, especially since these are our quick refrigerator pickles! Since we aren’t doing a full boil-down for shelf stability, these dilly beans have to live where it’s chilly. Keep those jars buried deep in the back of your refrigerator. They taste best when they’ve been chilling for about a week, but quality stays high for several weeks—usually four to six weeks for that perfect, snappy texture. Honestly, don’t even think about microwaving them; the entire joy of a pickle is that satisfying, cold crunch!
Frequently Asked Questions About Pickled Green Beans Recipe
You know, once you start pickling, you end up with a ton of questions! It’s totally normal when you’re making homemade pickles for the first time. I’ve gathered the ones I hear most often about these dilly beans below. It’s all about getting that perfect, tangy snack every time.
How long do refrigerator dilly beans last?
Since these are super simple refrigerator pickles and we aren’t processing them for long-term, they need to stay cold! For the absolute best texture—that snappy, perfect crunch—I recommend eating them within four to six weeks. If you keep them tucked away in a very cold spot in the fridge and keep the brine level high, they will last longer, but the quality really starts to fade past the six-week mark.
Can I use regular salt instead of pickling salt in dilly beans?
I strongly advise against using regular table salt if you can help it. Pickling salt is pure sodium chloride, designed to dissolve cleanly and not cloud up your beautiful brine. Regular salt has those anti-caking additives, which can make your brine look milky or cloudy—it’s safe for refrigerator pickles, but it looks less professional! If you’re in a pinch, you can use it, but use just a tiny bit less than what the recipe calls for.
What is the difference between quick pickled vegetables and canned pickles?
This is a great distinction to understand! Our main recipe here is for quick pickled vegetables (refrigerator pickles). They are packed with hot brine and simply chilled, meaning they are ready fast but must stay cold to stop spoilage. If you choose the optional canning step, you are processing them in a water bath, which kills bacteria and allows them to be stored safely at room temperature for months. One is fast and cold; the other is shelf-stable!
If you are looking for more ways to preserve your haul, you might enjoy reading up on how others handle pickled green beans recipes!
Share Your Best Dilly Bean Creations
Now that you’ve made your perfect batch of crunchy, zesty dilly beans, I’d absolutely love to hear how it went! Did you manage that incredible snap we talked about? Drop a rating below and tell me in the comments if you went the refrigerator route or if you canned them up for later. Nothing makes me happier than seeing your gorgeous jars! If things went perfectly, or if you have a lingering question, please reach out via my contact page!
PrintEasy Refrigerator Dilly Beans: Crunchy Pickled Green Beans
Make these quick pickled green beans, known as dilly beans, for a crunchy, tangy snack. This recipe focuses on the refrigerator method for fast results and includes tips for achieving a crisp texture.
- Prep Time: 20 min
- Cook Time: 10 min
- Total Time: 30 min
- Yield: 4 pint jars 1x
- Category: Preserves
- Method: Quick Pickling/Canning
- Cuisine: American
- Diet: Vegetarian
Ingredients
- 2 pounds fresh green beans, ends trimmed
- 4 cups water
- 2 cups white vinegar (5% acidity)
- 1/4 cup pickling salt
- 2 tablespoons granulated sugar
- 1 tablespoon whole black peppercorns
- 1 tablespoon mustard seeds
- 1 teaspoon whole allspice berries
- 1 teaspoon red pepper flakes (optional, for spicy dilly beans)
- 8 cloves garlic, peeled and halved
- 4 fresh dill heads or 4 tablespoons dried dill seed
Instructions
- Prepare the Jars: Wash 4 pint-sized canning jars and their lids. Keep the jars warm.
- Prepare the Beans: Wash the green beans thoroughly. Trim the stem ends. If beans are very long, cut them to fit the jars with about 1/2 inch headspace.
- Make the Brine: In a non-reactive saucepan, combine the water, vinegar, pickling salt, and sugar. Bring the mixture to a rolling boil over high heat, stirring until the salt and sugar dissolve completely. Remove from heat.
- Pack the Jars: Divide the garlic, dill (heads or seed), peppercorns, mustard seeds, allspice, and red pepper flakes (if using) evenly among the four prepared jars. Pack the green beans tightly into the jars, standing them upright.
- Fill with Brine: Carefully pour the hot brine over the beans, leaving 1/2 inch of headspace at the top of each jar. Ensure all solids are covered.
- Remove Air Bubbles: Gently tap the jars on the counter to release any trapped air bubbles. Add more brine if the headspace drops below 1/2 inch. Wipe the rims clean.
- Seal and Chill: Place the lids and bands on the jars, tightening them to fingertip tight. Let the jars cool on the counter for about 30 minutes. Transfer the jars to the refrigerator.
- Wait for Flavor: Allow the dilly beans to chill and pickle for at least 24 hours before eating. For best flavor and crunch, wait 3 to 5 days. These are refrigerator pickles and must be kept cold.
- Canning Option (Water Bath): If you want long-term storage, process the sealed jars in a boiling water bath canner for 10 minutes, adjusting for altitude. Remove jars and let cool completely before storing in a cool, dark place. Check seals after 24 hours.
Notes
- For the crunchiest pickled green beans, soak the trimmed beans in ice water for 2 hours before packing them into the jars.
- If you do not have fresh dill heads, use 4 teaspoons of dried dill seed per pint jar for a strong garlic dill pickle flavor.
- This recipe is easily doubled for preserving a large garden harvest.
Nutrition
- Serving Size: 4 beans
- Calories: 10
- Sugar: 1
- Sodium: 290
- Fat: 0
- Saturated Fat: 0
- Unsaturated Fat: 0
- Trans Fat: 0
- Carbohydrates: 2
- Fiber: 1
- Protein: 0
- Cholesterol: 0