

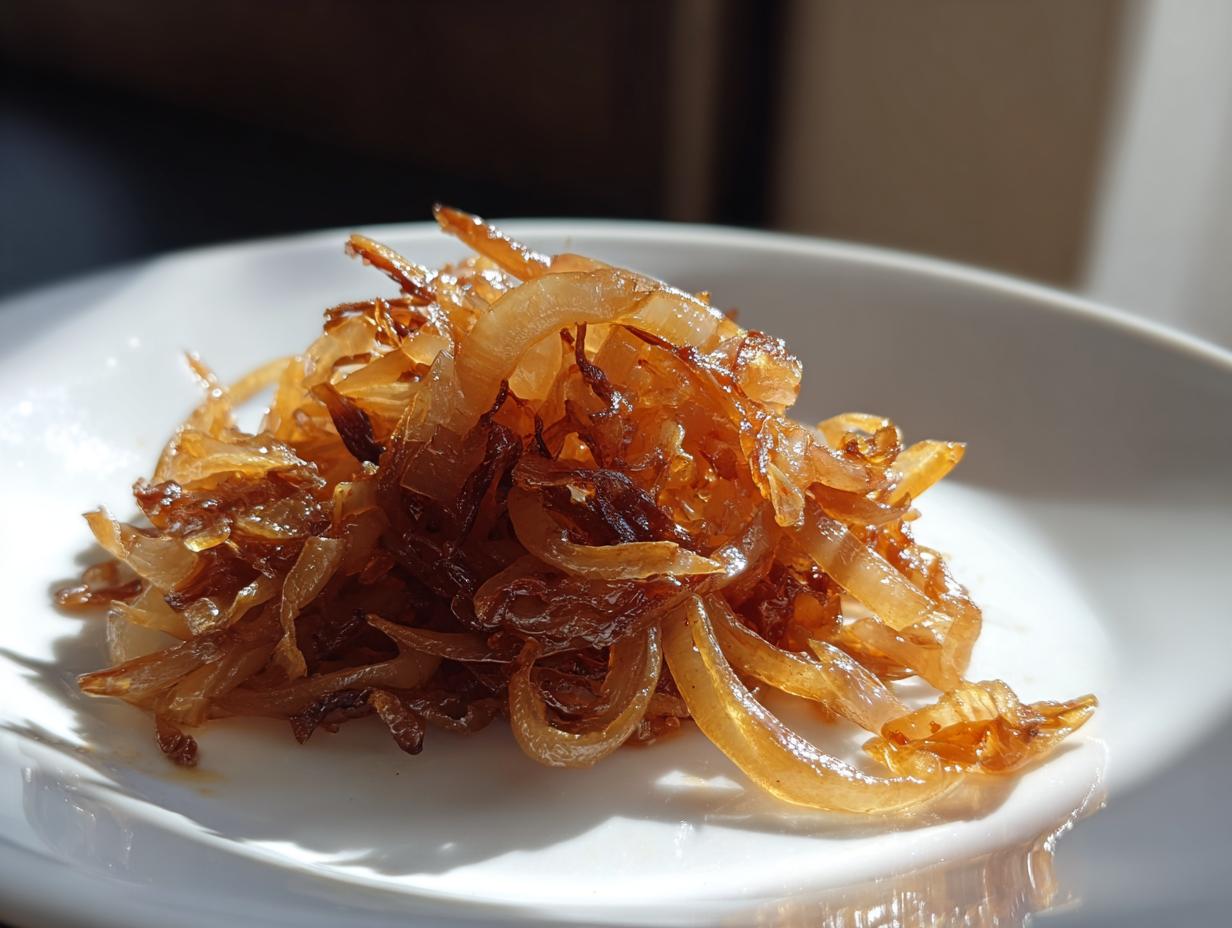
Look, I know. Onions are basic. Onions are cheap. But what if I told you that with just three simple things—onions, butter, and time—you can create something so deeply flavorful it feels like magic? Seriously, the transformation you get when you make proper caramelized onions is why I live for cooking fundamentals. This isn’t just another recipe; this is the ultimate guide to perfecting this crucial kitchen staple ingredient. Here at Cookery Command, we honor the classics, and my mentor, Emily Harrison (who grew up proving Midwestern cooking knowledge!), insists that mastering the basics is everything. You can read more about our philosophy of combining heritage and technique over at our About Page. Trust me when I say once you nail this technique, your burgers, your dips, and especially your pasta will never be the same.
- Why You Will Master Making Caramelized Onions
- The Essential Ingredients for Perfect Caramelized Onions Recipe
- How to Prepare Caramelized Onions: The Slow and Steady Method
- Fast Caramelized Onions: A Time-Saving Alternative
- Flavor Variations: Making Savory Sweet Onions
- Using Your Caramelized Onions: From Pasta to Dip
- Storage and Make-Ahead Tips for Caramelized Onions
- Frequently Asked Questions About Caramelized Onions
- Estimated Nutritional Data for Caramelized Onions
Why You Will Master Making Caramelized Onions
I know what stops people from trying this: time. But honestly, this technique is so forgiving, and the payoff is ridiculous. You’re going to nail it because:
- The process is nearly foolproof—it’s hands-off cooking, which means you can sip your coffee or catch up on your favorite show while the flavors develop.
- These onions are the ultimate kitchen staple ingredient; once you have a batch ready, you instantly upgrade everything from a simple egg scramble to a fancy baked brie.
- You’ll discover the sweet caramelized onions secret: it’s just patience! Anyone can do it once they realize heat management is more important than constant stirring.
- The flavor payoff is huge. You are taking something sharp and giving it a deep, rich, jammy sweetness that makes people ask, “Wow, what did you put in that?”
The Essential Ingredients for Perfect Caramelized Onions Recipe
Okay, for the basic, melt-in-your-mouth version, you need shockingly few things. We are talking about three ingredients plus a tiny bit of salt to start things off! You’ll want three large yellow onions, sliced thinly and uniformly, which is step one for great onion texture. Grab about two tablespoons of unsalted butter and one tablespoon of olive oil. That combo gives you the best flavor and smoke point. That’s it for the base of these perfect caramelized onions recipe!
How to Prepare Caramelized Onions: The Slow and Steady Method
This is where the magic happens, but you have to respect the process! If you rush it, you end up with sad, limp sautéed onions, not the deep, jammy goodness we want. First thing, and pay attention here—you need uniformity if you want good onion texture guide results. Slice your three big yellow onions as evenly as you can. I aim for super thin strips. Next, get a nice, heavy skillet ready and combine your butter and olive oil over medium-low heat. Don’t crank it! We are practicing cooking fundamentals here, which means low and slow to draw out those natural sugars.
Toss those onions onto the fat with just a small pinch of salt. Let them cook down, stirring maybe every ten minutes at first. After about twenty minutes, they’ll look translucent and softer—that’s the halfway point! Keep going. This is how we get those amazing, rich, golden brown onions. Remember, this slow process is what builds the depth. For more inspiration on deep, rich flavors, you might look at my tips for Crockpot French Onion Meatloaf later!
Achieving Golden Brown Onions: The Fond Scrape
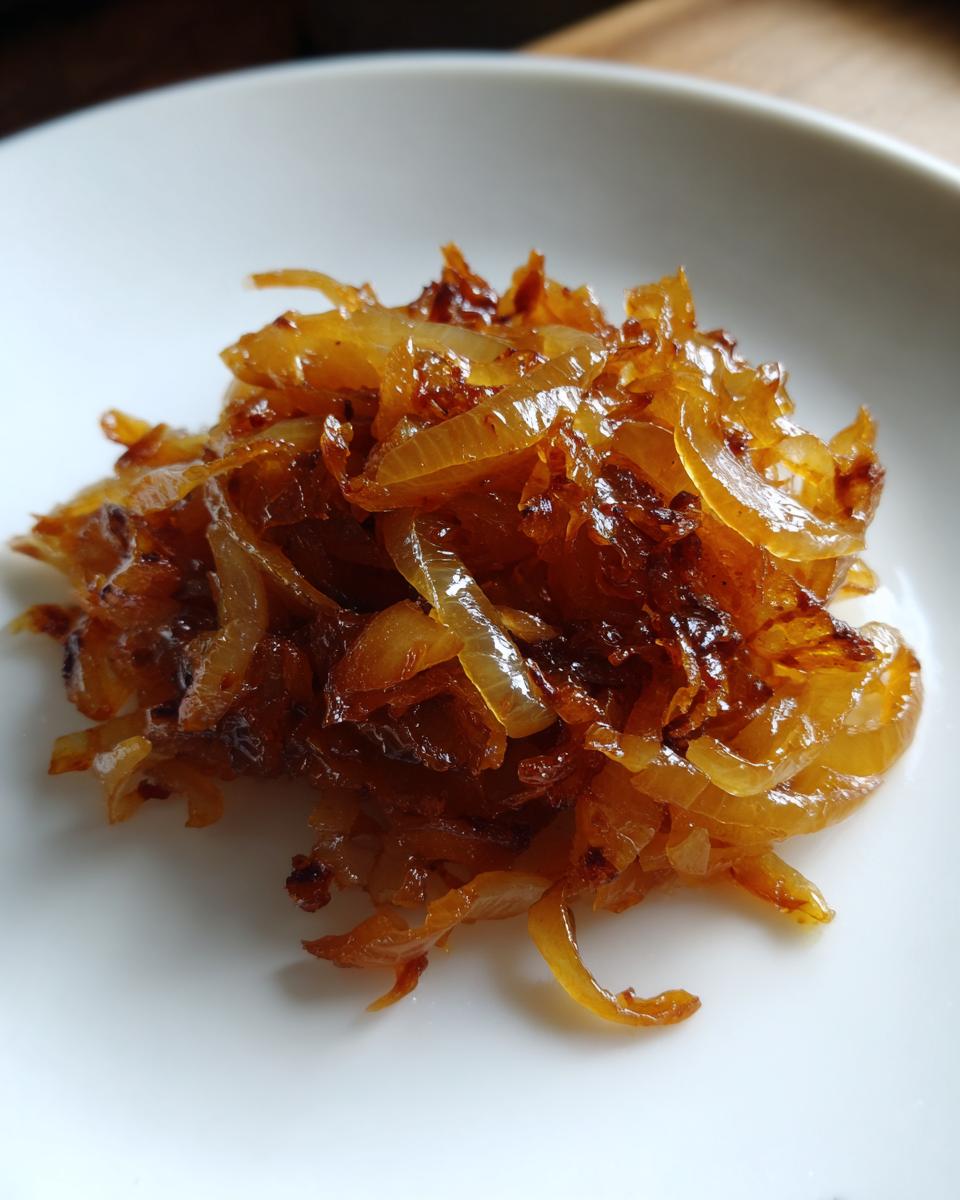
As the onions cook, you’ll notice brown bits sticking to the bottom of your pan. That stuff, called fond, is pure flavor gold. Don’t you dare let it burn! If you see it getting too dark, just splash in a tiny bit of water—maybe a tablespoon—and immediately scrape up those sticky spots off the bottom while you stir. That process of deglazing right in the pan makes your caramelized onions taste incredibly deep and complex. It’s the key difference between okay onions and what you’ll find at restaurants, like the ones praised on My Homemade Dishes.
Fast Caramelized Onions: A Time-Saving Alternative
Now, I know sometimes life is crazy, and you just need those caramelized onions done yesterday. If you don’t have that full hour, you can speed things up! This is my go-to when I’m whipping up quick weeknight dinner recipes, but you do need to pay closer attention.
Instead of medium-low, bump the heat up just a touch to medium. Since the heat is higher, you must stir every two or three minutes, or you risk scorching them right away. You might sacrifice just a tiny bit of that deep, rich sweetness you get from the slow method, but honestly, you can still get great flavor in closer to 25 minutes total. Check out how these pros handle quick methods over at Beyond the Bayou Blog!
Flavor Variations: Making Savory Sweet Onions
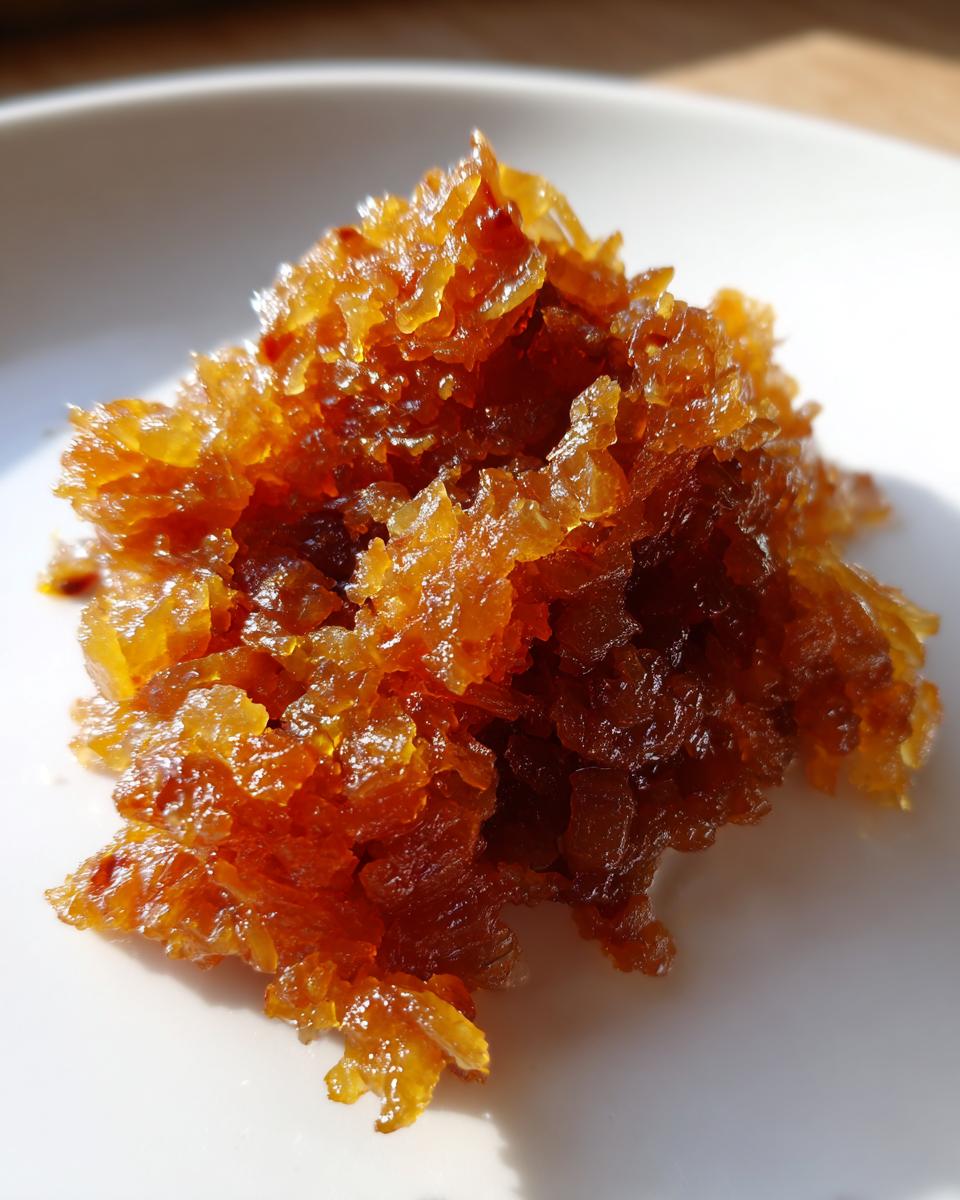
Once you have mastered the base technique—the beautiful, slowly developed, naturally sweet foundation—it’s time to play a little bit! This is where we move beyond the basic three ingredients and unlock those incredible savory sweet onions profiles everyone raves about. Don’t worry; this is still super easy!
You see those little notes I put at the end of the instructions? When the onions are almost done—I mean, deep golden, jammy, and you’re just stirring them gently for the last five minutes—that’s when you introduce a little acid. I absolutely adore adding just a splash of sherry. It sounds fancy, but it’s easily found, and wow, does it add complexity! It really deepens that sugary flavor profile, making them taste like they cooked for three hours instead of one.
If you don’t have sherry, balsamic vinegar is my next favorite trick. It brings a little tanginess right alongside that deep sweetness. Seriously, try it once, and you’ll understand why people seek out recipes for sweet caramelized onions with sherry specifically. You are building layers of flavor in the simplest way possible. You can see how some folks play with these ideas over at Recipe Cakes, focusing on that jammy perfection!
Using Your Caramelized Onions: From Pasta to Dip
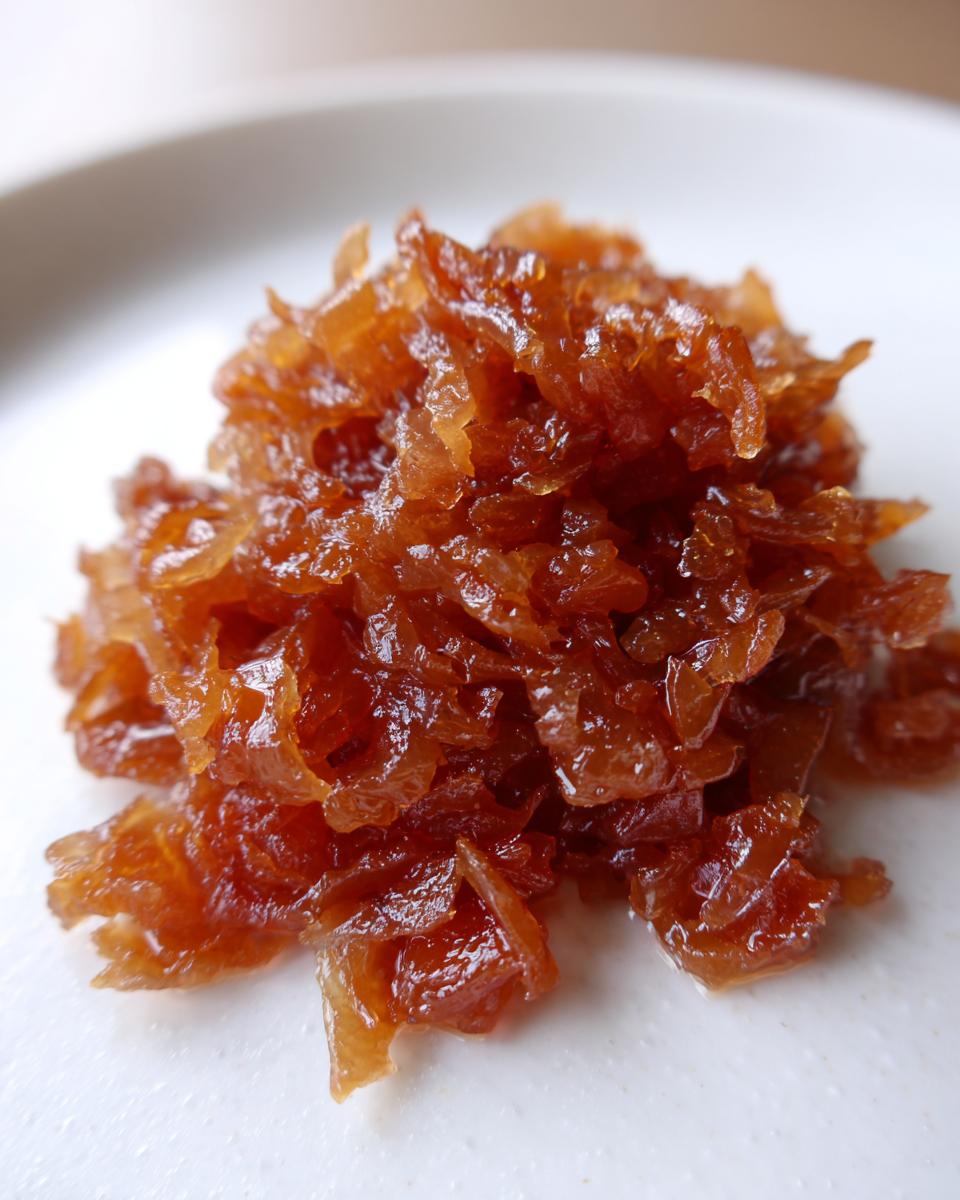
So, you’ve made a huge batch of these sweet brown beauties—what now? This is the fun part! Seriously, having a jar of these ready in the fridge changes everything about dinner prep. People are absolutely obsessed with taking these onions and using them as the star ingredient. You see all that buzz online about the viral onion pasta recipe? That’s exactly what you’re making next. Creamy pasta dishes just adore that deep, rich sweetness our slow method provides!
And for game days or cozy nights, you can’t go wrong with a dip. Think about how amazing these are folded into cream cheese mixed with some Gruyere—a perfect caramelized onion dip base. I’ve got some great appetizer ideas for you to look at later, like using them on a savory cheese ball, or you can check out the famous French Onion Pasta recipe linked over at Carlsbad Cravings to see them in action. Honestly, these onions make even a simple sauce feel like comfort food you’ve been cooking forever. If you need a reminder on making a great pasta dish, check out my Marry Me Chicken Pasta for technique inspiration!
Storage and Make-Ahead Tips for Caramelized Onions
The beauty of learning how to caramelize onions is that you don’t have to do it every time you need them! This is the ultimate meal prep move, making them a true kitchen staple ingredients darling. I always try to double or triple the recipe because the cooking time is the same, but I get jars ready for weeks.
For the fridge, you want to make sure they are completely cooled down—don’t put hot onions into a sealed container, or you’ll just steam them and ruin that gorgeous texture! Once cool, transfer them into a clean, airtight container. They’ll last great in the refrigerator for almost a full week, ready to grab for quick sandwiches or quick appetizers. Just give them a quick scoop and reheat them gently on the stovetop before using them.
But here’s the best part: you can freeze these gems! Yes, your sweet, jammy onions can survive the freezer like champs. Again, make sure they are totally cool first. Scoop them into freezer-safe bags or plastic containers. If you use freezer bags, lay them flat so they don’t take up a ton of room. You can easily keep that amazing flavor locked away for up to three months. When you need them, just thaw them overnight in the fridge and reheat slowly. It’s the tastiest time-saver I know!
Frequently Asked Questions About Caramelized Onions
I get so many messages asking about hiccups people run into, even when following the super simple steps above. Don’t worry if you feel like you’ve messed up—every cook has had onions burn on them at least once! Here are the questions I hear most often about getting that perfect caramelized onions recipe just right.
Can I use sweet onions instead of yellow onions for caramelized onions?
Oh, absolutely you can! Sweet onions, like those Vidalia ones, are actually amazing here. Because they naturally have slightly higher sugar content than standard yellow onions, they might caramelize just a tiny bit faster. But here’s the catch: you still need to cook them low and slow to get that deep, complex flavor. Don’t try to rush them just because they are sweet, or you’ll burn them up!
What is the secret to making caramelized onions taste sweet?
This is the best question, and it circles right back to the core of the whole article. The real, true sweet caramelized onions secret isn’t adding sugar (though you can enhance it later!); it’s time and low heat. When you cook onions over medium heat, you are just cooking them. When you cook them low and slow, below the point where they start to sizzle aggressively, you force the natural sugars trapped inside the onion cells to finally break down, brown, and melt. That slow breakdown is what makes them sweet and jammy. You cannot fake that flavor quickly!
How do I know when my caramelized onions are done?
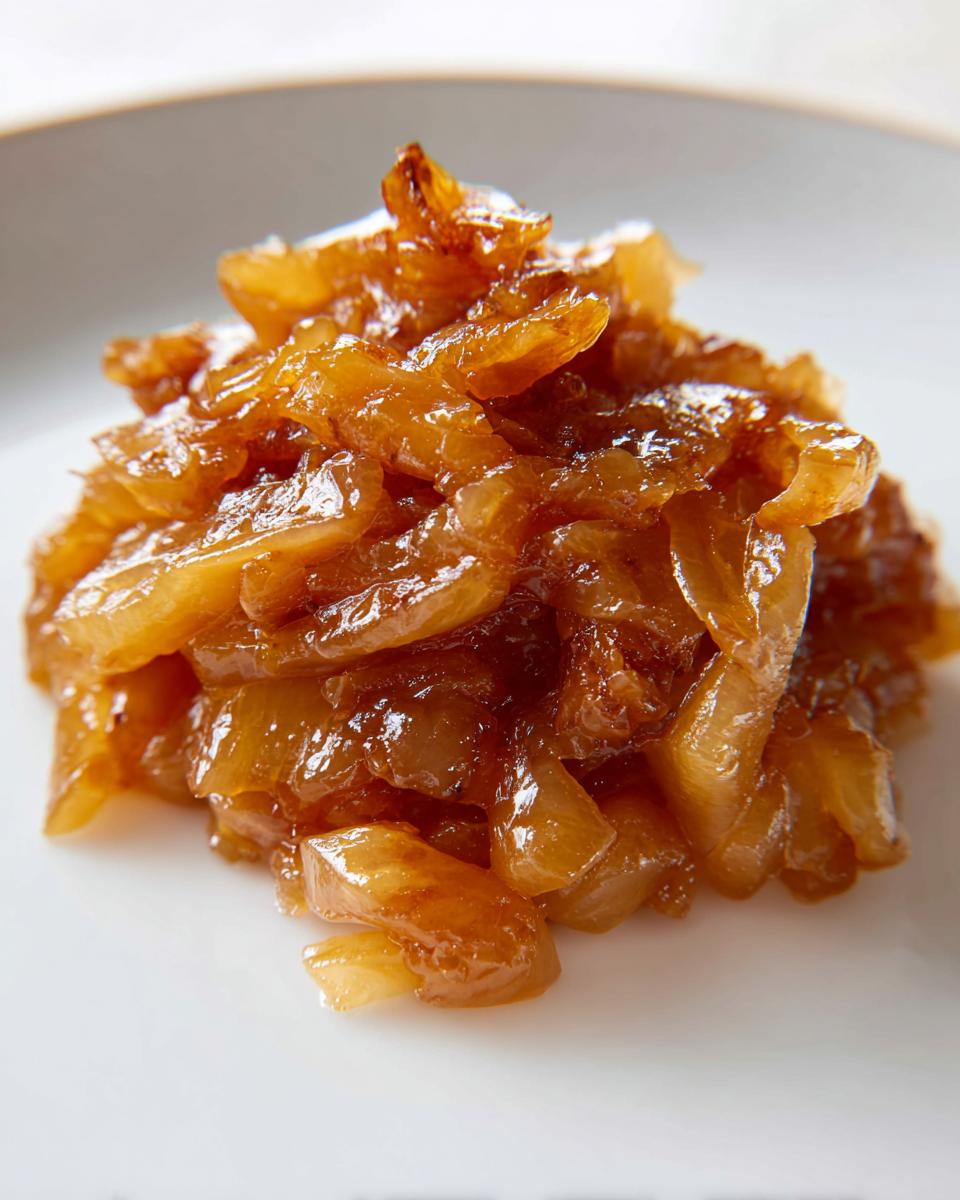
You might think they are done when they look soft and translucent, right? That’s mistake number one! Your onions are done when they have significantly reduced in volume—like, maybe a quarter of what you started with. They need to be a deep, rich golden brown, almost like mahogany, and have that incredibly soft, buttery, jammy texture. If they are just pale gold, they aren’t ready to be the star of your next side dish!
Estimated Nutritional Data for Caramelized Onions
Now, I know you’re going to be using these onions in everything—pasta, dips, on top of burgers—so you might want to have a ballpark idea of what you’re working with nutrition-wise. Here are the estimates based on the standard recipe we just made, which yields about four servings (a quarter cup each).
Keep in mind these values are based on the recipe using butter and oil, and they are just approximations, folks! The brand of butter you use or how much oil you scrape up during the fond process can change things slightly. Always treat these as a guide, not a strict lab result.
- Serving Size: About 1/4 cup
- Calories: 75
- Sugar: 8 grams (See? All those sweet brown onions!)
- Sodium: 50 mg
- Fat: 4 grams
- Saturated Fat: 2 grams
- Carbohydrates: 10 grams
- Fiber: 2 grams
- Protein: 1 gram
The sugar content is high because we are intentionally concentrating all the natural sugars from the onions—that’s why they taste so amazing! But notice the fiber is still there because it’s still onion, right? Use these as you wish, but seriously, don’t worry about the nutrition when you’re adding them to that gorgeous appetizer dip we talked about; just enjoy the flavor!
PrintThe Ultimate Guide: Perfect Caramelized Onions
Learn the simple technique to transform raw onions into sweet, jammy, golden brown caramelized onions using minimal ingredients. This kitchen staple enhances any meal.
- Prep Time: 10 min
- Cook Time: 45 min
- Total Time: 55 min
- Yield: About 1.5 cups 1x
- Category: Side Dish
- Method: Stovetop Sauté
- Cuisine: American
- Diet: Vegetarian
Ingredients
- 3 large yellow onions, thinly sliced
- 2 tablespoons unsalted butter
- 1 tablespoon olive oil
- 1 pinch salt
Instructions
- Slice the onions thinly and uniformly. Uniformity helps them cook evenly.
- In a large, heavy-bottomed skillet, combine the butter and olive oil over medium-low heat.
- Add the sliced onions and the pinch of salt to the skillet. Stir to coat the onions completely with the fat.
- Cook the onions slowly, stirring every 5 to 10 minutes. Keep the heat low to prevent burning. The goal is slow cooking to draw out the natural sugars.
- After 20 minutes, the onions will be soft and translucent. Continue cooking, stirring more frequently as they begin to brown.
- Continue cooking for another 30 to 45 minutes, or until the onions reach a deep, rich, golden-brown color and have a jammy texture. If brown bits stick to the bottom (fond), add a tablespoon of water and scrape them up while stirring.
- Remove from heat and use immediately or store for later use.
Notes
- For a faster method, increase the heat slightly to medium, but stir every 2 to 3 minutes to prevent scorching. This method takes about 25 minutes total.
- Add a splash of sherry or balsamic vinegar during the last 5 minutes of cooking for a deeper, complex flavor.
- These onions freeze well for up to three months. Cool completely before transferring to an airtight container.
Nutrition
- Serving Size: 1/4 cup
- Calories: 75
- Sugar: 8
- Sodium: 50
- Fat: 4
- Saturated Fat: 2
- Unsaturated Fat: 2
- Trans Fat: 0
- Carbohydrates: 10
- Fiber: 2
- Protein: 1
- Cholesterol: 5